Yes! You Can Spray Paint Just About ANYTHING
Wondering if you can spray paint home decor around your home like a lamp, outdoor furniture, cabinet hardware, etc?
I’m no stranger to spray painting things and am the QUEEN of Painting EVERYTHING!
After years working in the paint industry and seeing in my own life what is possible, you may be surprised at some of these ideas.
You literally can spray paint just about anything!
Being able to spray paint something comes down proper surface prep and application techniques.
These 17 spray paint makeover ideas will help you save a TON of money. Don’t replace update instead!
I’ll show you exactly how to get the best finish possible.
Home Decor Makeover Ideas
You will find a common theme among my countless how-to paint tutorials.
The one things I always say is this:
Proper surface preparation prior to painting is what guarantees good results!
Porch Daydreamer
A very simple concept, right?
It makes me CRAZY, when I see others teach about painting something and completely skip prep.
Spray paint is a special kind of paint, so in order to get good results you must apply it the RIGHT WAY.
Did you know there was a right way to apply spray paint?
Or do you wave it around like a magic wand hoping for the best LOL!
That’s definitely the wrong way. If you’ve experienced drips, running, sagging, bubbles or peeling then this post is for you.
To get you thinking and inspired, here are ALL of the things that I can remember spray painting in my home.
If there is a link, then there is a tutorial too.
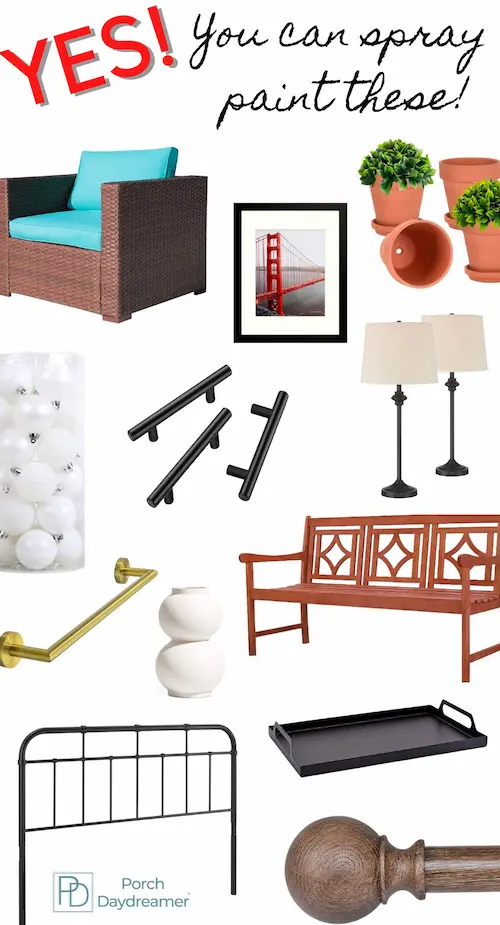
Yes! You can spray paint these things:
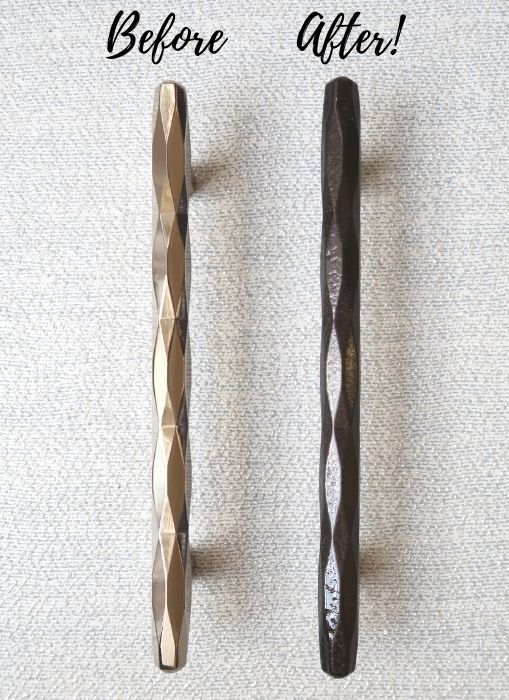
- Cabinet hardware
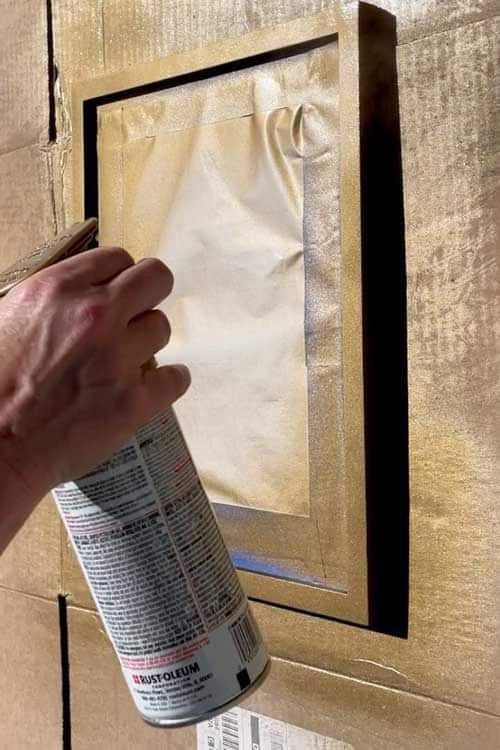
- Picture frames
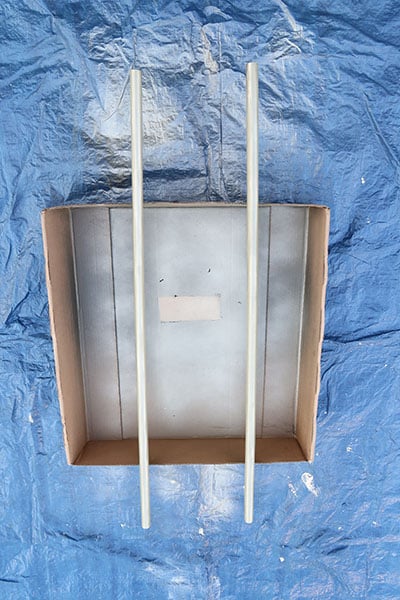
- Curtain rods
- Lamps (regular or spray)
- Resin and natural wicker furniture
- Wood furniture
- Metal outdoor furniture
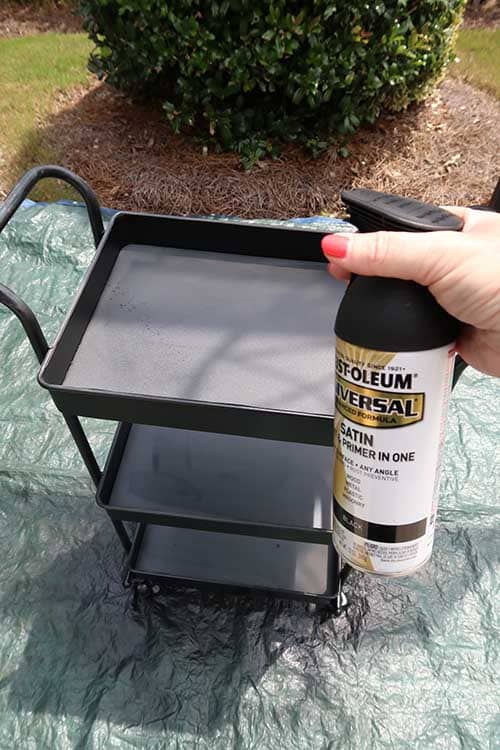
- Utility Cart
- Candlesticks
- Vases
- Metal headboard
- Terracota planters
- Trays
- Towel bars
- Metal jar lids
- Christmas decor
- Christmas ornaments
Literally, I have spray painted ALL of these things over my adult life with success!
There are SO many more things you can spray paint, but I wanted to focus on home decor.
If I don’t like the color, then I grab a can of spray paint!
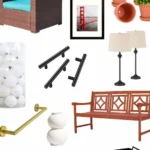
Pin It for Later!
When I choose spray paint for a makeover:
- It is something I can paint outside.
- There is a lot of detail or it is small.
- When I want to makeover a metallic finish.
- It’s a quick color change.
- The item is inexpensive and I’m not scared to ruin it.
- Seasonal items I plan to paint again (like Christmas decor or ornaments).
- If it is metal or plastic because spray paint will adhere better.
Heck, I’ve even seen guys spray paint their cars…crazy I know!
All it takes is a little practice and you’ll get long lasting durable results.
You’ll be surprised at how often you’ll reach for a can of spray paint during your decorating projects.
Contains hand selected products, with affiliate marketing links where I may earn a small commission if a purchase is made. {full disclosure here}
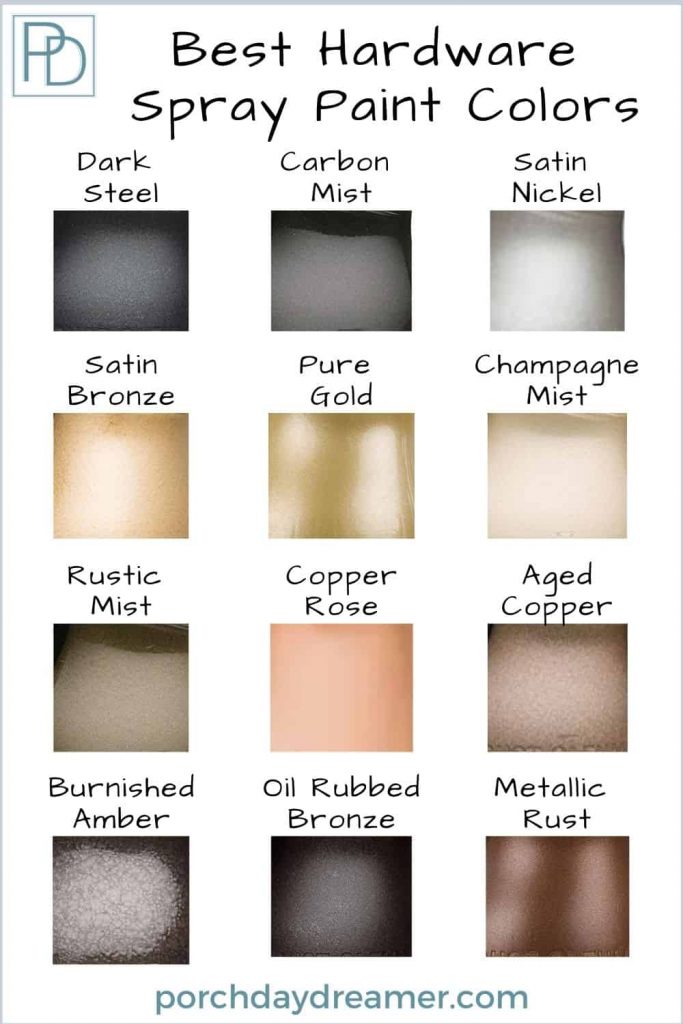
Here are my FAVORITE metallic spray paint finishes
![]() DARK STEEL | CARBON MIST | SATIN NICKEL | SATIN BRONZE | PURE GOLD | CHAMPAGNE MIST | RUSTIC MIST | COPPER ROSE | AGED COPPER | HAMMERED BURNISHED AMBER | OIL RUBBED BRONZE | METALLIC RUST
DARK STEEL | CARBON MIST | SATIN NICKEL | SATIN BRONZE | PURE GOLD | CHAMPAGNE MIST | RUSTIC MIST | COPPER ROSE | AGED COPPER | HAMMERED BURNISHED AMBER | OIL RUBBED BRONZE | METALLIC RUST![]()
NOTE: THE HAMMERED METALLIC FINISHES WILL PROVIDE A TEXTURE AS WELL.
If you want a smooth finish, avoid the colors that say “hammered”.
How-to Spray Paint Like a PRO!
Now that I have you staring at ALL of the potential items to spray paint around your home…
I need to teach you all of my tips and tricks to getting the best results when you spray paint.
My #1 go to spray paint tool is a spray paint can comfort grip attachment.
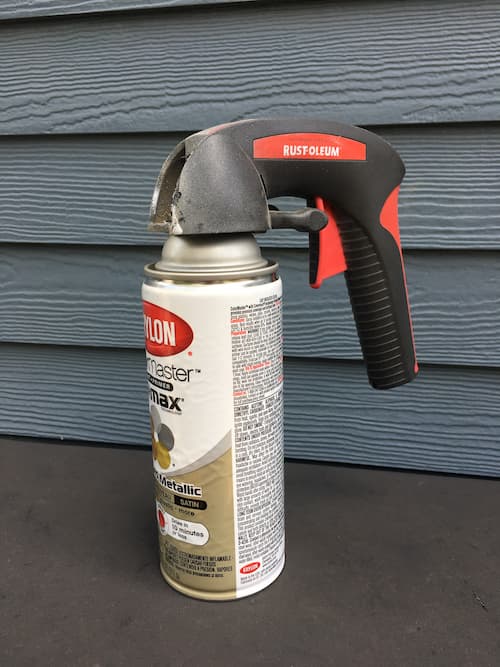
Or using Rust-oleum’s Universal Spray Paint Can.
You’ll see both of these reoccurring through my multiple spray paint tutorials.
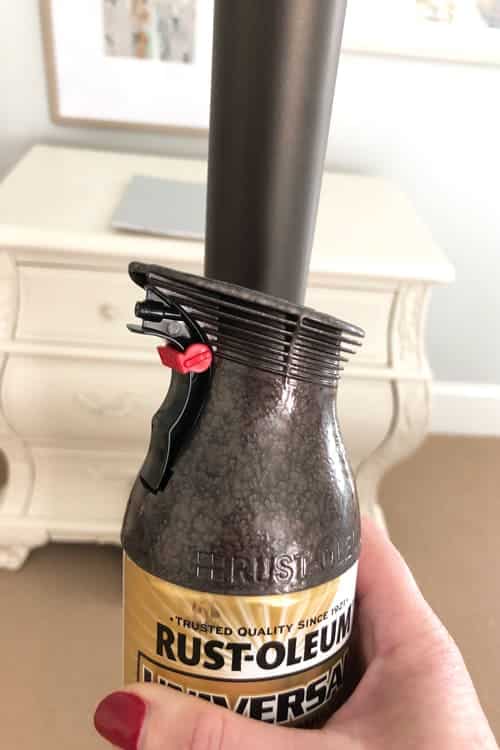
Why I recommend either of these is because they ensure PROPER application.
Both of these methods allow a PRESS and RELEASE method of spray painting.
Why it is important to use a PRESS and RELEASE method when spray painting:
- Reduces overspray.
- Helps to not waste spray paint.
- Allows you to overlap.
- Assists in applying thin layers.
This is how the PROS spray paint everything!
It’s also how you apply paint when using HVLP paint sprayer too – yes, I have more information about that!
But back to using a can of spray paint…and applying it the RIGHT WAY!
How-to Spray Paint LIKE A PRO
Teaching you how to apply spray paint the right way to avoid over application, drips, bubbles and peeling!
Materials
- Can of Spray Paint
- Cardboard or Tarp
- Painter's Plastic
Tools
- Rust-Oleum Comfort Grip Attachment
Instructions
Step 1
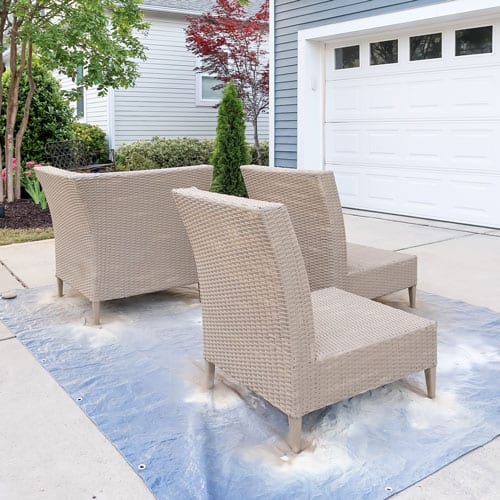
- Find an outdoor area to spray paint preferably in the shade if possible.

Cover the ground with a tarp or cardboard and any areas that you are concerned may be hit with overspray with painter's plastic or a drop cloth. - Make sure to anchor each corner of a tarp or plastic, so it doesn't blow back onto the object(s) you are spray painting.
Step 2
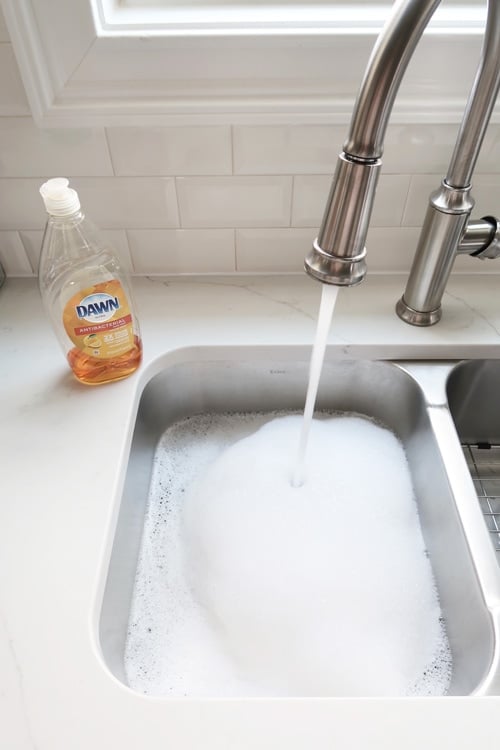
- Always make sure to CLEAN the surface of everything you are painting to remove dirt, dust, grease or debris.

- Hot and warm soapy water using a degreasing dish soap works well to clean or if it is and outdoor piece you can brush off and hose off. Just let everything dry thoroughly.
Step 4
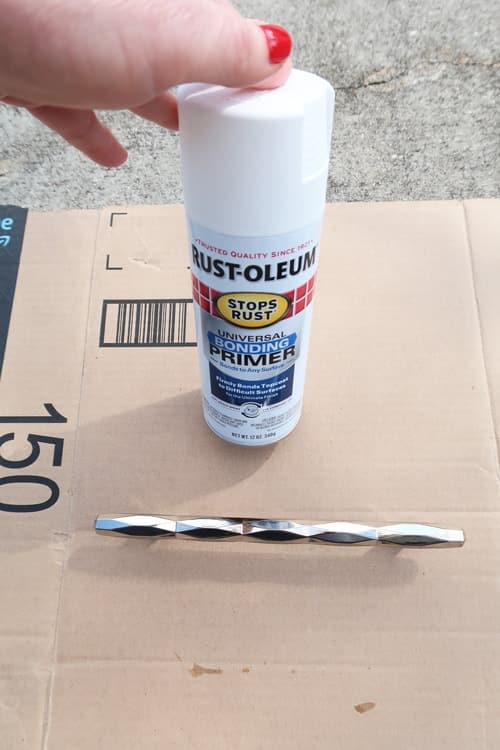
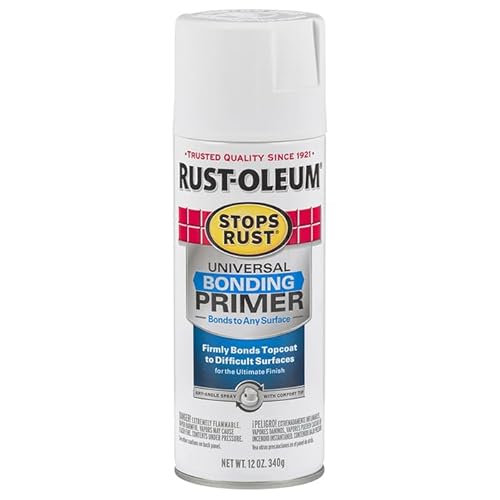
- For tough to paint surfaces, I usually recommend a spray bonding primer. That will ensure the best adhesion.
Step 5
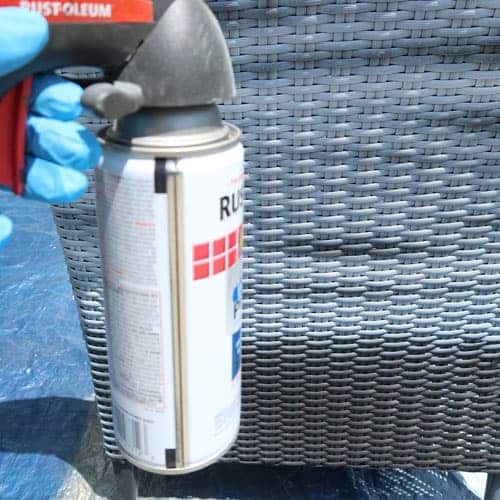
- Using either the Universal Rust-Oleum can of spray paint or the Comfort Grip attachment test the spray on a piece of cardboard. Make sure it is spraying properly. ALWAYS start the spray just before the object, so you don't create a spot or over apply in one area.
Step 6
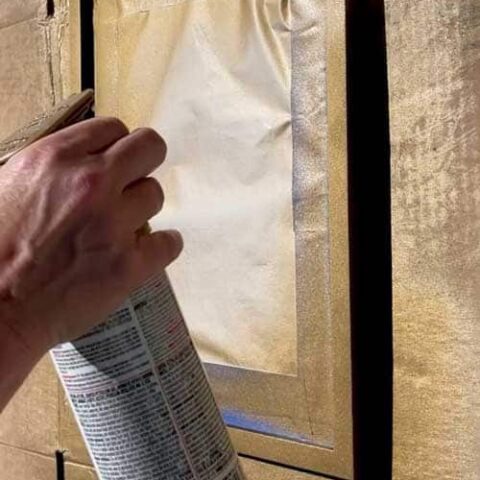
- Watch my video to see the press and release method of spraying. The keys are to keep your can around 10 inches away from the surface and keep the spray moving and overlapping.
- As you finish a section end, you release the trigger and then press it again moving in the opposite direction.
- That will ensure you don't over apply or create drips.
Step 7
- READ the can to make sure you allow the proper amount of time between coats of spray paint. Each manufacturer is different.
- Allow the spray paint to dry thoroughly, before use.
Notes
- IF you end up over applying because you get too close the the surface, you typically can allow the spray paint to dry about 30 minutes and sand the area smooth.
- Make sure to always remove all sanding dust prior to painting! I like to use a damp paper towel for this process. Allow the area to dry before applying more spray paint.
Recommended Products
As an Amazon Associate and member of other affiliate programs, I earn from qualifying purchases.


Please watch the video because trying to write an explanation of HOW to spray paint is almost impossible 🙂
If you like this paint tutorial, I have a TON of other ideas:
Check out these other posts: