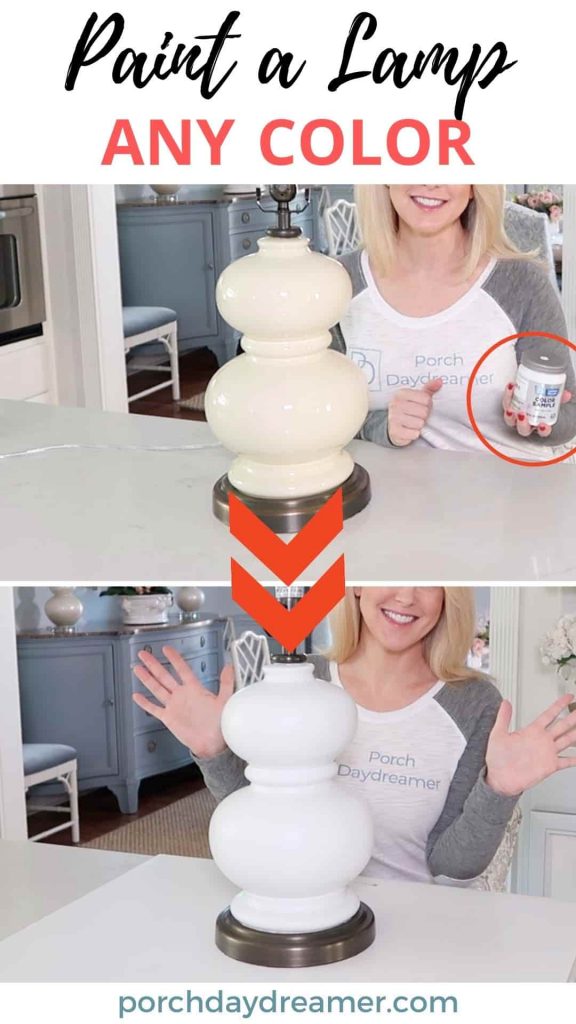
How-to Paint a Ceramic Lamp ANY Color!
Do you have a ceramic lamp you love, but the color doesn’t work in your home? For under $5, paint it any color!
Are you staring at a ceramic lamp wishing it was a different color to go with your new decor?
You don’t want to spend the money to replace the lamp because the size and shape are perfect.
That was my situation with a couple of very expensive Pottery Barn lamps I’ve had for years.
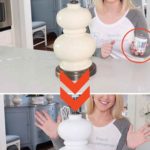
I’m going to show you exactly what I did to paint the ceramic lamps a color I love!
What Kind of Paint to Use on a Lamp
Did you think you were tied to only spray paint and the limited color offering?
I am here to open up a whole new world of color for you! Exciting right?
You literally can paint a lamp any color you love from your favorite paint brand.
Using a $5 paint sample, you can change the color of any ceramic or pottery glazed lamp!
NOTE: Paint samples are not the highest quality of paint and brush strokes are likely. In my mind, it adds some handcrafted charm.

Guess what? You can paint TWO lamps, TWO COATS, with a sample of paint.
That is typically going to cost you $2.50 in paint per lamp…GREAT!
This is the best budget saving paint project ever.
AND if you want it to be more than just one color, you can custom design your lamp.
There are supplies involved that can take up the cost a little bit, but at my home I had everything on hand…you may too.
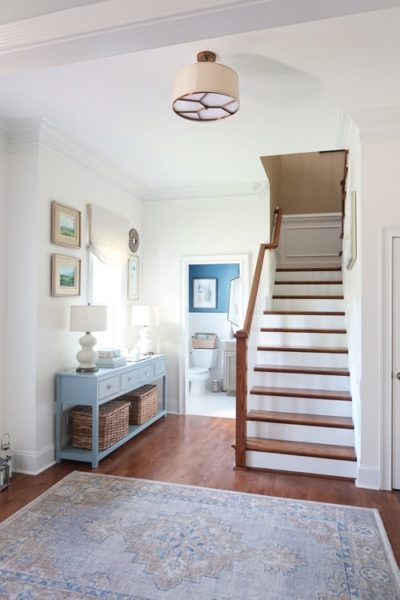
After buying new lamps for the foyer, the lamps this blue table needed to be relocated or sold.
They are about 5 years old and from Pottery Barn, so that means they were pretty expensive.
I wanted to keep them because they have the best shape and are a great overall size.
Plus I’ve decided to use them in the sitting are of my kitchen, which is in the middle of my home.
However, the color was looking really outdated in the new space.
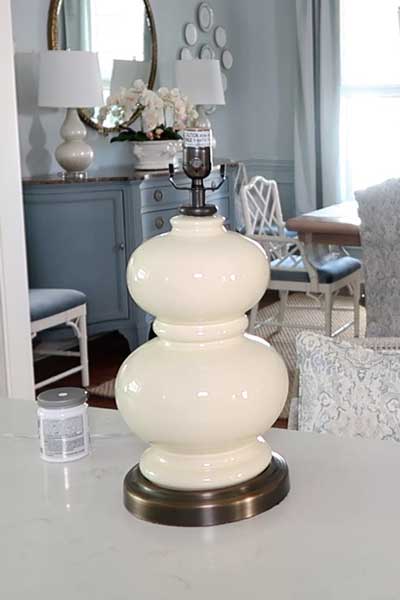
You can see they are beyond cream and have more of a yellow undertone – especially around my shades of blue.
If you’ve followed me for any length of time, my go to is to fix everything with a fresh coat of paint!
You may not know it, but a lamp in my family room I painted using the same method.
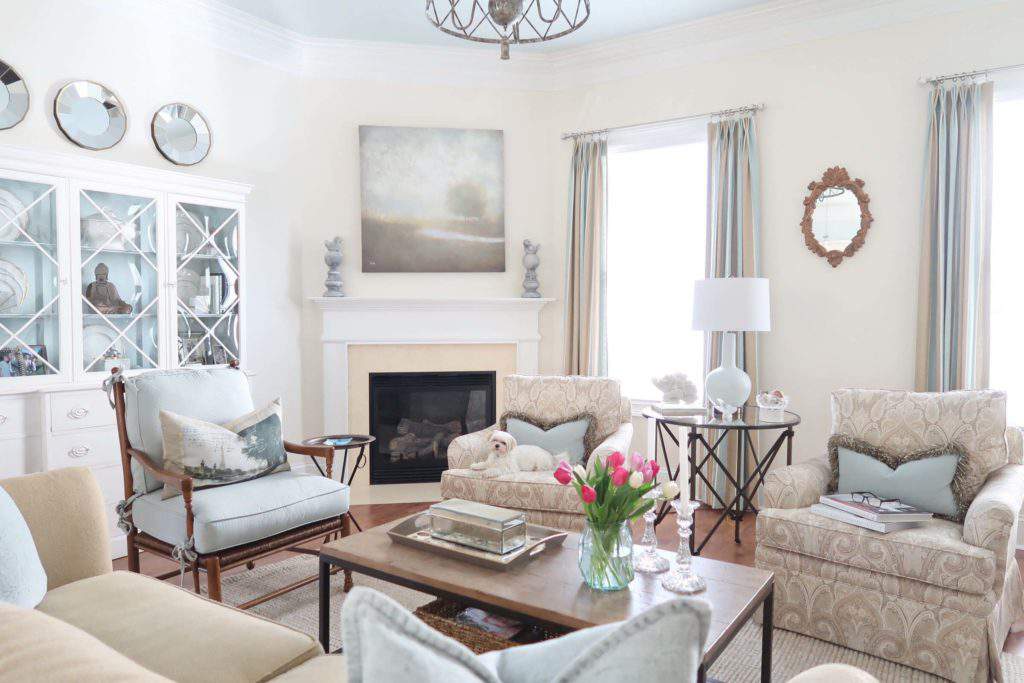
Here is a picture, before the recent makeover, and the lamp on the table between the chairs is painted using this same method!
The lamp was brand new and from Home Goods.
The original color was bright white.
Seriously, there is nothing I won’t paint 🙂
Pin It for Later!
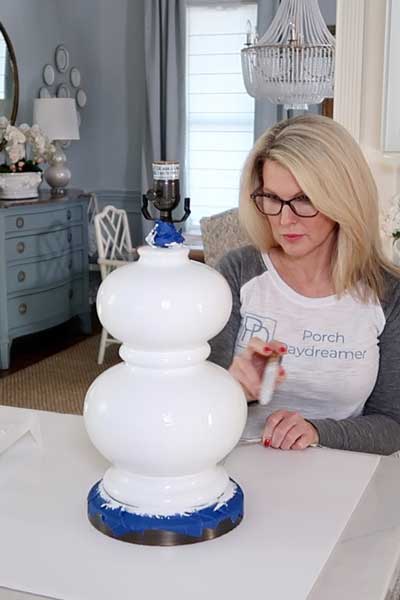
How-to Paint a Ceramic Lamp by Hand
Beyond not wanting to be limited by spray paint colors, hand painting a lamp can be done indoors.
It’s a nice single day project anyone can tackle…even if they don’t have an outdoor space to paint.
Plus painting a lamp by hand means it is a project you can tackle regardless of the weather.

Sherwin Williams Topsail 6217
The color I chose is very light and looks almost white in the video and imagery, so here is the actual paint sample.
Supplies:
In the tutorial, I recommend Valspar Bonding Primer and that can be purchased in a quart size at Lowe’s versus Amazon to save money.
If you are able to spray paint, you can save by using the Rustoleum Bonding Primer which is only $6 per can.
Paint a Lamp ANY Color!

Step by step instructions on how to paint a ceramic lamp using a paint sample.
Materials
Tools
Instructions
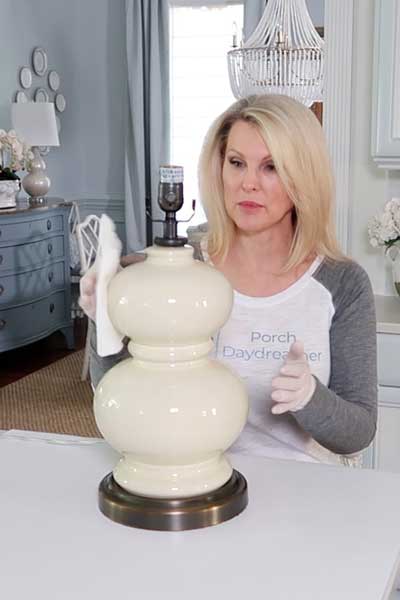
- Dust lamp and thoroughly wipe down with a de-glosser or rubbing alcohol to de-grease the surface.

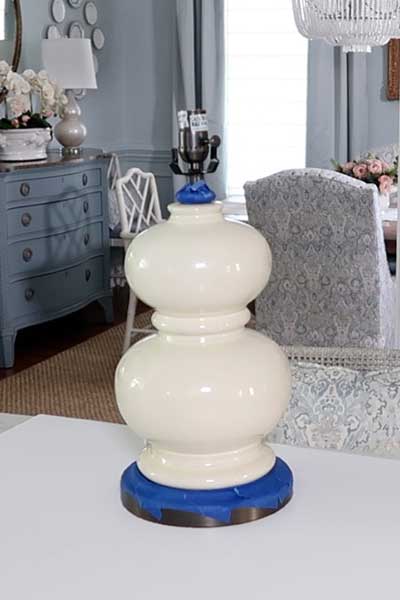
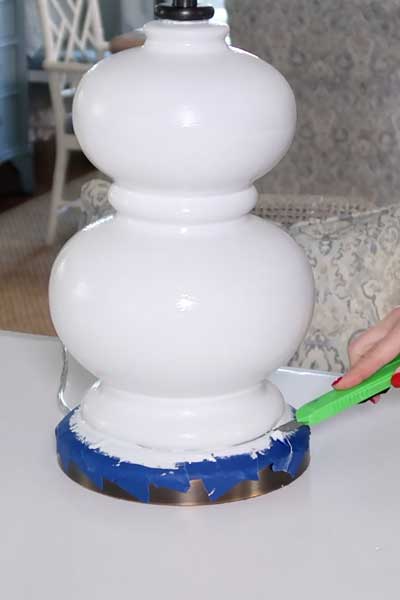
- Use painter's tape to cover areas not getting painted.
- Apply one coat of Valspar Bonding Primer. Make sure lamp is fully covered and it is ok if the old color shows through the primer when dry. LET DRY 30 MINUTES.
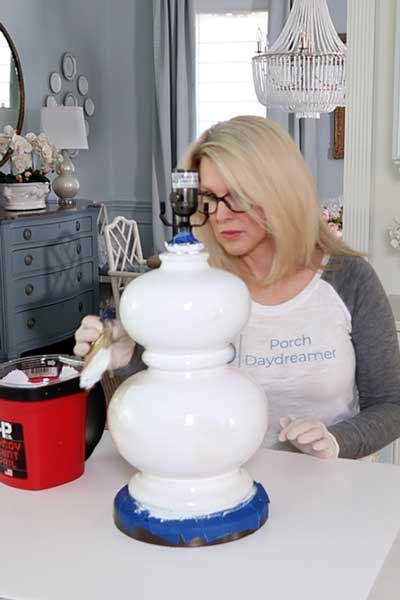
- Apply two coats of paint drying AT LEAST 1 HOUR between coats. NOTE: You will see brush strokes, so paint in the direction of the form.
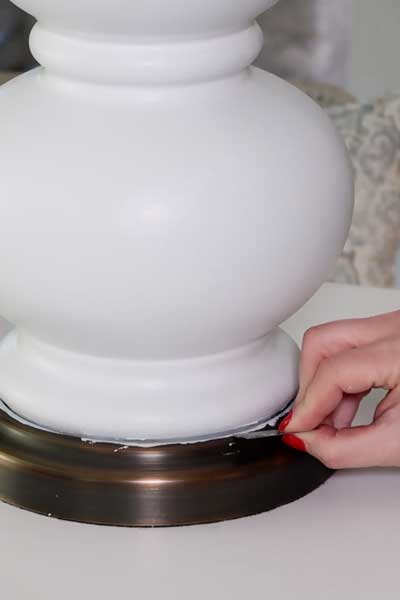
- When 2nd coat of paint is STILL WET, remove tape and use a utility knife or blade to release tape.
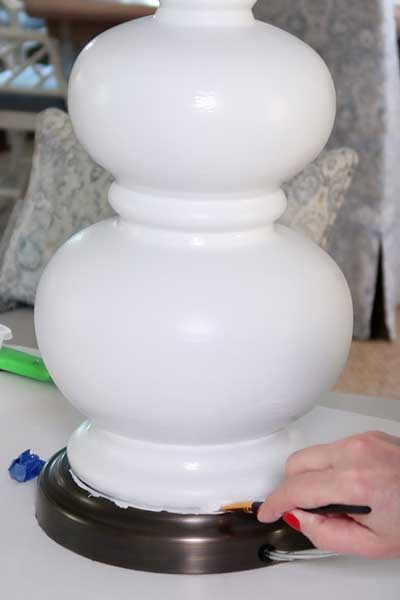
- If paint is damaged during tape removal, apply touch up paint with a craft brush.
- Let paint dry completely and gently scrape the excess paint off with the back side of a razor blade. Be careful not to scrape the finish or newly painted surface!
- Clean-up and enjoy the newly painted lamp!

Notes
- Brush strokes are going to appear when using a paint sample because it is the lowest quality paint.
- I embraced the brush strokes because it gave the lamps charm like they were a hand crafted piece of pottery.
- To completely avoid brush strokes, you'll have to use spray on products.
- Want a gloss finish? Apply two coats of a clear gloss spray paint.
- Color used: Sherwin Williams Topsail 6217
Recommended Products
As an Amazon Associate and member of other affiliate programs, I earn from qualifying purchases.


Now wasn’t that easy!
If you wanted a glossy finish, then coat with a clear gloss spray paint.
I am leaving mine the satin finish paint, so I can update the color again quickly and easily with a new sample of paint!
It only takes an afternoon or evening to paint a couple of lamps and get an entirely new look.
The cheapest update I’ve ever made to my decor for sure.
Think about it…even if you find an inexpensive lamp that is perfect but the wrong color, you can easily change it!
If you like this paint makeover, here are some other budget friendly ideas:
- Yes! You Can Spray Paint Cabinet Hardware
- Easily Update Picture Frames with Spray Paint!
- Spray Paint Curtain Rods for a Whole New Look
- Spray Paint Outdoor Resin Wicker Furniture!
- How-To Create the Pottery Barn Driftwood Finish
Please consider following me on Pinterest and Instagram for daily inspiration.
Until next time…
PORCH DAYDREAMER
Tracey
Cheap? The Valspar Bonding Primer is $50. at Amazon.
I’ve added a product alternative and more information on bonding primer, so it will be only $6 for a can of bonding primer spray.
Would using a foam brush help eliminate the brush strokes ? You have just given me the courage to paint two expensive lamps that I have.
I thought about that, but even those would leave some marks. It would take likely 3 coats with a foam brush and I was in a hurry to get them done in day 🙂 I LOVE the way they look with the brush strokes because it looks like pottery.
I have a bean pot style lamp that I bought back in the 80’s. I don’t remember the original color. It has been hand painted and spray painted. Just whatever color I decide. I’m like you, I will paint just about anything.
Nice! I’m sure I’ll be painting these again because they are the perfect size and shape for so many locations in my home.
To eliminate brush strokes I often paint with a white foam cosmetic sponge in a dabbing motion. It would increase the amount of time necessary to cover with paint and they often leave a slight texture in the paint.