The 20 Must-Have Tools for Painting a Room
You’ve gone through tons of paint colors, paint chips, picked a color, and are ready to paint a room but aren’t sure what the best paint tools are for the job.
Painting can be a daunting task, but with the right tools it can be a lot easier and less stressful. Plus stocking up on what you need guarantees you will always be prepared for your projects!
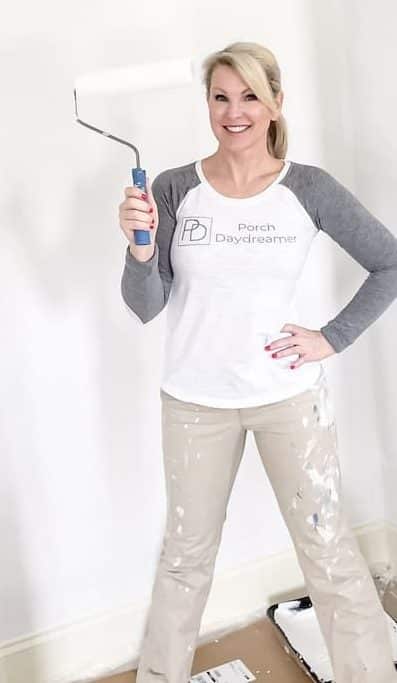
At Porch Daydreamer I do a TON of painting projects and even created garage storage for all of my paint supplies, so I always have what I need.
I thought it would be helpful to share my go-to painting tools for an interior room.
With these tools you’ll be ready for your next painting project plus with my helpful pro tips get the best results too!
Contains hand selected products, with affiliate marketing links where I may earn a small commission if a purchase is made. {full disclosure here}
Pin It for Later!
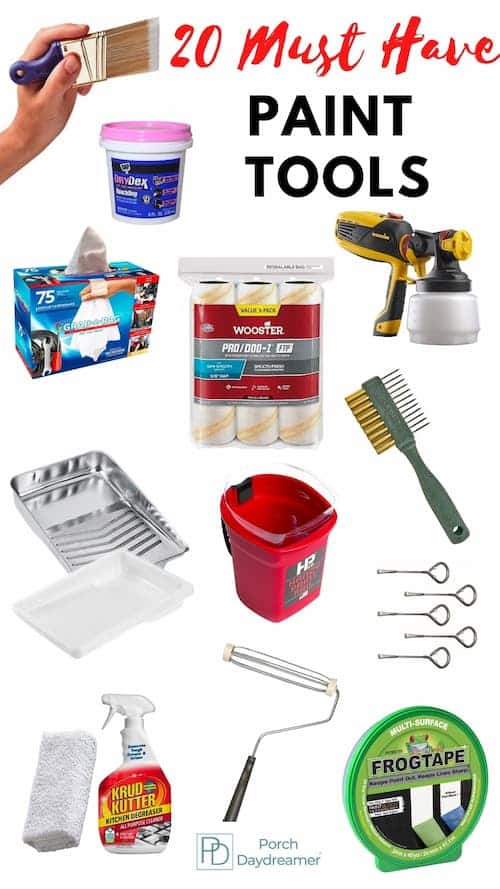
20 Best Painting Tools for Painting an Interior Room
It may seem like these are more painting tools than you really need, but I can assure you that these are essential for your project and will make painting easier.
I personally own every one of these painting tools and am listing my go-to products.
You can head to this Amazon shopping list to purchase these products quickly and have them delivered straight to your door.
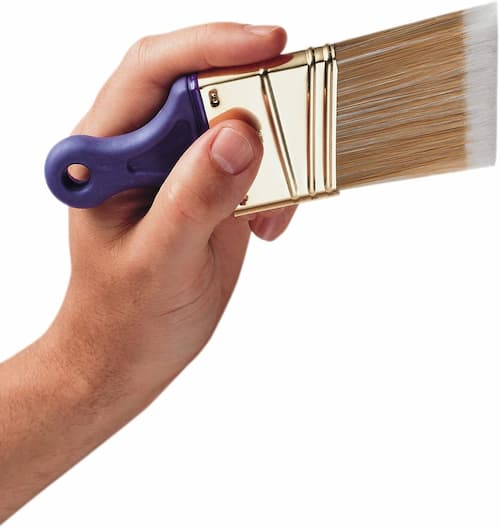
1. Paint Brushes
A good quality paintbrush is essential for painting smooth, even coats of paint on your walls.
Typically you will be using a water based latex paint. The best brush to use is an all purpose angled brush with nylon polyester bristles.
The angled bristles cover a specific purpose to help you paint corners and to cut in the paint along the edges of windows, door frames, baseboards and the ceiling.
Pro tip: To edge along a baseboard, don’t use the wide edge of the brush.
Turn it over and use the small angled side of the bristles to control the paint.
It will be easier to apply the paint in a straight line.
2. Roller Covers
Roller covers are the tool that allows you to apply the paint quickly to large areas like a wall or ceiling.
Make sure to choose a roller cover with a good quality nap for the best coverage.
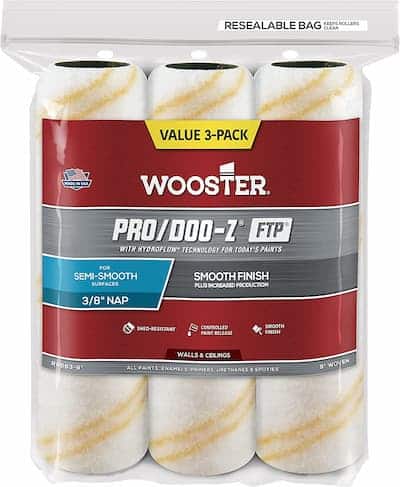
Pro tip: Follow this great guide to which roller cover you should should for each type of paint project. It will tell you what inch nap to use by paint type.
3. Paint Roller Frame
This is the handle and cage that you attach the roller cover to in order for the roller cover to glide over a wall and apply the paint.
A high quality roller frame will help you save time, paint faster, and apply the paint evenly.
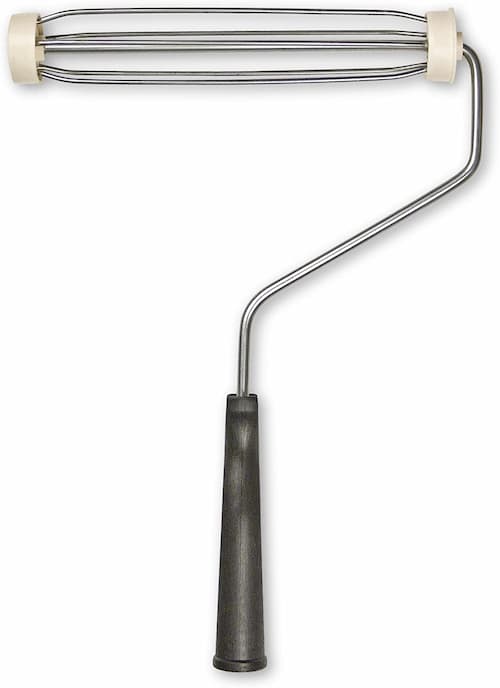
Pro tip: To remove a roller from the frame, first wrap in a plastic grocery bag and tie, bang the area between the handle and the cover on the edge of a garbage can until it falls.
4. Paint Roller Tray
A paint tray is necessary because it holds paint! Trays come in small and large sizes. Use a small paint tray for trim and a larger paint tray for walls and the ceiling.
Did you know that the paint tray has hooks on the end, so you can attach it to the shelf of your ladder?
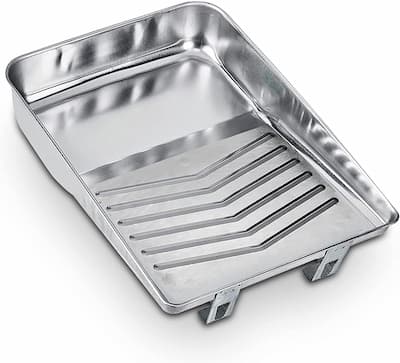
Pro tip: Make sure to pour paint into the deep well of the tray. It will hold more paint and help avoid paint spills too.
The grooves in the tray are designed to simply push the paint off the roller, so you apply the right amount of paint.
5. Paint Tray Liner
Plastic tray liners make sense because they keep the tray completely clean!
You can reuse your paint tray over and over plus they make clean up a snap.
Just throw away the plastic liner, once you’ve drained the remaining paint back into the paint cans.
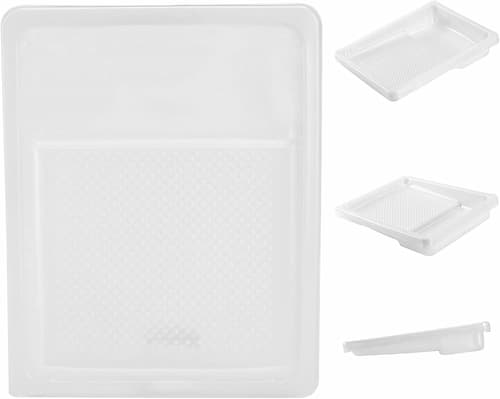
Pro tip: Use the edge of the well of the paint tray to wipe excess paint off of your paint brush.
6. Painter’s Tape
Painter’s tape is essential for creating neat, precise lines when painting trim or baseboards.
Most of the the time it is blue tape and comes in large roles.
Painting stripes or a pattern? There are specialty tapes to hold paint in place and when removed give you a clean edge.
Pro tip: When painting stripes, pay more for specialty painter’s tape.
My go to brand is Frog Tape because it always peels away to real clean lines.
7. Paint Stir Stick
A paint stirrer stick is essential for mixing your paint thoroughly before use.
Stirring the paint helps to ensure even coverage by blending the color and the paint base together.
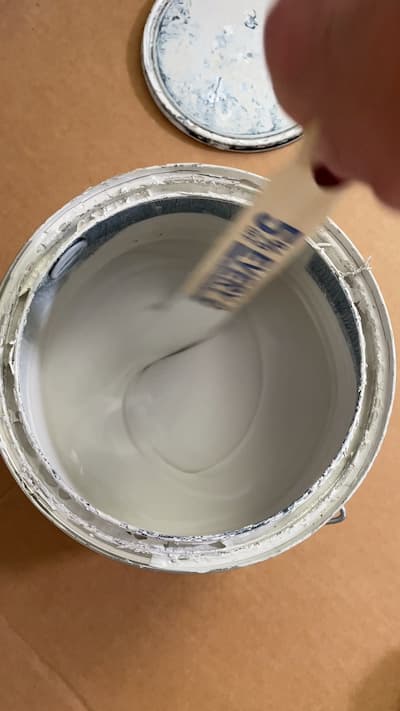
Don’t forget to grab a few when you buy your paint at the paint desk! They are usually free or you can buy in bulk online.
8. Paint Can Opener
A paint can opener is helpful for removing the top of a paint can without getting paint on your hands.
They are inexpensive and can be purchased when you pick up your paint supplies.
Simply run the edge up under the paint lid edge and work your way around to easily lift the lid from the paint can.
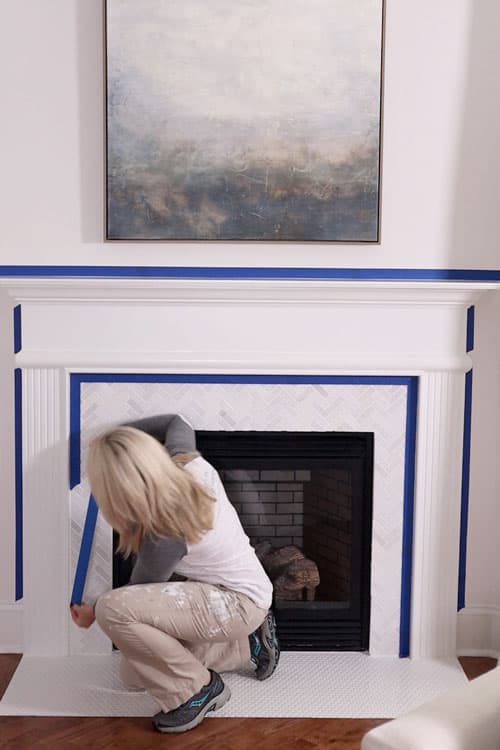
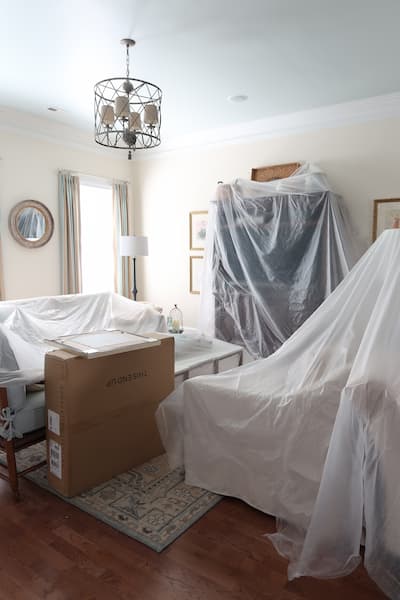
9. Painter’s Plastic
Painter’s plastic is helpful for covering surfaces that you don’t want to get paint on.
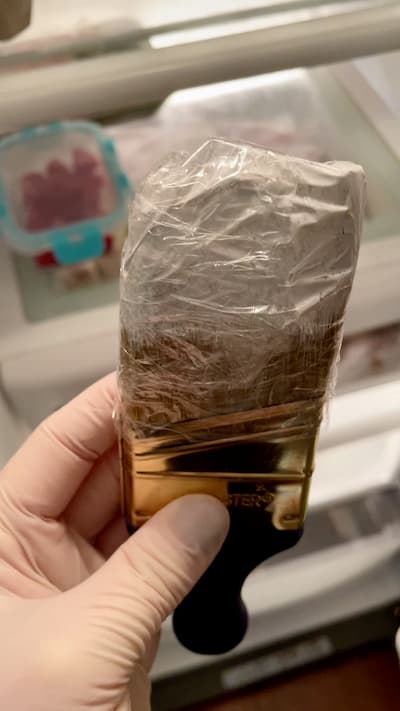
It’s also great for covering your paint tray between coats and wrapping your painting tools, so the paint doesn’t dry out between coats.
Pro tip: Use painter’s plastic as a paint brush cover and place the brush in the refrigerator, so you don’t have to clean the brush between coats.
10. Sandpaper or Sanding Block
You may be surprised that you need sandpaper.
Sandpaper is helpful for removing any bumps or imperfections in your walls before painting to ensure a smooth finish.

A sanding block is ideal when sanding down spackle to a smooth finish and makes the job easier.
11. Spackling
Spackling is a must for repairing small nail holes or cracks in your walls before painting.
Always allow the spackle to fully dry prior to painting.
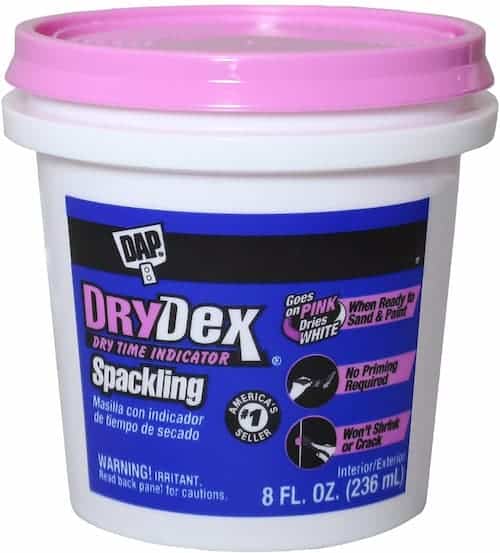
Pro tip: Spend the extra money on color changing “pink” spackle, so you know it is dry before sanding and painting.
12. putty Knife
You may not think a putty knife is a painting tool you need, but it’s necessary to apply the spackle and make it smooth on the wall as you patch and repair holes.
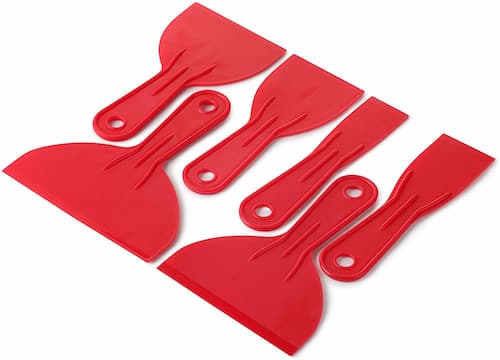
Scoop out the spackle with the corner of the knife, apply it to the wall and gently scrape the wide edge over the spackle to make it flush on the wall.
13. Ladder
A ladder may not seem like like a “tool” but it is essential when painting higher edges in a room.
Make sure to choose a ladder that is tall enough (you don’t need a giant ladder most ceilings are around 9 to 10 ft), and always use caution when working with ladders.
I’d recommend an aluminum 6ft ladder for most room painting projects.
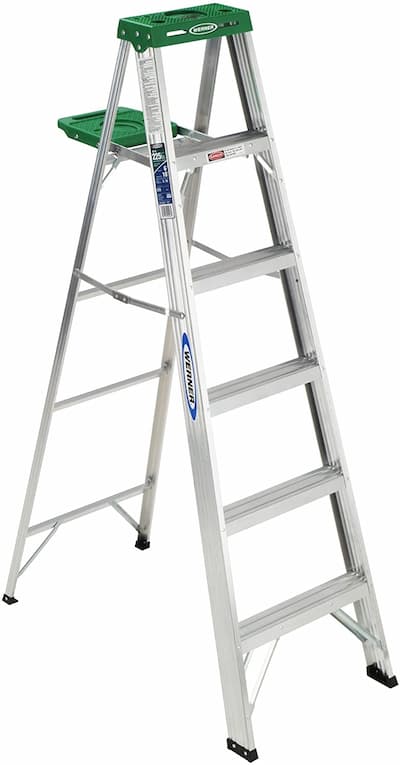
A roller pole will allow you to get higher on the wall while standing on the floor, but a ladder is necessary when using a brush between the wall and the ceiling.
14. Extension Pole / Roller Pole
An extension pole is a great tool for reaching tight spaces or high ceilings when painting.
It easily attaches to the base of a roller frame by screwing into the frame.

There are static roller poles (like a broom handle), but a better roller pole is the type that extends to different lengths.
15. Drop Cloths
You’ll definitely want to protect floors within the room with a drop cloth.
Drop cloths are inexpensive and can be used over and over for a wide variety of projects.
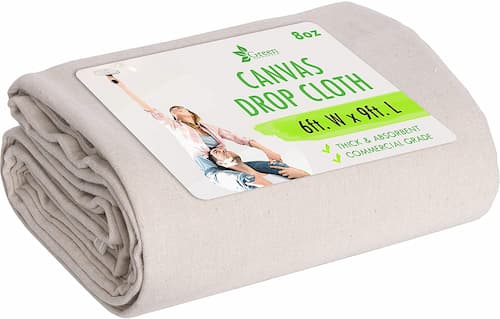
Drips of paint always happen and you may not know you’ve stepped in paint.
A drop cloth will stop you from tracking paint through the room or house so place drop cloths on walk ways too!
16. Rags
Disposable rags are great for cleaning up any excess paint and drips that naturally occur.
Clean up is always a chore and you’ll find you need lots of rags and wipes!
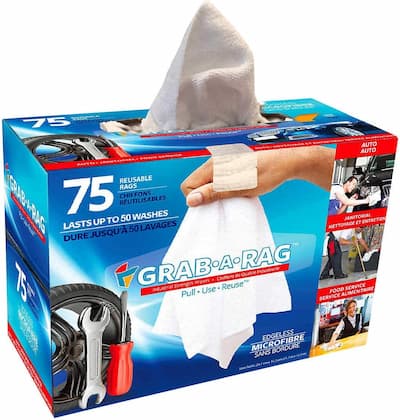
You can use a box of rags, paper towels, or even old t-shirts.
All I know is I always regret when I forget to grab paper towels, BEFORE I start painting.
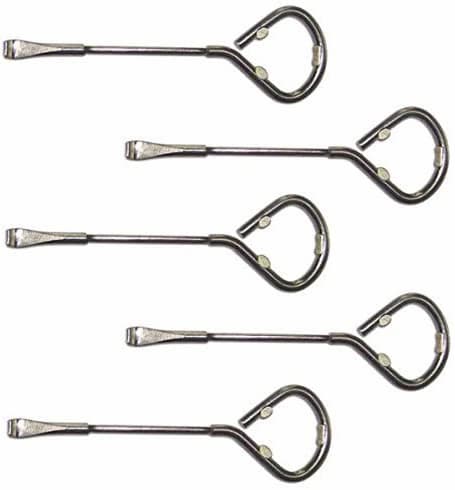
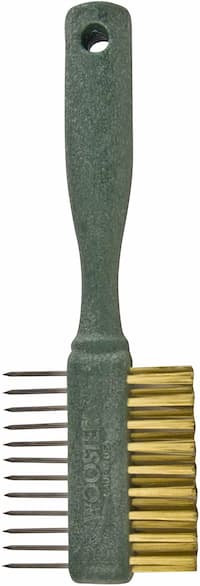
17. Brush Cleaning Tool
This is one of my all time favorite painting tools! A simple brush cleaning tool with wire bristles and a comb.
When you are finished painting is is essential for keeping your brushes in good condition.
It is important that the paint rinses clean from the brush.
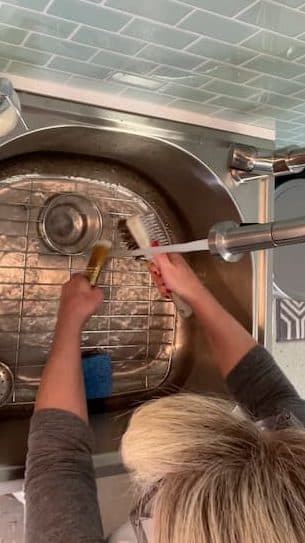
Take your time to clean the brush with a little bit of dish soap and warm water. Rinse until the water runs clear.
It’s SO worth the time to clean your brushes and it will save you a ton of money to not have to replace your brushes.
18. Painter’s Pants
Painter’s pants are FREE! Find and old pair of pants that are comfortable that are ready for donation.
It’s super convenient to quickly wipe small drips with your finger and wipe them on your painter’s pants.
They are one of my favorite “painting tools”.
19. Disposable Gloves
Yes, many times I wear disposable gloves when I paint.
When I am shelling out money for a pretty manicure it just makes sense to protect my nails from paint.
Protecting your skin and nails from all of those pretty paint colors is a good idea and makes clean up a whole lot easier!
Trying to get old paint off that has dried is a pain.
20. Paint Sprayer
A HVLP paint sprayer is definitely a more advanced tool and I have a great article about when you should invest in a paint sprayer.
One of the best features is that they reduce the numbers of coats of paint – especially dark colors.
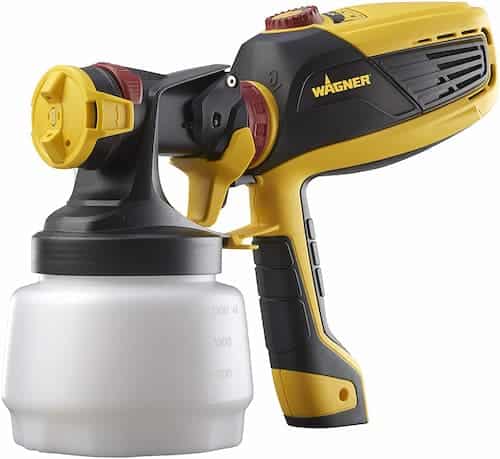
Plus paint sprayer will ensure a really smooth finished surface.
For large jobs where you can fully tape off a room with painter’s plastic, they are an ideal tool to speed up the job.
I even used a paint sprayer in my bedroom to paint an armoire.
Other Helpful Painting Tools
If you’re looking to get the perfect paint job, there are a few other products that you might want to consider using.
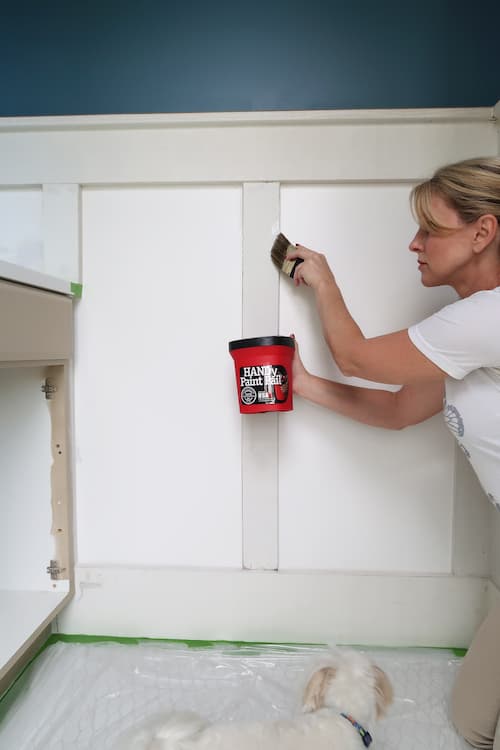
Hand Pail
Sometimes it is hard to get into small spaces and tight spots with a ladder and tray, so a small pail is helpful.
The Handy Paint Pails come in small and larger sizes with plastic liners to make clean up even easier.
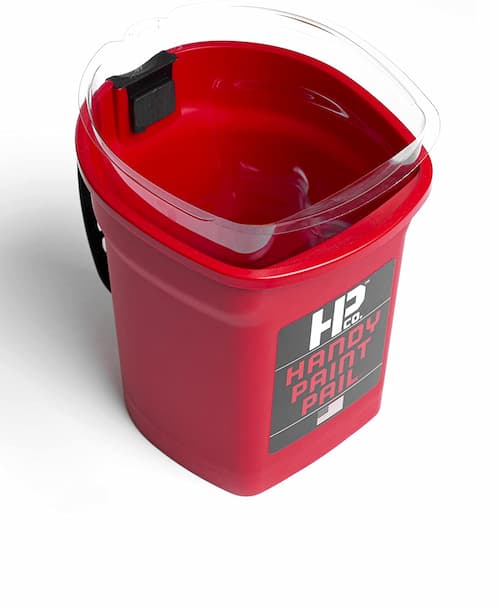
The best part of the pail I am recommending is it has a small magnet inside to attach your brush while you are not using it!
Paintable caulk
You may have to fill in gaps around trim where the previous caulk has dried out or separated with temperature changes.
Believe it or not…I also have caulk expertise too (set your dirty jokes aside I’ve heard them all).
For 5 years, I worked in the industry marketing and selling caulk to the major home improvement retailers. I truly know more than I want to about caulk!
It’s important to understand two distinctions around what type of caulk you need. Ask yourself these questions: Does it need to be painted or does it need to be waterproof?
Porch Daydreamer
There are specialty caulks that cover both questions, but are much harder to use for a DIYer. It’s better to choose one that is specific to your needs.
Paintable caulk is made of the same basic ingredients as paint: Acrylic Latex, so it is water based for easy application and clean up.
This means it will also dry out as the water evaporates. So removal and reapplication are necessary over the years.
This is my favorite brand that I use around my home. The little bit of silicone does NOT mean it’s going to be waterproof.
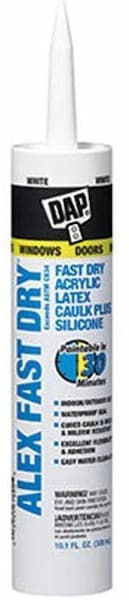
Pro tip: To make the removal of acrylic latex caulk easier, soften it with a high heat hair dryer and it will pull up with less effort.
If you need a water resistant / waterproof caulk, you need one that is made of ONLY silicone.
Fun fact: Silicone caulk actually cures with water! It’s perfect for sealing a shower, between a tile backsplash and counter, or around exterior doors and windows.
Silicone caulk is NOT paintable, so be aware of this if you choose.
It’s very hard to apply and tool for most people – even novice pros.

I’ve used it so much that I am practically a professional caulking around all of my exterior light fixtures and around some of my mom’s windows.

Pro tip: To tool silicone caulk, sprits the line you lay with Windex and push gently with your finger down running along the line. The excess caulk will bead up and be easily wiped off your finger and onto a paper towel.
Wall Cleaner
You may be cleaning a room that has dirty walls and need to clean them first to remove grease and grime off the previously painted surface.
A simple solution of vinegar and water will do the trick. Just be sure to test an inconspicuous area first to make sure the vinegar doesn’t damage your paint finish.
Or if you want a pre-made solution, try Krud Kutter.
General Primer
If you are painting over a dark color or a previously painted surface, it is a good idea to use a general primer tinted to the color you are painting first.
There is NO such thing as “paint and primer in one”. The first coat of paint acts as the primer, so save yourself some money and start with primer first.
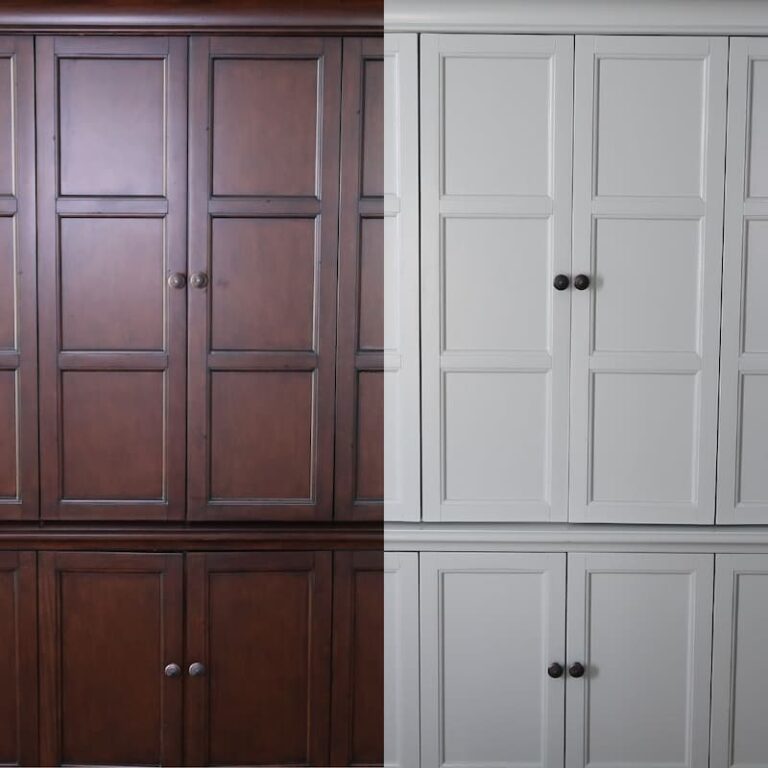
Stain Blocking Primer
If you have smoke stains, water stains, or minor mold growth the water in a latex paint can reactivate the stain and it will come through your painted surface.
Please follow the manufacturer’s directions for each type of stain.
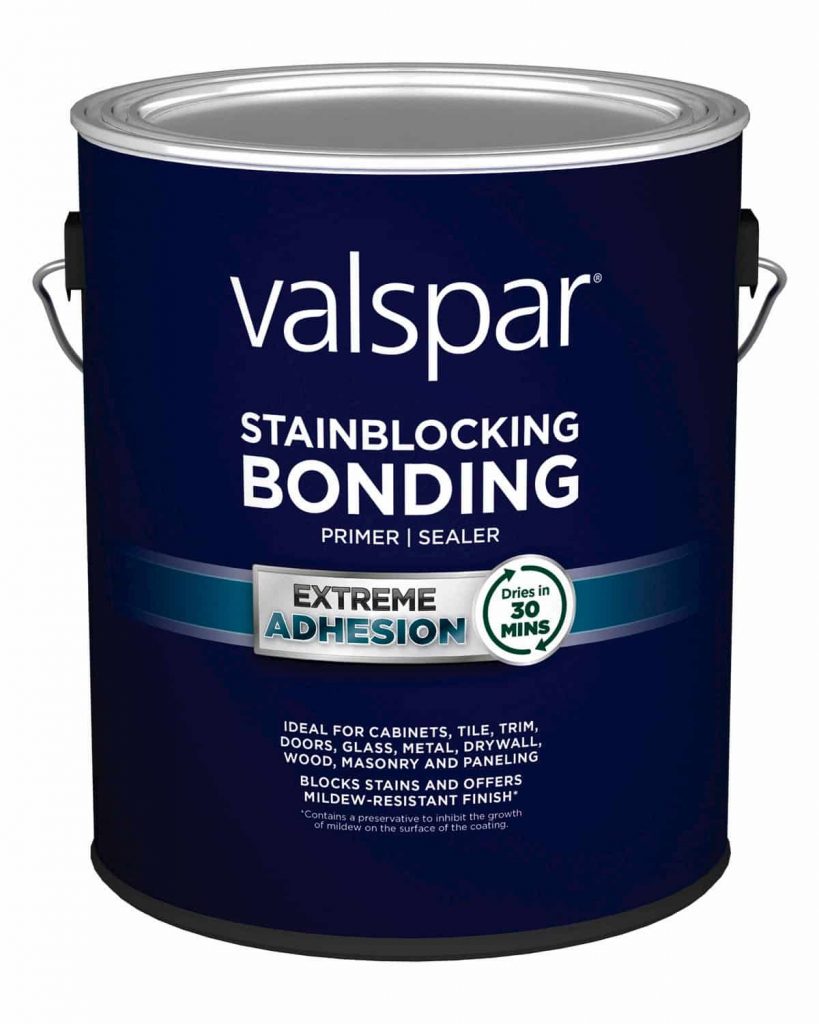
One of my go-to painting products is Valspar Bonding Primer. Read all about when you need a bonding primer here.
Paint Cleaner for Spills
Once I spilled almost an entire gallon of paint on an area rug!
In a panic I called the home improvement store and begged them to tell me what to use to get out the paint.
Krud Kutter to the rescue! Luckily it was a low pile rug, but with a little effort soaking up the paint with paper towels, the cleaner, and warm water I was able to get the paint out before it dried.
Helpful Paint Project Posts
With these tools at your disposal, you’re ready to tackle that painting project!
Maybe you would like more information on how-to paint?
I hope this has been super helpful and you feel armed with knowing all of the paint tools you need for the most common interior projects.
Here are more how-to paint posts!


Sign-Up for my Weekly Emails!
Straight to your inbox sharing can’t miss decorating and painting tips for your home.
Hi Tracey,
GREAT article! Pinning this for my LR refresh this spring.
Can you share what caulk you like as well? For regular baseboard/wall seam, and also a caulk between granite countertop and tile backsplash. My homebuilder told us he used a flexible caulk, and it has been done twice, but keeps cracking.
Thanks in advance!
Hi, Lori! GREAT question and I am glad this was so helpful. Funny enough I know a LOT about caulk and ended up writing a whole section to address this question. It will help a lot of people! Thanks for asking 🙂