How-to Wrap a Porch Swing Chain with Rope
Have a standard swing chain, but love a coastal look? It’s easy to wrap it with rope for some coastal front porch charm!
Apparently, I must really not like swings the way the home improvement stores make them.
Wrapping the chain with rope is just ONE of the things I did to makeover my porch swing.
Hey, my name is Porch Daydreamer after all 🙂 I take this porch swinging thing pretty seriously!
Let’s look at how I’ve modified my swing:
- Upholstered the seat
- Wrapped the chain in rope
- Repainted with an outdoor driftwood faux finish
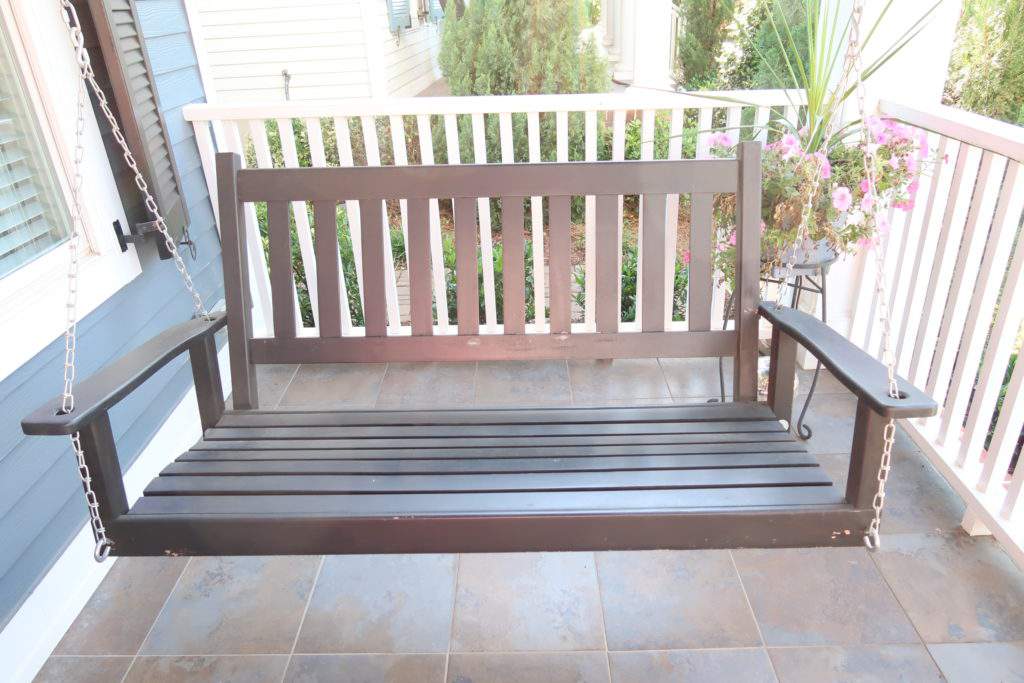
My porch swing now looks like a very expensive custom swing. It started out as a basic black swing from Lowe’s Home Improvement stores.
Don’t believe me? Here was the swing before I tackled the massive makeover…basic and getting tired looking.
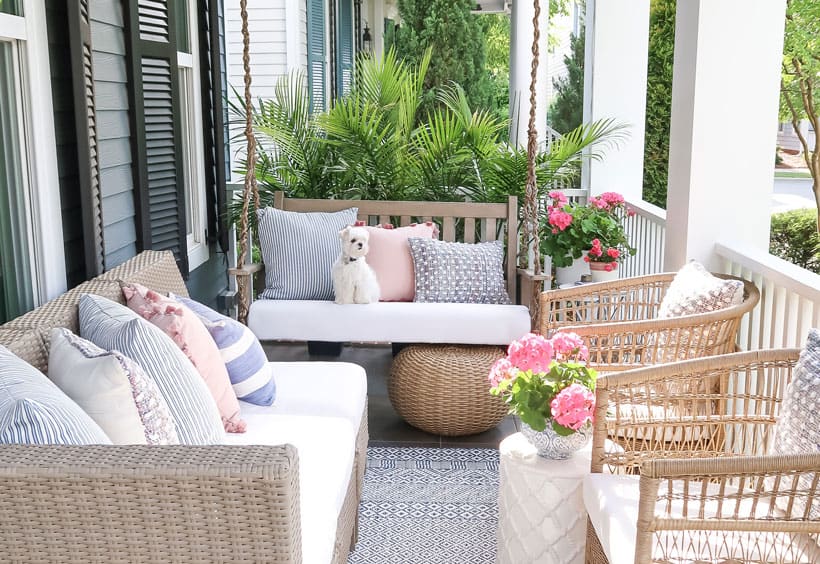
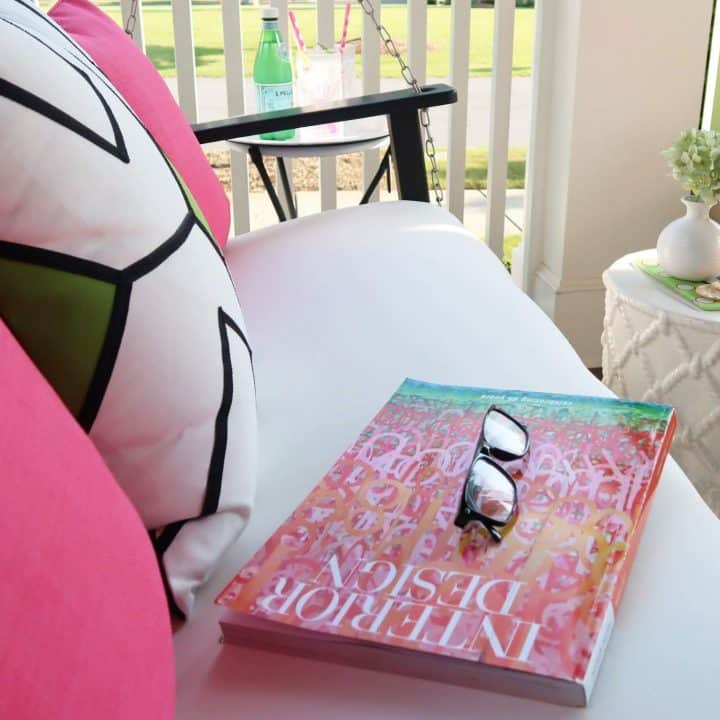
Here it is now…feels like it belongs at a beach house.
Post contains hand selected products, with some affiliate marketing links {full disclosure here}
How-to Wrap a Porch Swing Chain with Rope
When I started this project, I had no idea how or if this idea was going to work.
The rope was very inexpensive, so I thought the worst that could happen is I’m out a few bucks. When I want something I just go for it!
After trying a couple of options, in just a few minutes, I had a plan.
It was EASY, but you do need to be patient with the wrapping. The good news is it goes fast!
If you’ve been reading my how-to guides, you have probably seen these tools before.
I used to work for Rubbermaid in the Tough Tools division and still use them.
Great tools, but no longer available. That’s an unemployment story for another time 😉
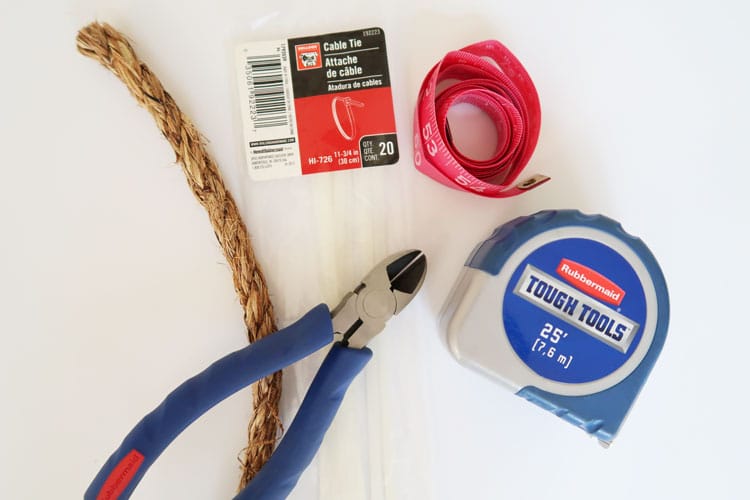
porch swing rope wrapping Supplies
Total cost will be around $30 for supplies. Not bad right?
- Rope 1/2 inch x 50 feet
- Cable Ties
- Dress Maker Tape Measure
- Cutting Pliers
- Tape Measure
- Ladder
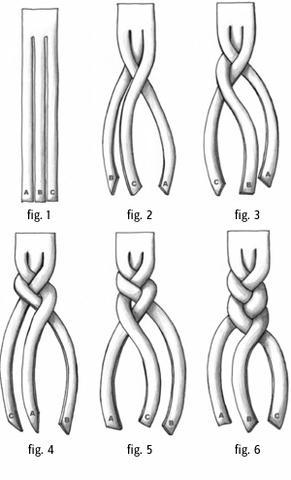
I have a question for you. Have you ever braided your own or someone else’s hair?
If not, that is a principle that is needed to get you through this process. Here is a diagram to help you “see” this before I start explaining!
The rope comes apart in 3 sections.
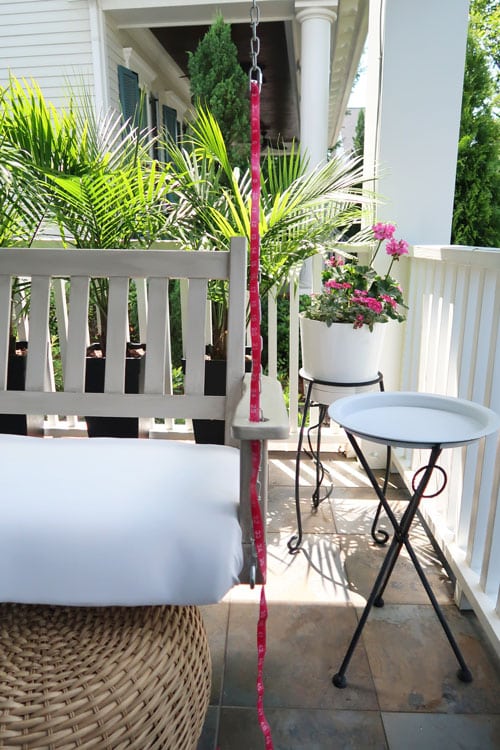
Step 1: Measure the Swing Chain
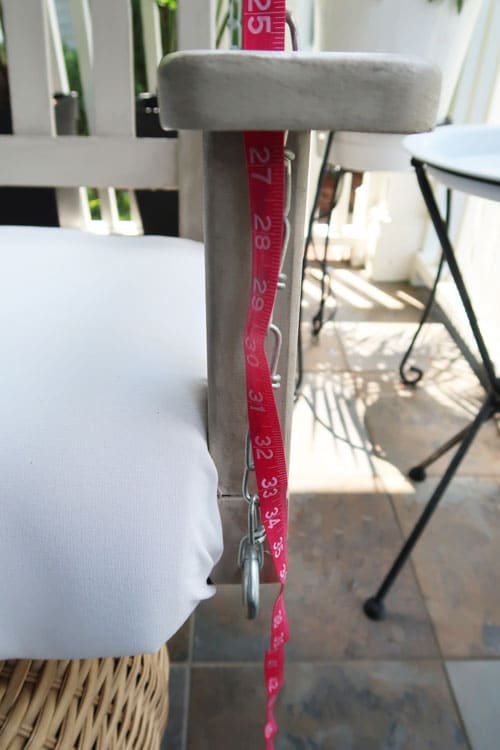
Measure it in sections and you’ll see below why I recommend a flexible tape measure.
You will have to measure through the 4 holes on the swing.
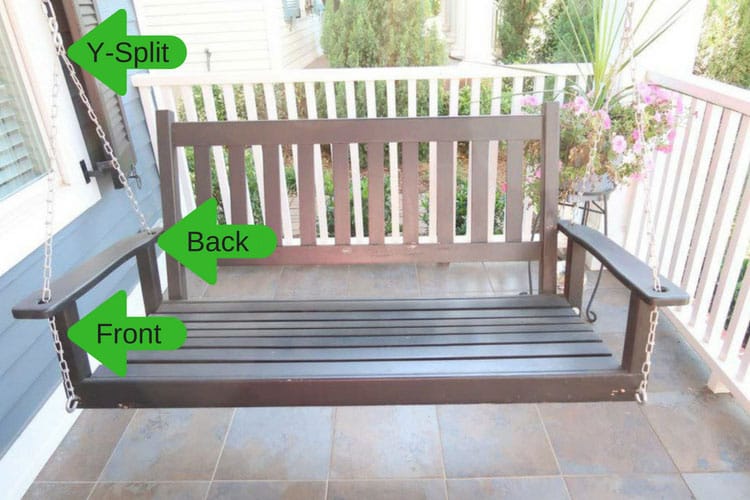
Measure the distance from the where the chain is hanging from the ceiling, then from the split.
I’m calling those the Y-connectors that go through the arms to hold the swing level.
One measurement is for the front part of the Y and one for the back part.
Write the 3 section measurements down on a piece of paper and ADD 5 INCHES to each piece, so you have enough rope to tie knots and trim.
I’m ASSUMING if you measure one side you can use that for both – that worked for me!
You can see the driftwood finish is in process in this picture!
Step 2: Cut the Rope into Sections
Cut the sections of rope using the cutting pliers. I’d recommend doing this outside because it’s pretty messy.
My kitchen counter and floors were a mess after this project, so I’ll save you the trouble of having to vacuum and dust.
You will have an identical set of ropes (one for each side) of these pieces for a total of 6:
- Front Y
- Back Y
- Long hanging chain
As you go through these instructions, I won’t be repeating the process for each area but show you the principles for the sections.
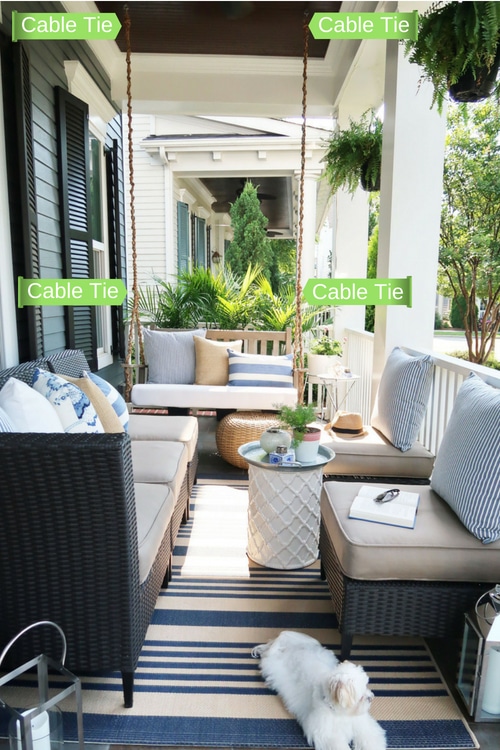
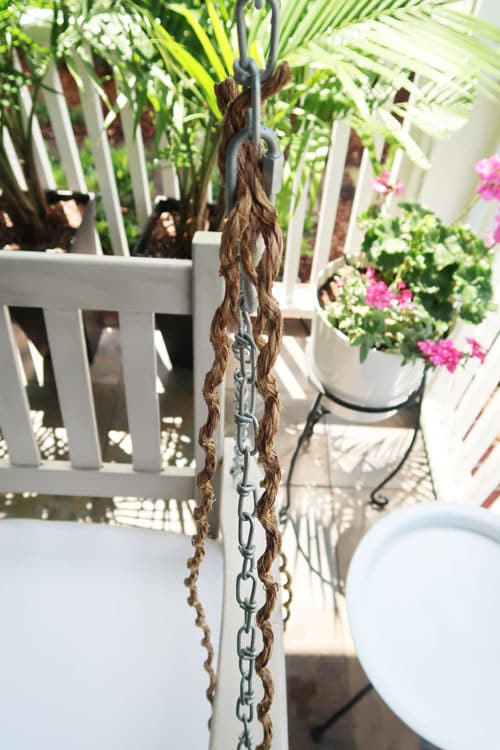
You will go through this process 6 times! Here is a picture of where the primary cable ties will be placed.
It’s hard to tell in the close up pictures, so I wanted you to have some perspective BEFORE you get started!
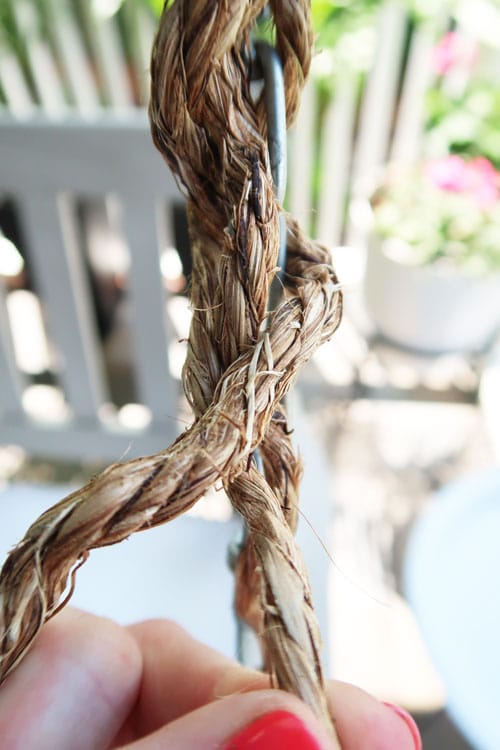
Step 3: Separate the Solid Rope into 3 Sections
Do this BEFORE attaching it to the swing. Start with the first section you are wrapping.
My recommendation is to start with the front or back Y.
You can see here how I have the rope split apart.
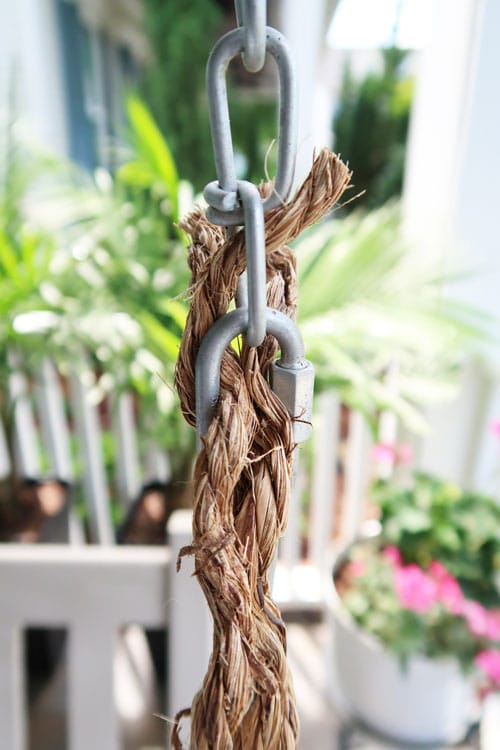
Step 4: Begin Attaching the Rope by Wrapping
With precision (ha ha), jam the three pieces through latch that connects the hanging chain to the Y-connection.
Yeah, just jam them! No skill required.
CABLE TIE THE ROPES TO THE LATCH. Sorry, I missed this picture! The cable ties will get covered later.
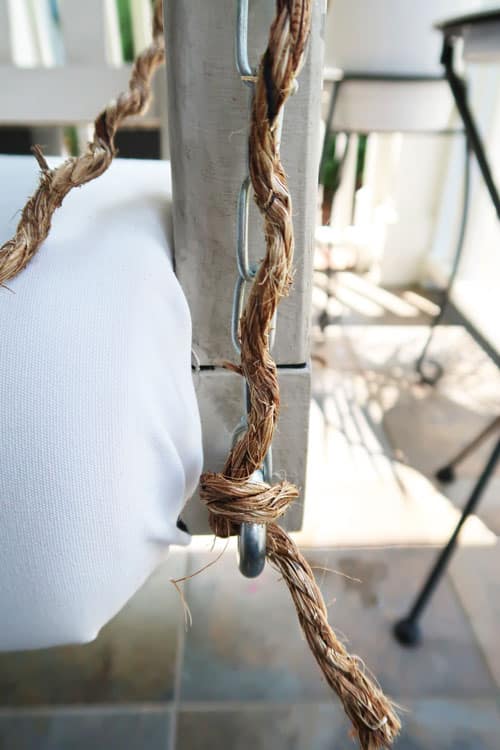
Step 5: Run the Rope Down the Chain and Secure
First, pull one of the 3 rope pieces down flat against the front of the chain.
Run it through the hole in the arm and secure it to the eye-hook by tying a knot.
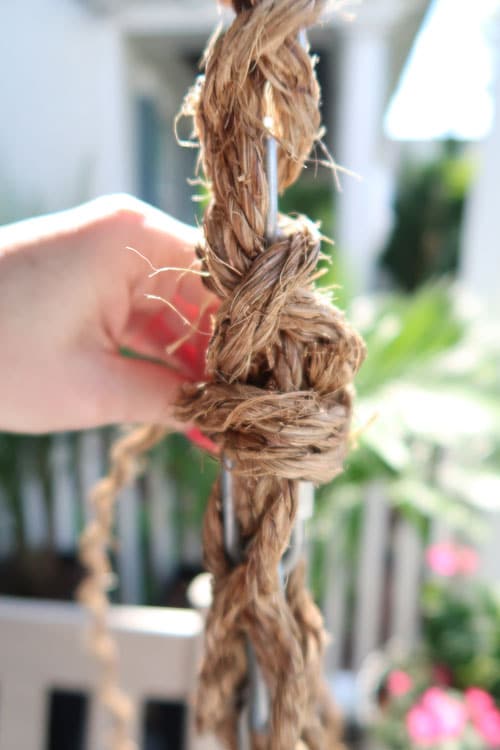
Step 6: Braid the Rope Over the Chaing
Time to get “kinda” braiding. Taking the 2 unsecured pieces criss-cross them over the front, then over the back of the chain.
The goal is to cover as much of the chain as possible! Go all the way through the hole by feeding the 2 pieces of rope through.
Secure by tying the 2 pieces in a knot around the eye hook. THIS SOUNDS LIKE IT TAKES FOREVER, BUT IT’S QUICK.
Step 7: Attach Rope at the Ceiling
After completing all 4 Y-connection sections, move to the hanging chain.
You will obviously need a ladder for this one!
Up at the top, follow the SAME process and jam the 3 pieces through a chain link. HOLD IN PLACE WITH A CABLE TIE.
Pretend this picture is a the top because I wasn’t risking dropping my camera 😉
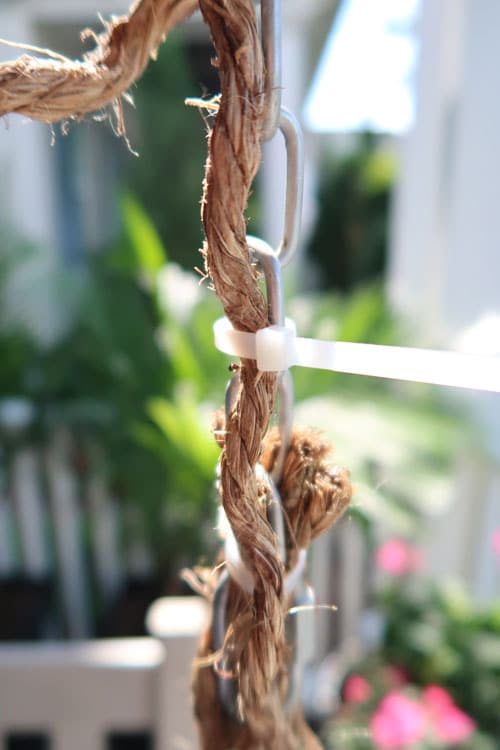
Step 8: Secure the Rope
Take one of the 3 pieces and pull flat on the front side of the chain. Secure with a cable tie near the latch.
This is JUST to hold the single rope piece taut.
You can see the cable tie is holding the 2 Y-connector ropes in place “kinda” in this picture.
Step 9: Attach Rope to Each Section of the Swing Chain
REPEAT STEP 6 FOR BOTH HANGING CHAINS.
Clip off the “anchor” cable tie (pictured above) and wrap a final cable tie to secure the three pieces in place above the latch.
Step 10: Cover Cable Ties with Rope
Now you’ll need to cover the cable ties because the rope is secure to the chain.
It’s been braided into place on all sections and clipped into place.
Here are all of the locations you will need to cover with extra rope.
You will be using one of the 3 sections of the rope that has been separated, so it’s easier to tie.
Cut enough rope to create a knot around each cable wrapping the rope TWICE and then tying.
See pictures below. I’m guessing it took about 6 inches.

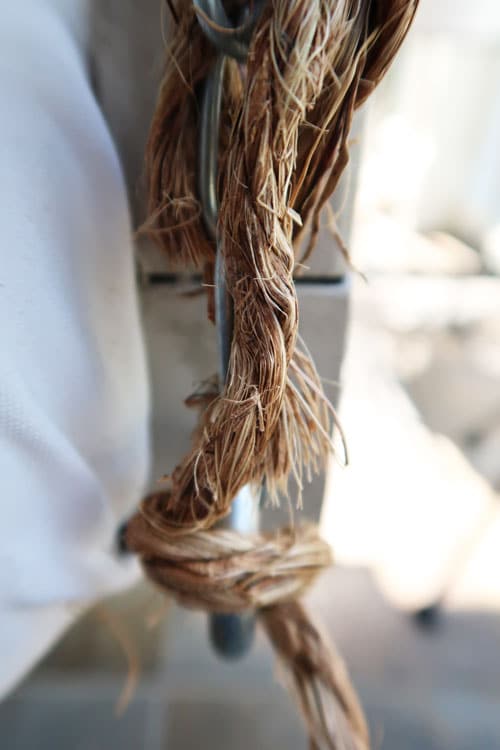
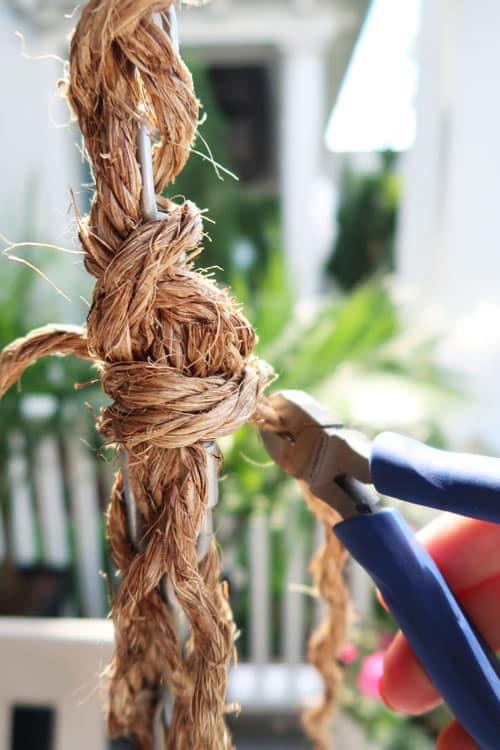
Step 11: Snip Off Loose Ends
Snip off remaining long pieces of rope and the ends of the cable ties in all locations using the cutting pliers.
You can clip very close on both items.
I PROMISE there are cable ties underneath keeping everything secure, but they just disappear after they are wrapped in rope ties.
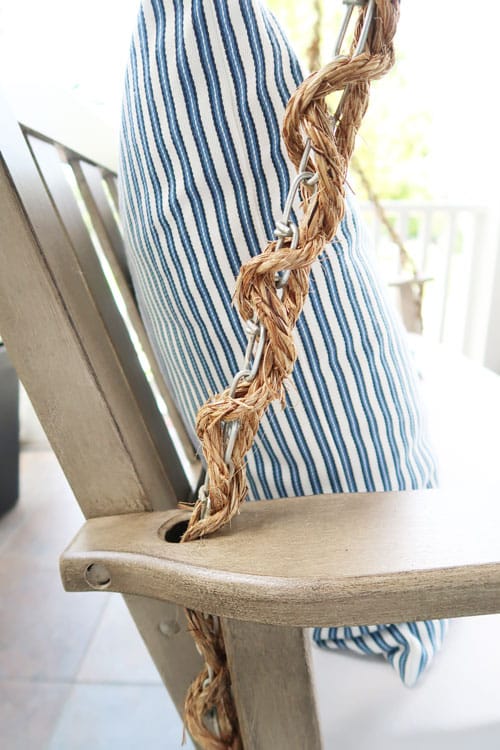
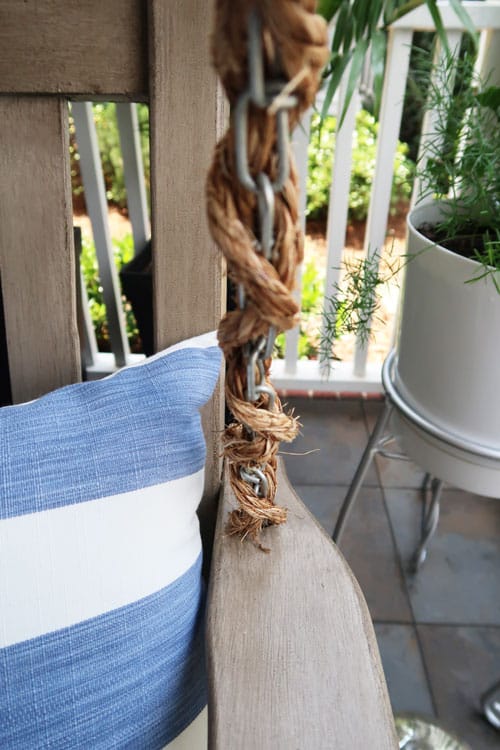
Here is the chain from the side. Hopefully, you can see that the reason I started with the single piece on the “face” of the chain.
It provided the most coverage when looking directly at the swing.
Pin It for Later

Long Term Wear of the Rope
That wasn’t so bad was it! I promise it took maybe 2 hours start to finish mainly because you have to go up and down a ladder.
I did call in my friend George to help up at the top because I’m a little person.
He could reach more safely to secure the top with the cable ties. I did the braiding 😉

My rope has been in place for FOUR YEARS! It still looks great even after several hurricanes and the rope getting wet.
This portion of my porch gets western sun, so the rope on the chains gets a LOT of sun.
Overtime I’d say the rope looks more weathered and has gotten a little “dirty” looking.
More like a driftwood look. Here is a picture of what it looks like YEARS later.
I still love the chain wrapped in rope and am happy that it’s maintained through all the elements and lots of redecorating each summer.

How-to Makeover a Basic Porch Swing
How-to Upholster a Porch Swing Seat
Make your regular porch swing look like a day bed by upholstering the seat. Plus make it more comfortable too!

Easy Driftwood Paint Finish for Outdoor Furniture
Makeover a porch swing or outdoor furniture with paint. Follow this easy 3 step layering paint process to create an outdoor driftwood gray finish.
Here is another helpful post to cover over cords! If you can wrap a chain in room you may love this idea.
Please consider following me on Pinterest and Instagram for daily inspiration.
Sign-Up for my Weekly Emails!
Straight to your inbox sharing can’t miss decorating and painting tips for your home.
Until next time…
Porch Daydreamer
Tracey
Anyone else have their rope become discolored. My rope is starting to look dingy almost black. Any suggestions on a different rope or how to clean it?
Yes, I’ve had my rope up for a few seasons but like any natural product it will fade/get dirty being exposed to the elements. I’ve sprayed a mixture of 1/3 bleach with 2/3 water and rinsed to help brighten it a bit. The only real solution if you want it to look brand new each year is to replace it. I like the weathered look on my porch.
How much space for clearance would recommend on the sides? I have an L-shaped porch so I’ll have a wall on one side and the porch railing on the other side. I’ve never been on a bed swing so I don’t know what to expect for side movement. Thanks!
Hi, Lance! This is a standard sized swing and 5 feet wide not a bed swing. The swing barely moves from side to side, unless we have straight line gusts during a hurricane. The typical placement is centered between the wall and railing, so you’ll have to measure the space. Best guess is 18 inches on either side is a good idea.
Excellent look, and love your writing, too. Will be doing this very soon. 🙂
Wonderful and thank you!
Thank you so much for sharing this!! I wanted the aesthetic of a rope for our porch-swing-bed but 1) big fat rope is surprisingly expensive and 2) I didn’t want to hassle with it stretching over time. This gives me the look of rope and the functionality of chain. Dream! Thanks so much!
I’m so happy to hear that! The rope has been in place for two seasons and held up well even through a couple of inland hurricanes. It’s so much softer seeing rope versus chain for sure!
Love this and really want to give this a try! Do you think a rope that is 1/4in x 100ft would work okay too?
Lauren, it seems it would but I honestly can’t confirm if it would. It was cheaper to buy the rope I recommend because I could divide it into 3 sections. You would have to really measure and make sure you have enough for 3 to “braid” it.
Tracey, I want to try this with the rope on my swing. Did you coat or spray the rope with anything to preserve it?
Hey, Betty! Glad you are going to try it. No, I didn’t and left it natural. It does turn a bit darker, but has worn well through winter and a couple of hurricanes 🙂 I’d imagine I’ll replace it after a few seasons.
Thanks!!
Hi Tracy, I am new to your glorious website. This is EXACTLY what I want to do to my porch swing, paint and rope tying. I may have missed but what size rope did you start with when you divided into the 3 parts and braided? i do appreciate your time. Thank you!
Linda, Nice to meet you! So glad you found a resource – I had to make it up as I went 😉 Thanks for pointing out that I linked to the product, but didn’t specify. I’ve fixed it in the description. I ordered 1/2 inch x 100 ft rope, but I had a lot leftover. The next size down was 50ft and I don’t think that is enough, so just realize it’s more than you really need!
Good luck!