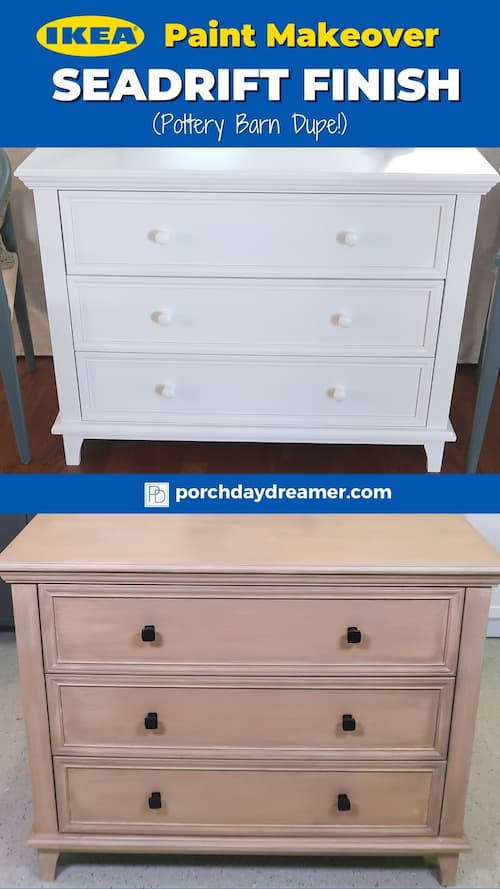
How-to Paint Furniture the Pottery Barn Seadrift Finish (aka driftwood)!
You can easily paint your furniture to look like the Pottery Barn Seadrift finish aka driftwood finish! I’ll teach you each step to achieve this beautiful wood look on any furniture.
I’m no stranger to painting furniture and my fans named me the Queen of Painting Everything!
Way back in 2017 I created a Pottery Barn Driftwood finish, followed by an outdoor driftwood finish, and then a Pottery Barn Seadrift finish for cabinets.
These continue to be popular tutorials on this site and I’ve seen a LOT of knock-off ideas that over complicate things.
My mission is to always teach any beginner how to paint in as few steps and as inexpensively as possible.
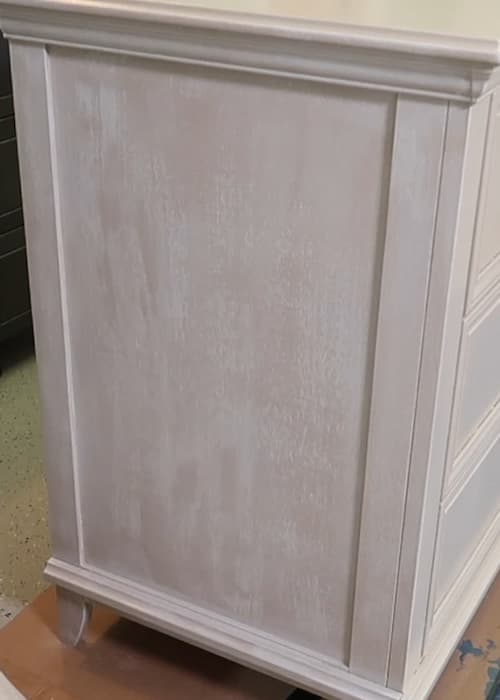
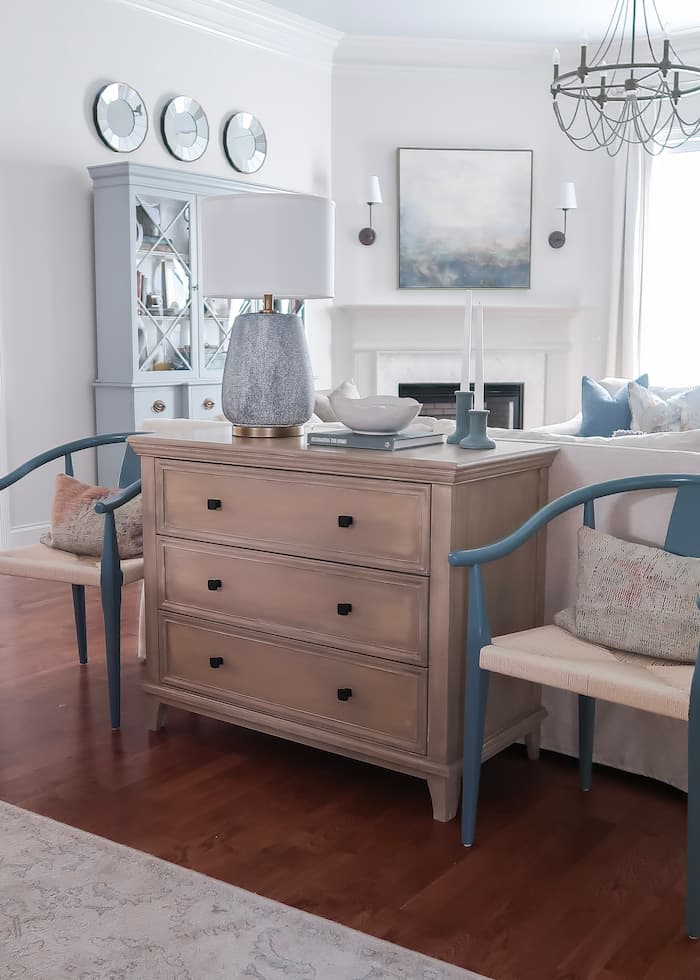
It was time to paint my inexpensive white laminate furniture to look like the Pottery Barn Seadrift finish!
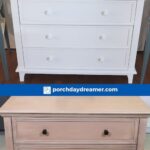
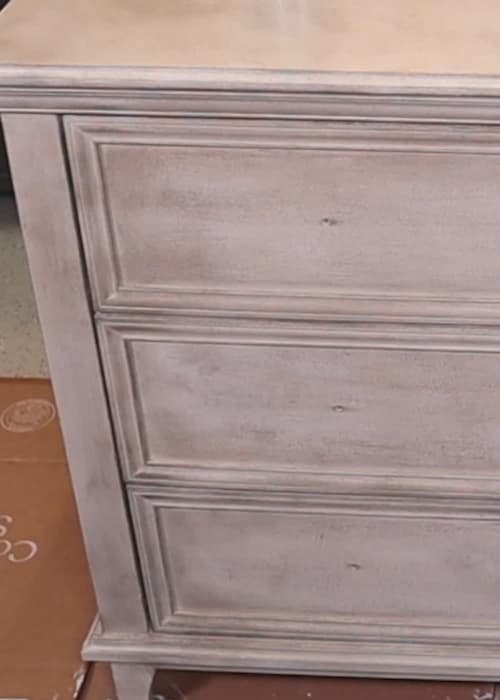
What an amazing change with a few layers of paint. Now my white laminate dresser looks like I spent way more than $200!
What is the Pottery Barn Seadrift Finish?
The seadrift finish is a little different than a straight forward driftwood finish.
Driftwood finishes tend to be on the more cool and gray side. Think about what an old branch looks like after it’s washed up on the beach.
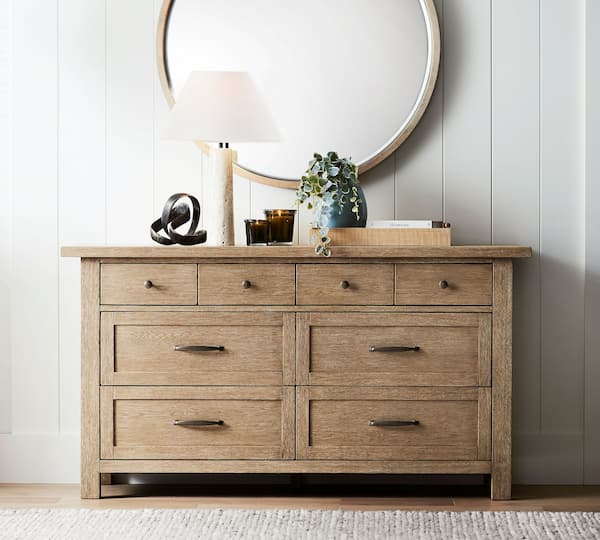
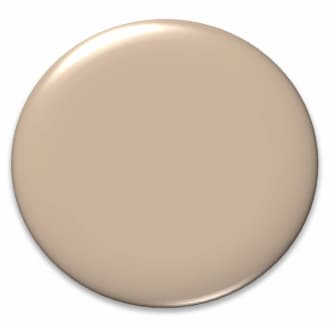
The finish that Pottery Barn created called “Seadrift” is more warm and has a golden amber tone to it.
Here is a dresser from Pottery Barn in Seadrift as a reference point.
Contains hand selected products, with affiliate marketing links where I may earn a small commission if a purchase is made. {full disclosure here}
As I always do, I STARE at the finish and think through all of the paint layers needed to recreate this look.
Painting something pure white to look like wood is more art than science for sure!
I’ve created a simple process to recreate this Seadrift finish that you can use not only on your white IKEA laminate furniture, but on any furniture you want to paint!
What’s involved in creating the Seadrift Finish?
You may be wondering all of the paint layers that are involved in creating the Seadrift finish.
This tutorial really is easy, but there are layers needed to make white furniture look like wood!
We need to add depth and dimension plus the illusion of a little bit of woodgrain.
Will the painted finish look exactly like the Pottery Barn Seadrift furniture? No, but…
You will save $100’s if not $1,000’s painting your furniture in this faux driftwood like finish! Truly ANY furniture can be painted to look like wood.
What IKEA Furniture Can I Paint to look like seadrift?
- Dresser
- Bookcase
- Entertainment center
- Cabinets
- Bookshelves
- Nightstands
- Dining Table
- Chairs
- Coffee Tables

Sign-Up for my Weekly Emails!
Straight to your inbox sharing can’t miss decorating and painting tips for your home.
how many layers of paint for the seadrift finish?
I’m not going to sugar coat this. There are 6 layers of primer and paint needed plus a few layers of a clear coat to protect the seadrift painted finish.
- Primer – 1 Coat
- Paint Base Color – 2 Coats
- Seadrift Finish – 3 Layers
- Silver Gray Glaze
- Antiquing Glaze
- Wood Tone Glaze
The nice part is over the course of a long weekend you can completely transform your furniture and save a TON of money!
Dry time is what makes this process take a few days, but the actual Pottery Barn Seadrift paint finish is SIMPLE to create.
How Do I Paint Laminate Furniture?
First, you will need to clean, prime and paint your IKEA furniture a base color.
In my tutorial, I recommend the paint color Sherwin Williams Antler Velvet which also happens to be one of my best of the best paint color picks.
It is a nice warm but neutral beige paint color to build the Seadrift finish. Buy a Peel and Stick Sample of Antler Velvet.
What Paint Should I Use for the Pottery Barn Seadrift Finish?
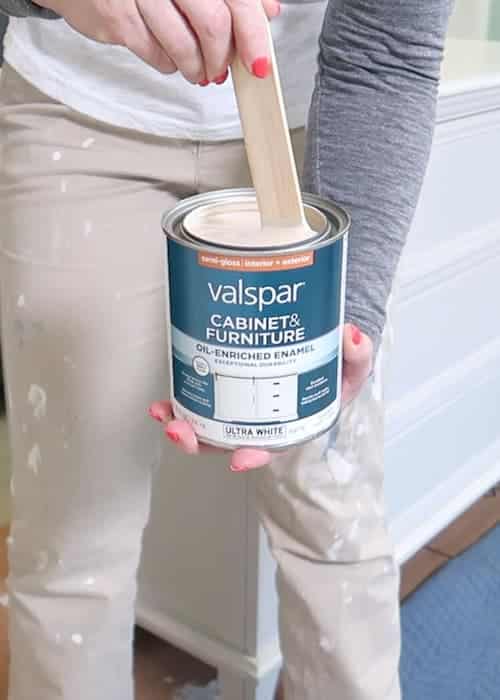
My FAVORITE paint for furniture is hybrid oil enamel paint. The brand I’ve used the past 10 years is Valspar Cabinet and Furniture Enamel.
Why I recommend a hybrid enamel is you get the best of everything in a water based paint.
READ: Best Furniture Paint for Every Project: Pros, Cons and Tips
This hybrid enamel paint I am recommending are soap and water clean up and dry to a harder finish than a regular acrylic latex paint in a semi-gloss finish.
In my how-to paint IKEA and laminate furniture tutorial, I’ll be teaching you all about Valspar Cabinet and Furniture Enamel plus how to properly apply the paint so you get a smooth finish.
project Supplies


How-to Paint Furniture the Pottery Barn Seadrift Finish (aka driftwood)!
To keep this simple for you, I’m going to break this paint tutorial into two segments.
That way you can paint over a series of days to make it easier on your life too!
Painting the Pottery Barn Seadrift Finish
Click each link to jump to each tutorial. You will be taken to a different blog post for how-to paint IKEA laminate Furniture.
YOU MUST WAIT 48 HOURS UNTIL PAINTING THE POTTERY BARN SEADRIFT FINISH
How-to Paint Furniture the Pottery Barn Seadrift Finish
DIY Pottery Barn Seadrift Finish

3 Easy Paint Steps to make Any IKEA furniture look like the Pottery Barn Seadrift Finish (aka driftwood finish)
Materials
Tools
Instructions
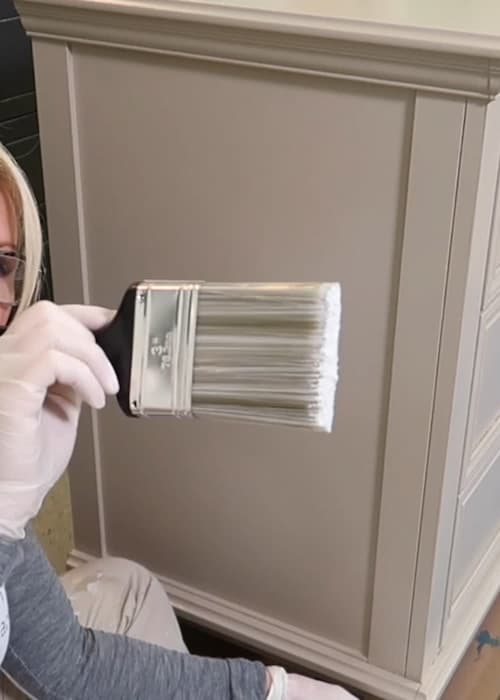
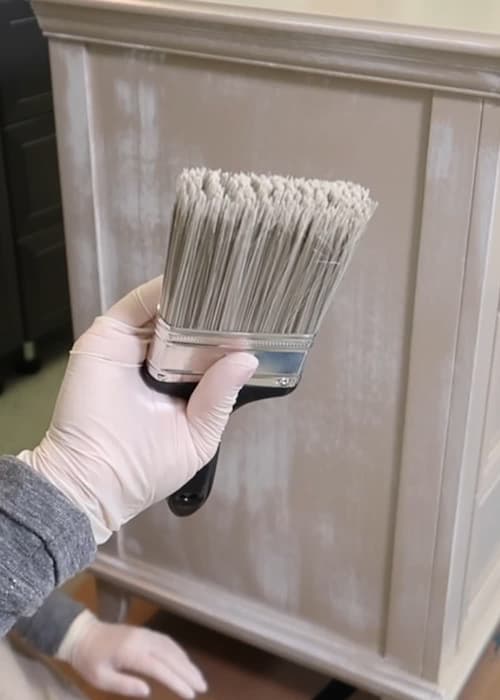
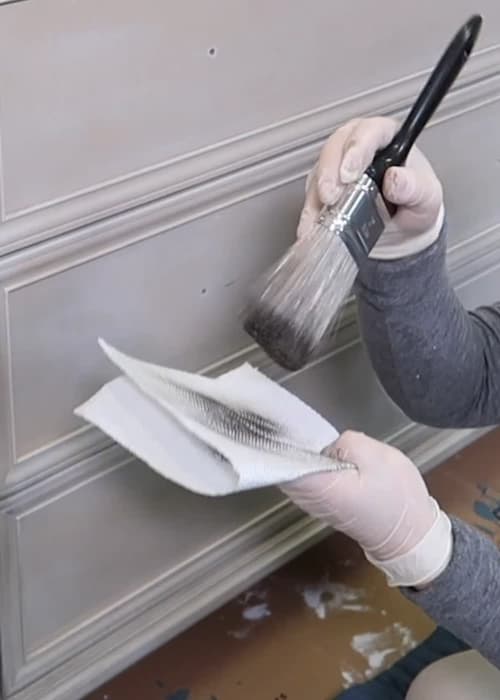
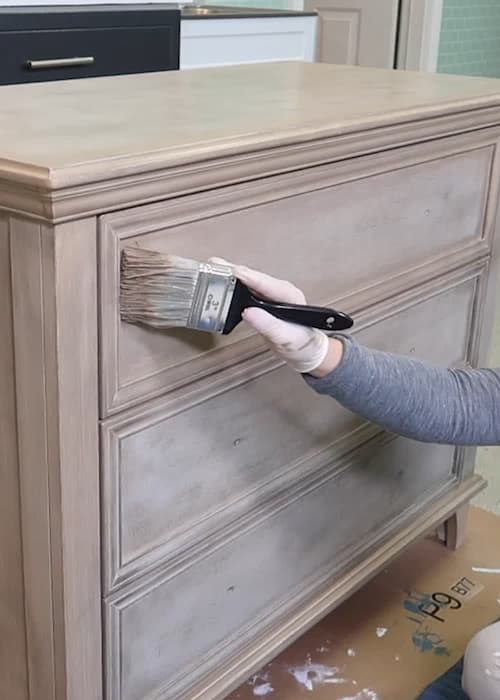
Apply the 1st Glaze Silver Gray to Create a Weathered Wood Look

-


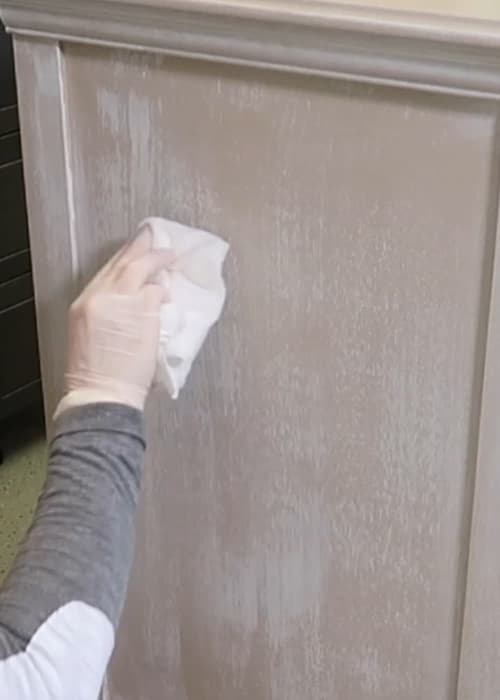
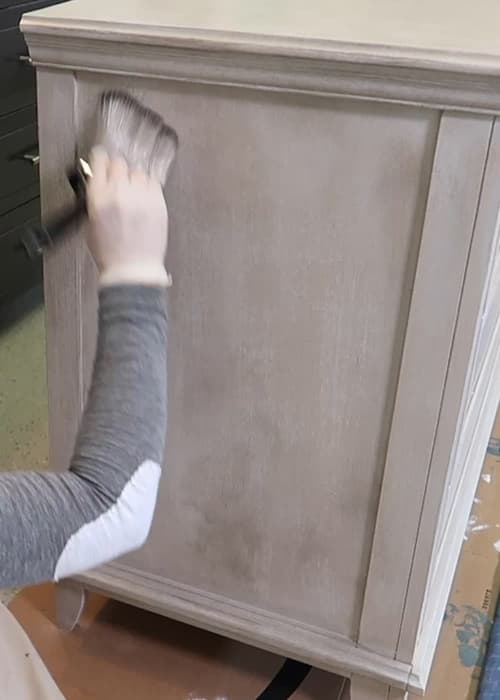
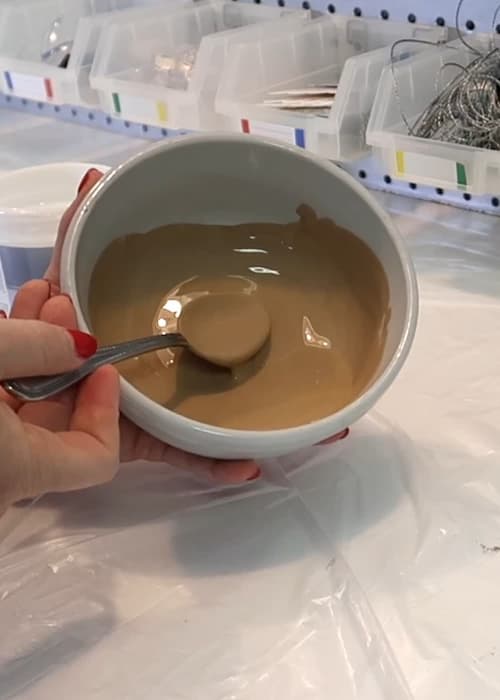
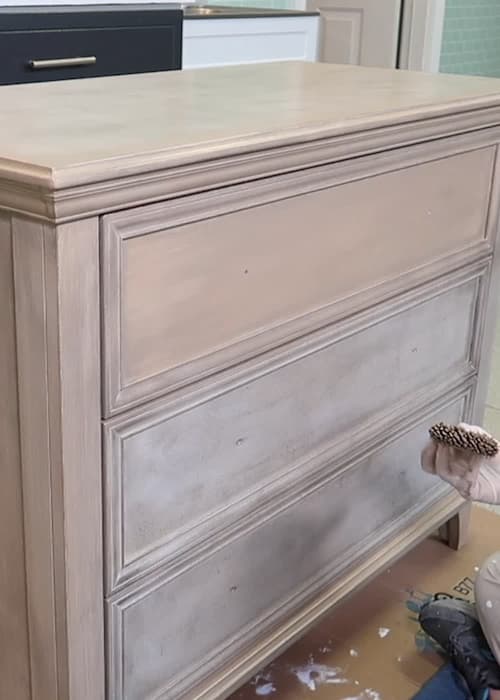
Apply the 2nd Glaze Antique Dark Brown to Create Wood Grain Look
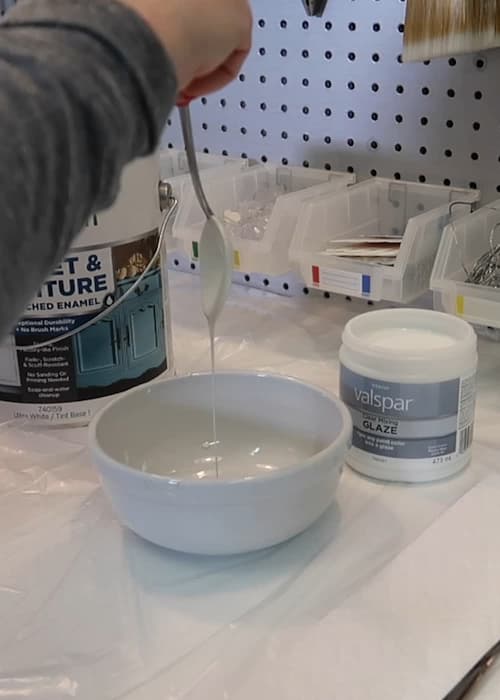
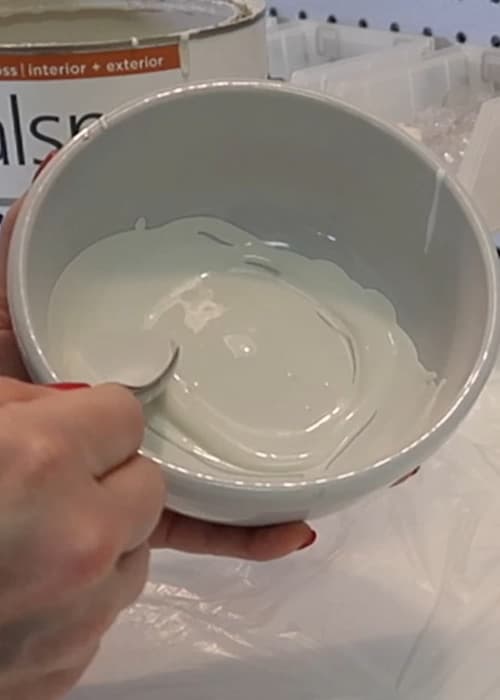
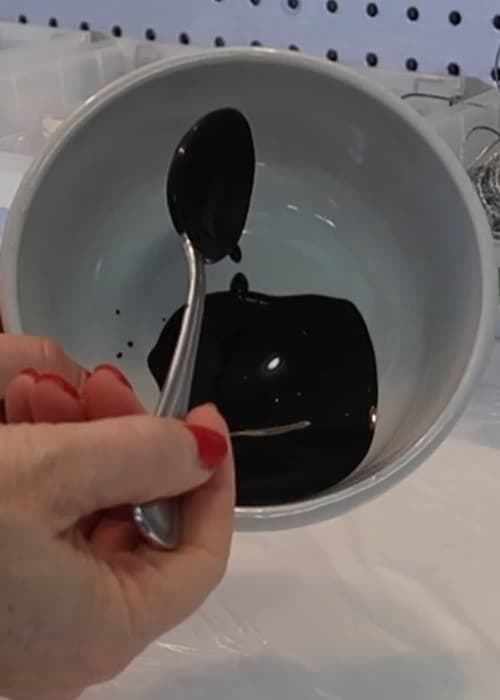
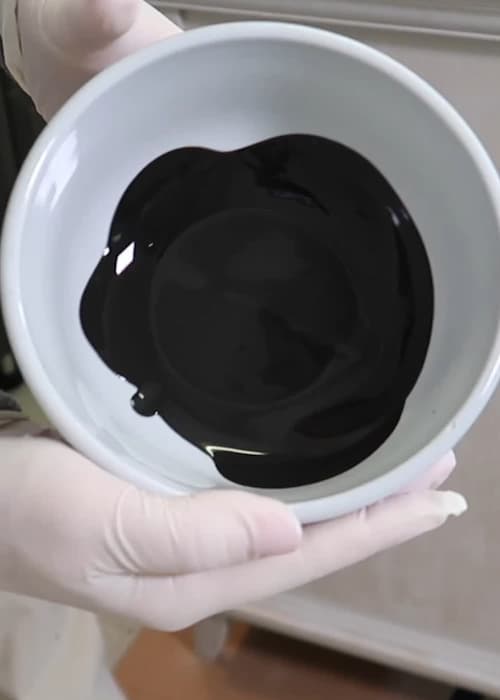
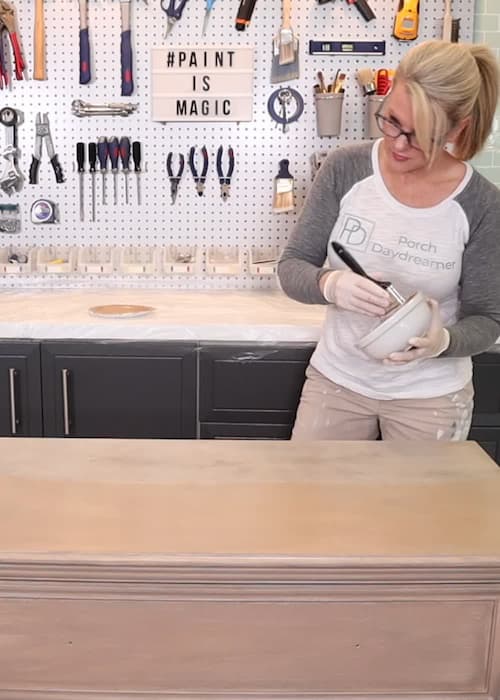
- No mixing required! Add 4 spoonfuls of antiquing glaze to a ceramic bowl.
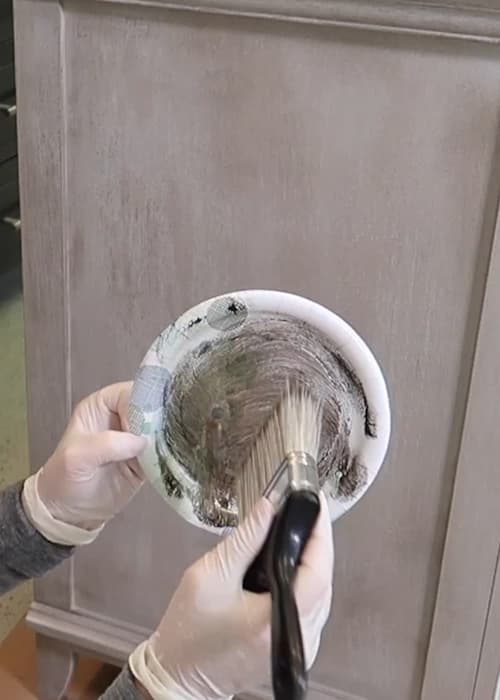
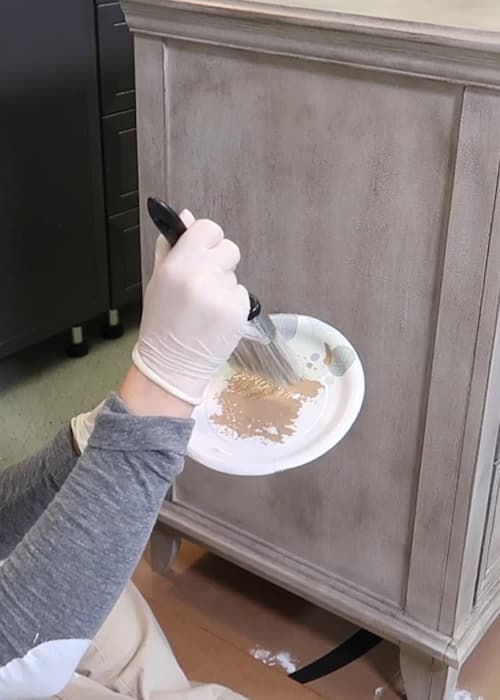
- Dip just the tip of the bristles into the antiquing glaze
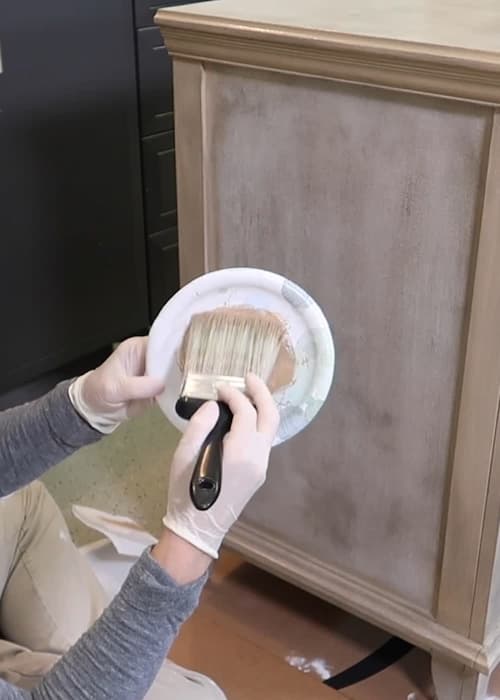
- Work in small sections in the direction of the area you are glazing and dry brush on the antiquing glaze
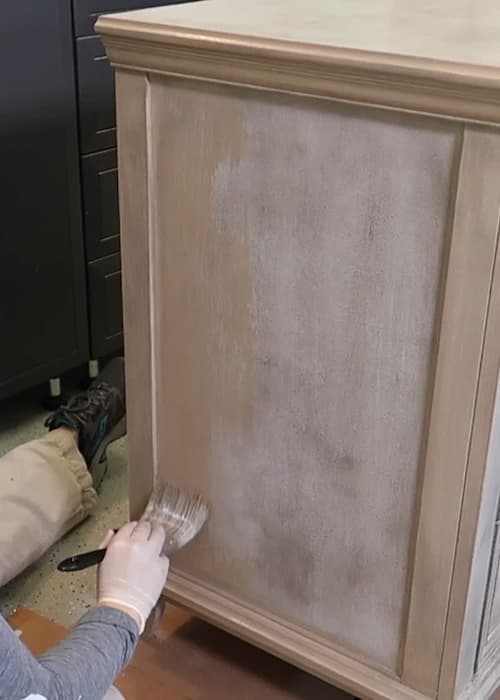
- Continue to work each area so they match each other. The final effect should look like this and be well blended

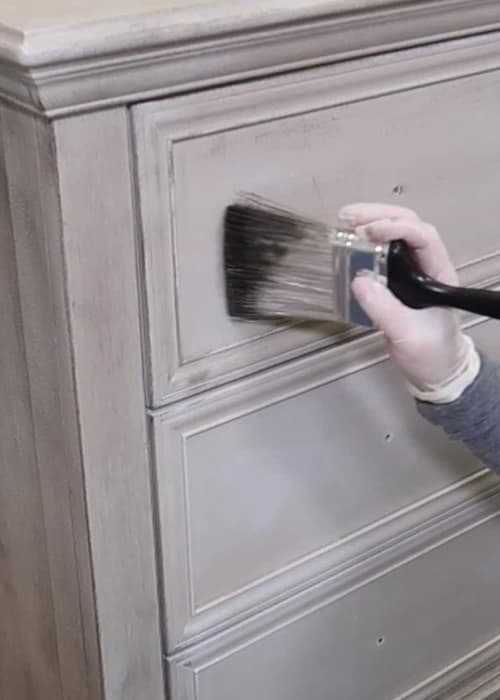
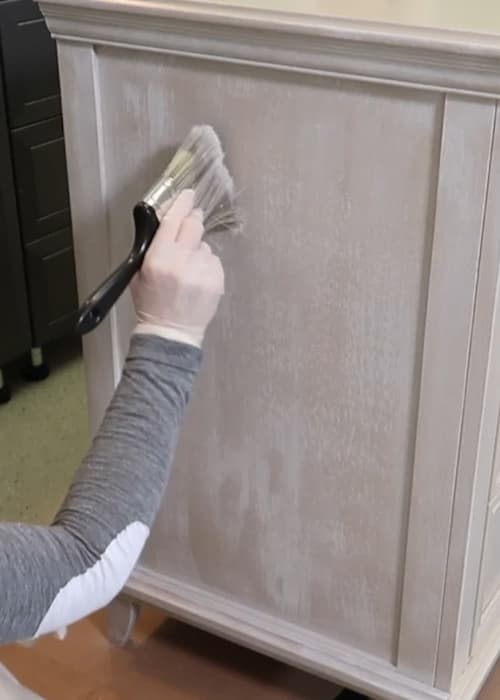
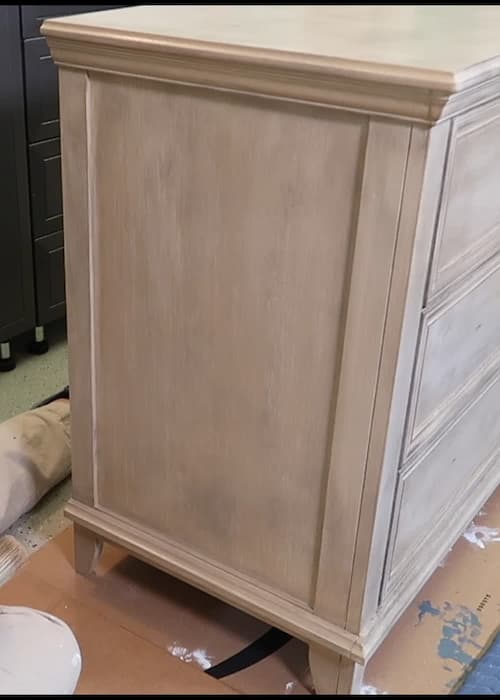
Apply the 3rd Glaze Universal Umber to Create Wood Tone Appearance
-
-
- DRY FOR 48 TO 72 HOURS! Glazes take much longer to dry than a regular paint. Don't rush this step.

Notes
- I can't stress enough how important it is to make sure each layer dries completely, prior to applying the next layer. The mixing glaze is designed to extend the open or working time of the paint. That means it can double the dry time!
- If you go to apply the glaze over the previous layer and the glaze underneath moves or is removed, STOP and give it more time to dry.
- Start with a gentle touch with your brush, but once you know the glaze is secure KEEP moving and work layers 2 and 3 into the surface.
- Glaze 3 is applied more gently to the surface.
Let me know in the comments if this is a project that you are inspired to used and transform your white IKEA furniture!
How can I refinish cherry wood (traditional piece) to look like driftwood?
Hi, Terri! You can follow this exact same tutorial on stained wood too. The cleaning and bonding primer are the key to making it work on your cherry wood piece.
Hi there,
Do you have a video for this ?
I will soon! It’s being edit and will go on my YouTube channel.
Hi! I am getting ready to paint my kitchen table. It’s quite long 8 ft. You mentioned Sherwin Williams and Valspar paint. Which do you using in the process? All of them or one of them? (The stain on the table is dark)
Also, the table has narrow grooves that run the length of the table that I’d like to fill with wood putty. Do you think that will show through.
Really excited to start this project.
Glad I found you!
Hi, Joan! Please use this IKEA furniture paint tutorial for the first layer before you apply the driftwood finish. In it I use the Valspar Cabinet and Furniture Enamel tinted in a Sherwin Williams color. Hope that helps!
I love this finish! Just a question, your instructions say 1 spoonful clear glaze and 4 spoonfuls paint. However, the ratio given says 25% to 75%, I just want to make sure you used the 1 to 4 ratio which would be 20% to 80% ratio.
Hi, Terri! It’s not an exact measurement but a guide of the overall blend, since I am using a spoon to pour in the glaze. I updated to reflect the correct math of 1 to 4, but it can be as much as 25% glaze to 75% paint 🙂