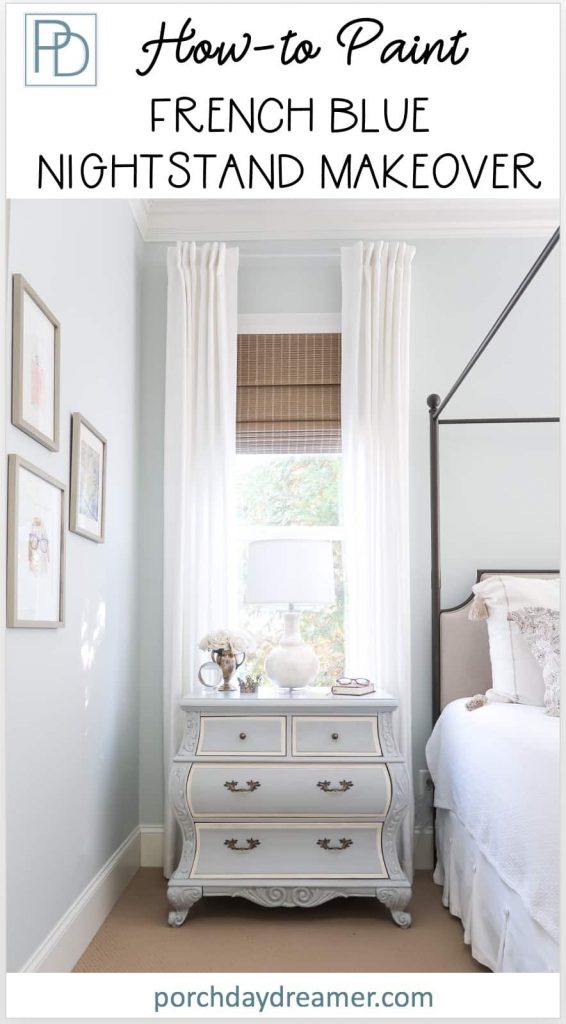
Easy Nightstand Makeover with Paint
Looking for an easy nightstand makeover with paint? See how I transformed a plain nightstand into an elegant statement piece!
Have you been living with your current bedroom furniture and want a new look? Why not paint your nightstands?
Since I’ve never had the budget available to replace my bedroom furniture, instead I’ve transformed them with paint.
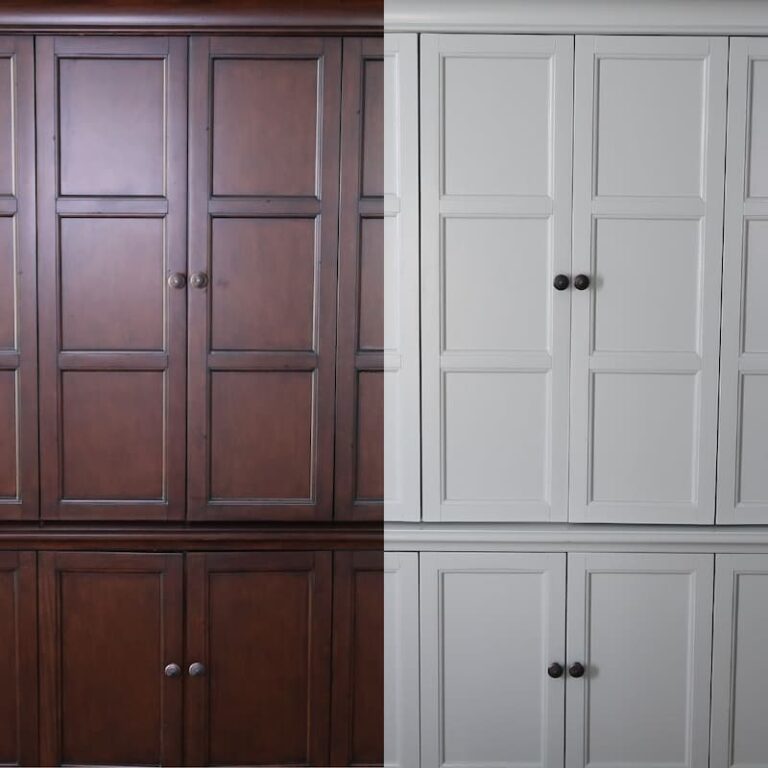
Learn how you can take a stained nightstand and make it look completely different with just a little paint!
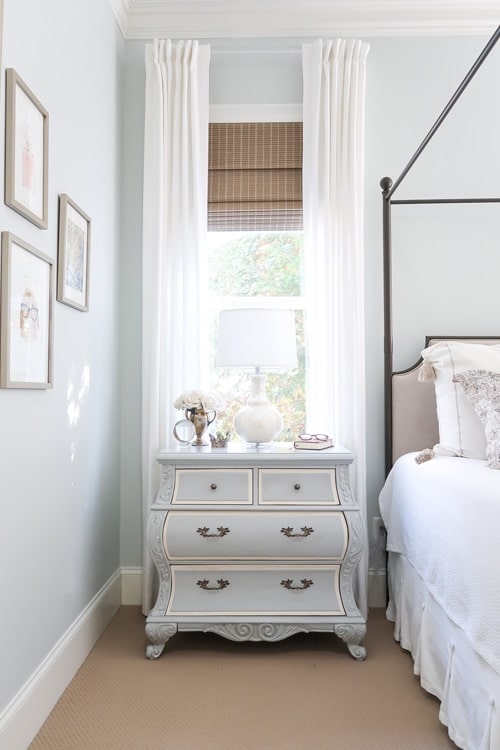
Nightstand Makeover with Paint
My bedroom furniture is literally 20 years old! It’s hard to believe that as I type it.
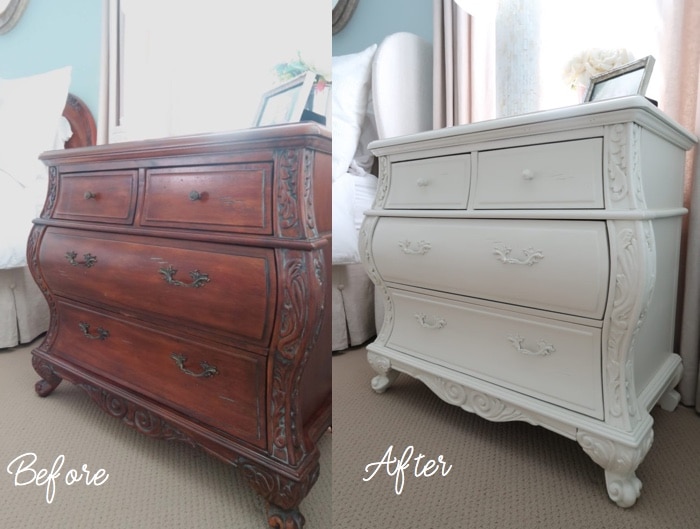
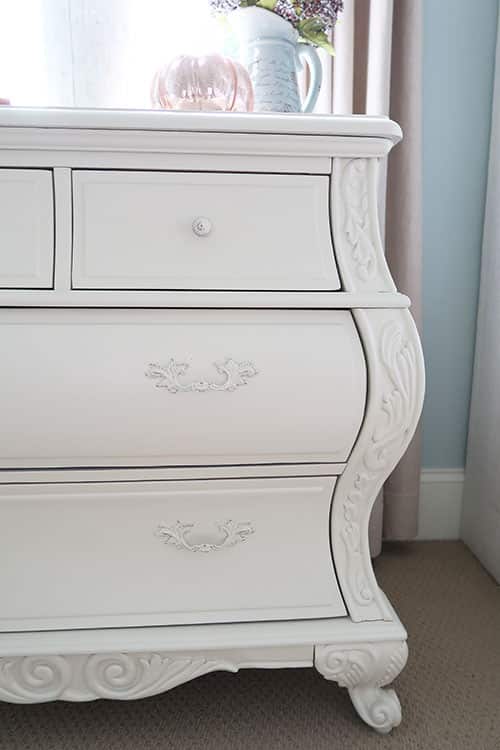
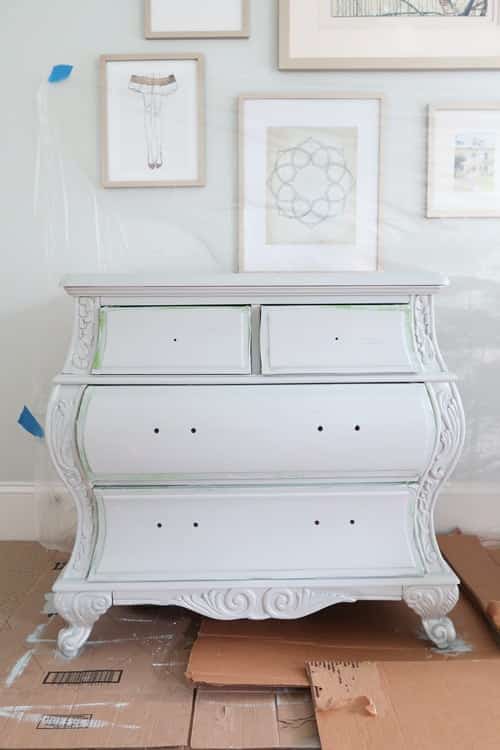
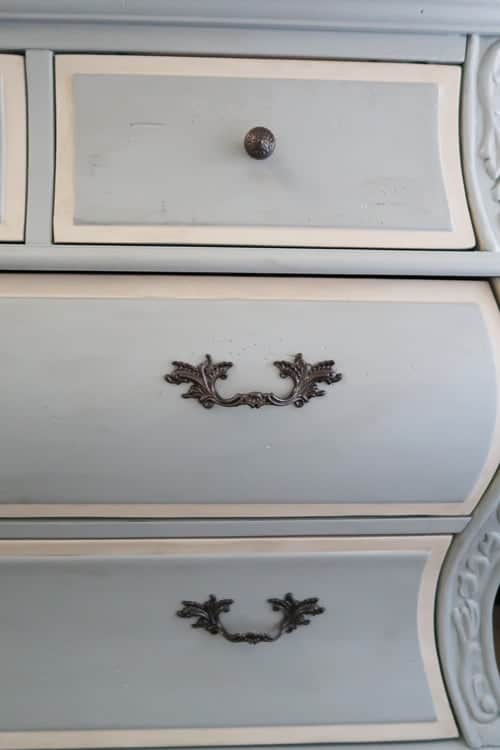
With a little paint I’ve been able to give them a completely new life! The nightstand’s original finish was a deep cherry stain, but I wanted a lighter look.
Update #1 was to paint them a pretty off-white color called Light Raffia, from Valspar.
This nightstand makeover was my first time using a paint sprayer and boy did I love it!
One thing that is critical to note when painting over a stained finish it requires NO SANDING!
The full tutorial of nightstand makeover #1 can be found here: paint sprayer made a dreaded project easy.
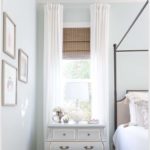
So I’ve lived with the nightstands painted a simple solid color for a couple of years, but really wanted to give them some personality during my recent Master Bedroom Mini-Makeover.
Contains hand selected products, with affiliate marketing links where I may make a small commission if a purchase is made. {full disclosure here}
Finding Painted Furniture Inspiration
Luckily, I have an entire Pinterest Board filled with painted furniture inspiration.
It’s filled with gorgeous options and it was the first place I started to find some ideas for painting my nightstands.
French Blue and green are my favorite types of paint colors for furniture because they are neutral and soft.
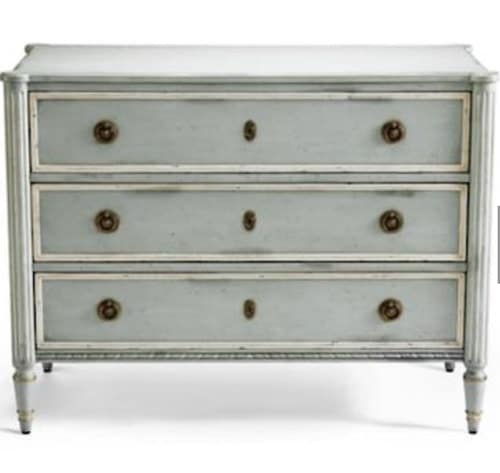
Then, I landed on this beauty and knew this was the type of look I wanted to recreate.
It seemed like the perfect fit, with the exposed off-white so I didn’t have to re-paint the large armoire in the room. That was a project I didn’t want to tackle 🙂
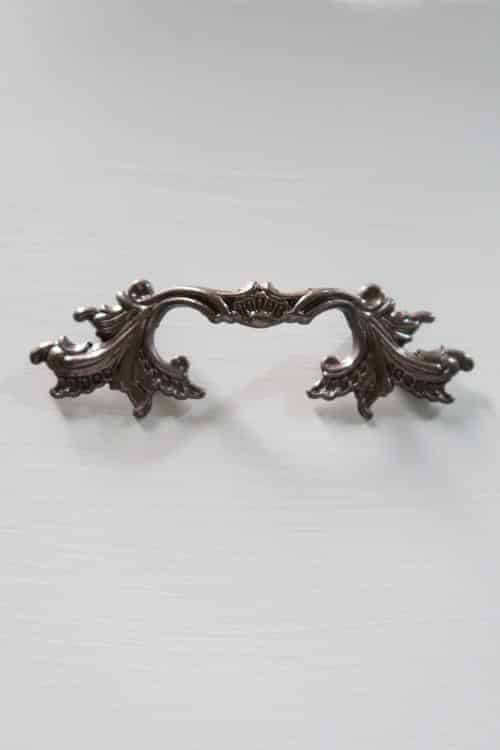
The antiquing was a little heavier than what I typically like, but I LOVED the darker hardware.
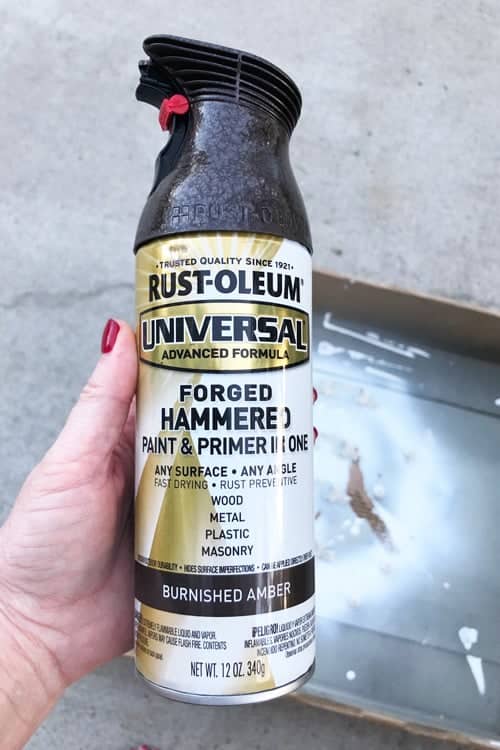
Because it’s just about impossible to find new hardware for a Bombay styled chest, spray paint is the cheapest and easiest alternative to modify the finish.
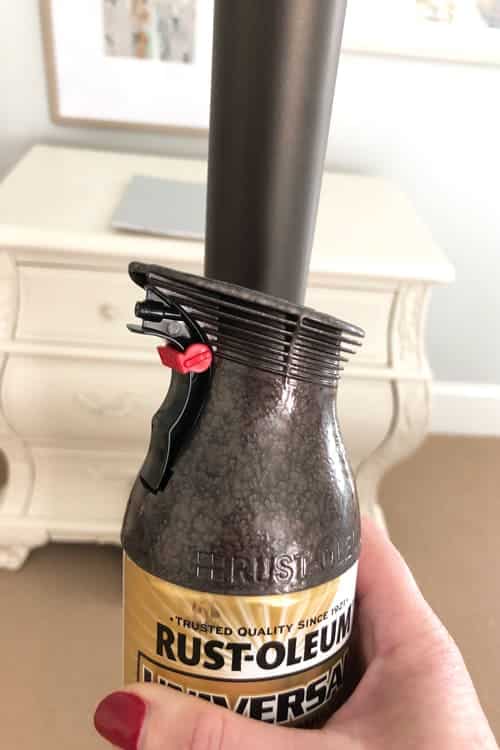
Rust-Oleum Forged Hammered Burnished Amber
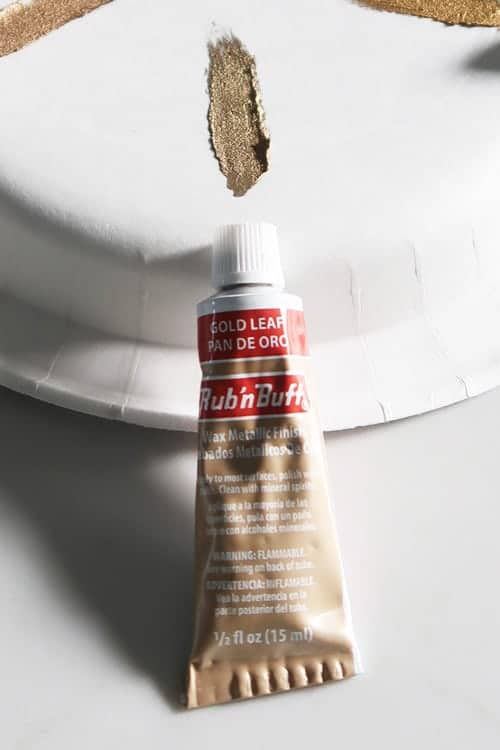
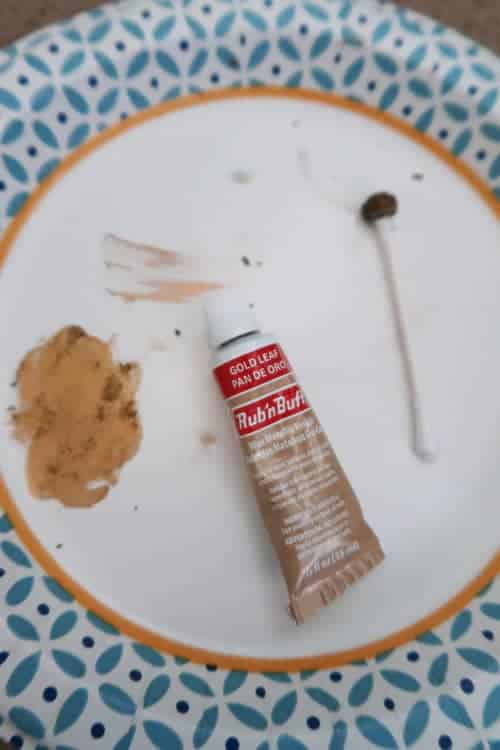
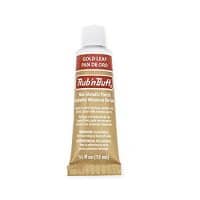
I found the perfect match to the canopy bed in the room and decided to add gold accents on the hardware with Rub ‘n Buff in Gold Leaf.
After testing a bunch of gold options, this fit the decor in the room the best.
The most important decision? Finding the perfect blue gray to paint my nightstands.
Here are some of the paint options I found that are the most beautiful colors for furniture in general.
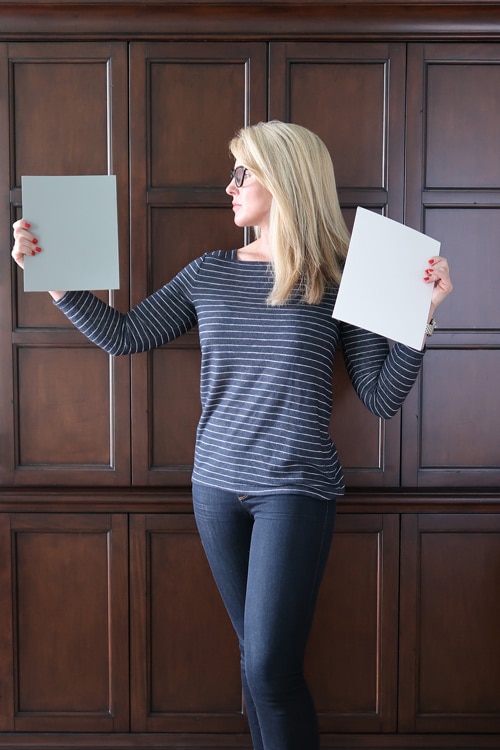
My suggestion is to ALWAYS paint a sample board, before committing to a paint color!
The Best Way to Test a Paint Color Before Painting Furniture
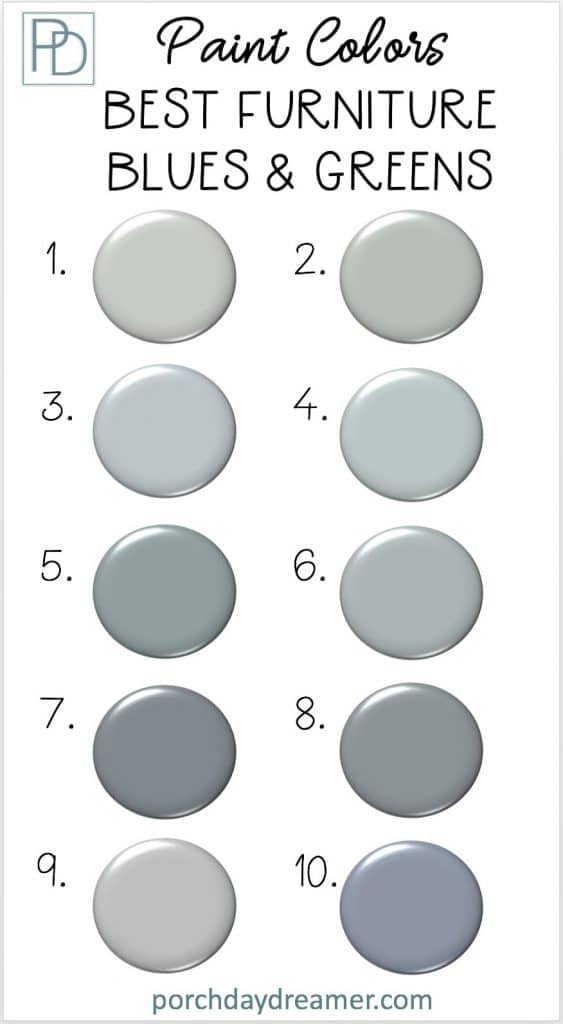
Click to purchase a peel and stick sample where available:
1. BM Tranquility AF-490 | 2. SW Silvermist 7621 | 3. V Grey Brook 5001-1B | 4. BM Wedgewood Gray HC-146 | 5. V Secluded Garden 5002-4A | 6. SW Breezy 7616 | 7. SW Debonair 9139 | 8. SW Cadet 9143 | 9. SW Samovar Silver 6233 | 10. BM Oxford Gray 2128-40
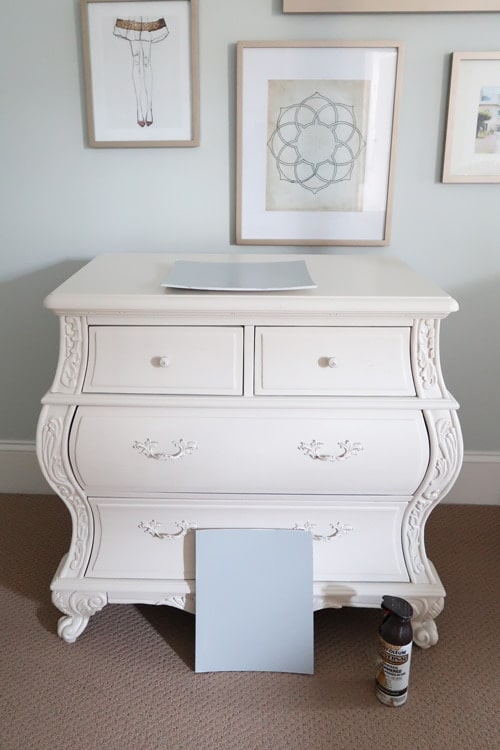
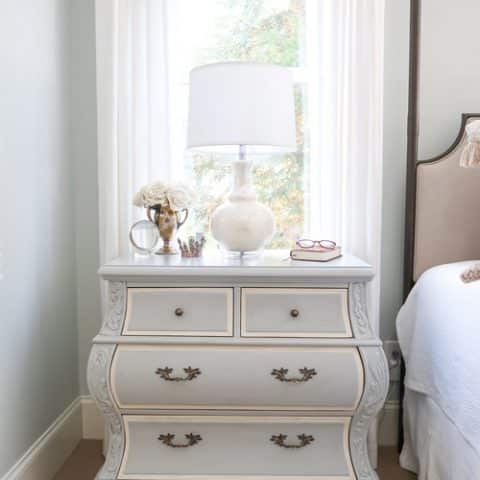
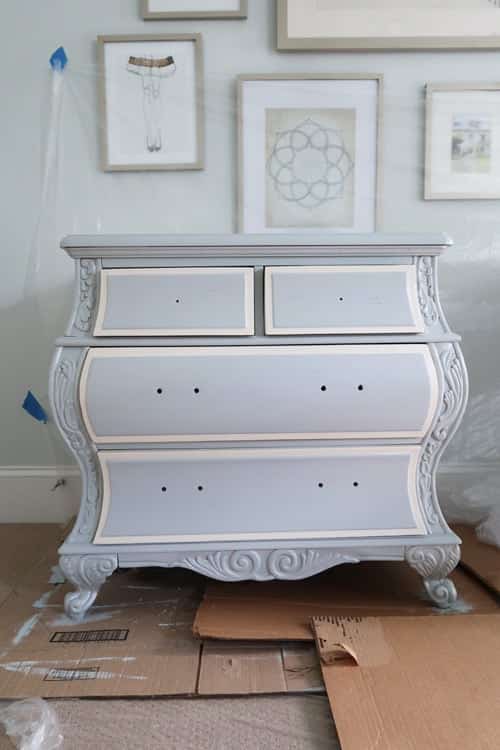
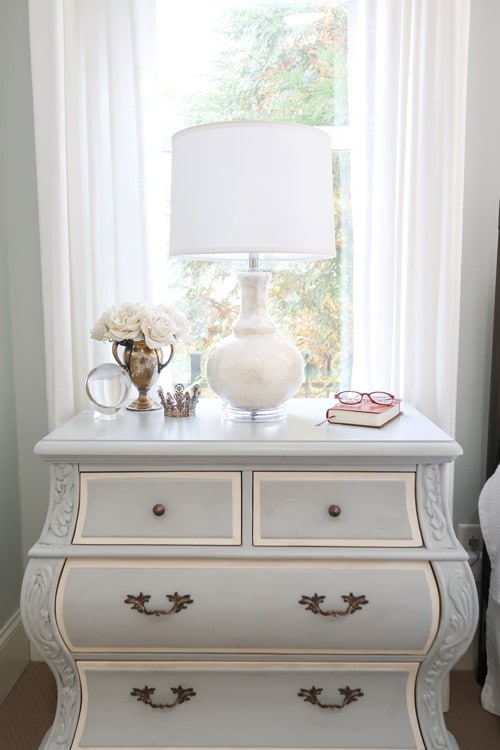
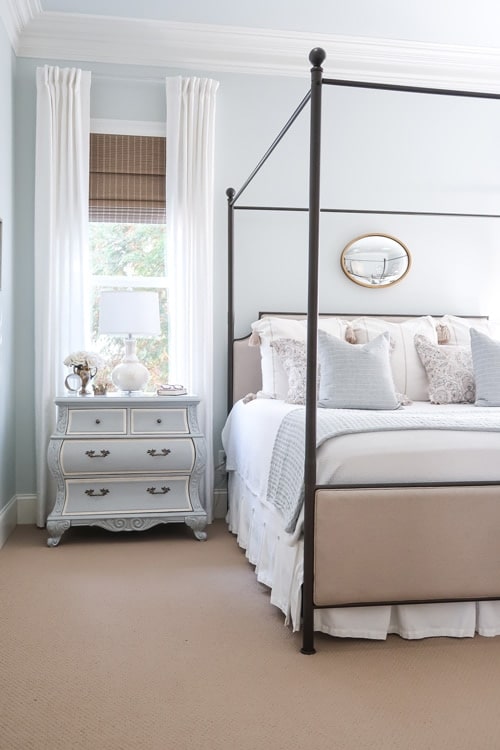
Which one did I choose? After living with the samples for a few days, I chose Samovar Silver!
You can see how blue versus gray it looks in my bedroom.
That’s why a physical sample is so critical to selection because the paint will look so different in your home reflecting the items in the room and changing with the light.
Off to re-create the inspiration paint finish and teach you exactly how I did it!
Pin It for Later!
Painted Nightstand Makeover Tutorial
How-To Makeover a Nightstand with Paint
Easily transform an existing piece of stained or painted bedroom furniture with a new paint finish. Learn how to re-create this elegant French Blue nightstand.
Materials
- Valspar Cabinet Enamel / Available at Lowe's
- Valspar Bonding Primer / Available at Lowe's
- Rustoleum Spray Paint Hammered Burnish Amber
- Gold Leaf Rub n' Buff
- Antique and Clear Glaze
Tools
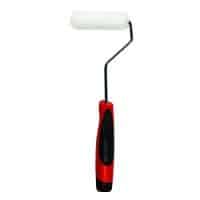
- Foam paint roller
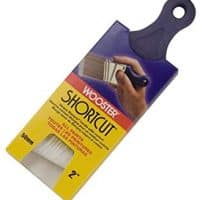
- Nylon/Polyester paint brush
- Frog Tape
- Lintless rag like an old t-shirt
- Q-Tips
Instructions
Step 1:
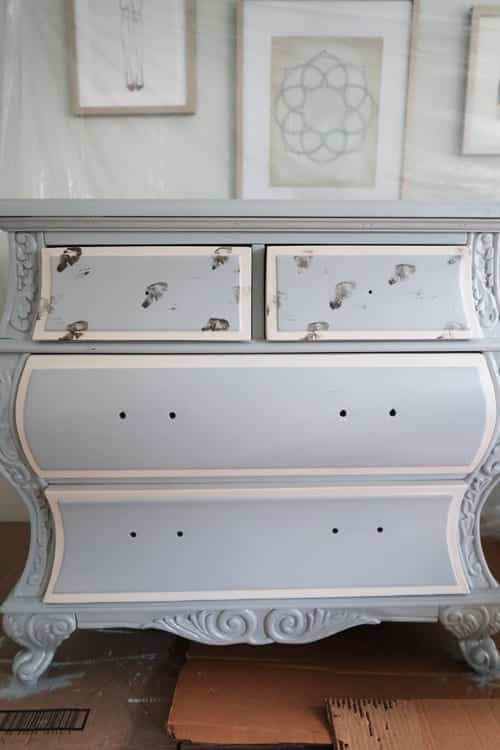
- If furniture is stained, prime with bonding primer and two coats of Valspar Cabinet Enamel Light Raffia 3008-10B.

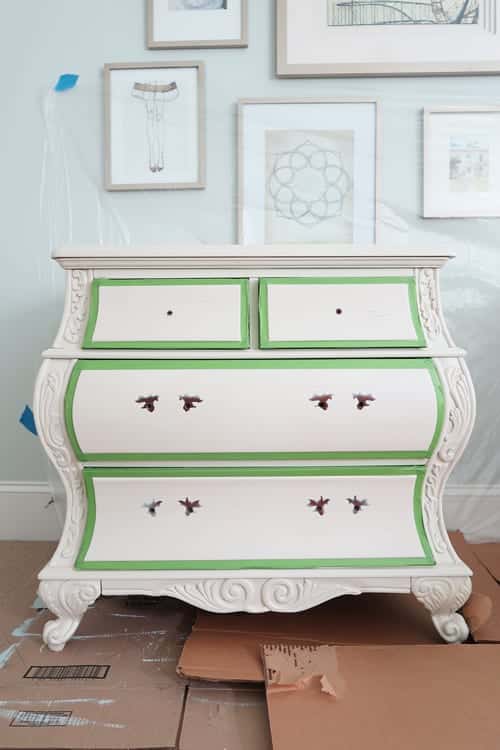
Step 2:
- Using Frog Tape, tape off areas that you don't want painted the darker color. You can use my pattern or one that suits the furniture you have.
Step 3:
- Using a brush and foam roller, apply 2 coats of Valspar Cabinet Enamel, I used Sherwin Williams, Samovar Silver (buy sample) .
Step 4:
- If you would like to change the hardware color, update the hardware while the paint is drying.
- In a well ventilated area, spray paint hardware with two coats of paint. Allow 30 minutes dry time between coats.
- Let dry overnight before installing.

Step 5:
- Very gently, remove tape to expose areas not painted.
Step 6:
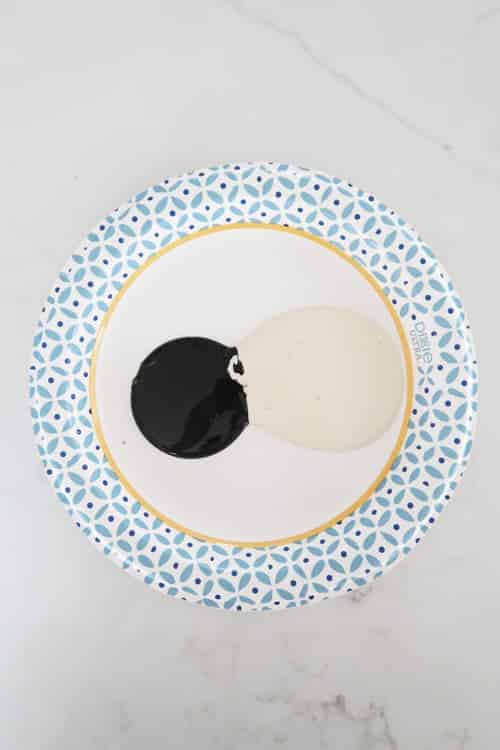
- If desired, create the antiquing glaze by mixing 60% clear glaze and 40% antiquing glaze.
- Stir until thoroughly blended.

Step 7:
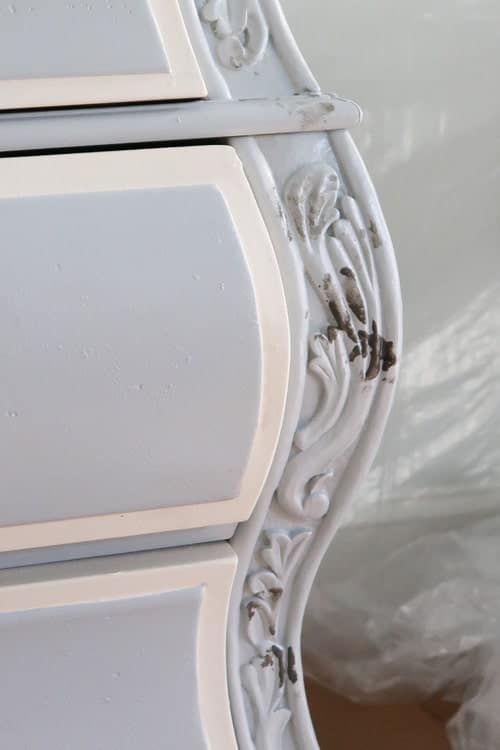
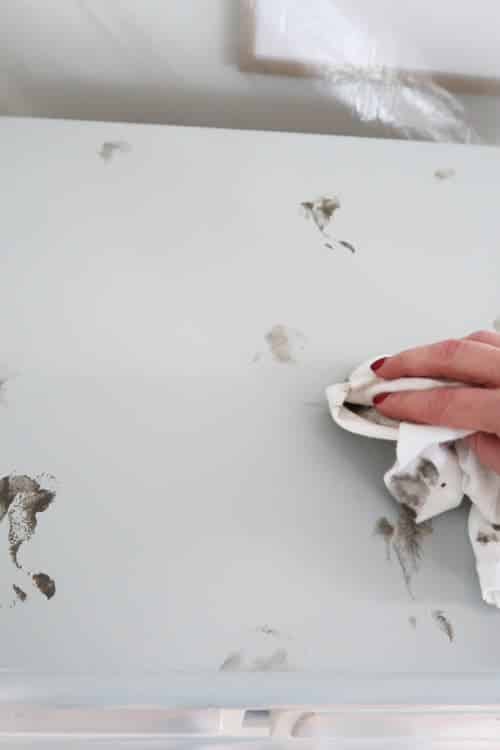
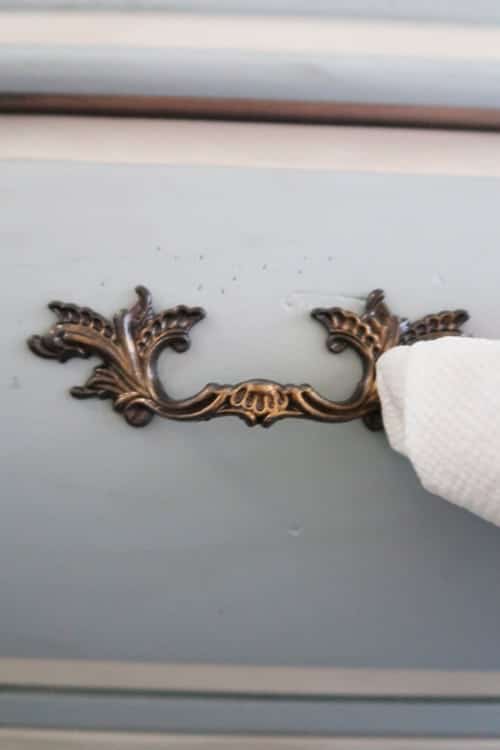
- Using a lint free rag like an old t-shirt, dip a small corner into the glaze mixture. Apply in random dots working in small sections.
- Make sure to push glaze into carved details.
- For each section of glaze dots, using the same rag, begin rubbing and blending glaze into the surface of the paint.
Step 8:
- Let the glaze dry OVERNIGHT. Then reinstall newly painted hardware.
Step 9 (optional):
- Squeeze a small amount of Rub 'n Buff on a paper plate and swirl it with a Q-tip.
- Apply very little! Rub in with a dry paper towel to finish.
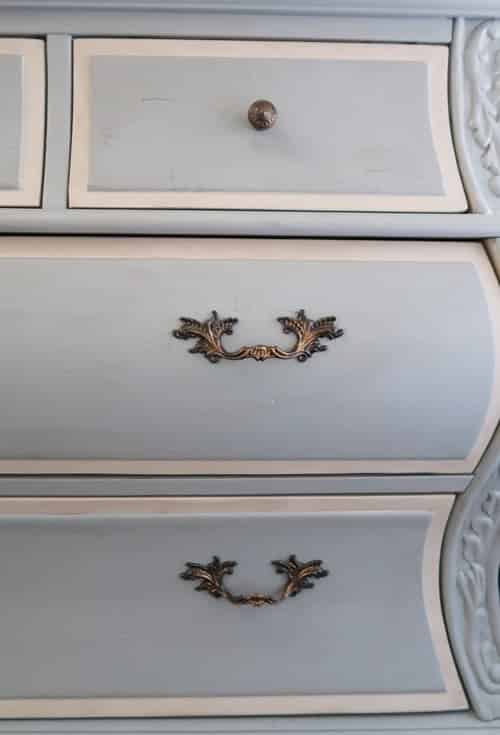
- Here is the hardware highlighted in gold making it look high end and elegant.


Step 10:
- Enjoy your new nightstand!
Recommended Products
As an Amazon Associate and member of other affiliate programs, I earn from qualifying purchases.


Isn’t it amazing how paint created an entirely new look for these nightstands!
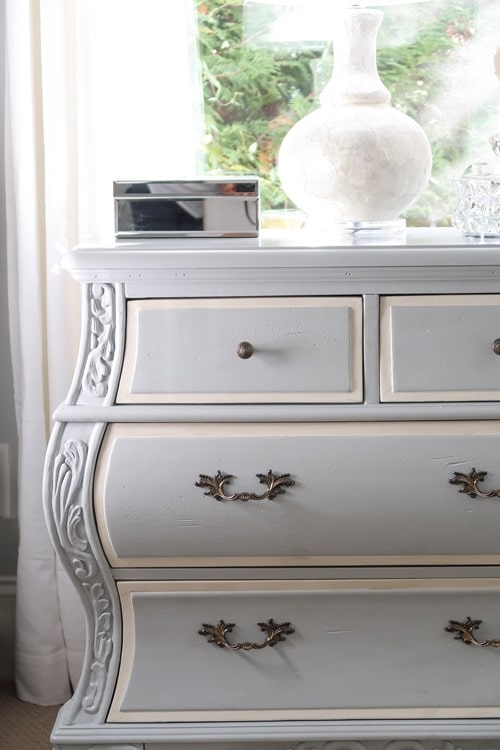
I love how the carved details pop with the paint treatment and antiquing glaze.
Plus what a nice change to the hardware making it look more defined on the nightstand and coordinating it with the new canopy bed.
Here are more how-to paint posts!


Please consider following me on Pinterest and Instagram for daily inspiration.
Until next time…
PORCH DAYDREAMER
Tracey
Hi – thanks for this tutorial! Just wondering why you chose not to use a paint sprayer this time? Thanks!
Happy to answer…I didn’t feel like moving them and setting up the spray tent plus it’s cooler to paint inside 🙂
I love this makeover! Do you think this color you chose would look as good without the antique finish? I’m having my hubby redo ours this year.
It would! The color though doesn’t have much of a gray undertone, so that’s why I made it look more muted with the glaze.
What a great tutorial. I am in the process of painting my bedroom. The next project is painting my bedroom furniture. I have matching nightstands. Can I paint the nightstands two different colors?
Thank you for your great tutorials and decorating tips! I enjoy your blog immensely.
Have a great Thanksgiving with your family!
Debbie
Awww, thanks Debbie! I’m a symmetrical minded person, so I will always say to paint both of them the same color 🙂 You can do two different colors if you’d like 🙂 Have a Happy Thanksgiving!
This chest is so lovely! How do you know which Rub ‘n Buff gold to use? I didn’t realize there are so many choices! Your tutorial is so thorough and inspiring. Have a wonderful Turkey day with your family.
Hey, Cecilia! I bought a set of gold rub ‘n buff and squeezed a bit of each one on a paper plate before choosing 🙂 Happy Thanksgiving and I’m glad you enjoyed the tutorial.