Easy Driftwood Paint Finish for Outdoor Furniture
Love the look of driftwood for that coastal feel? Here’s an easy-to-follow tutorial on how to create an driftwood finish on your outdoor furniture.
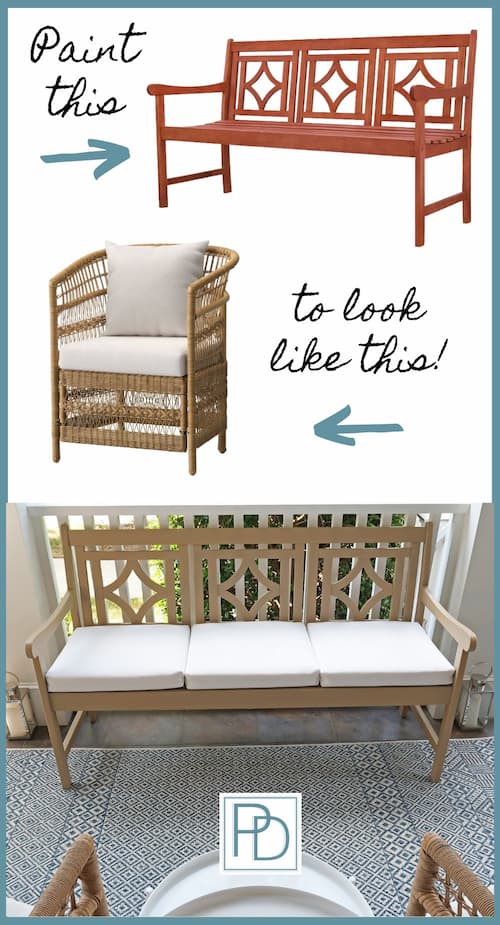
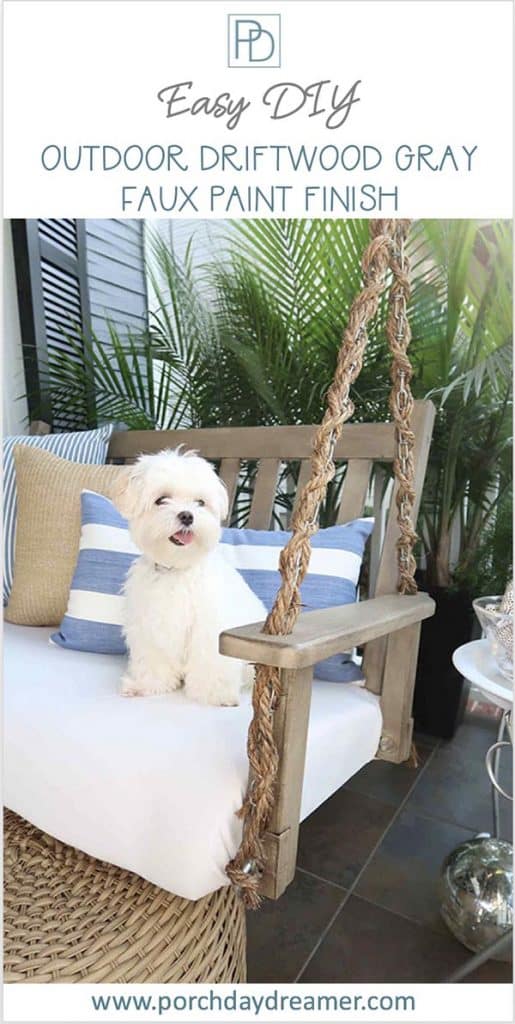
In just a few steps, you can transform not only a painted porch swing, but any outdoor painted furniture to a coastal driftwood finish like you see in the Pottery Barn or Restoration Hardware catalogs!
It’s any easy 3 layer paint process that will completely makeover your outdoor furniture.
Of course I am “Porch Daydreamer” so I made over my porch swing 🙂 The good news is that any beginner can follow this tutorial.
My outdoor driftwood paint finish on the swing has lasted 4 years without issue!
In one weekend, you can completely transform your furniture with a faux outdoor driftwood paint finish.
Outdoor Driftwood Paint Finish
First, I must disclose that I can only say this paint finish is safe for a covered area like my front porch.
My best guess is this will work on more exposed furniture because the base layer is an exterior paint.
To keep my furniture clean, it’s hosed down 2 to 3 times per month and so far the porch swing finish is holding strong with regular use and upkeep!
In order to understand how to achieve this finish, I’ll detail the layers you will be applying.
This is a very different process than the driftwood indoor finish I’ve created and is definitely simpler!
The inspiration for this finish was a piece of natural driftwood that doesn’t have much of a grain pattern to it.
I wanted the finish to look like it rolled in with the waves of the ocean 🙂
Layers of Paint for the outdoor driftwood finish
- Solid Paint Base Color
- Custom Color Wash
- Dry Brushed Antiquing Glaze
Each layer only took about 30 minutes, so not a lot of time to devote to get the driftwood gray finish!
Just the dry time will slow down the process.
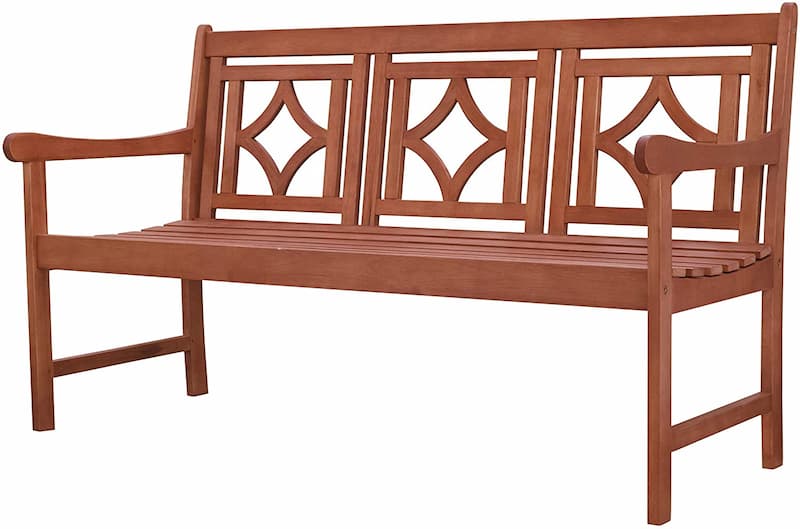
Here is what the porch swing looked like before the paint makeover. The black paint was faded after 8 years of use and starting to peel.
If you like the upholstered seat, it was an easy DIY upgrade. For the full tutorial, CLICK HERE.
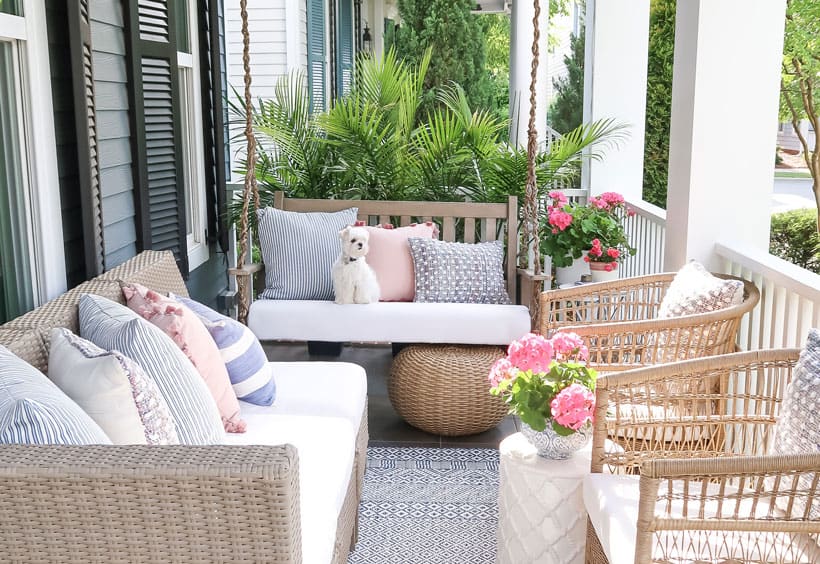
It is hard to believe how much the paint finish transformed my swing into the perfect coastal vibe!
Post contains hand selected products, with some affiliate marketing links {full disclosure here}
How-To Paint the Outdoor Driftwood Finish
Make sure you pick a time where it won’t rain for a couple of days.
There are overnight dry times in between coats and you don’t want the rain to ruin your hard work!
paint Supplies
- 220 Grit Sanding Block
- Prepaint Cleaner
- Wooster Paint Brush
- Quart Valspar Duramax Exterior Paint in Ivory Brown 6006-1C / Semi-Gloss Finish
- Water
- Rags – I find old cut up t-shirts are the best
- Fine Grit Sanding Sponge
- Antiquing Glaze
Step 1: Sand smooth any peeling areas
If the old paint finish on the furniture or swing is peeling, sand over those areas to remove excess paint.
Wipe down with a damp rag to remove ALL sanding dust.
step 2: clean the surface
Liberally spray prepaint cleaner onto all surfaces and wipe clean with a microfiber rag.
Let dry 10 minutes prior to painting.
Step 3: paint the solid paint color
Apply base coat of paint. Because Duramax Exterior paint is SO thick (spans a 1/4 inch gap) I was able to apply only one coat!
If you need or want to apply 2 coats, allow the 1st coat to dry overnight before applying the 2nd coat.
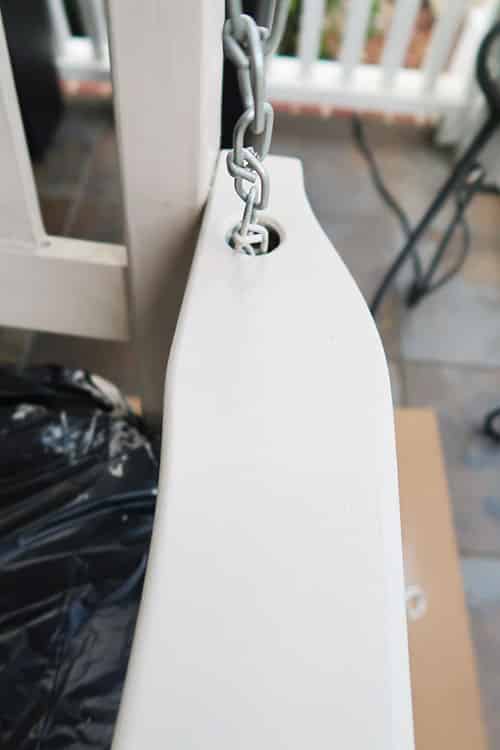
In my situation, I had to mask off the upholstered seat with garbage bags.
This is what the Ivory Brown base coat looked like, before the color wash.
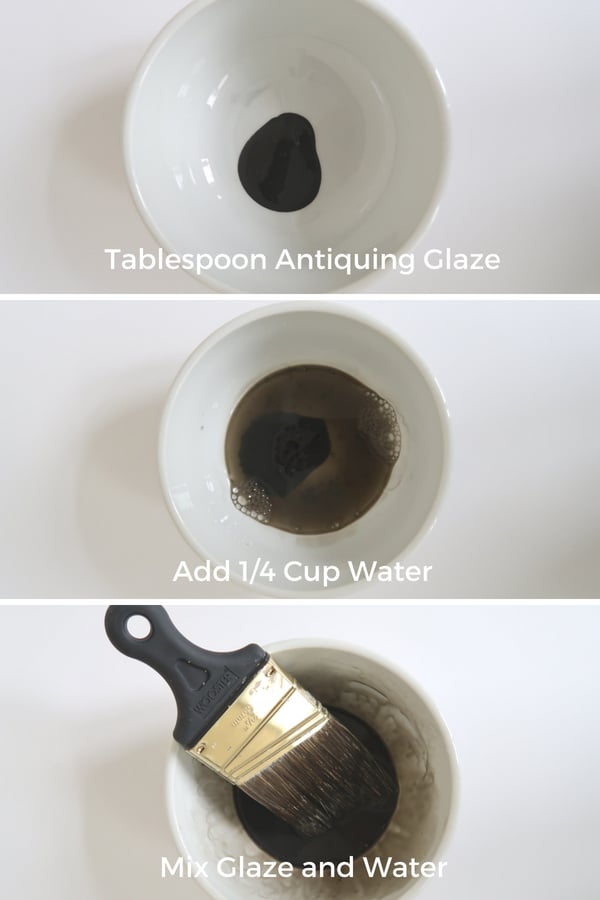
Step 4: create the color wash
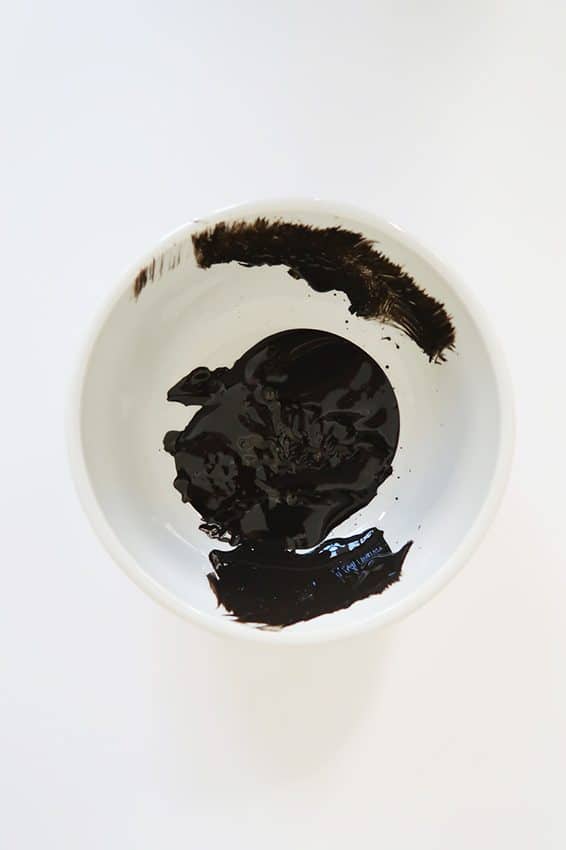
Mix the antiquing glaze with water as shown below. The ratio is a a spoonful of antiquing glaze and a 1/4 cup of water.
Mix thoroughly together with a spoon. It’s a very thin mixture, so you have more time to work with the glaze.
Step 5: apply the color wash
This is the base layer to create more depth to the original solid paint finish.
Saturate your brush with mixing glaze and dry brush it into the surface.
Work in sections top to bottom and side to side.Make sure to run the brush with the direction of the wood: horizontal and vertical.
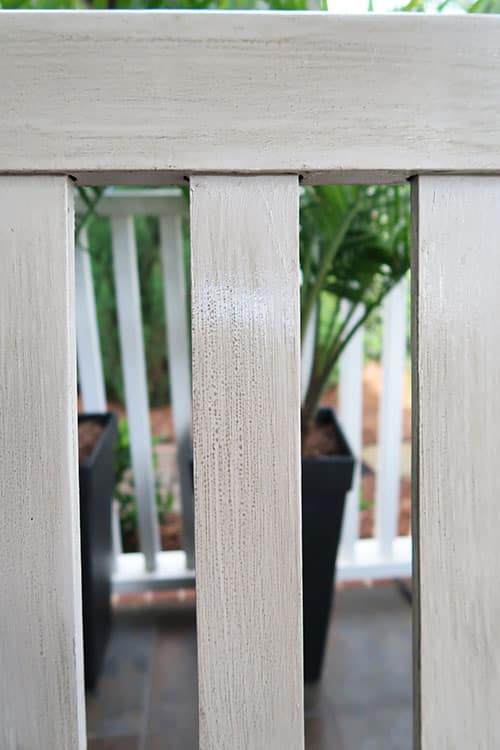
You can see my brush strokes how I moved with the direction of the sections.
Let the wash sit for about 5 minutes per section and RUB into the paint using your rag.
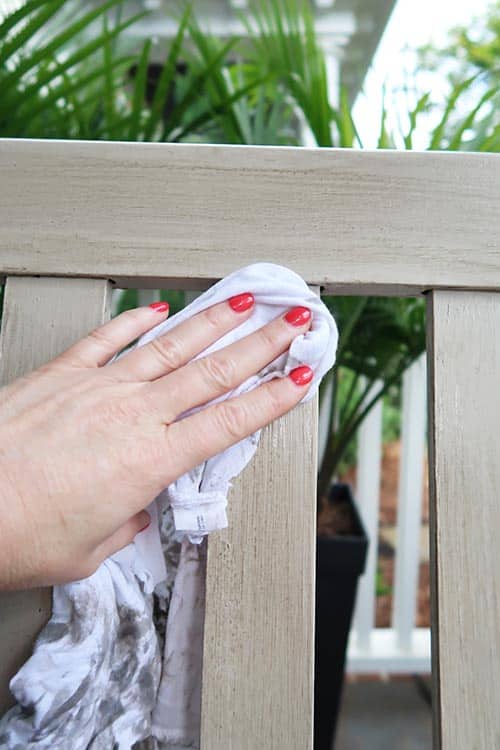
Work the paint into all of the crevices of the paint. You want to enhance the texture work the glaze into the surface.
Let the color wash dry overnight!
step 6: mix the dry brushing glaze
You will now become an artist! This is called a DRY BRUSH technique because you barely have any paint or glaze on your brush.
You will be WORKING the antiquing glaze into the surface to create what looks like wood grain.
I’d suggest first practicing on a piece of cardboard first, so you get the feel of it.
Glazing Technique
Fill the bottom of a wide mouthed bowl with antiquing glaze. DO NOT ADD WATER.
Dip just the tips of your brush into the glaze and blot on the sides of the bowl.
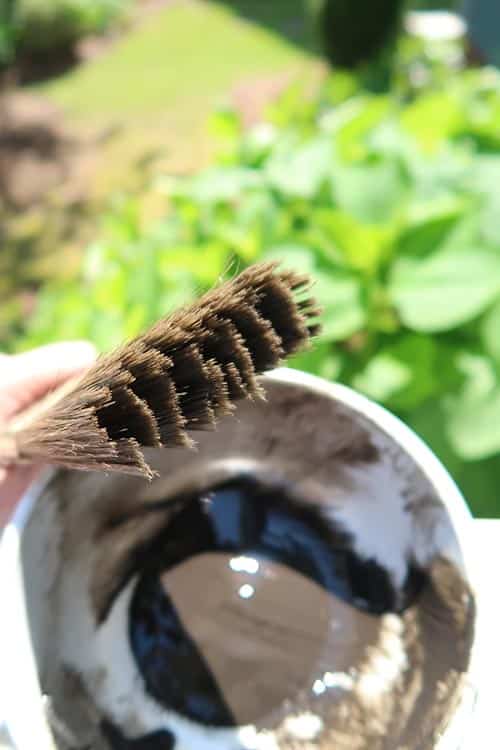
This is what my brush and glaze bowl looked like after working the antiquing glaze.
When I say very little glaze I mean it! Your brush should fan out like this, from working the glaze back and forth on the wood.
You can see I was blotting the brush every time I added glaze on the side of the bowl.
Step 7: Dry brush the antiquing glaze
Working in small sections one at a time to create the faux wood grain effect.
Work your brush back and forth, back and forth in the direction of the wood: horizontal or vertical to create lines.
Keep working an area until there isn’t glaze coming off of the brush and you need to re-load it with glaze.
Try to avoid overlapping! This is WORK and yes you may sweat 🙂
I worked the horizontal sections first trying to avoid the vertical slats. Make sure you get ALL surfaces.
I did overlap on edges and left it because I liked the look!
If you overlap and it creates too dark of a finish, luckily glaze is forgiving and you can wipe it off with a damp paper towel before it dries.
Before adding pillows or cushions, wait for the glaze to dry overnight so the finish is as hard as possible!

You may be wondering if you have to protect the faux driftwood finish?
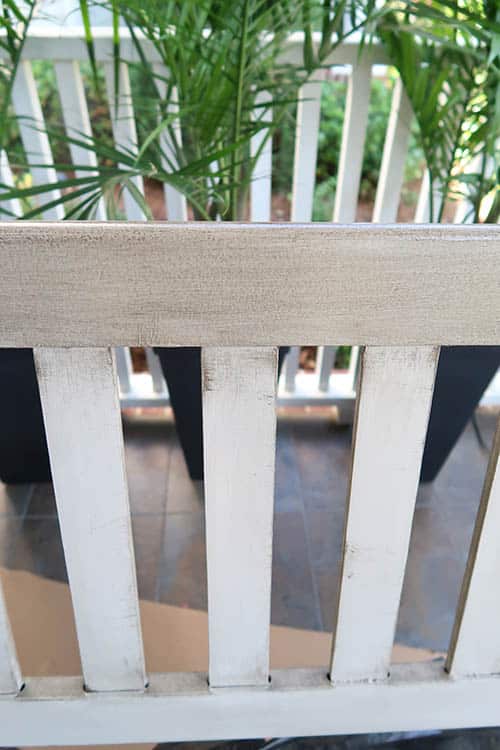
Here is a close up of the final driftwood finish! It’s the perfect coastal look I craved on the front porch.The good news is…this finish has been in place FOUR YEARS and I NEVER applied a clear coating.
Duramax is the BEST exterior paint and is durable. The glaze is worked into the paint, so it lasts.
Like the look of the sectional sofa? I have a FULL PAINT TUTORIAL:
Last season I traded out the sofa for a smaller bench to create more room on the front porch.
Check out my tutorial linked to create the faux finish on the bench to PAINT MATCH TARGET OUTDOOR FURNITURE!
Can I use this same driftwood paint technique on an indoor piece of furniture?
Luckily for you, I’ve create a Pottery Barn Seadrift finish for both cabinets and for furniture!
They are a little more complex than the exterior version, but I cover every step in detail.
Here are interior driftwood faux finishes you can try at your home:
- How-to Paint IKEA Furniture the Pottery Barn Seadrift Finish (aka driftwood)!
- How-to Paint the Pottery Barn Seadrift Finish on Cabinets
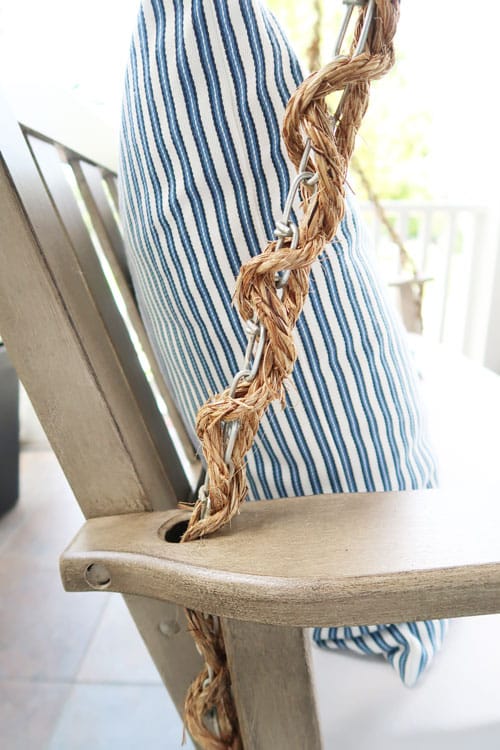
Finishing Touch Rope Wrapped Chain
If you’ve made over the porch swing to driftwood, then you may want to create the total coastal effect by wrapping the chain in rope.
Of course I have a full tutorial on that as well, CLICK HERE.
It’s a very inexpensive way to makeover a swing and give it so much more character
NOTE: My chains wrapped in rope have also been in place for 4 years! The rope does change color because it is exposed to the elements.
It has a more weathered look not, but I’ve NEVER had to touch it or wrap the rope again.
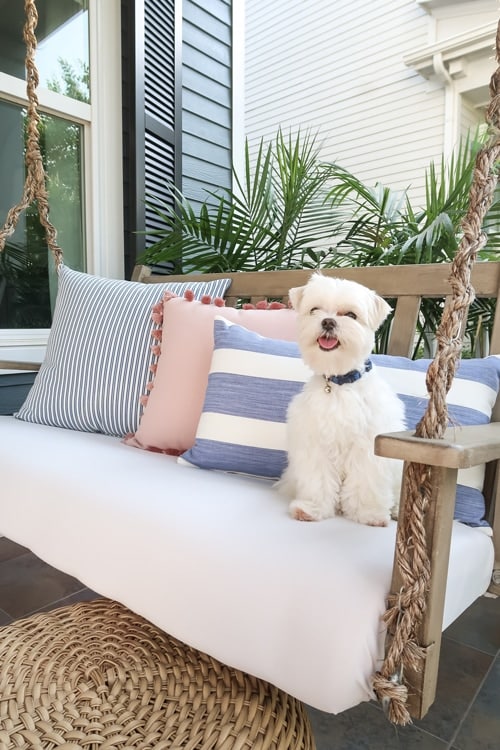
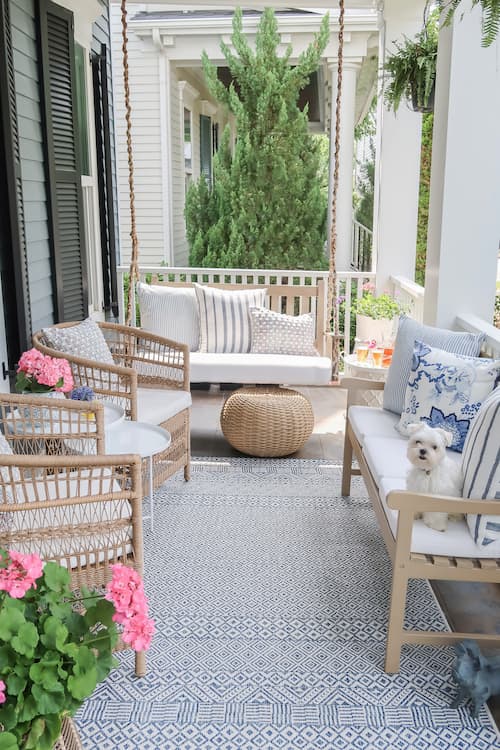
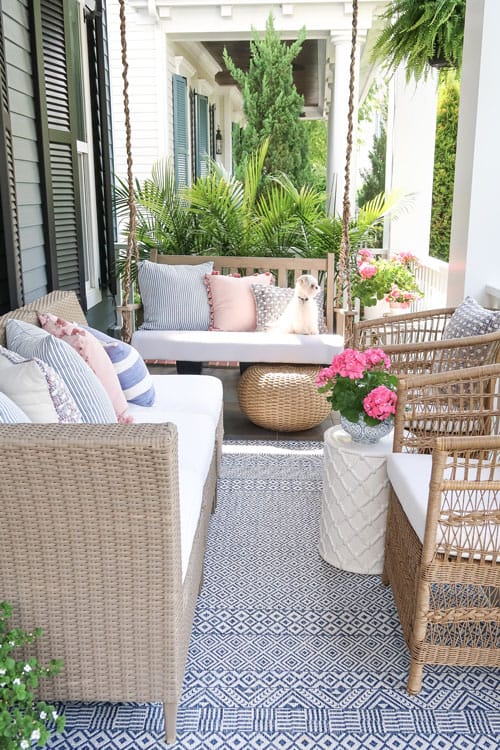
Mick and I sure do love it out here and the driftwood gray finished porch swing makes it feel like we are at the beach!
I think he’s pretending to be one of the pillows so I don’t move him 🙂
Pin It for Later!
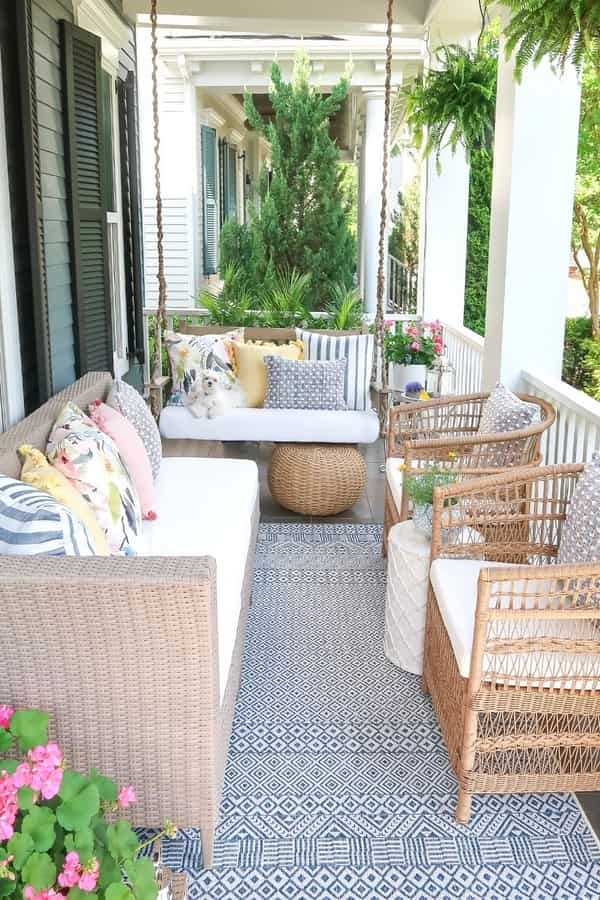
This front porch makeover was truly about capturing that sand in your toes feeling that feels like you are on vacation!
Check out these other furniture painting tutorials!
Please consider following me on Pinterest and Instagram for daily inspiration.
Until next time…
Porch Daydreamer
Tracey
I love this tutorial. Decided to try to use this on my interior entryway table. I started with a primer since the table was older and black. Then used a sample color of paint from Lowe’s. (wondering if that’s my downfall). Let each one dry overnight. Now I’m starting the color wash today. I put on for five minutes and went to wipe it away and all my base color paint wiped off. 🙁 I’m so bummed. Any ideas what I could do to salvage this? Thanks.
Yes, samples are usually not as high quality as a regular quart of paint and lower sheen. I’d lightly sand everything and clean off ALL dust. Then invest in the Valspar Cabinet/Furniture Enamel in semi-gloss. That will dry to a harder finish (you must wait overnight for it to dry). Then the glazing/color wash will go on more easily without taking off the base coat of paint.
This post came just on time! We recently moved and have a open cover porch in the back and I have been thinking of installing a porch swing for my grandkids. That is exactly the color I have in mind thanks for the tutorial! I’m glad for you and your mom your dad is stable and you guy’s are able to FaceTime with him. Wishing him a speedy recovery!
Brigida, Hi! Oh good I’m glad this will work for you. I LOVE the new look because it is so much softer. Thank you for your kind wishes.
The swing looks beautiful! I have a pine bedroom set that has turned orange over the last 18 years and I’d like to try this technique. Do you think it would work and what product do you suggest I used to prep the wood to hide the knots?
Thanks so much for all your inspiring tutorials! 🙂
Thank you! Yes, I have two interior driftwood finishes that you can reference for guidance: https://porchdaydreamer.com/pottery-barn-driftwood-finish/ and https://porchdaydreamer.com/pottery-barn-seadrift-paint-finish/
Hi, I love the look of the porch swing, did you use a sealer? Also, would this work on an inside dining table?
Thanks, Linda
Linda, no I didn’t seal it and after a year the finish looks great – even after a couple of hurricanes 😉 As I mention in the post, you definitely could use the same technique but make sure to use an interior paint. You may also find this post helpful: https://porchdaydreamer.com/favorite-furniture-paint/. Good luck!
Thank you for such a detailed guide; some of the videos on YouTube are maddening with plenty of the “I love me some me” lead-ins followed by “moments” spent on the actual project with few, if any specifics.
Many, many thanks for your excellent presentation!
Mike, SO glad to hear that! YES, I so agree after trying to find painting tutorials on YouTube – even about chalk paint. Maddening. So I stared at some real driftwood and made up a faux finish 🙂 Then recorded my process just in case it turned out and it did!
I’m not exactly doing the Sistine Chapel, just a few old corbels for a shelf but wish me well and give that dog a treat…
Good luck!
Hi, just came across your posts! Love your home, what brand and Coler glaze did you use on the swing?
Thank you! It is from Valspar and linked under the Supply list. You can buy it at Lowe’s.
Love this Tracey! The color is perfect I need to try this
Thanks, Bethany! I’m eyeing a couple of pieces inside to makeover with this finish. It was so easy!
Tracey, you just absolutely nailed this!! I just know this tutorial will come in handy for me! xoxo
Good, thank you Jessica! You do have a “house full of summer”, so it would be the perfect finish for you!
Love it, great tutorial
Thank you!