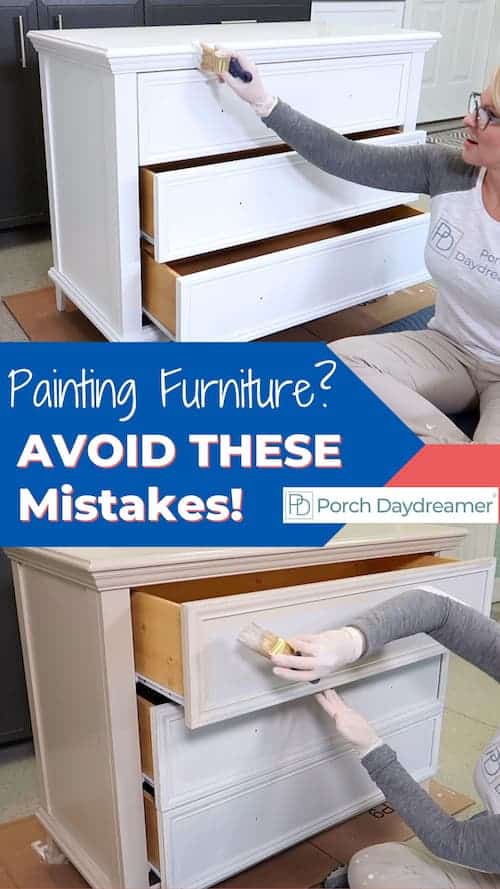
Painting Furniture? Avoid These 6 Mistakes!

The emails I get in the middle of the night from people who have made these furniture painting mistakes are in the hundreds!
It’s sad because with a little help from me who is a paint expert they could have avoided the issues all together.
Why should you trust me? I worked for a major paint manufacturer for years launching new product technologies and training people how to paint.
Plus I have an Architectural Coating Technologist Certification. Paint nerd over here!
I hope these tips find you BEFORE you ever get started painting your furniture and I don’t get a late night panicked email from you 🙂
Contains hand selected products, with affiliate marketing links where I may earn a small commission if a purchase is made. {full disclosure here}
6 Common Mistakes People Make When Painting Furniture
Here are the four mistakes that we will review in this article:
- Painting over failing areas.
- Not cleaning or degreasing the surface.
- Not priming prior to painting.
- Confusing dry time with recoat time.
- Painting with the hardware in place.
- Closing doors and drawers during while drying.
My promise to you is that the next time you paint furniture you’ll be well informed, so you get the best results possible.
Pin It for Later!
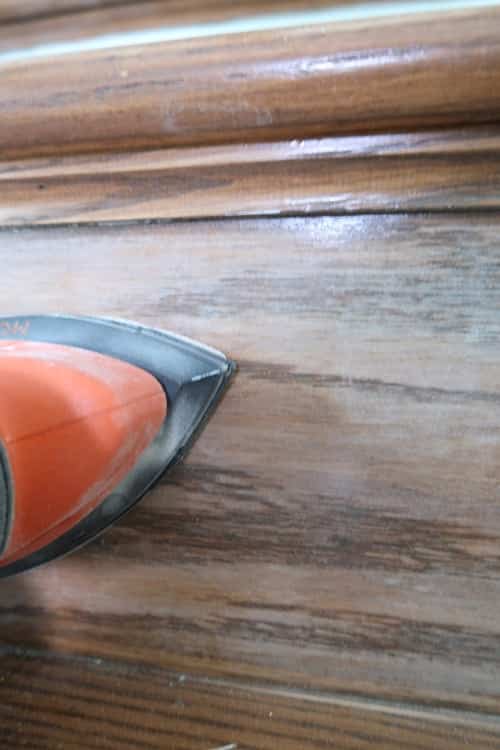
Mistake 1: Not Sanding Smooth Failing Areas
My friend please know if you apply paint over a surface that is chipping or flaking the paint isn’t going to magically repair that area.
It’s very important that you really inspect the furniture and look for areas that need a little TLC before you get painting.
You don’t have to sand OFF the finish just make it smooth. Most simple chips or flaking areas can be sanded smooth using a 220 grit sandpaper sponge.
If there are areas that are seriously damaged, it’s a good idea to use a battery operated sander. That will save you time and energy!
NO! Don’t Sand-Off the Stained Finish Before Painting
You may have serious nicks or chips that may require that may require wood filler as well that needs to be sanded smooth.
There is a really EASY wood filler you can try called KwikWood that you blend together in your hand and apply.
Then the MOST important step after repairing and sanding any areas is to CLEAN off that sanding dust!
You can use tack cloth or if you don’t have that handy a damp microfiber rag works just as well.
If you apply primer or paint over that dust, it will be a weak spot in the finish that will eventually fail.
Plus that sanding dust will create a texture under the paint ruining the smooth finish you desire.
Mistake 2: Skip Cleaning the Furniture
The first step to getting long lasting durable results is making sure the surface you are painting is clean.
Yes! You must make sure the surface of what you are painting is not just clean but squeaky clean.
Removing dust and debris creates a smooth surface, so the primer and paint you put over the top dries to a smooth finish.

However, it goes beyond just cleaning whether you had to sand or not.
DEGREASING the surface is also extremely important! Everyday life ends up on furniture like cooking grease and general fingerprints.
This is a step you may not know about, but it’s how you get GREAT adhesion prior to applying any products.
My Go To Furniture Cleaners
- De-glosser and Degreaser
- Pre-Paint Cleaner (TSP substitute)
- Soapy mixture of Dawn Dish Detergent
Why I recommend Dawn specifically is because it is also a degreaser. Remember the commercial when they used Dawn detergent to clean animals off after a massive oil spill?
Just mix a little detergent in a bucket of water and wipe down your furniture with a rag. MAKE SURE TO RINSE with clear water and let your furniture dry.
What I like about about the pre-made cleaners is you apply and then in 10 minutes can get priming. This is what I do!
All of this cleaning and degreasing will prepare the surface so you get the BEST paint adhesion.
That means the paint will be more durable and last longer too. You want all of your hard work to last right?
Mistake 3: Not Priming Prior to Painting
Yes I know…the chalk paint manufacturers, “One-step” paint suppliers and the paint + primer in one ads make you believe primer isn’t needed.
Skipping primer can create serious issues that can cause a lot of headaches when painting furniture.
Frankly, paint and primer in one is BS!! It’s a marketing gimmick. The first coat of paint is the primer and way more expensive than a regular primer is!
why priming furniture before painting is SO important:
- Switching paint types. Water based paint over oil can be a big pain if you don’t prime first.
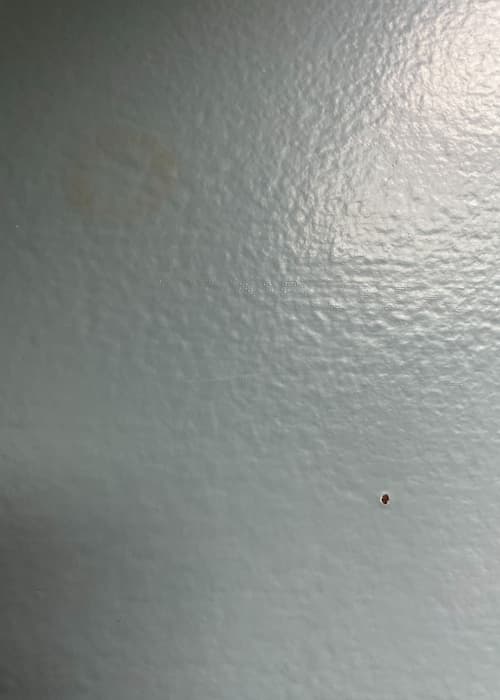
- Stain bleed through. Water activates some stains and shellacs or tannin in the wood creating brown streaks in the paint.
- Bare wood. Your first coat of paint will act as a primer and soak right into the wood. It’s LESS expensive in the long run to prime first.
- Glossy surfaces. Some of those one step paints may look good right away, but may not hold up overtime without using a bonding primer.
Primers are a critical first step to not only to prep the surface for painting, but also they save you money in the long run.
Paint is more expensive than primer, so I’m always going to recommend to prime first and then paint.
Applying the right primer will help the paint adhere to the surface, help the paint glide on more smoothly and add long term durability.
Mistake 4: Confusing Dry Time with Recoat Time
This is how this problem manifests itself and the panicked emails that I get.
“My paint won’t dry do you know why?” or “The paint has been drying for a week and still feels tacky, why?”
These are SERIOUS issues you can prevent, if you pay attention to the paint recoat time.
It’s a simple and easy process to follow when painting furniture.
Yes! You MUST read the back of the paint can you bought to find out this information.
paint dry time versus paint recoat time
- Dry time is when the paint feels dry to the touch.
- Recoat time is the amount of time the paint requires, before it can accept another coat.
If you confuse dry time and recoat time, then there is a HIGH probability you apply your 2nd and 3rd coat too soon.
When paint hasn’t cured to the point it will accept another coat, then the next layer you apply just sticks to itself.
The technical term for this is called “blocking” and why the paint never dries and remains tacky.
It ends up being a free floating layer on the furniture that never full cures and stays tacky.
Every time you pick up an object that has been sitting on the furniture surface it will STICK and likely pull up a little paint with it.
Plus those decor items can leave impressions in the paint. If you didn’t prime, then add bleed through to the mix.
BAD, right? If this happens to you, you can try to dry out the paint with a heated fan blowing over the furniture for a day.
Most of the time the only way to fix the issue is to sand it off and start over. Sorry!
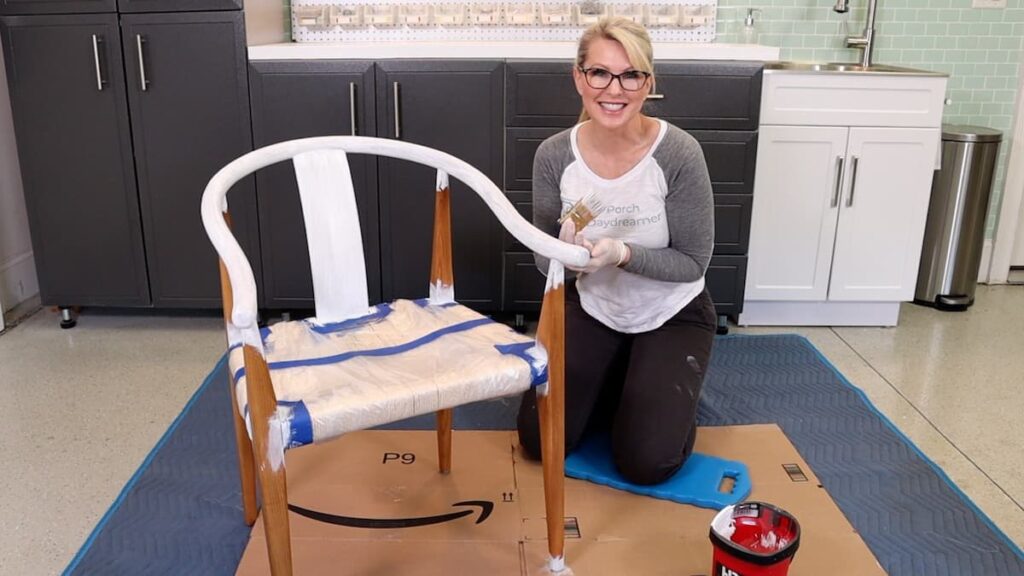
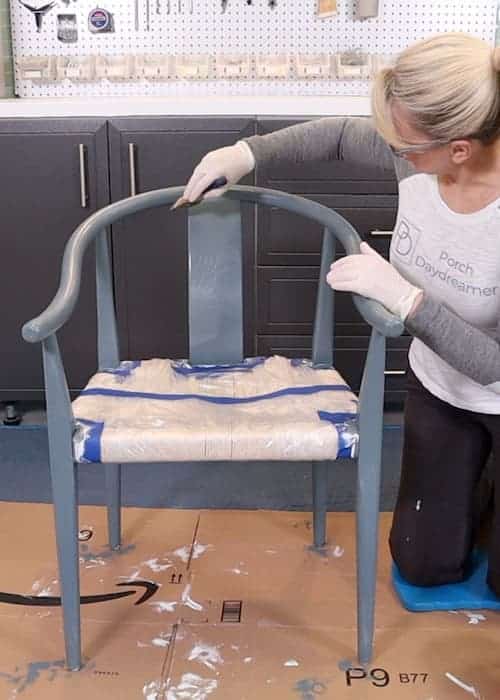
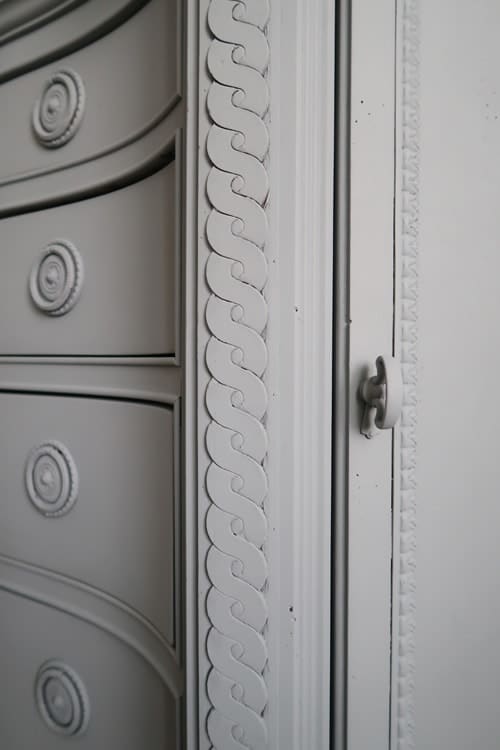
Mistake 5: Painting Around the Hardware
If you can, always remove the hardware on your furniture like knobs, pulls and hinges prior to painting.
- If you don’t, it makes it much harder to create a smooth finish.
- Painting around the hardware requires a brush and will leave LOTS of brush marks.
- Rolling large expanses without hardware is easier and faster too!
It also makes it SO much harder to avoid drips! The paint will collect around the hardware and run.
Yes, I’ve painted over hardware in the past so I know these issues well. Sometimes either you like the look of painted hardware or truly can remove it.
You can see how I handled it when I painted my stained dining room buffet with chalk paint.
Mistake 6: Closing Doors and Drawers While Paint is Wet
Make sure to leave drawers and doors open after painting!
- If you don’t (since you removed the hardware, right?) you may have to pry open drawers and doors which can create serious damage.
- In addition, the water in paint will make the surface swell a bit.
- If you don’t leave them open, they can swell and be painted shut!
This can especially be tricky on furniture that is older and is made out of wood.
The water found in the primer and paint will be absorbed into the wood and make it swell slightly, before the paint fully dries.
Yes, you can paint drawers and door shut so avoid this. The only way to get them back open is to damage the painted finish by scoring seams.
How to Avoid Issues when Painting Furniture
Ok, let’s review what you learned today! Hopefully, these tips will help you avoid future issues.
Your painting furniture will come out beautifully, with a smooth, hard durable finish.
- Never paint over failing areas! That’s how you will get a smooth durable finish.
- Always degrease and clean the surface prior to painting, so the paint adheres.
- Never skip priming! It will prevent issues and save you money.
- Read the back of the paint can and only apply new layers of paint per the manufacturer’s instructions.
- Always remove the hardware to ensure a smooth drip free finish.
- Leave painted drawers and doors open while drying.
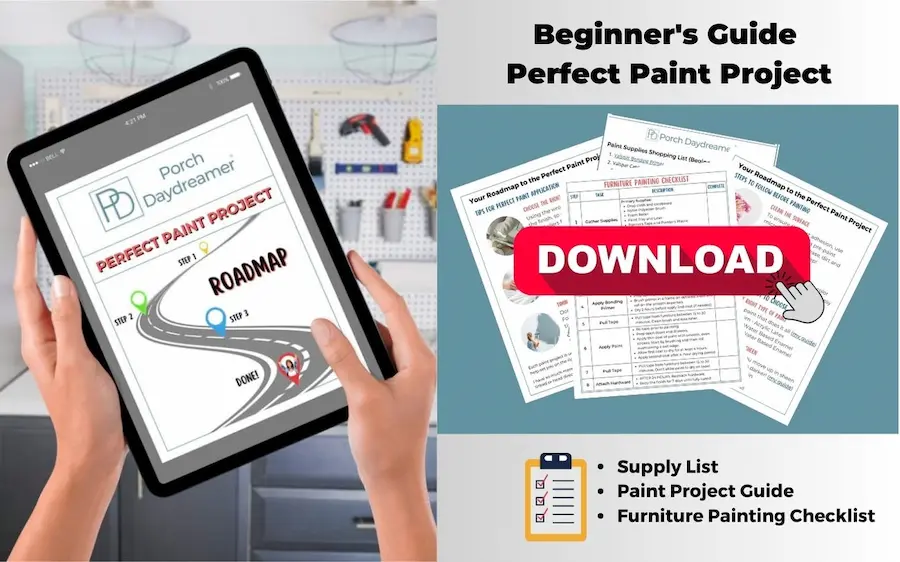
Want to know EXACTLY how to paint furniture?
Check out these other furniture painting tutorials!
Please follow me on Instagram where I share daily decorating and painting tips.
Sign-Up for my Weekly Emails!
Straight to your inbox sharing can’t miss decorating and painting tips for your home.
Until next time…
Porch Daydreamer
Tracey