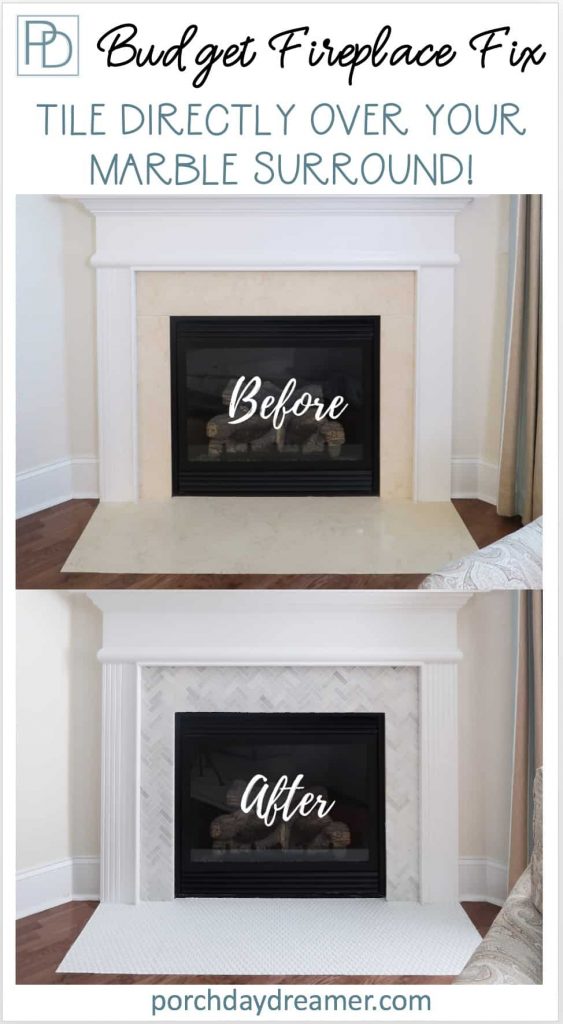
How-To Tile Over a Marble Fireplace Surround
Are you looking for ways to makeover your ugly beige marble fireplace surround? Guess what? You can tile right over the marble for an easy update!
Looking at your marble fireplace surround and not loving it? Wanting an easy weekend project to update your fireplace?
Did you know that with a little adhesive you can apply tile right over the face of the marble fireplace surround and create a whole new look!
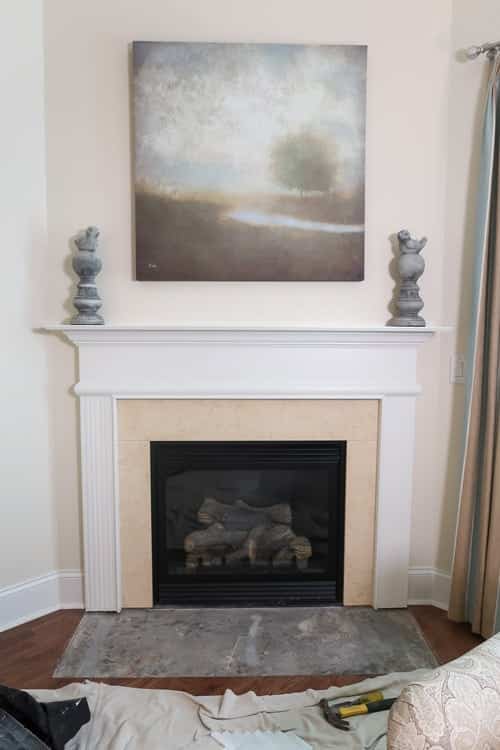
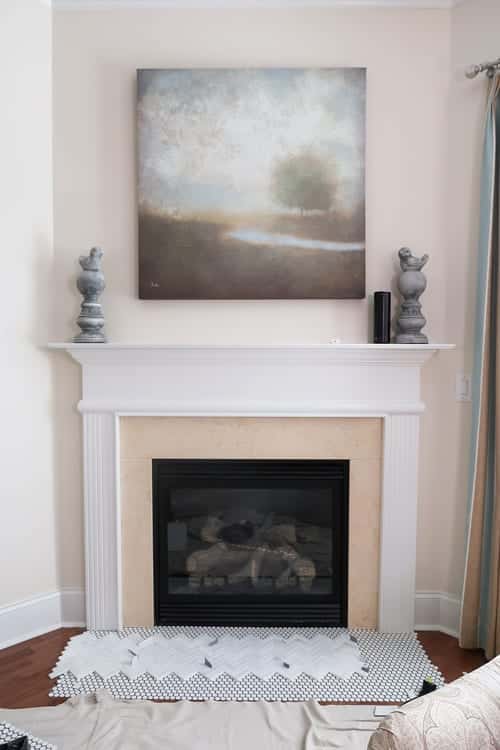
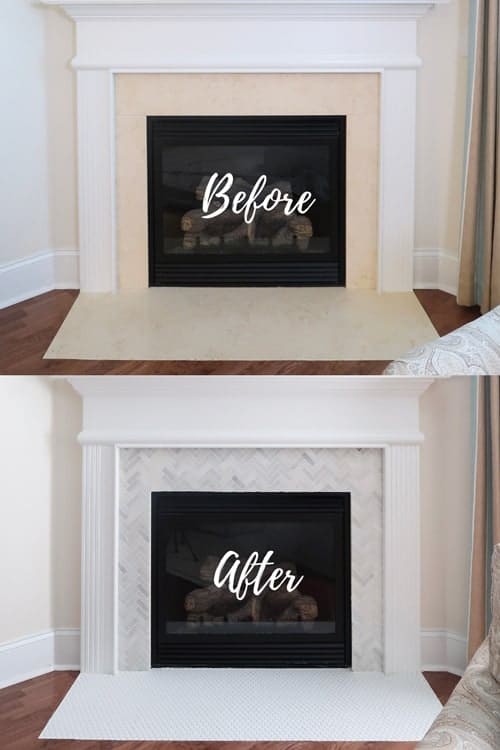
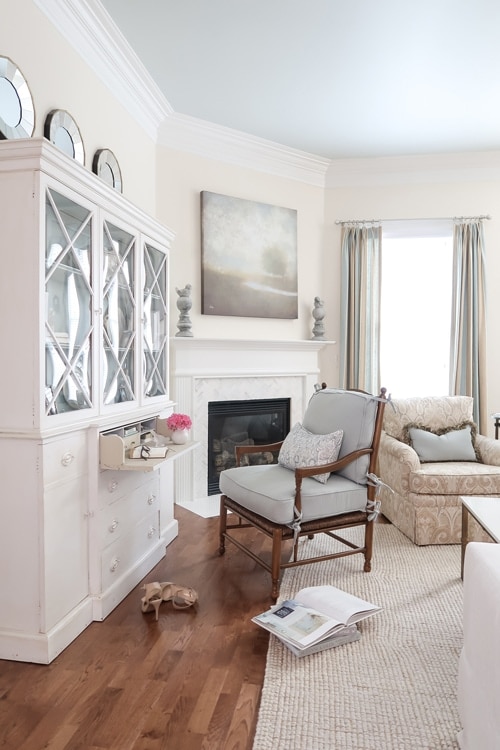
My Peachy Beige Fireplace Surround
One of the first things I said when I did the final walk through of my new construction home was “That isn’t the marble I picked for the fireplace. It looks peach, right?”
Of course my builder dismissed this notion and I was ready to move in, so I kept on moving through the rest of the home and forgot about it.
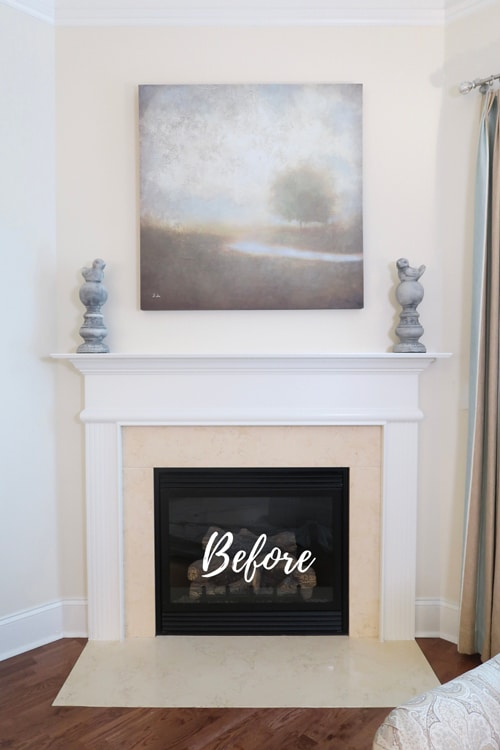
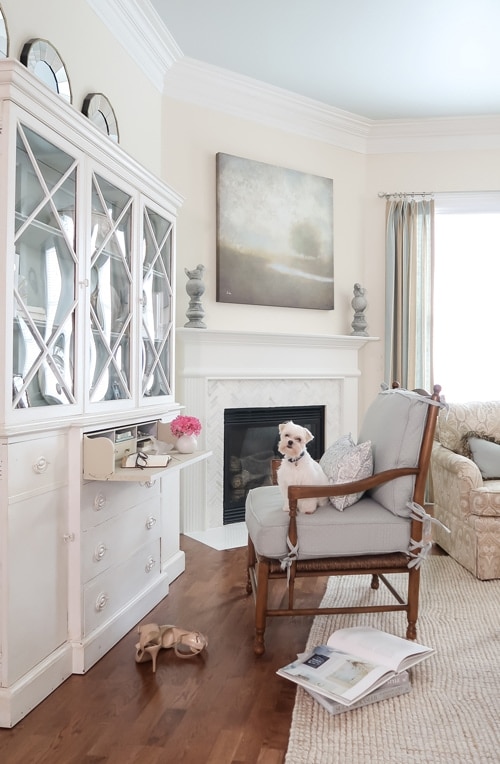
Over time, I’ve decorated around the strange corner fireplace, but have never loved it. It worked – it was fine.
Plus I ASSUMED that fixing the marble fireplace surround was either impossible due to the hardwood floor or really expensive.
It seemed the only solution to fix the peachy beige marble was to hire a fabricator and install all new marble, but I was wrong!

Fast forward 9 years later and doing some homework and consulting with a couple of contractors, I realized that it was possible to tile right over the fireplace marble.
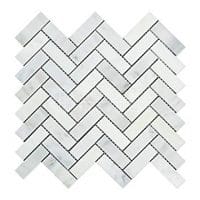
Then my luck turned! While running errands, I found herringbone marble tile and penny tile at 50% off ($3.50 a piece) and decided it was time to update the fireplace surround!
Tags: ceramic tile reface, marble fire surrounds
fireplace overlay, how to replace tile around fireplace, marble fire place, ceramic tile, tile surface, ceramic tile refinishing
How-to Tile Over a Marble Fireplace Surround
After taking a tiling class, I KNOW that is something that is just not in my DIY wheelhouse, so I called an expert named Leo.
He was the master behind my recent bathroom remodel, so I knew I could count on him!
When watching the process, it is TOTALLY a DIY project you could do in a weekend. You just need some patience and tools to get the job done right.
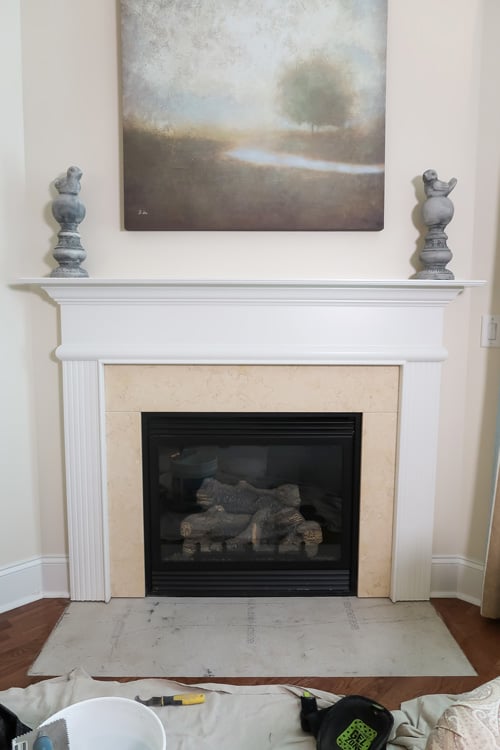
The MAIN reason I could go over the existing marble with tile is because the moulding frame was so deep at 2 inches.
The tile only takes up about 1/4 of an inch, so MEASURE before you move forward with this plan.
How-To Tile Over a Marble Fireplace Surround
Looking for a budget friendly way to update your fireplace surround? Here is an affordable DIY update tiling directly over the marble surround for a whole new look.
Materials
- Marble Herringbone Tile
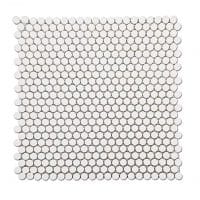
- Penny Tile
- Mastic Adhesive
- Hardie Backer Board
- White un-sanded grout
Tools
- 16 oz. Hammer
- Tile Nippers
- Trowel
- Mason Chisel
- Tile Wet Saw
- Painter's Tape
- Bucket of Water
- Large Sponge
- Utility Knife
- Tape Measure
Instructions
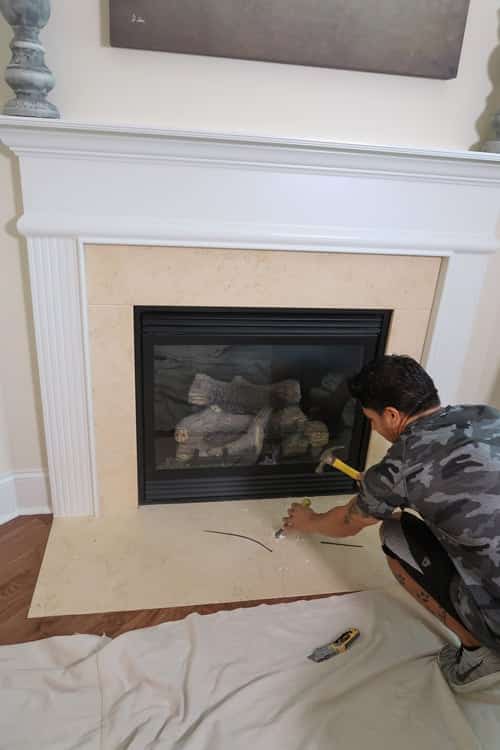
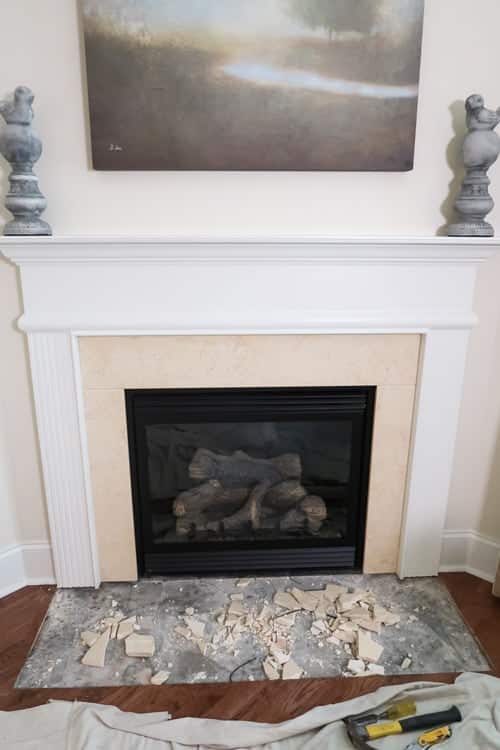
- Making sure the hardwood floor is protected, using the hammer and mason chisel remove marble hearth set into floor.

- Clean out marble debris and sweep floor to remove small particles, so they don't scratch the floor.
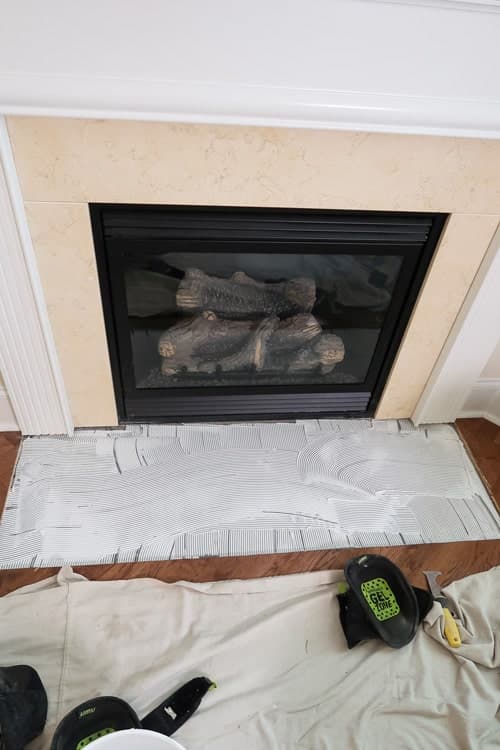
- Measure opening to determine the size of the Hardie backer board. Apply mastic adhesive to concrete and level by scraping with trowel.
- Place Hardie back board in place and let set a few minutes.
- Apply layer of mastic adhesive over the top of the Hardie back board.
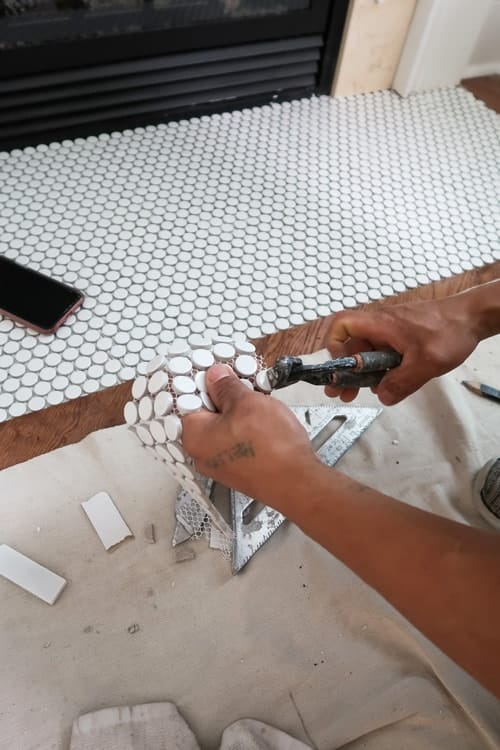
- Layout face tile for fireplace surround on the floor prior to cutting. Cut to size using a wet saw (not shown).
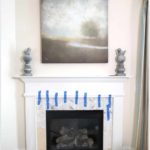
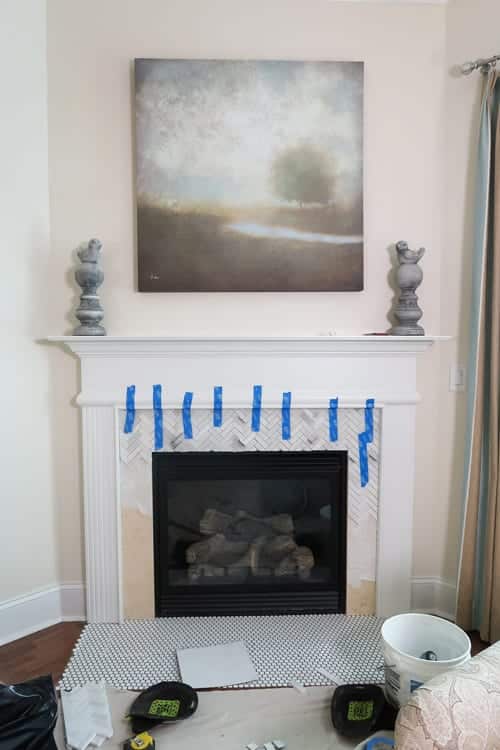
- Apply mastic adhesive directly to marble and adhere tile. Reinforce with painter's tape until adhered. About an hour.
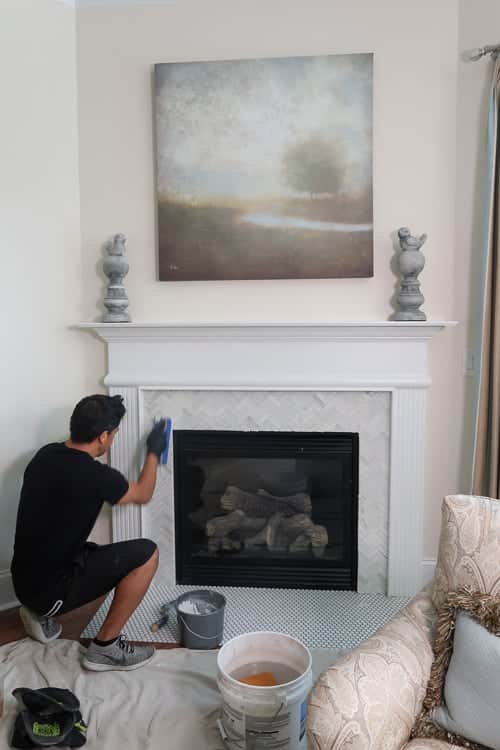
- Let dry overnight and grout the face and hearth tiles. Wipe off excess grout with a sponge and water to shine!
- Enjoy the new tiled fireplace surround.
Notes
Watch for tile on sale! I was able to get all pieces for $3.50 for a grand total of $80 for the tile.
Recommended Products
As an Amazon Associate and member of other affiliate programs, I earn from qualifying purchases.
-
 CRAFTSMAN Tape Measure, Chrome Classic, 25-Foot (CMHT37325S)
 -
Internet's Best Premium Utility Knife - Set of 2 - Retractable Razor Knife Set - Extra Blade Refills - Box Cutter Locking Razor Knife
-
QEP XL All-purpose sponge
-
Encore 30448 Industrial Bucket, 3.5-Gallon, White
-
Custom PMG381QT 1-Quart Simple Premium Grout, Bright White
-
Scotch Painter's Tape 2090-48E 07230001245 ScotchBlue Painter's Tape, Multi-Use, 1.88-Inch by 60-Yard, 1 Roll, 1.88 inch x 60 yards, Blue
-
Leegol Electric 7-Inch Wet Tile Saw - Portable Wet Cutting Porcelain Tile Cutter Table Saw with Water System
-
IRWIN Tools 1954889 Fiberglass General Purpose Claw Hammer, 16 oz
-
Finder 12-Inch Heavy Duty Flat Chisel With Hand Protection, Flat Head, Demolishing/Masonry/Carving/Concrete Breaker Chisels
-
M-D Building Products 49198 Trowel Prem 1/4"X1/4" V Notch, 11 x 11 x 4.5, Silver
-
M-D Building Products 49943 Compound Tile Nippers (PRO), Black, Yellow
-
HardieBacker 3 ft. x 5 ft. x 1/4 in. Cement Backerboard
-
Henry HY314/SET044 1 Gallon Multipurpose Ceramic Tile Adhesive
-
Diflart Thassos White Greek Marble 1/2 Inch Penny Round Tile for Kitchen Backsplash Bathroom Polished Pack of 5
-
Oriental White (Eastern White) Marble Herringbone 1 X 3 Mosaic Tile, Honed


Isn’t the process simple? You may have wondered about my floor and this is where a good and neat contractor is really important.
Leo was very careful in the process to be gentle pulling out the marble hearth and sweeping up to make sure the floor didn’t get scratched.
Depending on the tile you choose this project could be done in one day. The mosaic is delicate and he cut very small pieces, so we decided to wait overnight to grout.
Grouting only took an 1.5 hours start to finish.
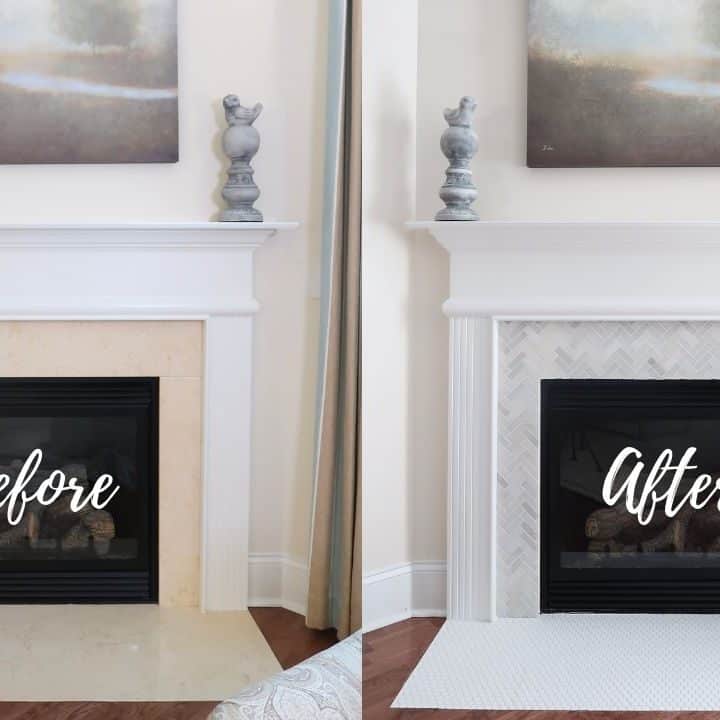
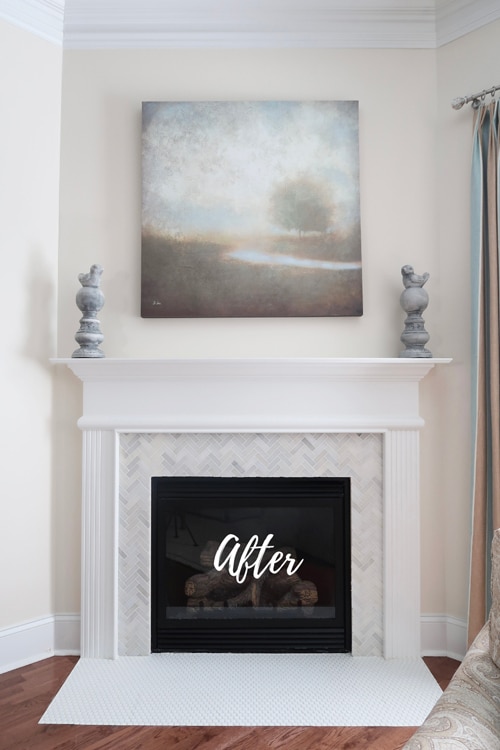
Reveal: Tiled Fireplace Surround
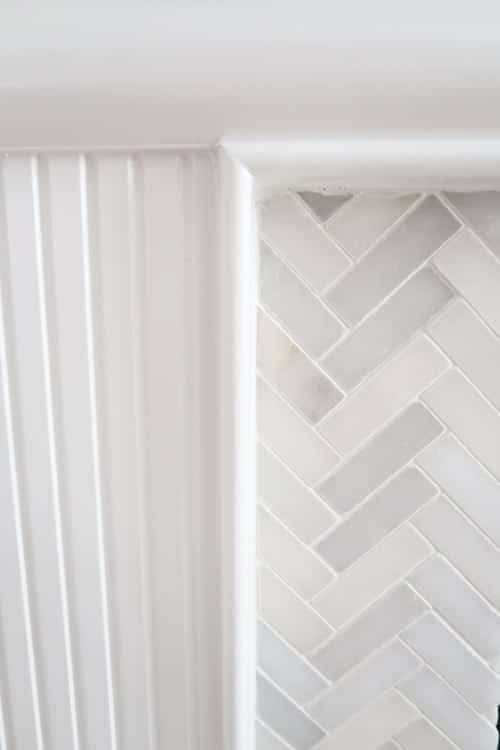
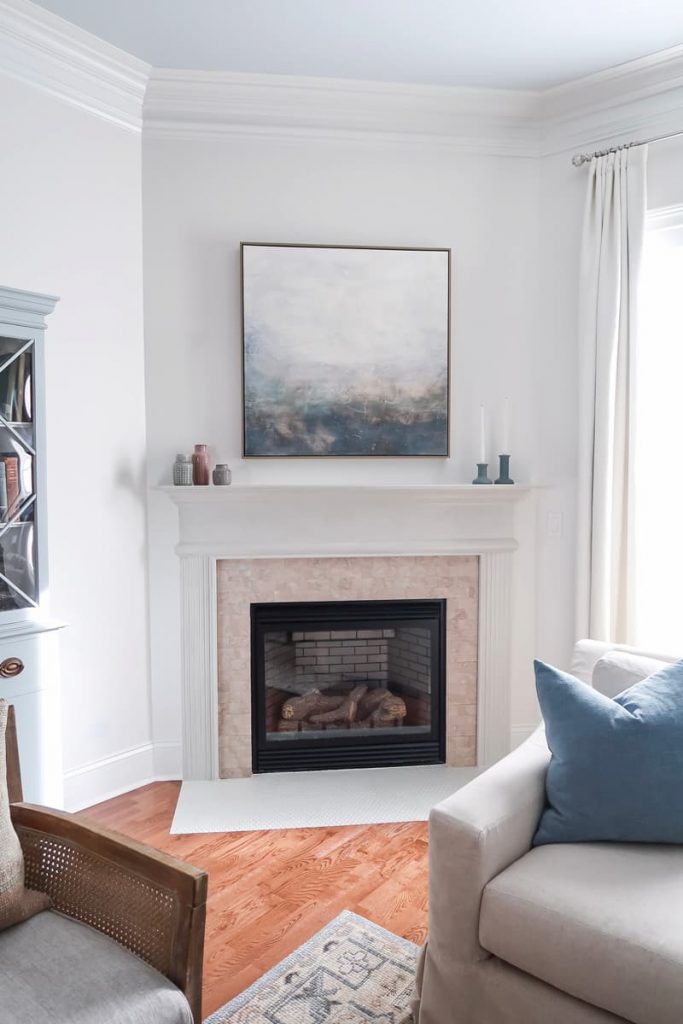
What a difference the tile makes! It brightens up the entire look and makes the decor look more modern.
I love the contrast between the herringbone pattern and the penny tile. It isn’t something I’ve seen before and LOVE it!
Plus penny tile is one of the most inexpensive tiles and would look good on the face of the fireplace too.

Something you may be wondering is how did we handle the sides of the exposed marble with the herringbone tile being installed directly over top?
We left it! Honestly, it is so neutral it blends right into the room and you don’t notice the marble underneath.
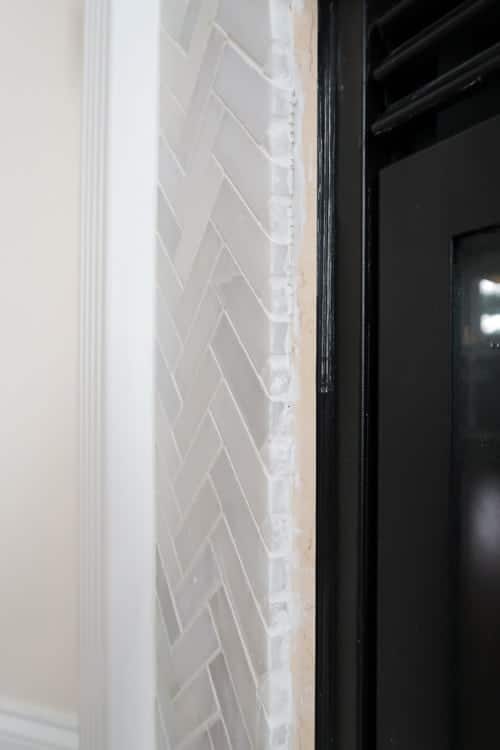
If you are a total perfectionist or going over a dark colored marble with a light colored tile, you could prime the marble with Bonding Primer and apply a matching white paint.
Mine is staying as is and you don’t really see it…

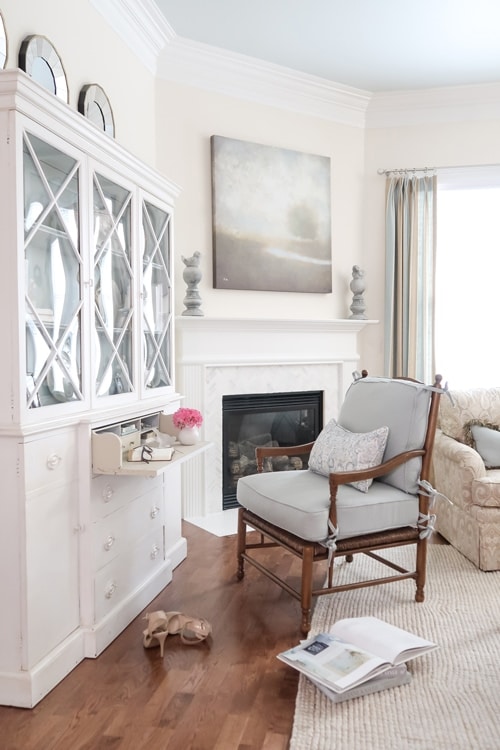
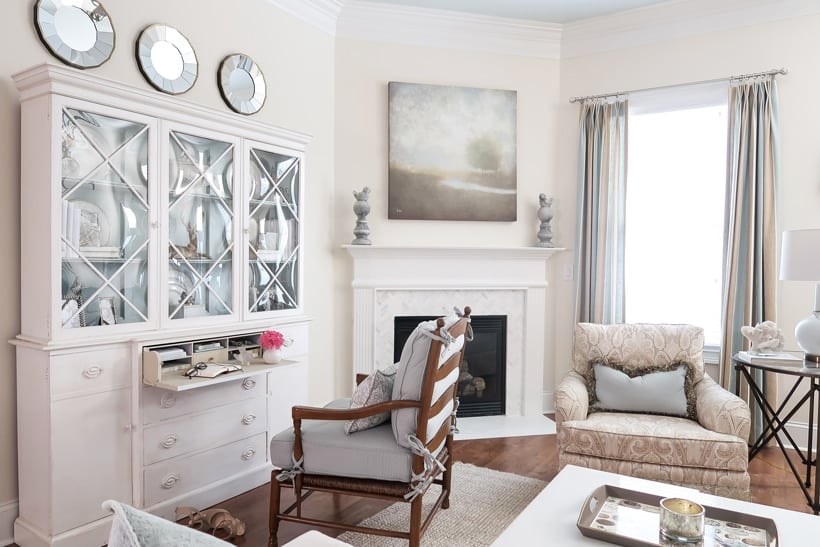
It’s great how the white tile brightens the entire room and pulls out whites from all of the other decor.
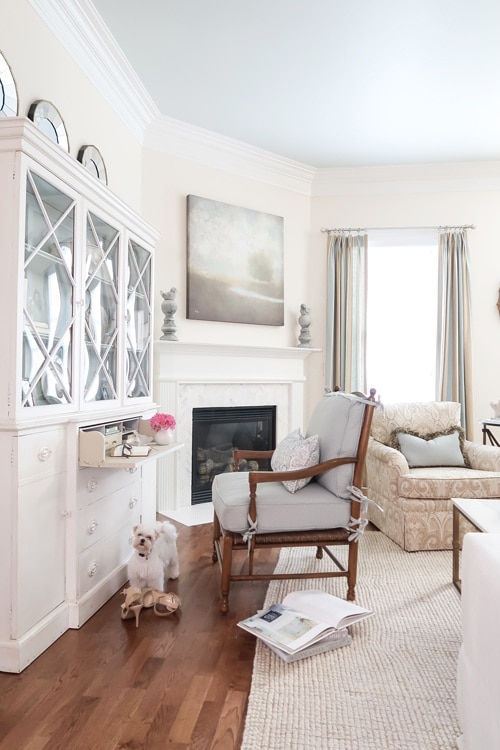
The peachy beige marble pulled creamier colors out of the wall paint and the upholstered paisley chairs.
Before I started this project, I thought I would be forced into painting the walls a lighter shade, but it all works!
If you didn’t know, Mick the Maltese LOVES to photo bomb my shoots.
He fits right into the decor and is the best accessory.
Here is a straight shot of the fireplace, so you can see the beautiful tones in the marble herringbone tile.
I still can’t believe what a deal/steal I got on the tile!
If you love this cabinet and secretary, I wrote a whole post about the makeover I did last year.
How-to Give New Life to Old Furniture
Mick and I are loving the new look of the room and are so glad we decided to grab the deal on the tile and go for the fireplace tile makeover.
What a modern new look with a simple change to white and bright tile. Bye-bye boring beige!
Pin It for Later!
Please let me know in the comments section what you think of the fireplace surround makeover.
Do you think you make tackle this yourself or are you like me and going to hire a professional?
Hey, we all know what we are and are not good at and tiling in not for me 😉
CHECK OUT: STICK ON TILE TO UPDATE FIREPLACE SURROUND
Please consider signing up for my weekly email newsletter and following me on Pinterest and Instagram for daily inspiration.
Until next time…
Porch Daydreamer
Tracey
Love it! By the way did the height of the wood floor match the hearth extension? Did you have any lip? We are laying flooring and yours looks so clean and even. Thanks!
Thank you! The old marble was the “lip” and when I tiled made everything flush with the hardwood. It’s such an odd tiny corner fireplace that it didn’t need a hearth 🙂
Loved the idea. I don’t have a marble surround, but I have a builder grade porcelain tile surround. Last year, I stenciled the tile. It looked great until the paint started to yellow. So I will need to tile over the base. I was dreading demolishing the tile because of the mess and the potential damage to the underlayment. I am definitely going to tile over the porcelain. Thanks for the tutorial.
I have also been postponing the tile redux on the fireplace surround. (4 yrs and counting) It’s a massive 12” tile per side! Your article is just in time to save me from any horrific mistakes. I’ve been contemplating the fireplace demo but new tile only sounds manageable. New tile seems to be 1/2” thick. My hearth stands up 3” from carpet. Should I bust the existing porcelain tile out to keep the hearth height around the same 3”? Or tile over the existing porcelain covered hearth in which case, the hearth would be 3 5/8” high?
Thanks again for the insight and well written instructions.
Sorry! I can’t give you advice specific to your situation. Good luck with the project.
I love it! We’re thinking of doing something similar to our marble surround. Did you have to prep the upper marble at all? Our granite is so shiny I’m worried the mastic/tile won’t stick!
Stephanie, if you watch the video it shows exactly how the contractor prepped the surface. My marble was shiny too and mastic is sticky, so it’s not an issue.
Beautiful! Such a grand idea! I have a fireplace that extends to my ceiling (12’) and hate the dark brick. I’ve considered white washing the brick but kinda scared to do that. By tiling it, I would have more control over the color. I love the idea! Thanks for your inspiration!
Hey, my friend from Georgia! Nice to hear from you and glad this was inspirational 🙂 White washing is really pretty easy (and cheap!), so that sounds like another good idea.