Master Guide to Hanging Your Christmas Decor

Clever hacks for hanging all types of Christmas decor.
Maybe I am OCD, but hiding cords and hangers when decorating my home for Christmas has become a mission!
Here I’m sharing how to attach or hang a WIDE variety of Christmas decor in your home.
These are my time tested go-to methods that you can used for just about any type of decor you want to hang this holiday season.
This is your master guide to hanging ALL of your Christmas decor.
Pin It for Later!

Included is a solution to hang just about every type of Christmas decor!
- Hanging garland on a staircase banister
- Hide string light battery packs
- Attaching wreaths to chair backs
- Hanging wreaths on mirrors or windows
- Clipping lights around doors or a mantel
- How-to Create a Mirror Wreath with Garland
- Hanging wreaths on interior and exterior doors
- Hanging wreaths on cabinet doors
- How-to create a decorator tree with family ornaments
- Attaching wreaths and garland to a porch or deck railings
Jump to my recommended Christmas Hanging Tool Kit
All the Products You’ll Need to Hang Your Decor
There are SO many things that need to be hung at Christmas time both inside and outdoors!
Think about it there are wreaths, garland, and string lights hung in a variety of locations.
You need to be prepared, before you start decorating, so you have all of the tools that you need on hand.
That way Christmas decorating will go much faster and be less frustrating.
There is nothing worse than having to run to the store in the middle of decorating!
Here is your Christmas Hanging Tool Kit:
- Command Outdoor Light Clips
- Clear Command Hook (indoor) and (outdoor)
- Command Small Cord Clips
- Command Large Cord Clips
- Mounting Putty
- Pipe Cleaners
- Fastening Tape
- Ornament Hooks
- Garden Twist Tie
- Plastic Zip Ties (small) and (large)
- Deck Rail Hangers
- Electric Staple Gun / Staples
- White Ribbon
- Adjustable Wreath Hanger
- Clear Over the Door Wreath Hanger
- White extension cords
- Green outdoor extension cords
- Outdoor timer
- Smart Plugs
Want more Christmas inspiration and helpful hints?
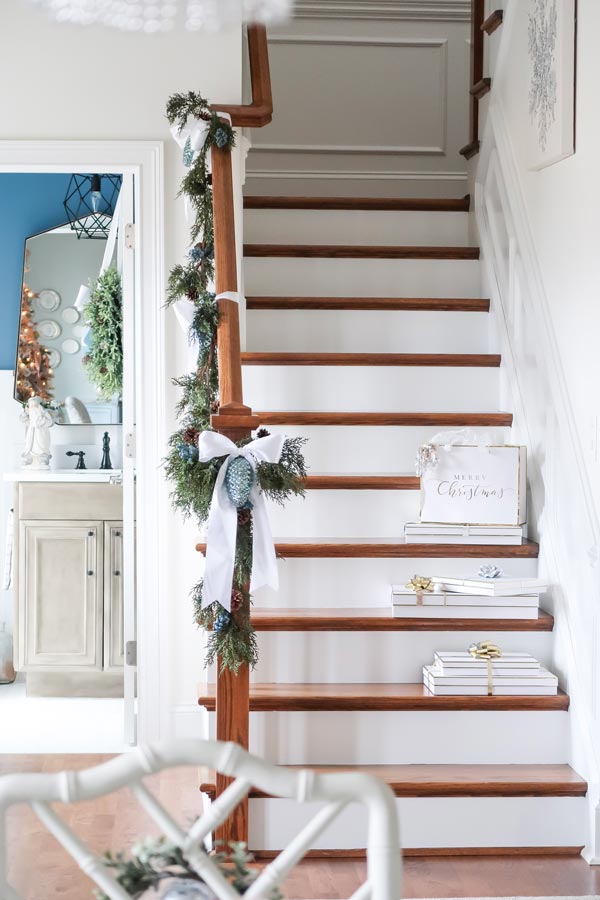
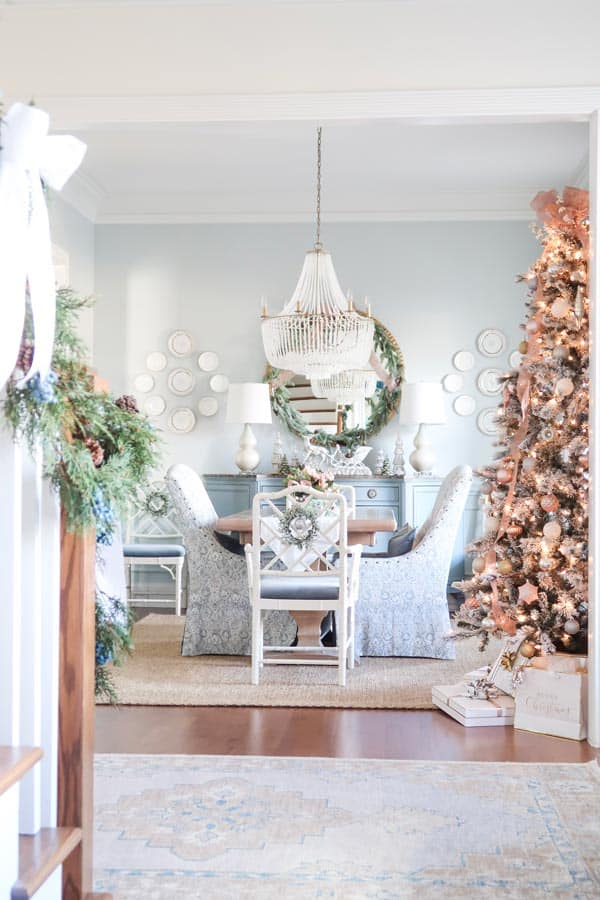
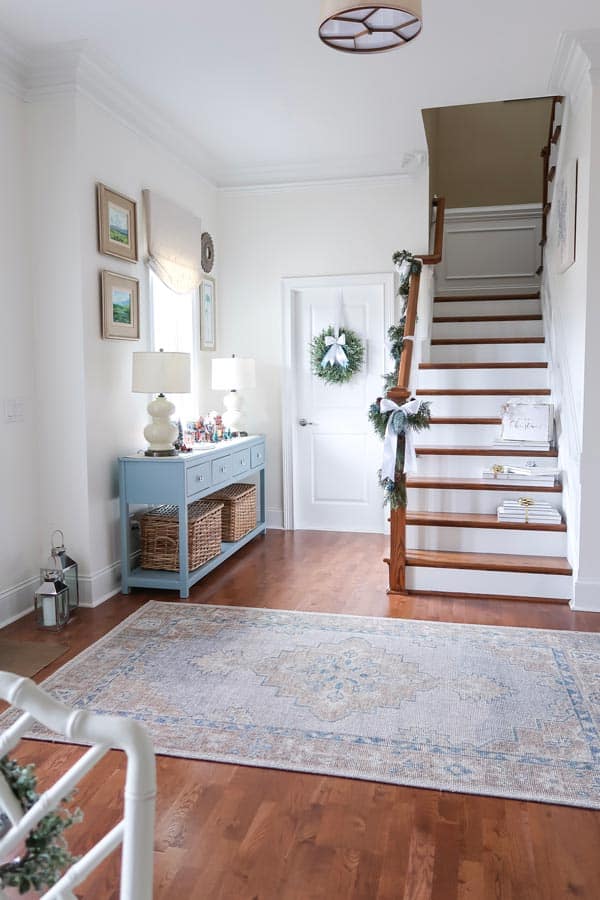
Hanging Garland on Staircase Banister
The look of a garland swag up a staircase still gets me! It’s so elegant and timeless.
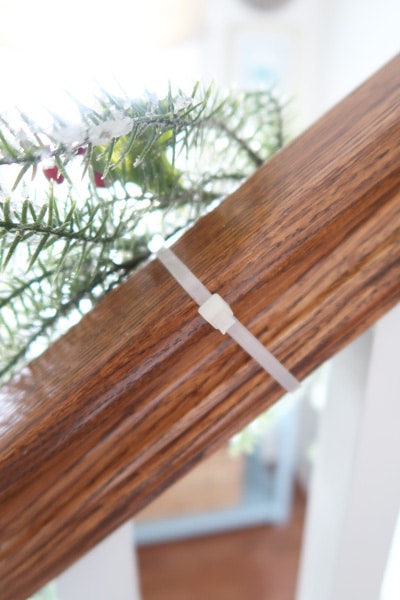
The gentle approach to hanging garland is to use pipe cleaners that match the paint or stain. For heavier garland use plastic zip ties, but be gentle!
A NEW option is to use fastening tape, which I’m going to try next Christmas on my staircase.
Step 1: Find the Middle of the Staircase
Find the middle or center of the banister. This is where you will start the garland.
It’s your first attachment point. By starting in center, it will help you determine how much garland you need end to end.
For my small staircase, I used a total of three 6ft garlands.
Around the post I wrapped the garland to take up some extra length. Sometimes you will have to get creative to make the measurements work!
Step 2: Attach Garland to the Banister
First, attach the middle point using a plastic zip tie for heavy garland. For lighter garland or more delicate surfaces use or pipe cleaners for lighter garland.
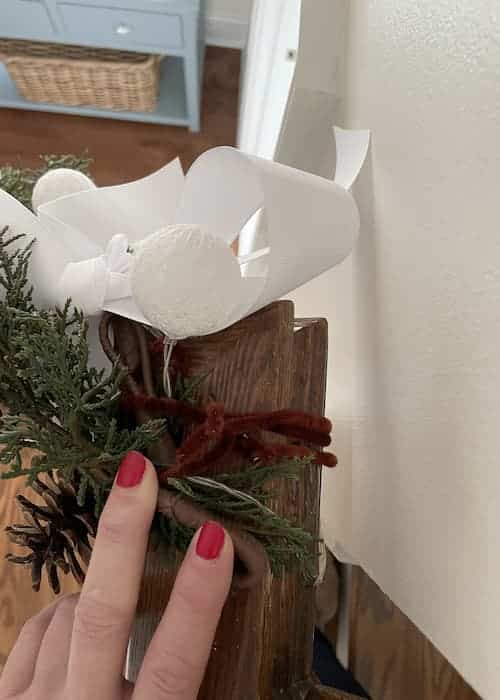
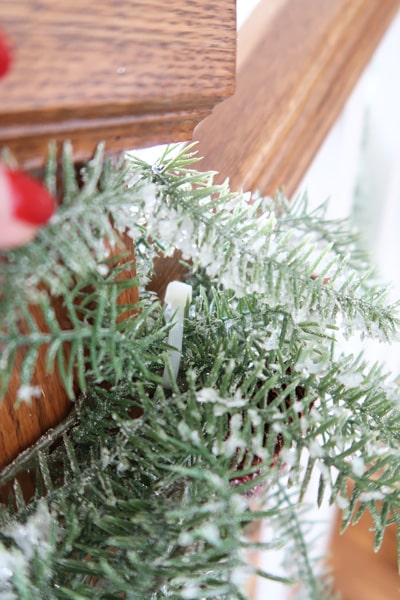
Next, swag and attach the garland at each one of the end points. Zip tie the garland at the top, the middle and at the end post to secure it.
If you are going the damage free route you can use pipe cleaners that match your staircase railing.
Just wrap and tie a couple of them together, so they are long enough to wrap around the banister.
Step 3: Cover Zip Ties or Pipe Cleaners
Pull garland pieces over banister to cover zip ties. You can also use pipe cleaners that match the banister to cover the ties.
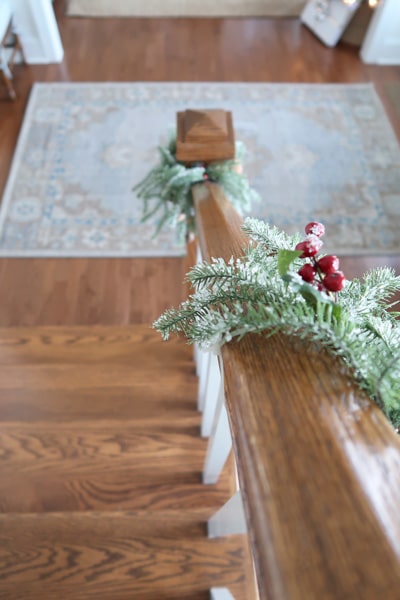
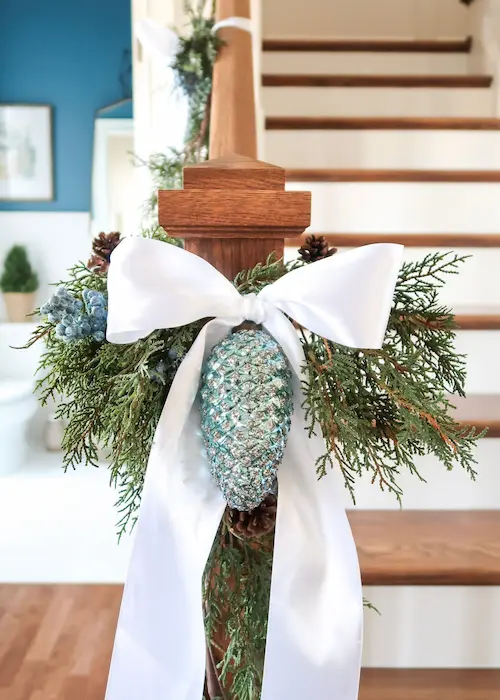
Step 4: Decorate the Garland
Add softness by tying wide ribbon over the hangers. Add ornaments with ornament hooks to add more color.
Pull greens over the plastic zip ties. They disappear like magic! Add beautiful ribbon and ornaments to decorate. To hang the bows and ornaments, I secured them with ornament hangers.
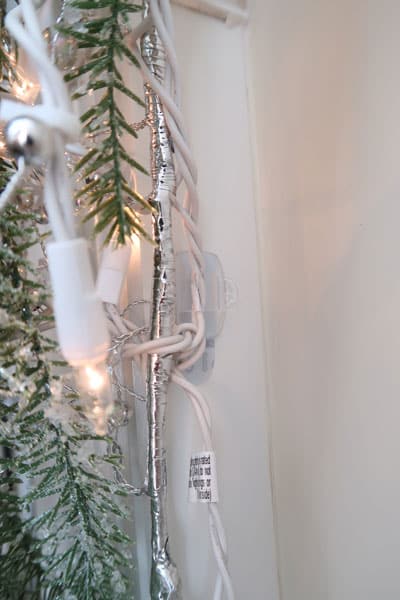
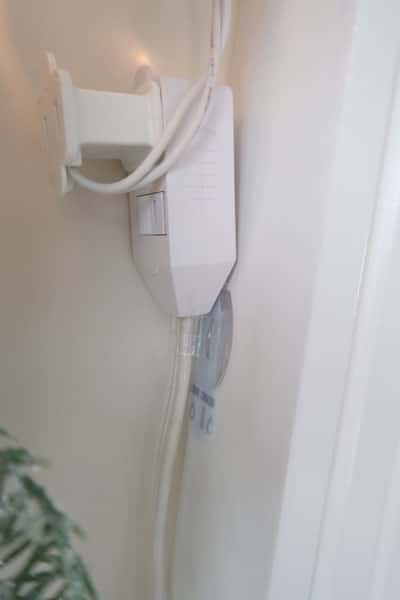
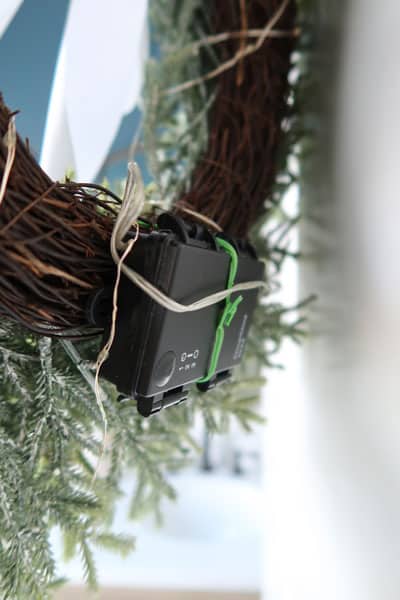
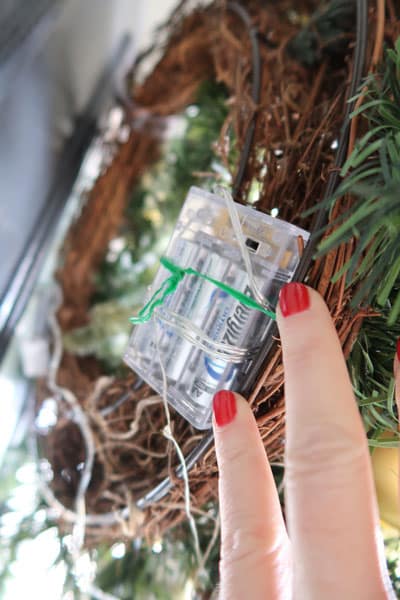
Hide String Light Battery Packs
You may not have access to a plug to light your staircase garland. That’s a problem I face at my house and use battery operated string lights with a remote instead.
A SIMPLE fix is to use a squares of mounting putty to attach the batteries to the railing balusters.
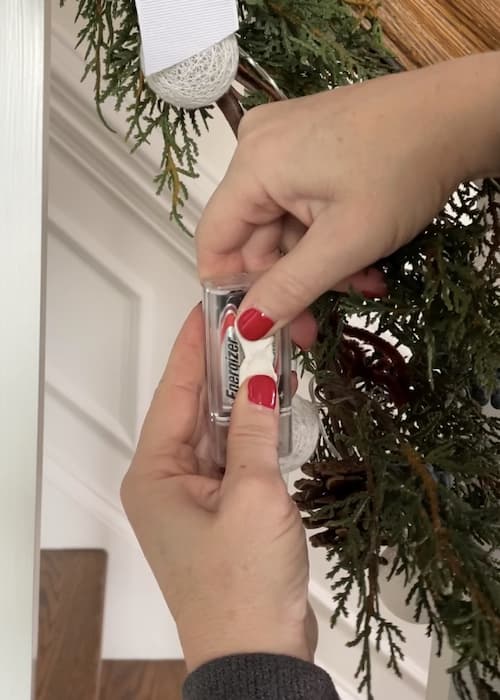
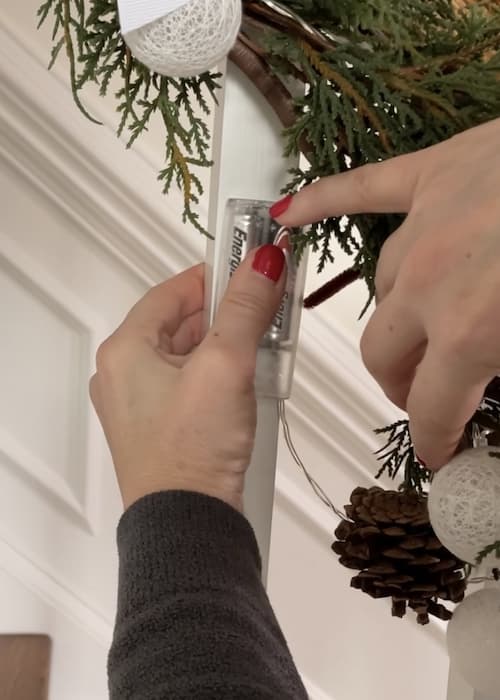
The mounting putty is completely safe to use and is removable too!
Just push onto the back of the battery back and then attach to the baluster.
It’s my new favorite tool for all kinds of projects like to hold candles in place, pictures straight, secure objects on a shelf!
Attaching Wreaths and Ribbons on Chair Backs
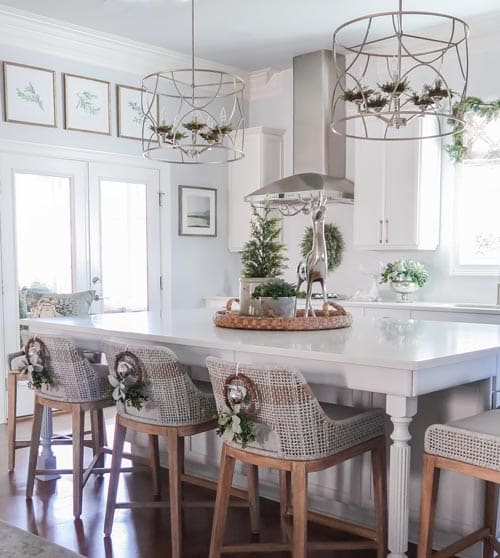
Who doesn’t love a great chair back wreath? Every year I add them to my kitchen stools and dining room chairs for extra Christmas charm.
Depending the the chair type, there are a few ways to attach wreaths to the back.
How to Attach a Wreath to a Chair Back
method 1: Straight pins
If you are adding a wreath to the back of an upholstered chair, simply use ribbon and straight pins!
Place the pins at an angle pushing inward on the left and right of the ribbon to hold in place.

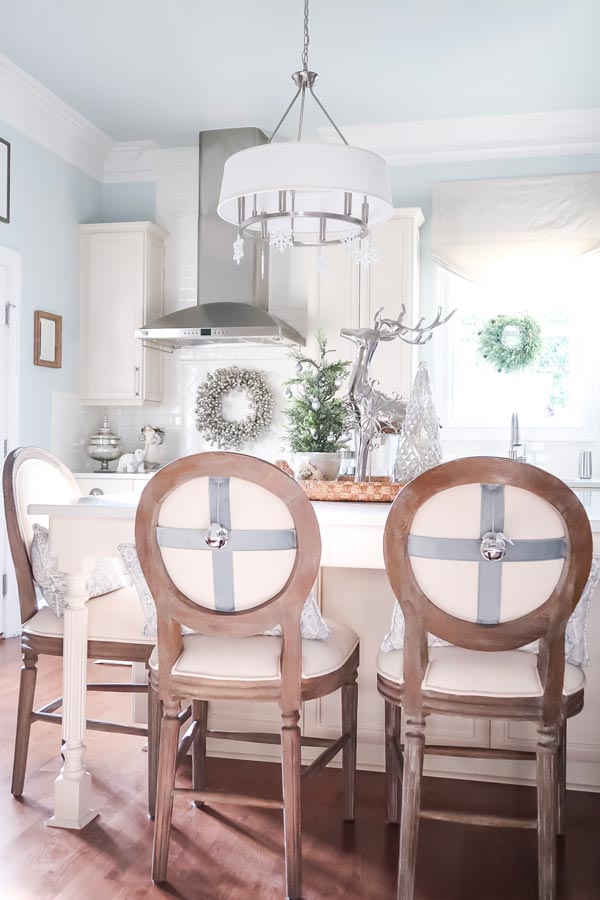
Here is another and idea to decorate the back of chairs using the straight pin attachment method with some pretty ribbon.
Pin the velvet ribbon in a cross pattern (like a wrapped package). To add a little extra personality hang an ornament from a pin at the top.
It gives the same chairs an entirely new look!
method 2: ribbon ties
For wood or woven chairs, use narrow or even wide ribbon to tie on a wreath.
To make things easier, attach the wreath first and then cut a separate piece of ribbon to create the bow.
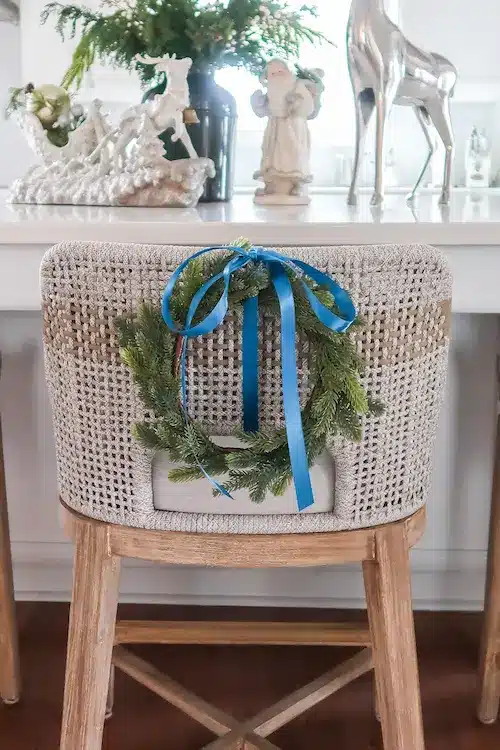
These wreaths are homemade! I’ve used them for years and attach them with ribbon or an ornament hanger.
Here is a full tutorial on how to make embroidery hoop wreaths.
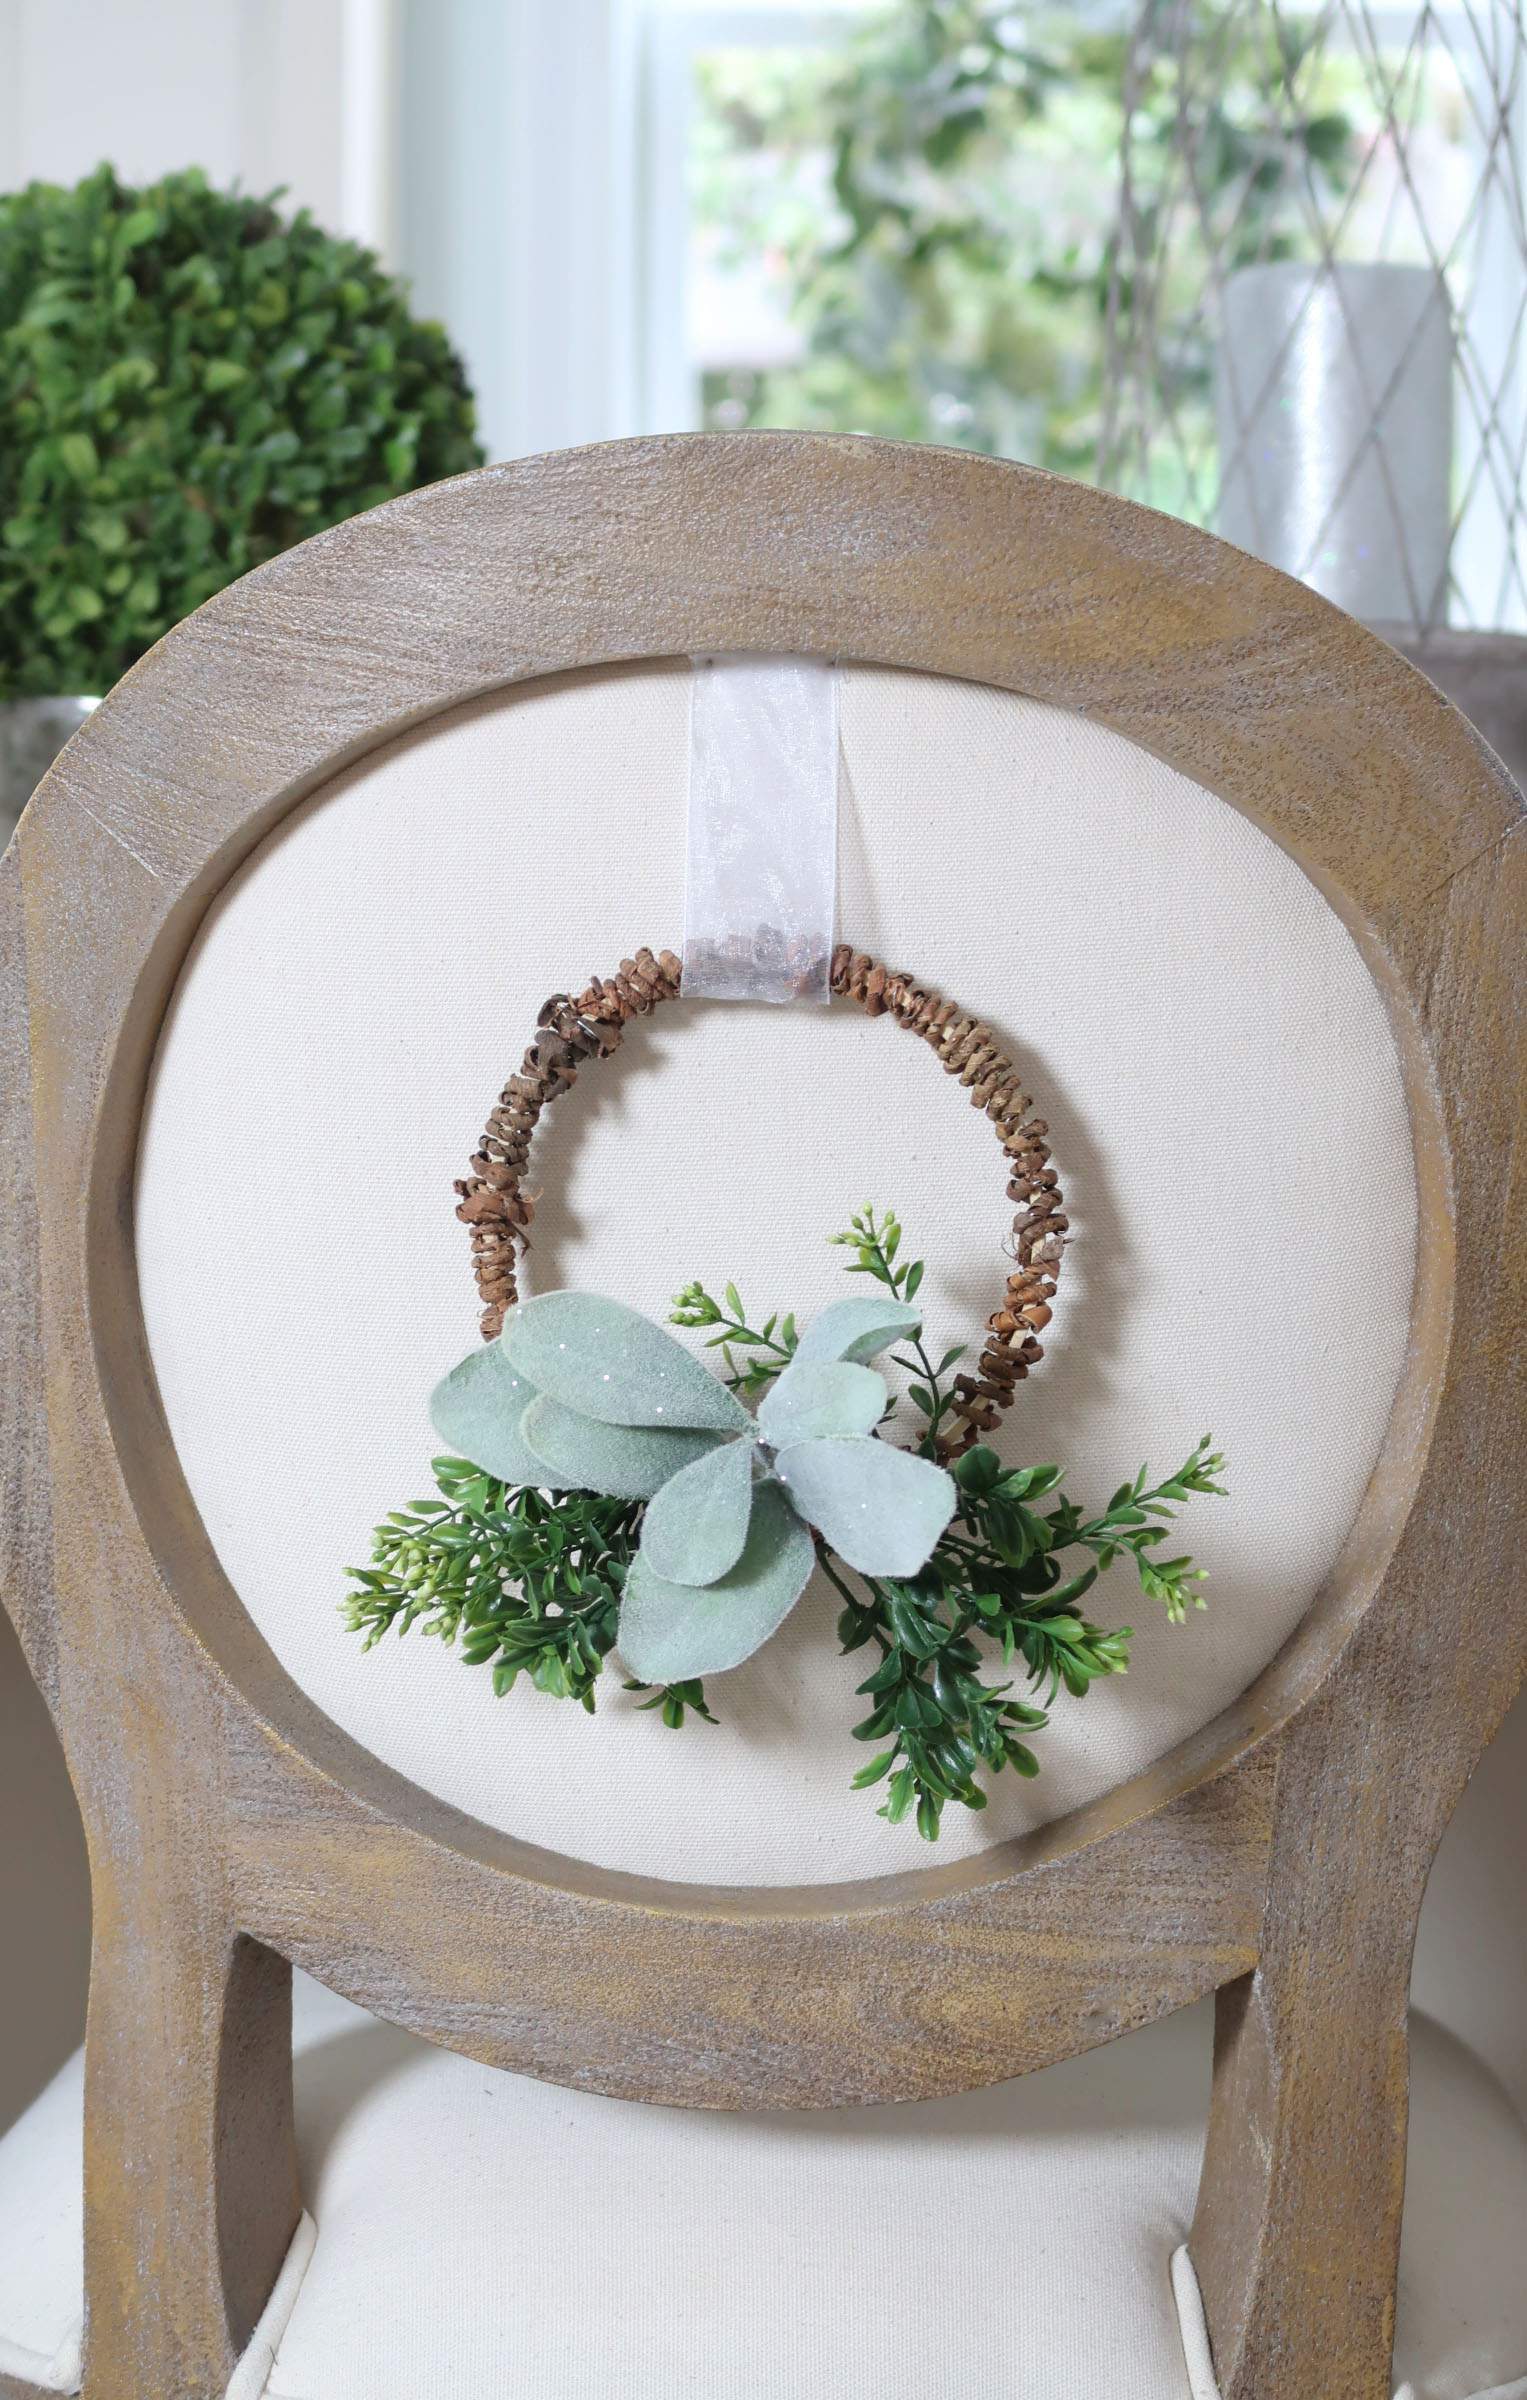
What’s nice about using ribbon is you can add Christmas color in unexpected areas of your home.
-Porch Daydreamer
The pretty ribbon can tie all of your existing home decor together or add a pop of Christmas color in a small way.
Method 3: Ornament hooks
This probably seems too easy, but it works! Make sure to use flexible ornament hangers that can be bent.
If you have a ladder back chair or wood chairs, simply create an S with the ornament hanger.
Bend it over the chair and then up to hook the wreath.
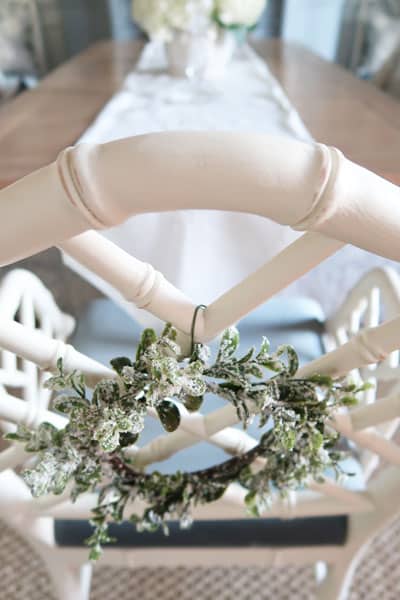
I was careful to make sure it won’t poke someone in the back and if it does I can easily remove the chair wreath for when company comes.
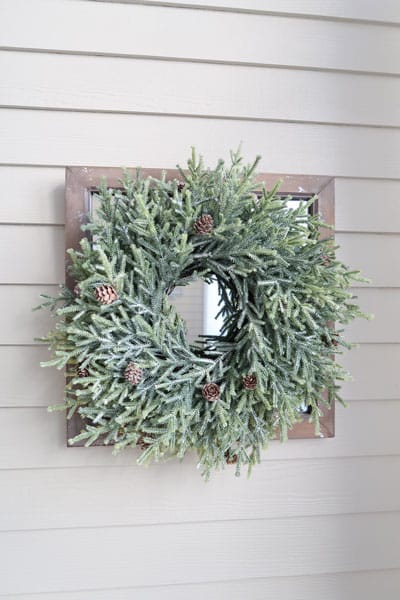
Hanging Wreaths on Mirror or Artwork
Here is an option to hang a wreath on a mirror – any mirror or framed artwork!
I’ve hung wreaths on each square mirror on my back porch for a little Christmas decor. Plus hung small wreaths on the artwork on the other walls too!
Since most wreaths don’t come with hangers, create one by wrapping a garden twist tie under the greens and around the back of the wreath. Make sure to tie in a knot, so it holds securely!
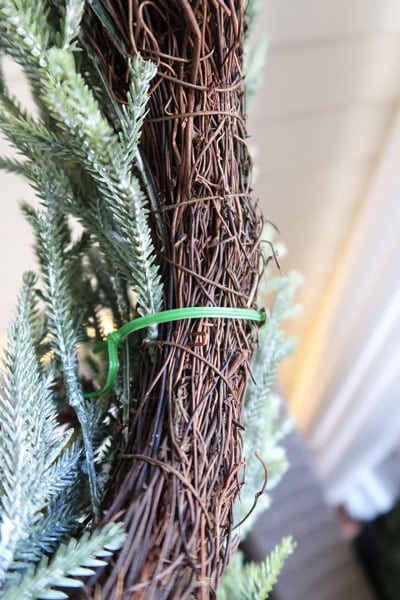

Place a Clear Command Hook on the mirror in the location you desire and hook the wreath to it using the twist tie hook you created.
Since this area isn’t temperature controlled, I used the outdoor version of the Command Hook.
Once the wreath is hung on the hook, you don’t see the hanger at all!
After hanging the wreath, you can add a little decorative ribbon to make it look like the wreath is hanging from ribbon.
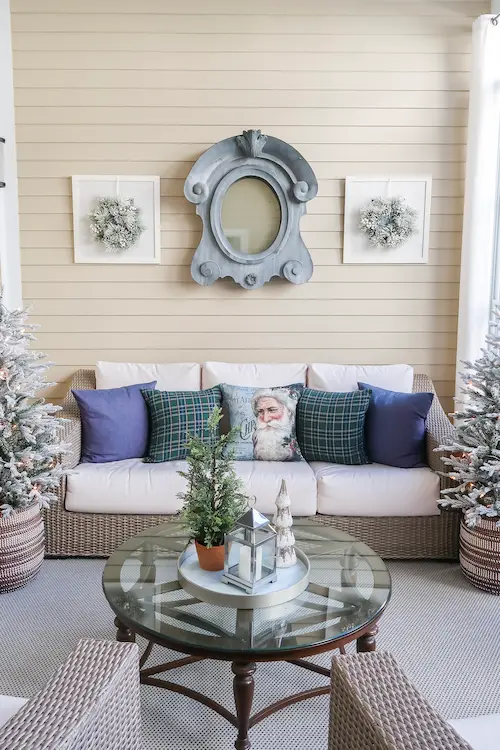
If you are hanging smaller or “mini” wreaths, you can get buy with using a Command Cord Clip instead.
That is how I hung the three wreaths as a group on artwork between two windows.
Hanging Wreaths on Windows
Next, if you want to hang a wreath on a window use the same clear Command adhesive hooks for indoor use.
In my kitchen to make a simple wreath prettier, instead of hanging it with a twist tie on the back, I used an organza ribbon instead!

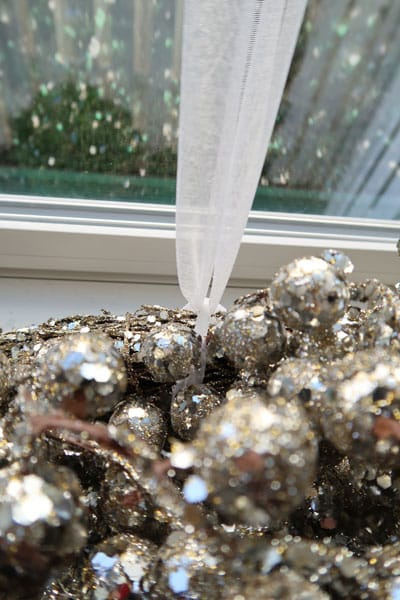
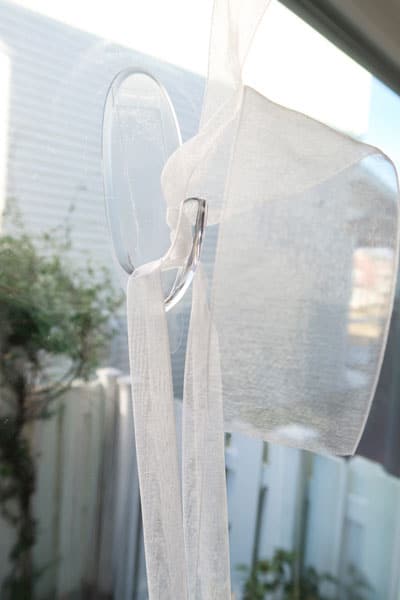
Map out the height you want the wreath to hang, wrap the ribbon around the back of the wreath, tie a knot, and cut the ribbon to length. Then tie the other end around the hook.
My hook is hidden behind the window treatment, so it doesn’t show.
If the hook does show, create a pretty bow or simple flowing ribbon strands.
Hanging Christmas Lights Around Doors, Windows or Mantel
Christmas lights are my favorite holiday decor! They brighten even the darkest corners.
Adding lights has become even easier now using clips with removable adhesive backs.
I was SO impressed with the Command Adhesive Light Hooks, when decorating my Christmas mantel and used them to add lights around my front door.
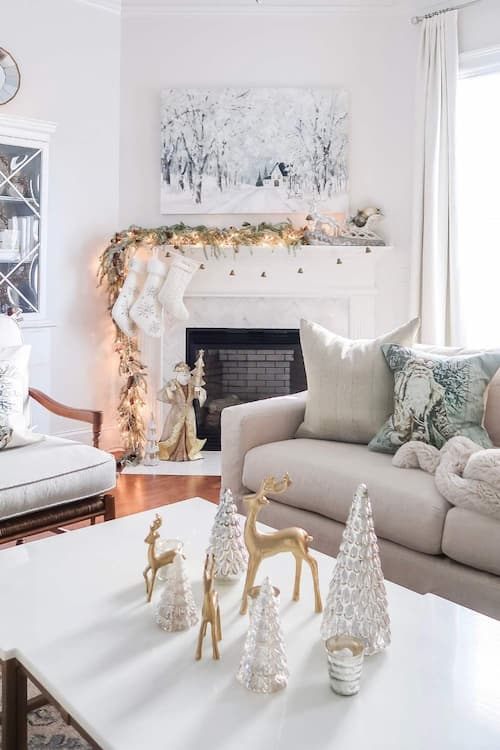
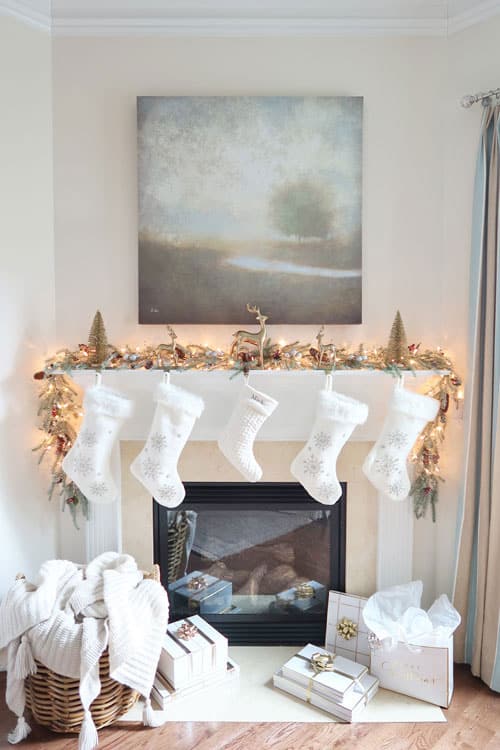
To keep the garland and lights straight and secure on the mantel, I added clips to the top and on the sides before placing everything.
Just push the light cord into the clip and you can even slide and pull to make it straight. The clips really hold!
Step 1: Clean
You MUST clean and degrease before applying the adhesive for the clear cord clips. Wipe away dust and clean with rubbing alcohol.
Step 2: Apply Clear Cord Clips
Start by adding clear Command adhesive cord clips anywhere you need to tack down the extension cord or light strands. Press clip into place and HOLD for 30 seconds.
Step 3: Clip Cord into Place
WAIT 5 minutes to make sure the Command adhesive is SET, before clipping cords into place.
Pull garland greens over any cord clips to conceal. The extension cord and light strand cord will visually fade into the background.
Then to hide the plug and extension cord and keep it taut, I placed another clip on the side of the mantel and the garland greens now cover it.
To secure the slack of the light cord, on the side behind the garland, use Command Cord clips (they come in clear now!) to hold in place. Here is a smaller option for just cords Clear Command Light Clips
Remember the adhesive is temporary and you can remove the clips at the end of the season!
USE THIS SAME METHOD to clip around doors, mirrors, and windows too! If you want to see a full tutorial on a 30 minute mantel, I have a whole post on that!
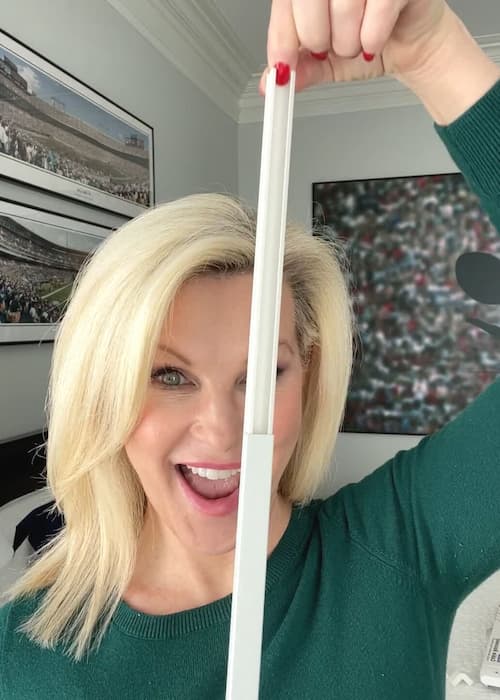
NEW IDEA to hide light cords: Stick on cord covers that are paintable!
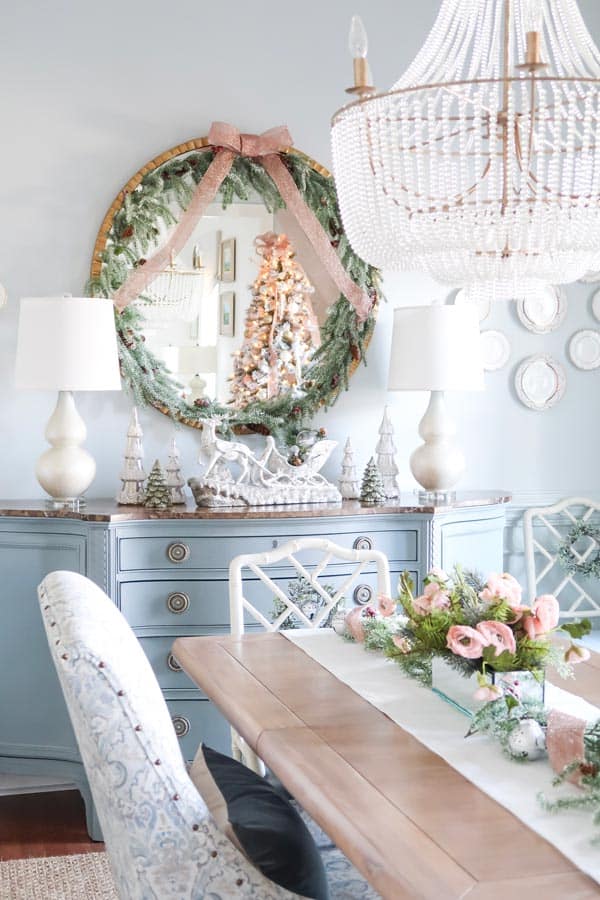
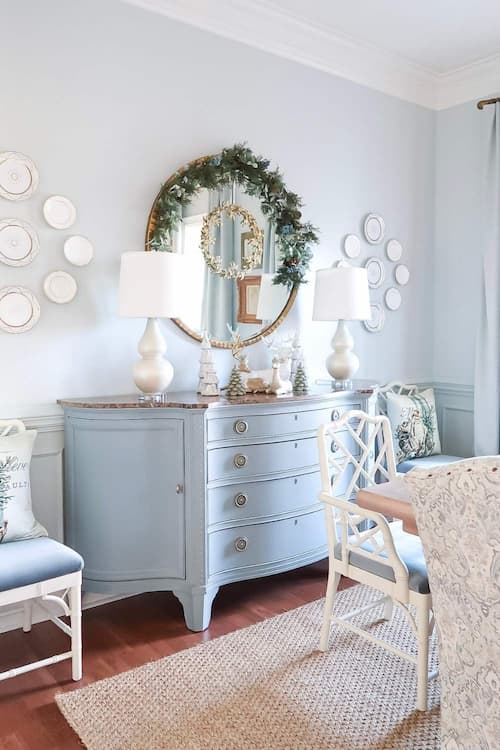
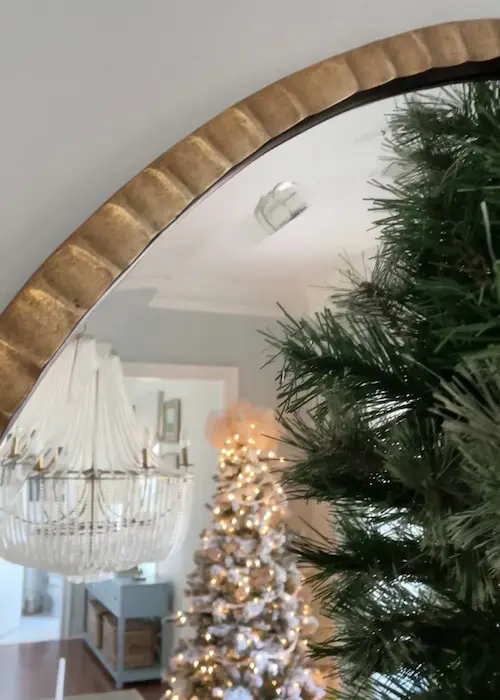
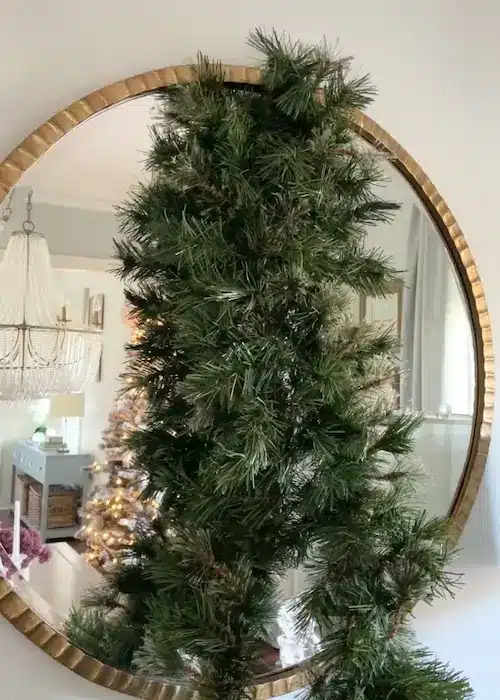
How to Create a Large Wreath Around a Mirror
Try this garland treatment on any shape of mirror! On a round mirror, it gives the illusion of a large wreath. You can watch a quick video tutorial on Instagram.
Or you can choose to only clip the garland on a portion of the mirror for a totally different look.
Each year I do something a little bit different for fun and because it’s so easy!
Step 1: Clean the Mirror
For the BEST adhesion, you must clean the mirror so the adhesive sticks.
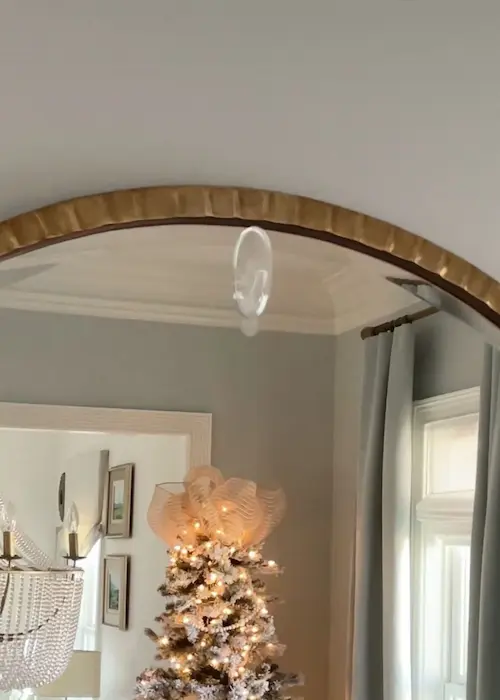
Step 2: Apply Clear Hook / Clips
Start by adding heavy duty outdoor clear Command Hook at the top center of the mirror as an “anchor point” for the garland.
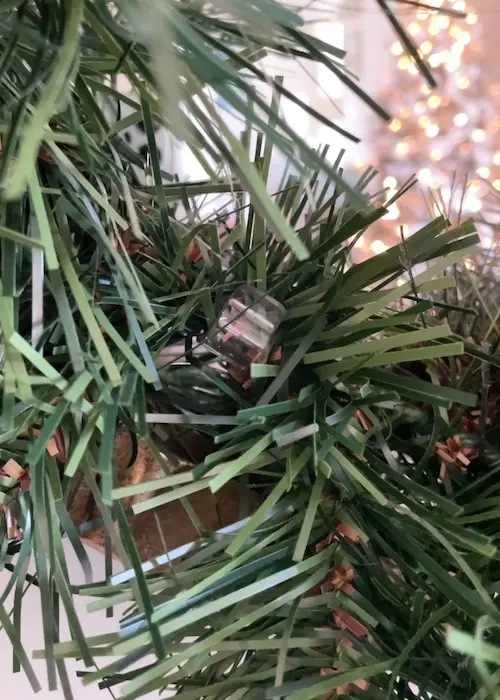
Apply clear Command adhesive cord clips about every 6 inches around the mirror.
Press each hook or clip into place and HOLD for 30 seconds.
Step 3: Hook Garland in Place
Before securing the garland, WAIT 5 minutes to make sure the Command adhesive is SET.
Fold the garland in half to find the center and secure it the hook in the center of the mirror.
Push garland into cord clips around the mirror. You may need to cut smaller pieces of a 2nd piece of garland to complete the “wreath”.
Step 3: Decorate
This is up to you! Weave ribbon pieces, add fairy lights, or ornaments. Have fun 🙂
Hanging Wreaths On Interior and Exterior Doors
Interior Doors
For an interior door, this is where a staple gun and wide ribbon are a great option.
If you didn’t want to use ribbon, you could use a Clear Command Hook on the door and follow the same process I outlined for hanging a wreath on a mirror.
Find the center of the width of the door by measuring across and mark at the very top of the door.
Measure how far down you want the wreath to hang leaving enough ribbon to tie around the wreath as a hanger. Also leave a couple of extra inches for adjusting 🙂
Cut the ribbon. Slide the ribbon over the top of the door in the center, leave a little dangling over the other side.
Add one staple to the middle of the ribbon and then trim off with scissors the excess ribbon on the other side of the door.
Afterward, create a bow and tie it around the ribbon that is the hanger. I found this much easier than trying to create a bow and a hanger at the same time!
If you want to add battery powered lights, attach them with a garden tie.
It’s cool how you can’t see the light pack from the front!
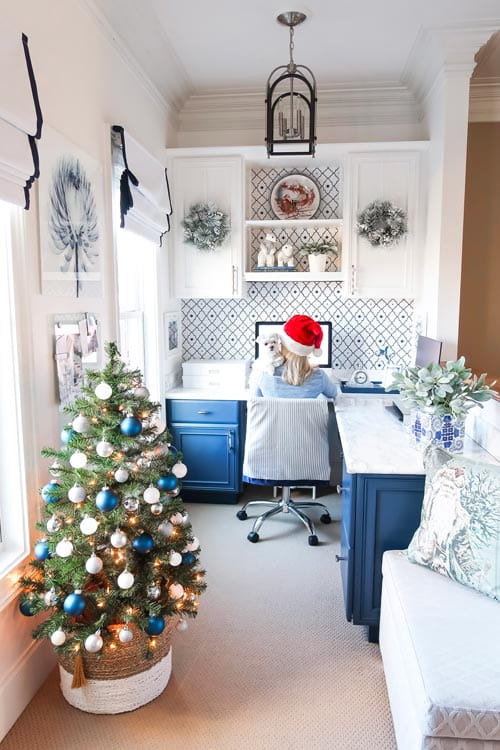
Hang Wreaths on Cabinet Doors
Who hasn’t seen the pretty wreaths hanging from cabinet doors in Hallmark Christmas movies?
I wanted to try this myself and found a safe and easy way to hang mine in my office.
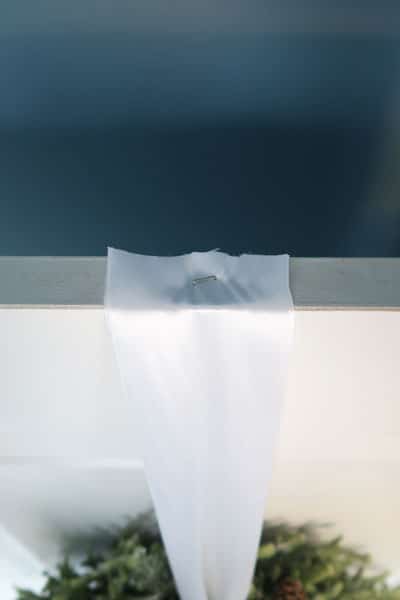
You can use any color and size of ribbon that matches your decor. Since I wanted the ribbon to fade into my white cabinets, I used a 1/4 inch white grosgrain ribbon.
Step 1: Determine position
Using a tape measure, determine how far down you want the top of your wreath to hang from the top of the cabinet door.
The measurement you took at the start needs to be doubled. The ribbon will be looped around the wreath for hanging.
Add 3 inches for flipping the ribbon over the top of the door.
Step 2: Cut ribbon to length
The ribbon will be looped around the wreath. Cut the ribbon looped over on itself to the hanging length.
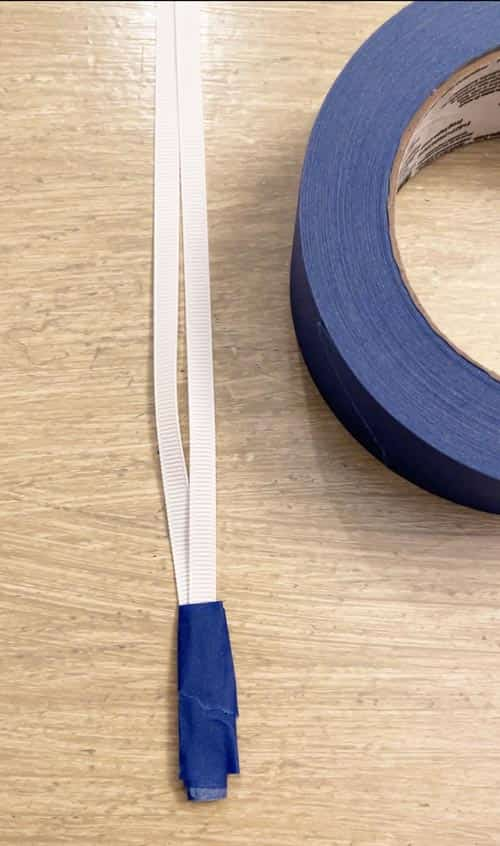
Step 3: Hang wreath
Secure the ends of the ribbon with painter’s tape. Flip ribbon over cabinet. Secure on the back side of the cabinet door with pieces of painter’s tape.
Attach the ribbon to the wreath either through the hanger or around the wreath base.
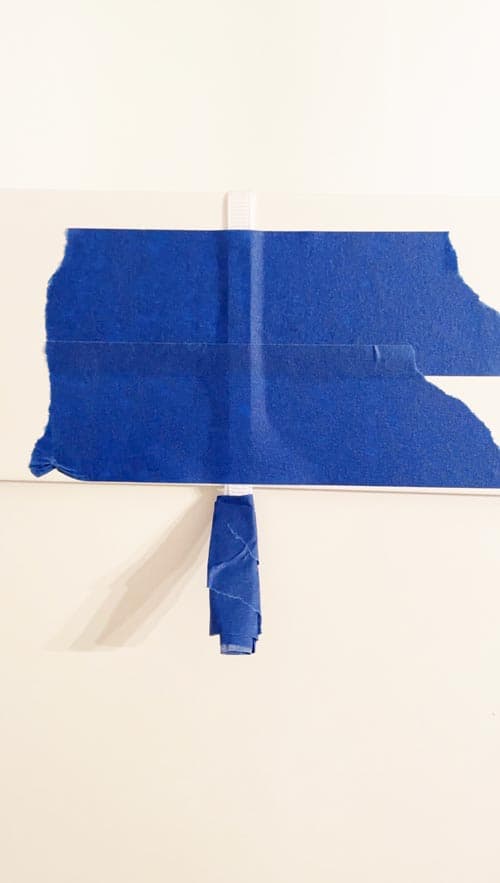
Repeat the process and keep the ribbon lengths the same and all of your wreaths will hang at the same length.
Why don’t I use a Command Hook?
They are expensive…plus you can’t easily reposition them if you are off-center or want to adjust the hanging length.
It’s MUCH easier to move the painter’s tape and reposition plus a whole lot cheaper too!
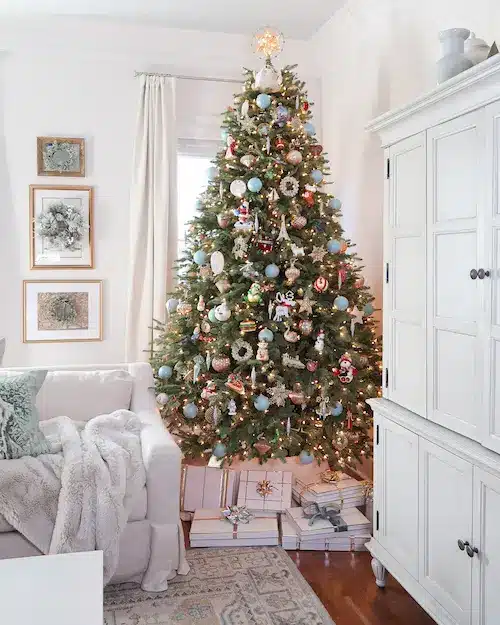
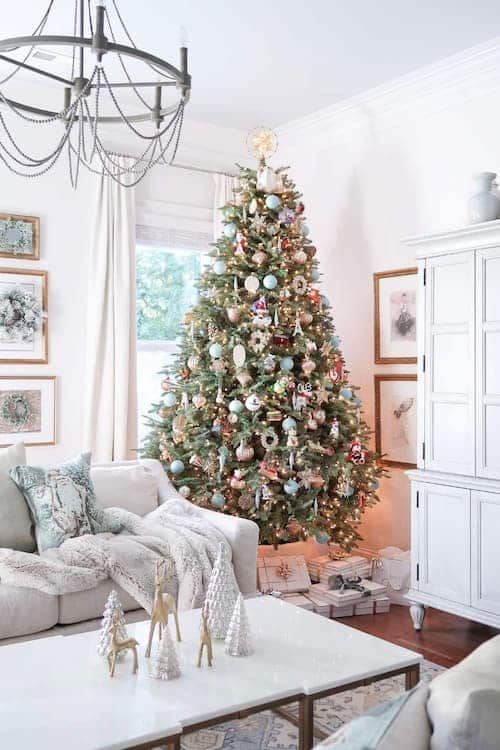
Create a Decorator Tree WITH Family Ornaments
The age old issue of how to include the precious kid crafted family ornaments and create a magazine worthy tree.
This has been something I’ve mastered and my Christmas decor was featured on the cover and in a 10 page spread of Holiday Decor magazine.
Check out this blog post: A Beautiful Christmas Tree WITH Family Ornaments!
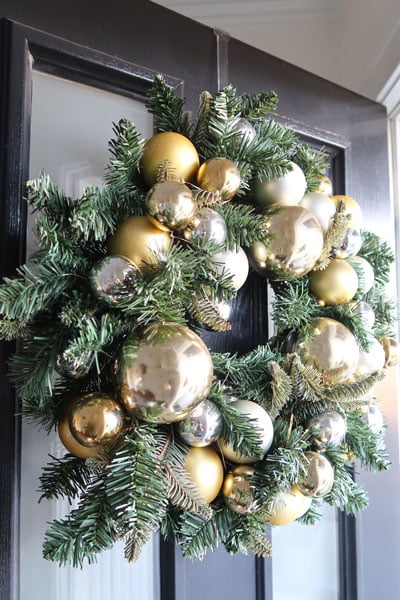
Hang Wreaths on Exterior Doors
The first Christmas decor I install is the wreath on the front door.
It’s really the easiest Christmas decor there is! Using a clear over the door hanger, slip over the top of the door, and hang the wreath.
Or if you have a very tall door, invest in an adjustable over the door wreath hanger.
If you want to add battery powered lights, just use the garden ties to secure the lights to the inside of the wreath.
Hanging Wreaths and Garland on Outside Railings
Now let’s hang garland and wreaths on the railing.The best trick I’ve found is to use a deck rail hanger for the wreaths.
They hang perfectly and securely. For a full tutorial, click here.
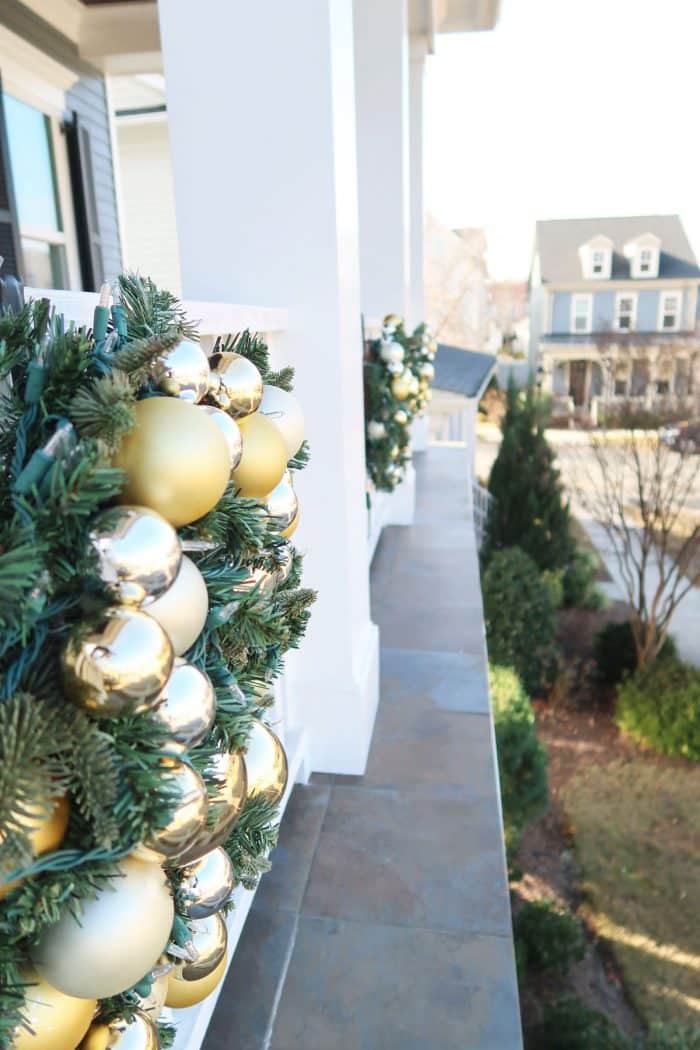

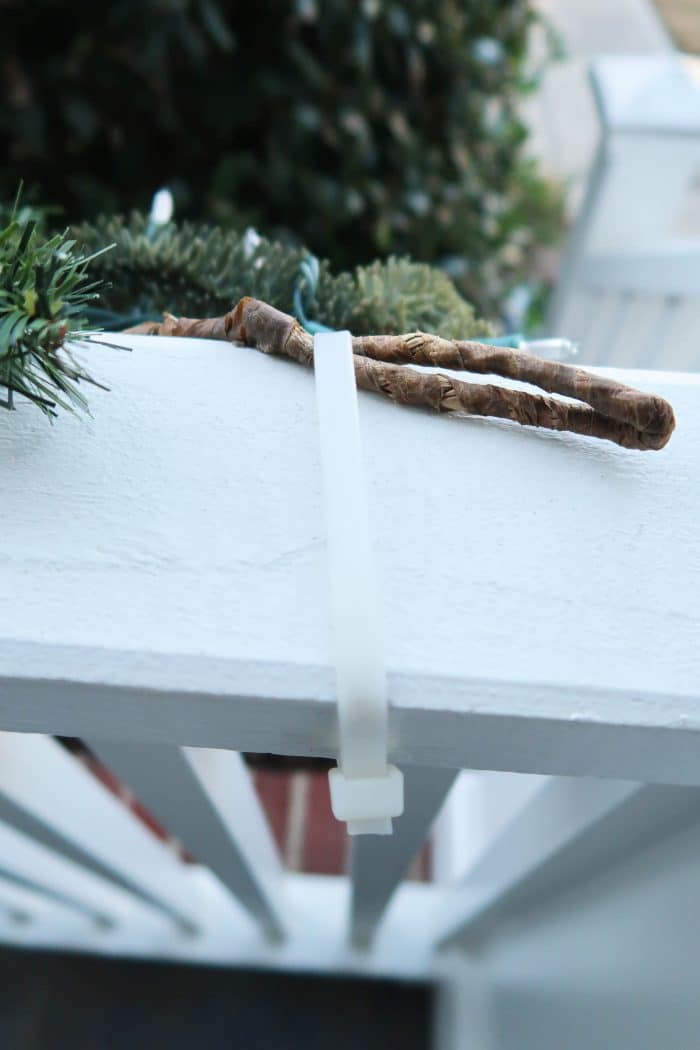
To hang garland on the outside railing, simply use large plastic zip ties at the center and each end to secure.
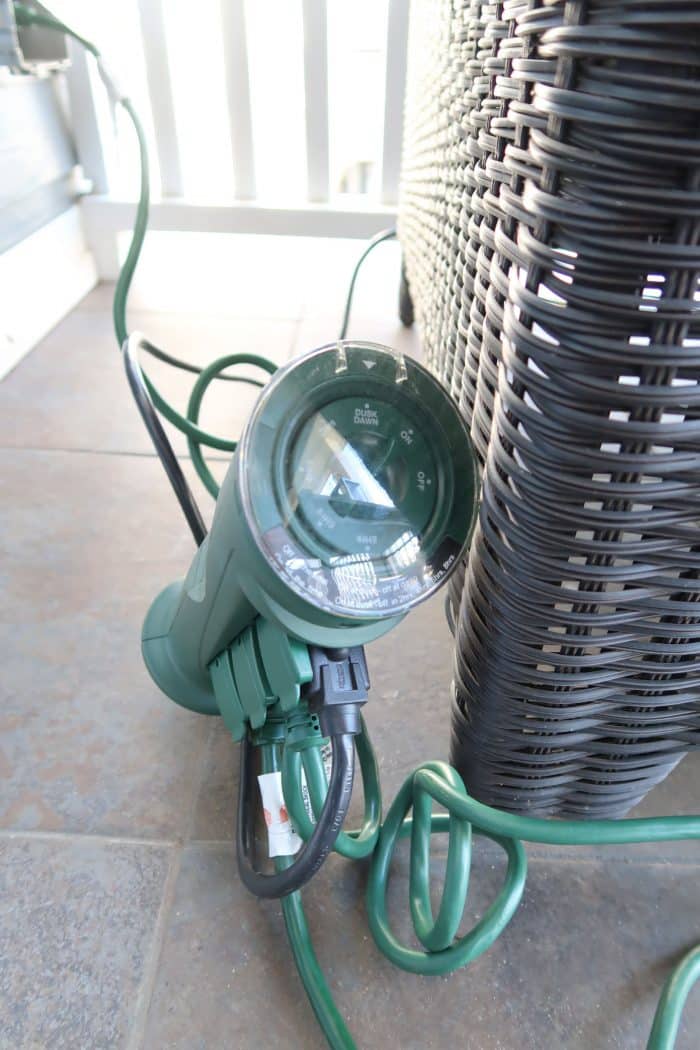
Make sure to place the male end at the closest point to the outlet.
Use an outdoor extension cord and timer, so you can set it and forget it!
How-to Hang Christmas Decor at Your Fingertips
Hopefully, I’ve shared some helpful tips so you can hang all of your Christmas decor without issue.
Having the right products on hand speeds up the decorating process and makes it far less frustrating!
Then you can decorate even more areas of your home 😉
Christmas Magazine Home Tour: Holiday Decor
Please consider following me on Pinterest and Instagram for daily inspiration.
Until next time…
Porch Daydreamer
Tracey
Tracey, I am so sorry about your Mom and you not being able to be with her. This is the best decorating tips I’ve read! I ordered Command Hooks for all my outdoor wreaths and to hang my string lights on my Gazebo. I’ve been putting off those tasks because I didn’t want to use staples! I know your house is spectacular. Happy Thanksgiving and enjoy spoiling your son!
Thank you my friend from GA! Hope you have a wonderful holiday season!
Tracey,
Thanks for the idea. Hope you have a Merry Christmas and a blessed New Year.
Tracey,
I was wondering if you might have a way of displaying Christmas cards. I have enjoyed all your ideas that you have and have learned from your emails. Hope you have a blessed Christmas.
Hey, Bill! I haven’t displayed cards in a while, but in the past I used paper clips to attach them to garland around a door frame. It looks really cute and festive plus is easy to do 🙂