Paintable Option to Cover Cords or Cables (damage free)
Are you searching for how to cover or hide cords or cables? I’ve found a paintable cord cover that is easy to install and won’t damage walls.
Yes, I found the most amazing way to cover cords and cables!
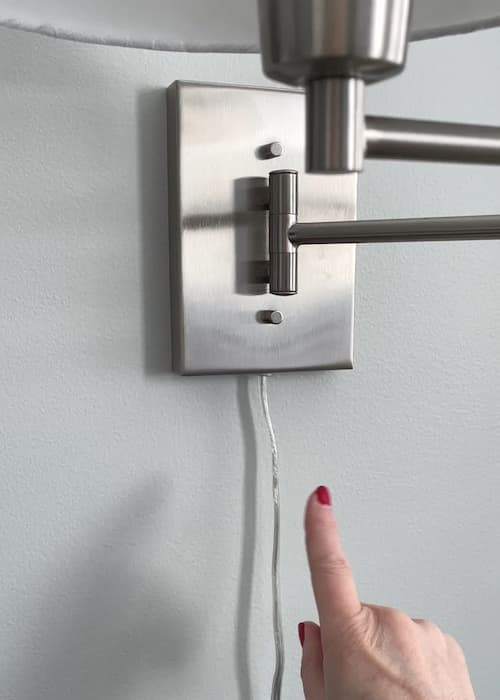
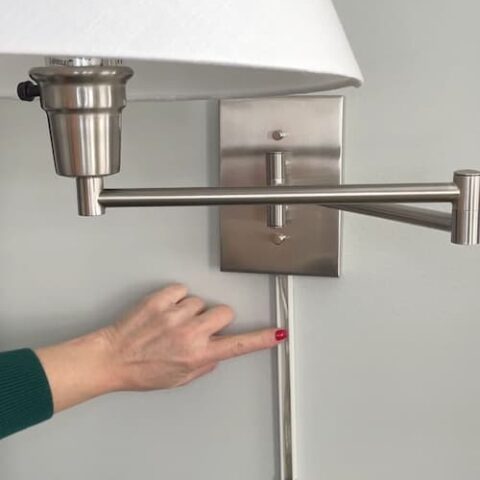
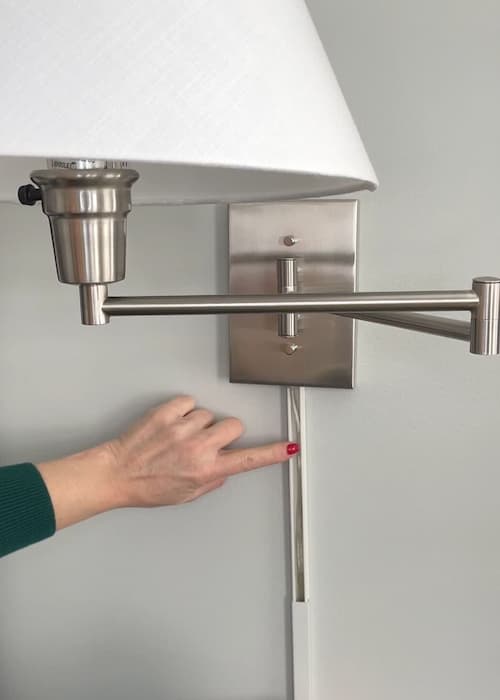
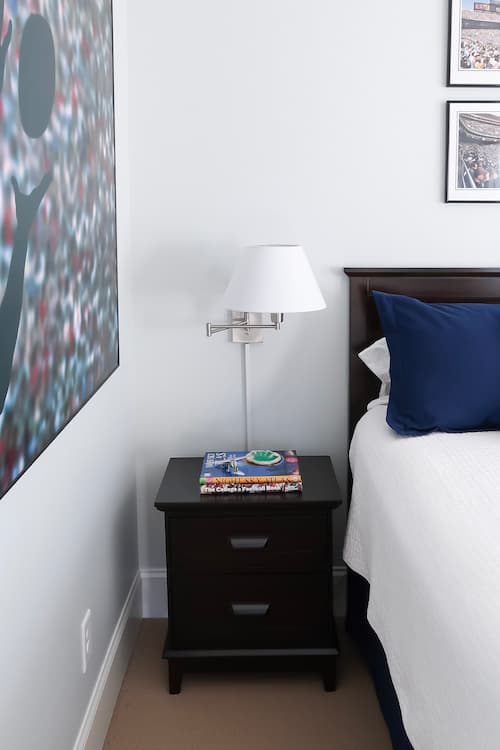
My main goal was to hide wall sconce cords and in my search found a paintable option that blends right into the wall. Cool, huh?
Then the home hack I found for installing the cord cover won’t damage walls either. A pretty perfect solution!
The cord cover I found and the way I teach you to install it can be used for all sorts of annoying cord situations:
- Hiding wires for a mounted TV
- Hiding cord running down a mantel
- Hiding cables along a floor
- Hiding and covering electrical and extension cords
- Covering cords hanging down a wall
- Covering and hiding wall sconce cords
- Hiding cords and cables in an office
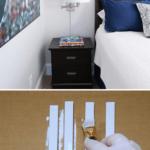
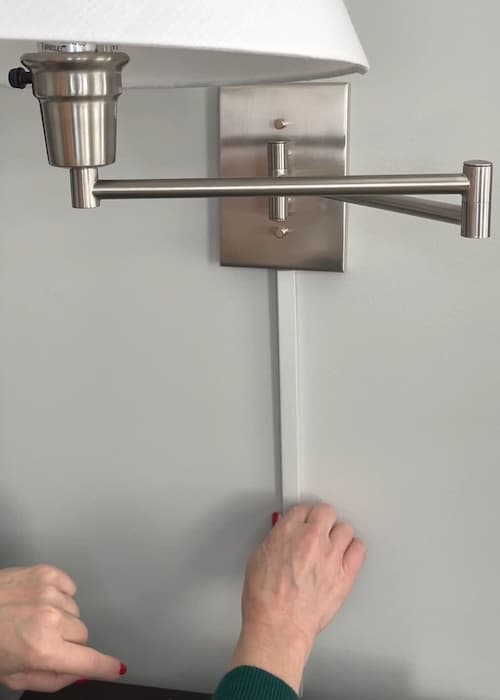
I’m going to share how to install these paintable cord covers to hide a dangling cord on a wall sconce.
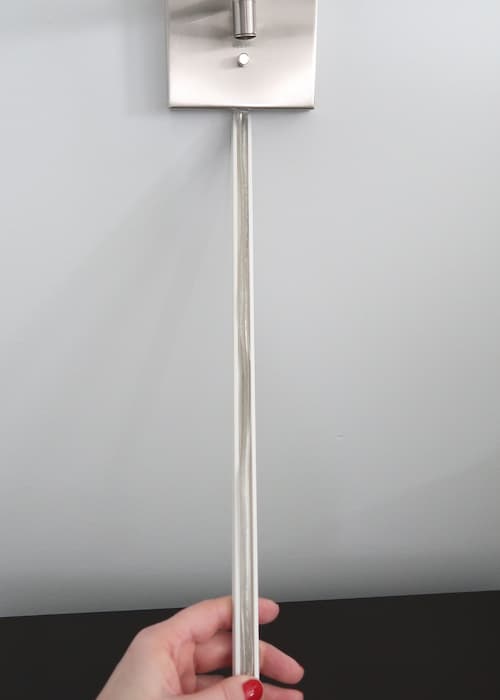
Once the cover is painted, it blends right into the wall! The cool part is these cord covers have attachments so you can bend or turn the cords too.
If you have a cord running from a mounted TV, you can run the cover down from the TV and then turn it to run alongside the mantel and then down to the floor. COOL!
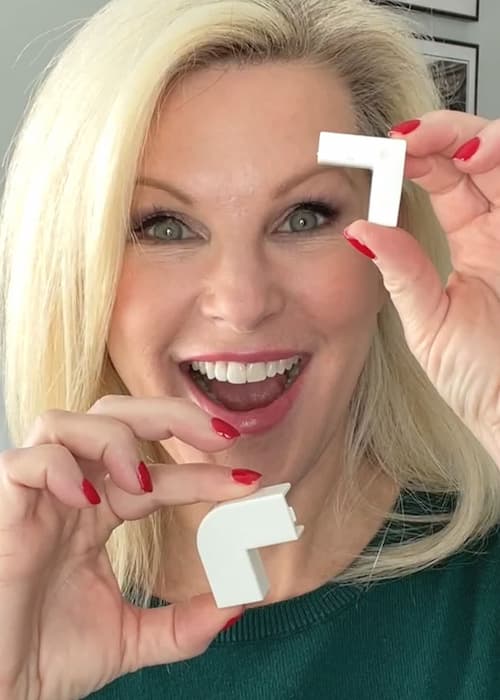
Each kit comes with lots of attachment brackets to connect the cord covers together and create long lengths if you need to extend the length of a room or down the corner of a wall.
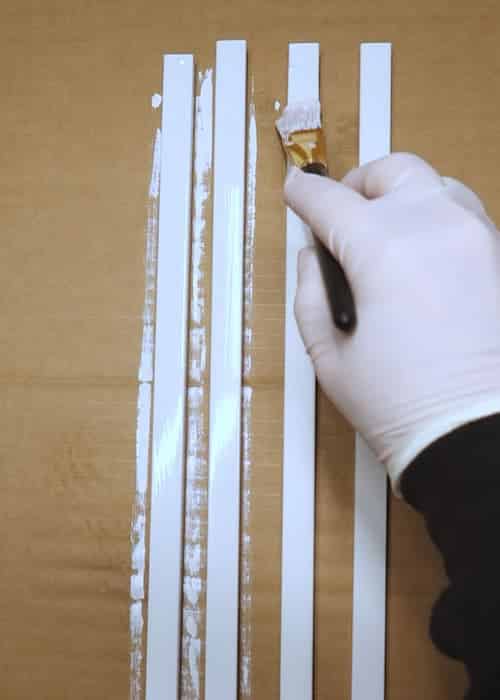
The best part is you can paint the cord cover and brackets to match the walls!
It took only a few minutes to paint the cord covers and I applied 2 coats just 30 minutes apart.

Contains hand selected products, with affiliate marketing links where I may earn a small commission if a purchase is made. {full disclosure here}
Types and Sizes of Paintable Cord and Cable Covers
Since I used the smaller size of paintable cord cover in the installation tutorial, I wanted to show you all of the different sizes that are available.
There are cord covers for all different types of cord and cable situations and even one that tucks into a corner.
If you are a renter, these are ideal if you install the way I show you because they are removable and won’t damage the walls (don’t use the tape included in the kit).
Seriously, there is an option to hide, organize and cover every type of cord or cable in your home.
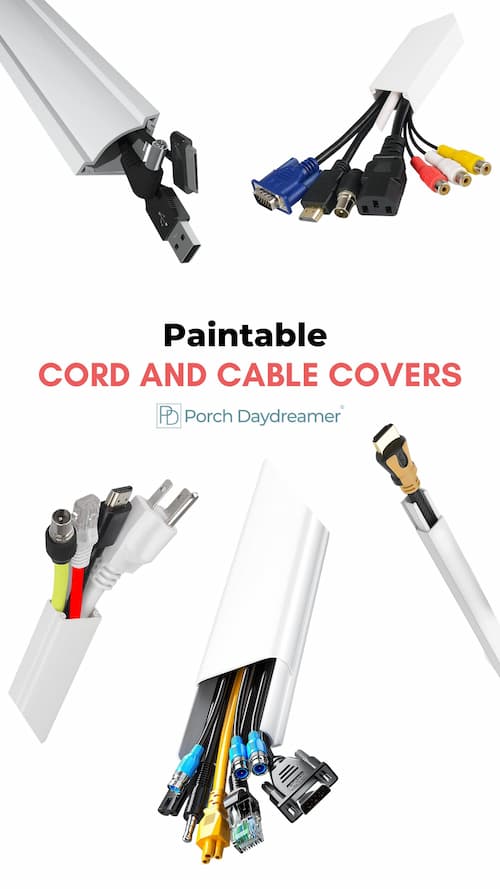
- Corner and Cable Cord Cover
- Use this option to tuck into a corner along the floor or wall
- Large Cord and Cable Cover
- Have a ton of electronic, computer, or TV cords this will hold them all.
- Medium Cord and Cable Cover
- This is ideal covering and hiding extension cords and cables
- XL Cord and Cable Cover
- Ideal for mounted TVs to hide the cords and cables running down the wall.
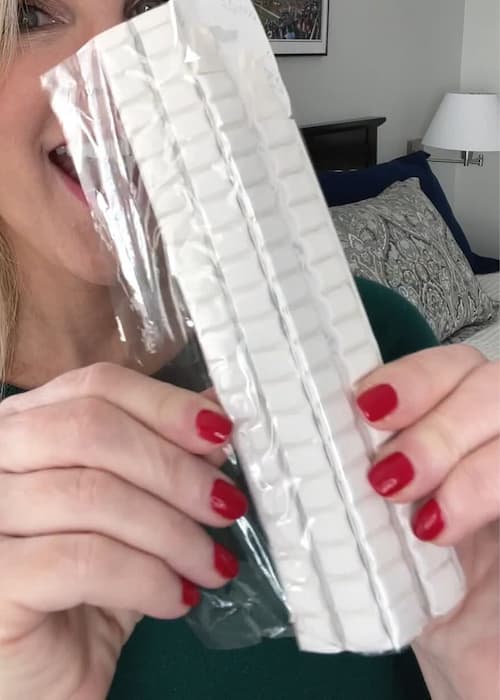
- Small Cord or Cable Cover
- Great to cover cords that hang down a wall or to organize and cover a single cord down the leg of a desk or table.
Something I need to be very CLEAR about is that the approach I take to mounting the back plate to the wall will likely only work for the medium to small cord and cable covers.
You can experiment with seeing if it will hold on the larger sizes because the adhesive I recommend is MOVABLE and won’t damage your walls.
Now onto the tutorial!
How-to Hide and Cover Cords
Are you searching for how to hide cords or are trying to find a solution for hiding cables? I've got a paintable cord cover that is easy to install and can be installed so it is removable!
Materials
- Small Cable Cover Kit
- Mounting Putty
- Wall Paint Color
- Cardboard
- Latex Gloves
Tools
- Craft Paint Brush
- Level
Instructions
- If you want the cord or cable cover to match the wall, paint the cover and any brackets BEFORE you install it. That way you can get a smooth finish on the cover and avoid creating brush marks on the wall. Apply 2 coats about 30 minutes apart. Let dry overnight before installing.

- Separate the cover from the back or mounting plate, before beginning to install.
- Place the cords and or cables into the mounting plate FIRST.
- Snap on if needed and slide the painted cover over the cord and mounting plate.
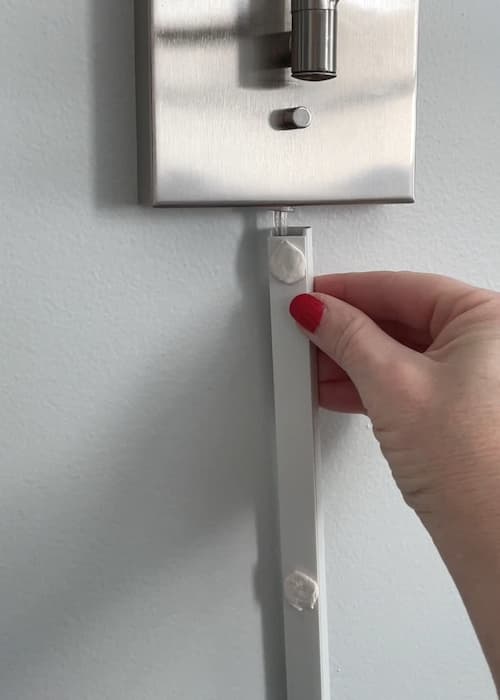
- If you want the cover to be movable and non-damaging to your wall, install using mounting putty NOT the tape that comes with the kit. Based on the size and length of the cord cover attach putty on the mounting back plate at the top, middle and bottom. For an XL cord cover kit, you likely need to install it with the included hardware.
- If you need to attach multiple runs or create a run that moves from a vertical to horizontal placement (like down a wall and then across a baseboard) attach the brackets. Add mounting putty to each.
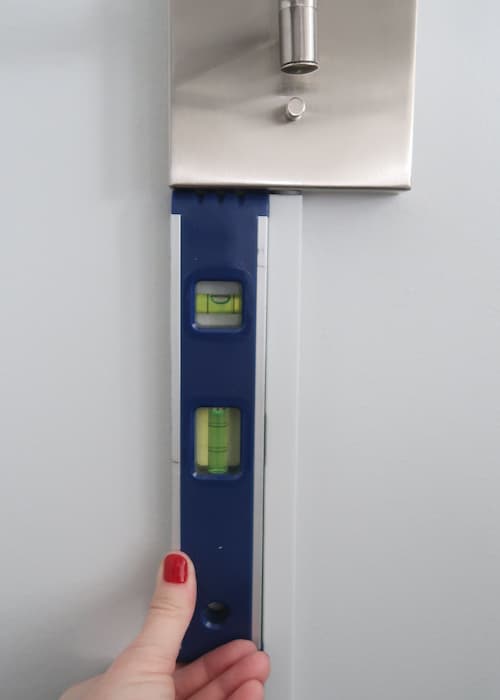
- Use a level to make sure the cover is hanging plumb to the wall. That's making sure it is "level" vertically. Or level horizontally if needed.
- Press down to fully secure the full cord cover system to the wall. Add additional mounting putty as needed.
- Stand back and make sure everything looks good and admire your work. GOOD JOB! Doesn't that look so much better.

Notes
- Obviously this is just one way to use the cord cover and only one size.
- My hope in sharing this tutorial is to inspire you to seek out the size and configuration you require. Then install based on this tutorial if you want to be able to remove or reposition the cord cover and paint it.
Tags: hide cords mantel, hide wires mounted tv, how to hide cords and cables, hiding cables, hiding electrical cords, covering electrical cords, hiding electrical cords
See how easy it is and how quickly you can cover unsightly cords and cables.
The best part about using mounting putty is that it WON’T damage the walls.
Mounting putty has become my new favorite adhesive for all sorts of applications where you want something removable.
I’m a MASTER at creating processes and efficiencies hanging things right the first time.
Here are some other helpful tutorials on how to hang things around your home!


Have fun coming up with all different types of cords and cables to cover.
Want more helpful tutorials? Please sign up for my weekly email newsletter!
You are a very clever lady! You are solving so many of my home decorating, painting and how do i fix THAT, it’s driving me crazy issues! AND I love you took the time to create this fantastic site with all your ideas! Big THANK You!!
So glad I can help! Thank you 🙂