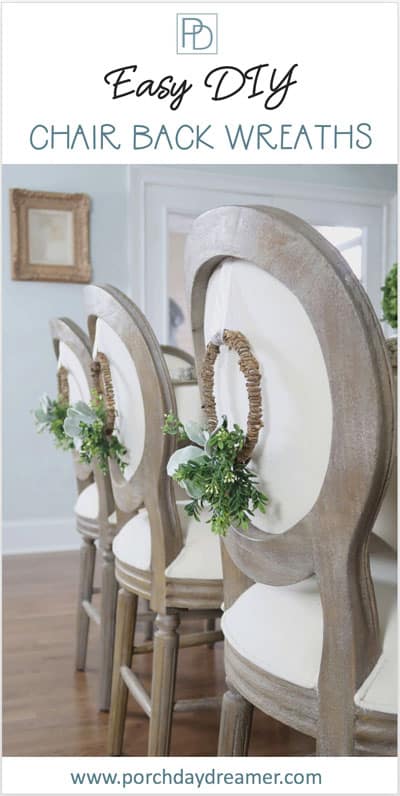
How-To Make a Wreath for the Back of a Chair
How-to Make a Simple Wreath to Hang on Your Chairs. Make a wreath for everyday or for Christmas!
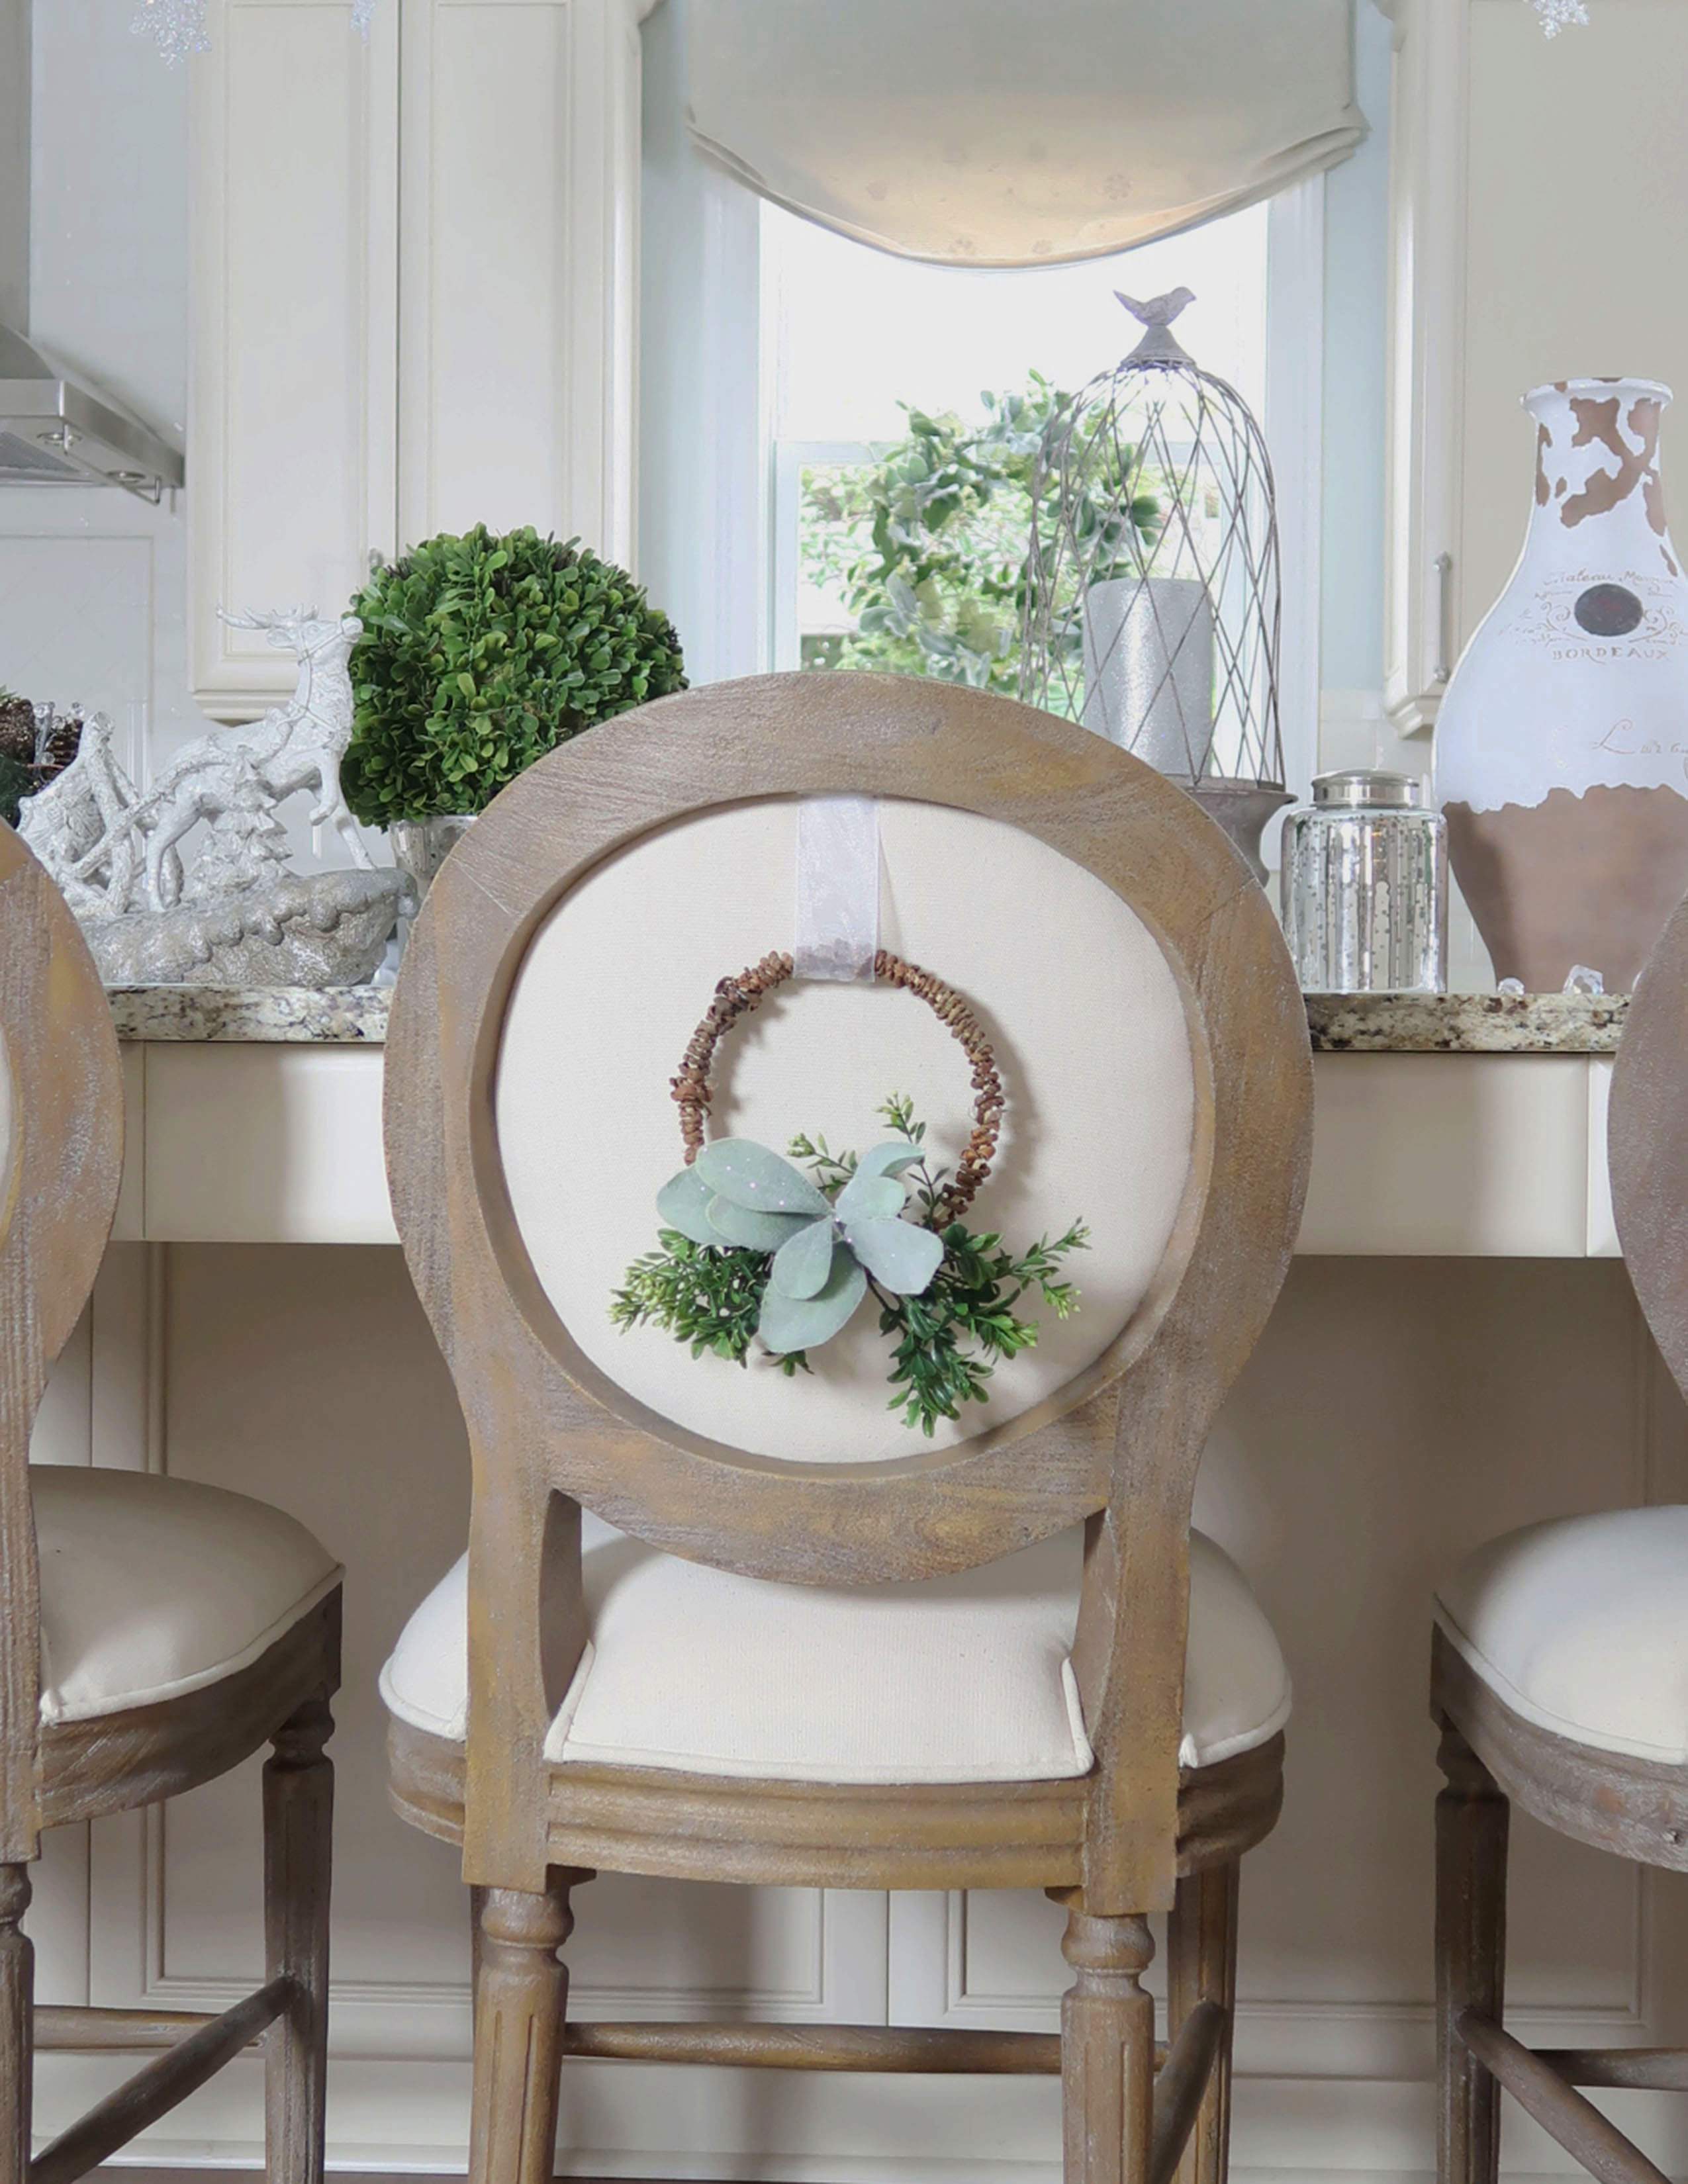
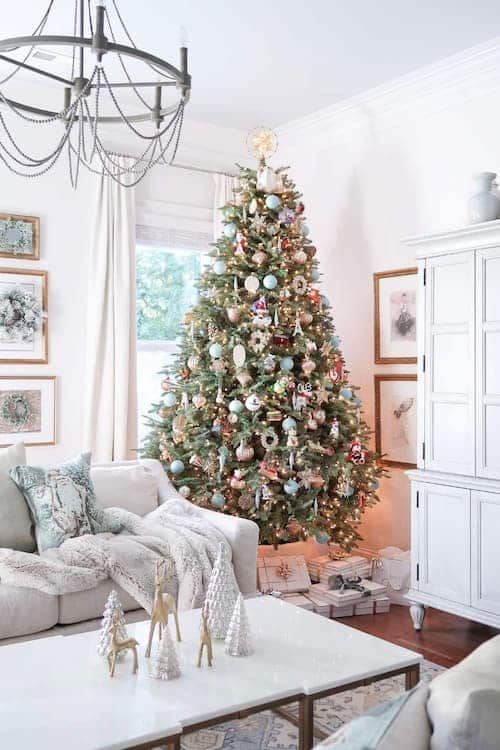
Decorating for Christmas and the holidays means that every space is up for grabs and the back of your chairs should be no exception!
Learn how to easily and affordably make a wreath for the back of your chairs in the kitchen or dining room.
Use a simple embroidery hoop as a base for a very inexpensive and easy to make holiday wreath!
How-to Make an Embroidery Hoop Wreath
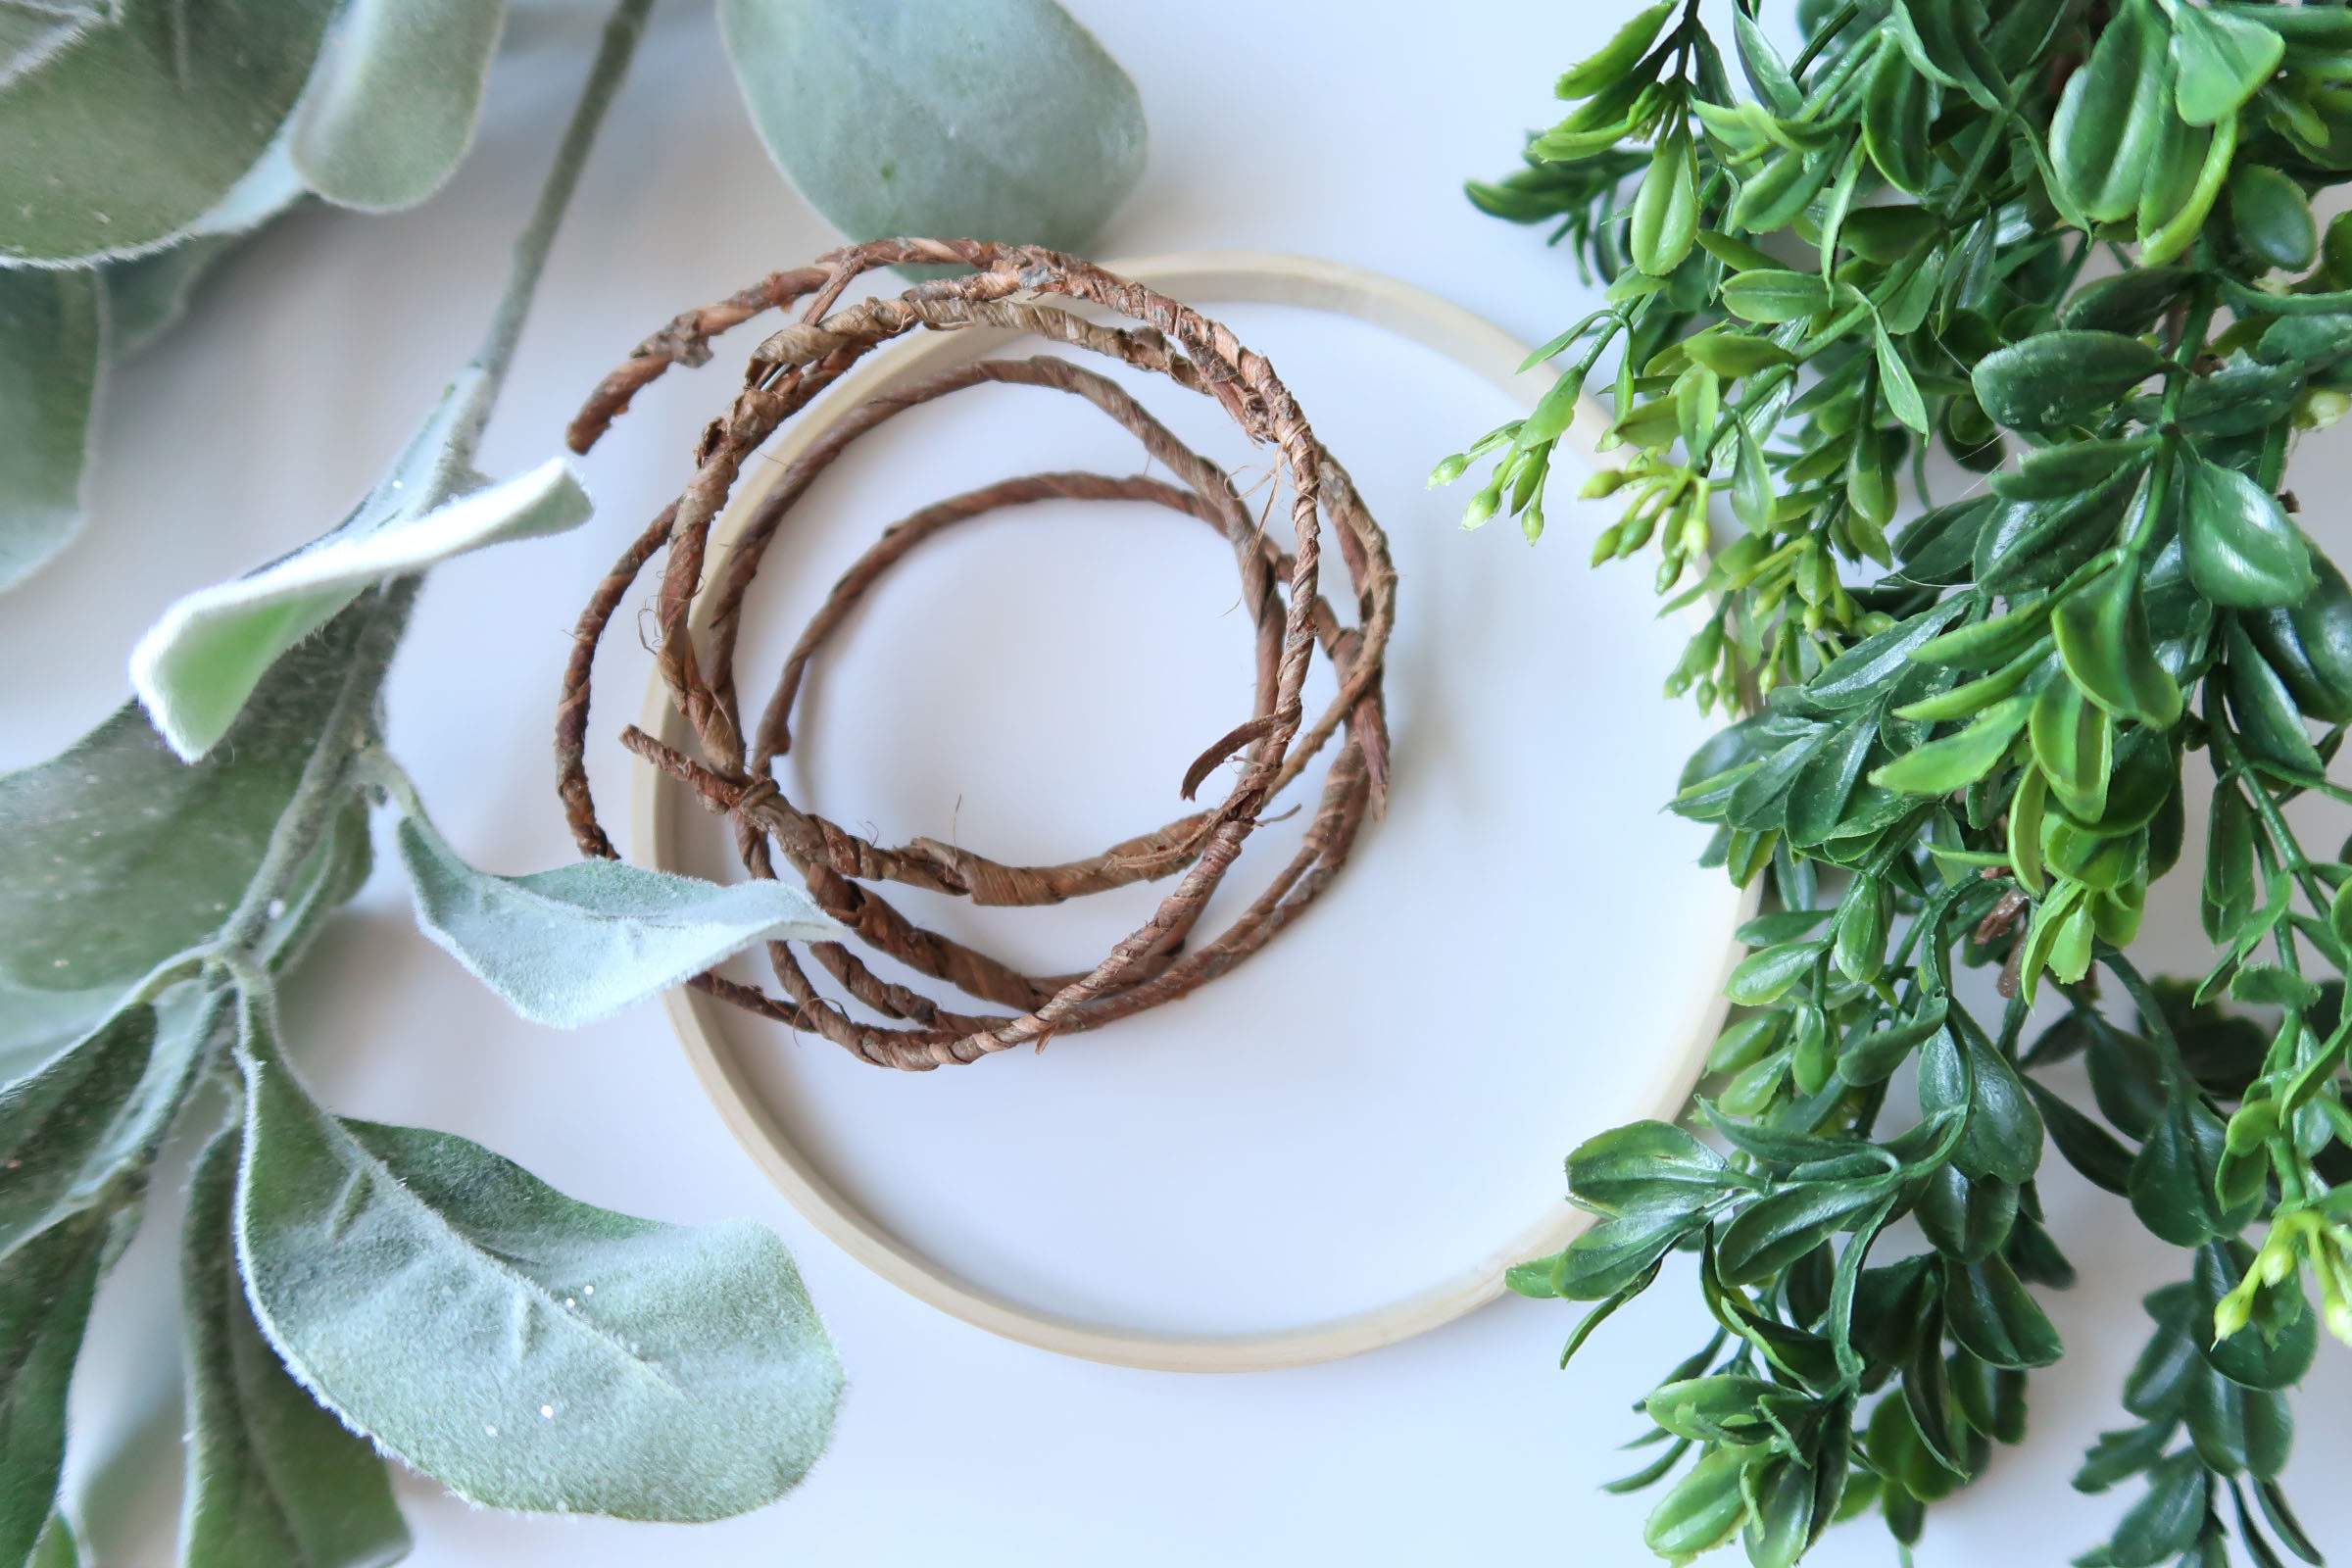
Can you believe all it take is 4 items to make your own unique mini-wreaths for the back of your chairs?
My hope is to inspire your own creative design, by showing you what I chose for the wreaths on my kitchen chairs.
The best part is that when you create your own design it is less expensive! For $15 and in 15 minutes, I made each one of these wreaths!
Post contains hand selected products, with affiliate marketing links throughout {full disclosure here}
Supplies
- 6 Inch Wood Embroidery Hoops
- Bark Floral Wire or here
- Faux Boxwood Garland
- Flocked Lambs Ear
- White Organza Ribbon
- Floral Tape and Wire
- Straight Pins
To be frank, this is the very first time I have EVER made a wreath.
If you see there is a better way to do this, by all means share your assembly ideas in the comments because I would LOVE to hear them!
It is also the first time I’ve ever used floral tape and what was so odd is the manufacture’s packaging had no instructions, na da. So I learned as I went.

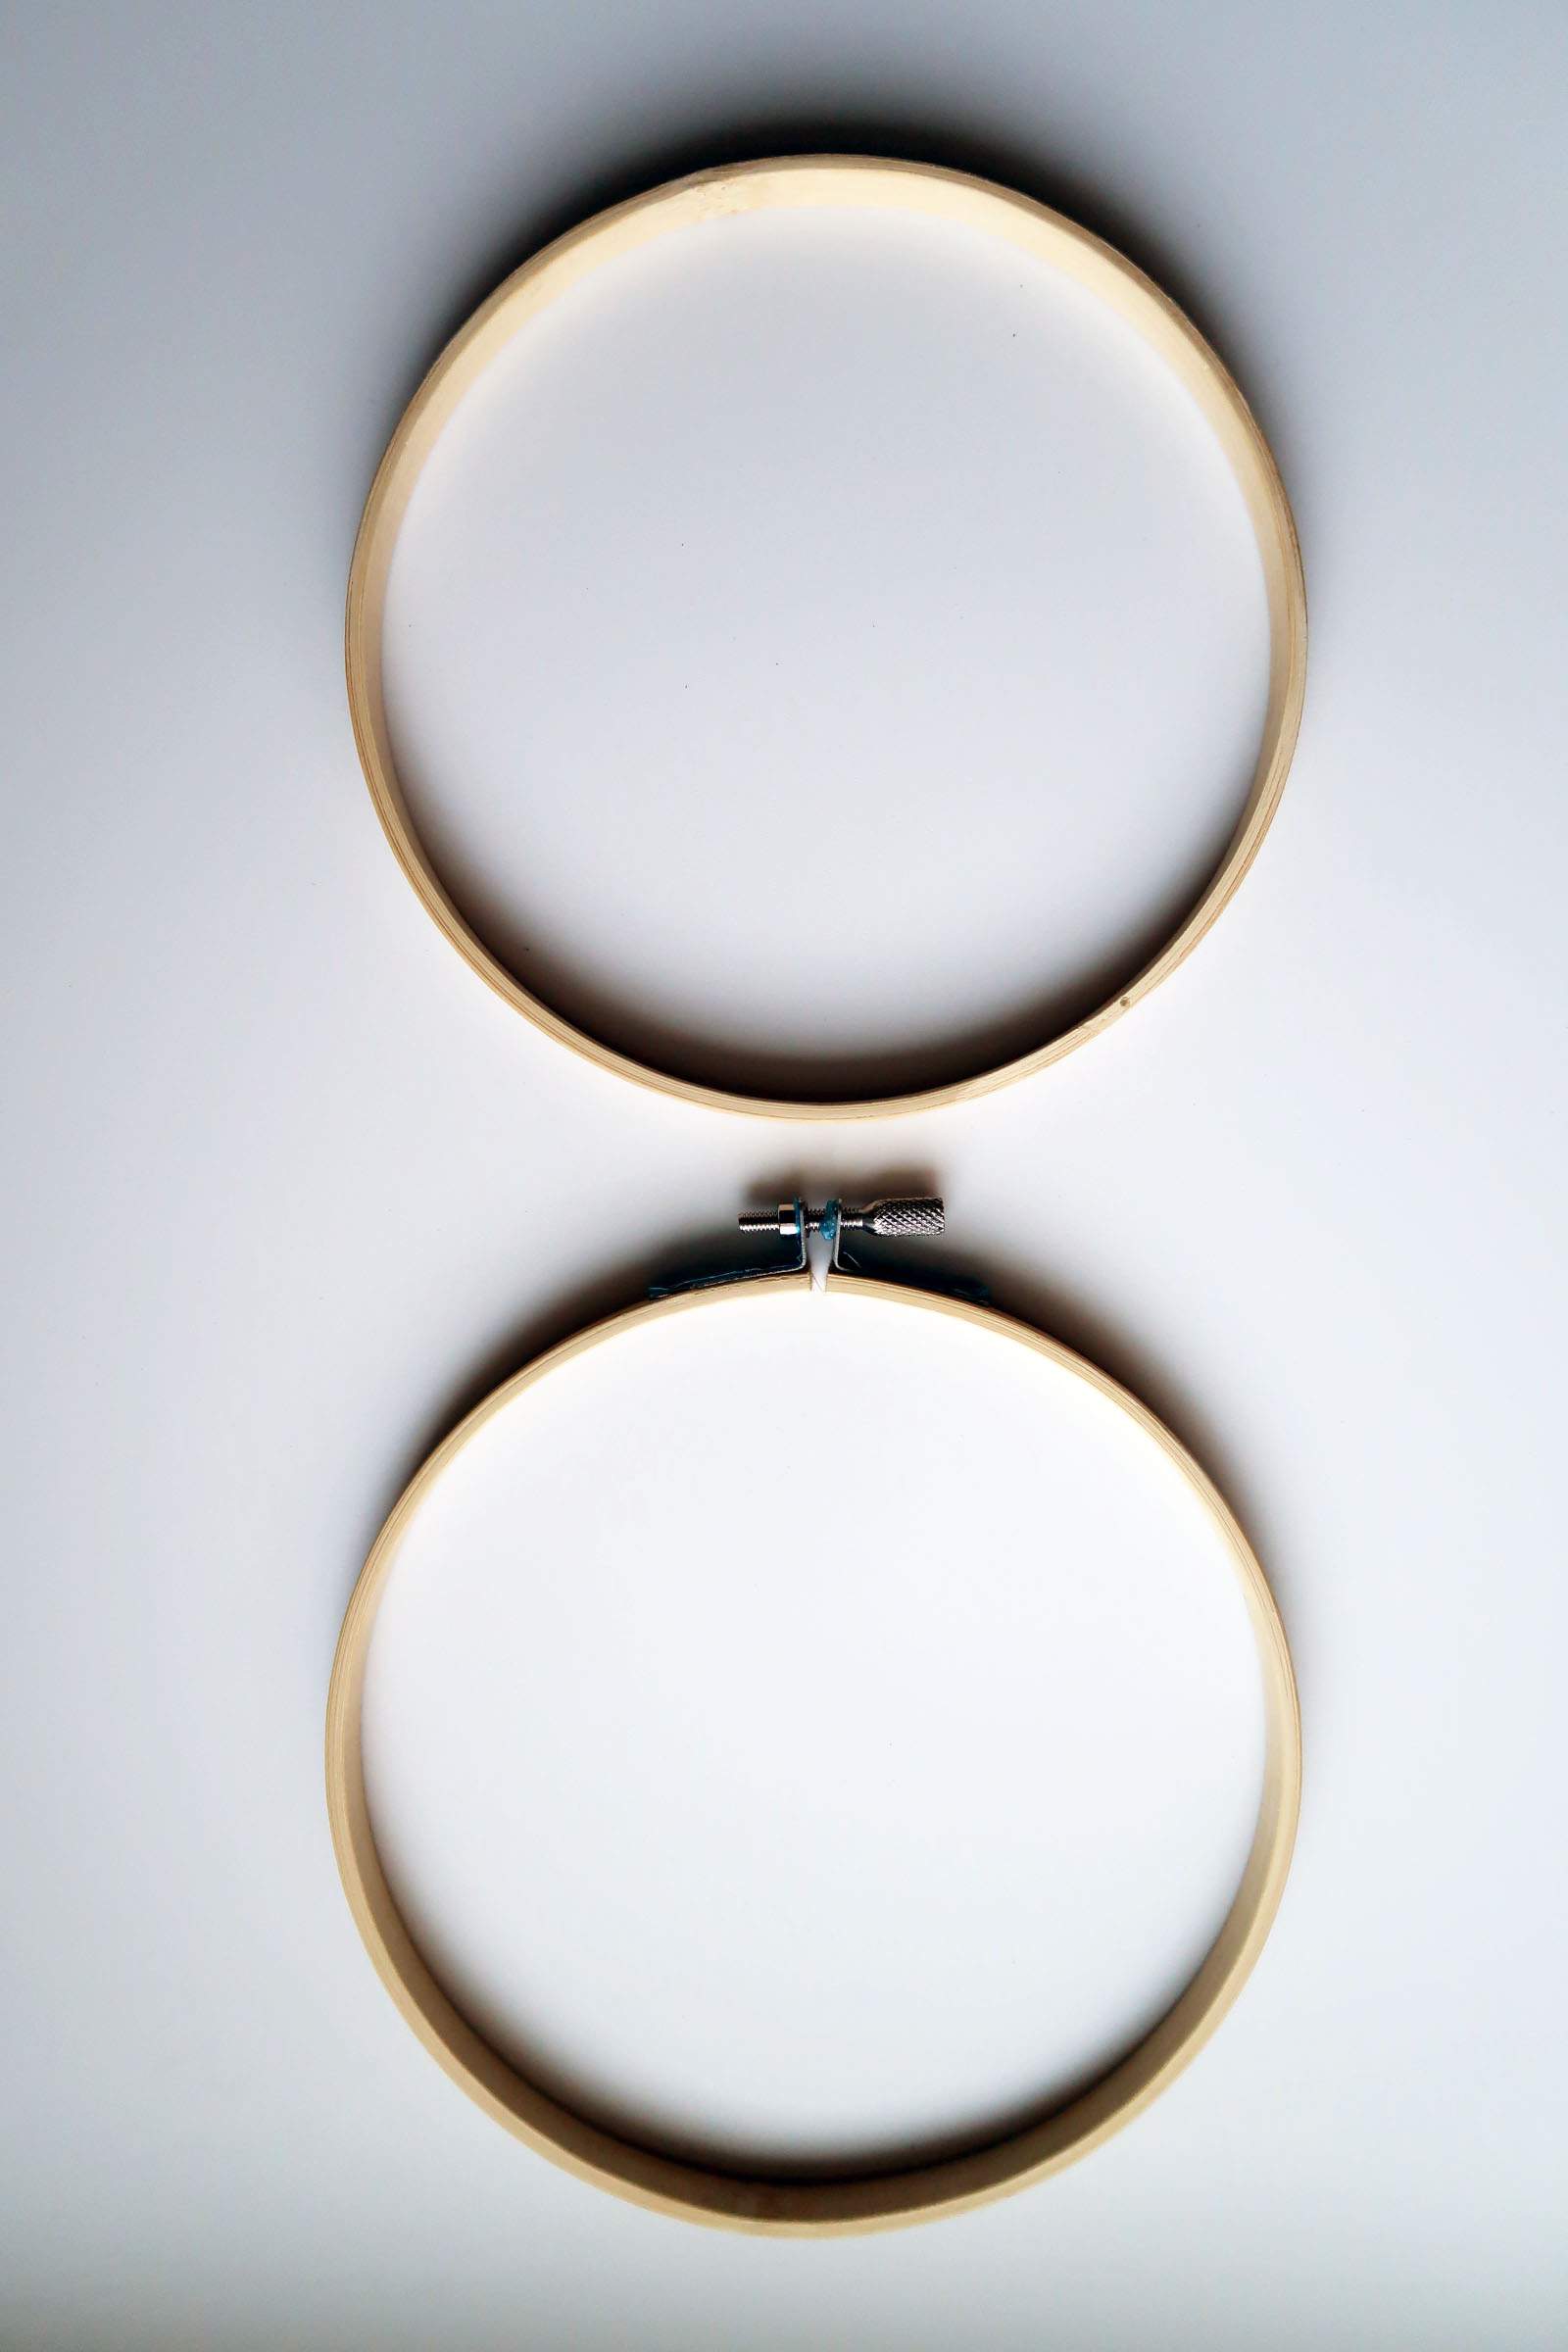
Step 1: Separate Embroidery Hoops
These were a great Pinterest find. I saw many people making simple wreaths out of these inexpensive wooden hoops that serve a totally different purpose.
My mom saw them laying around over Thanksgiving and asked if I was taking up needle point? Ha, ha, ha!
Embroidery hoops are very light weight and come in multiple sizes making a perfect base for the back of a chair wreath.
In this version, I decided to make them look more rustic with the bark wire, but how pretty would this be if I just spray painted them in silver or gold? Next year 😉
All you have to do is separate the inner hoop for use by loosening the screw.
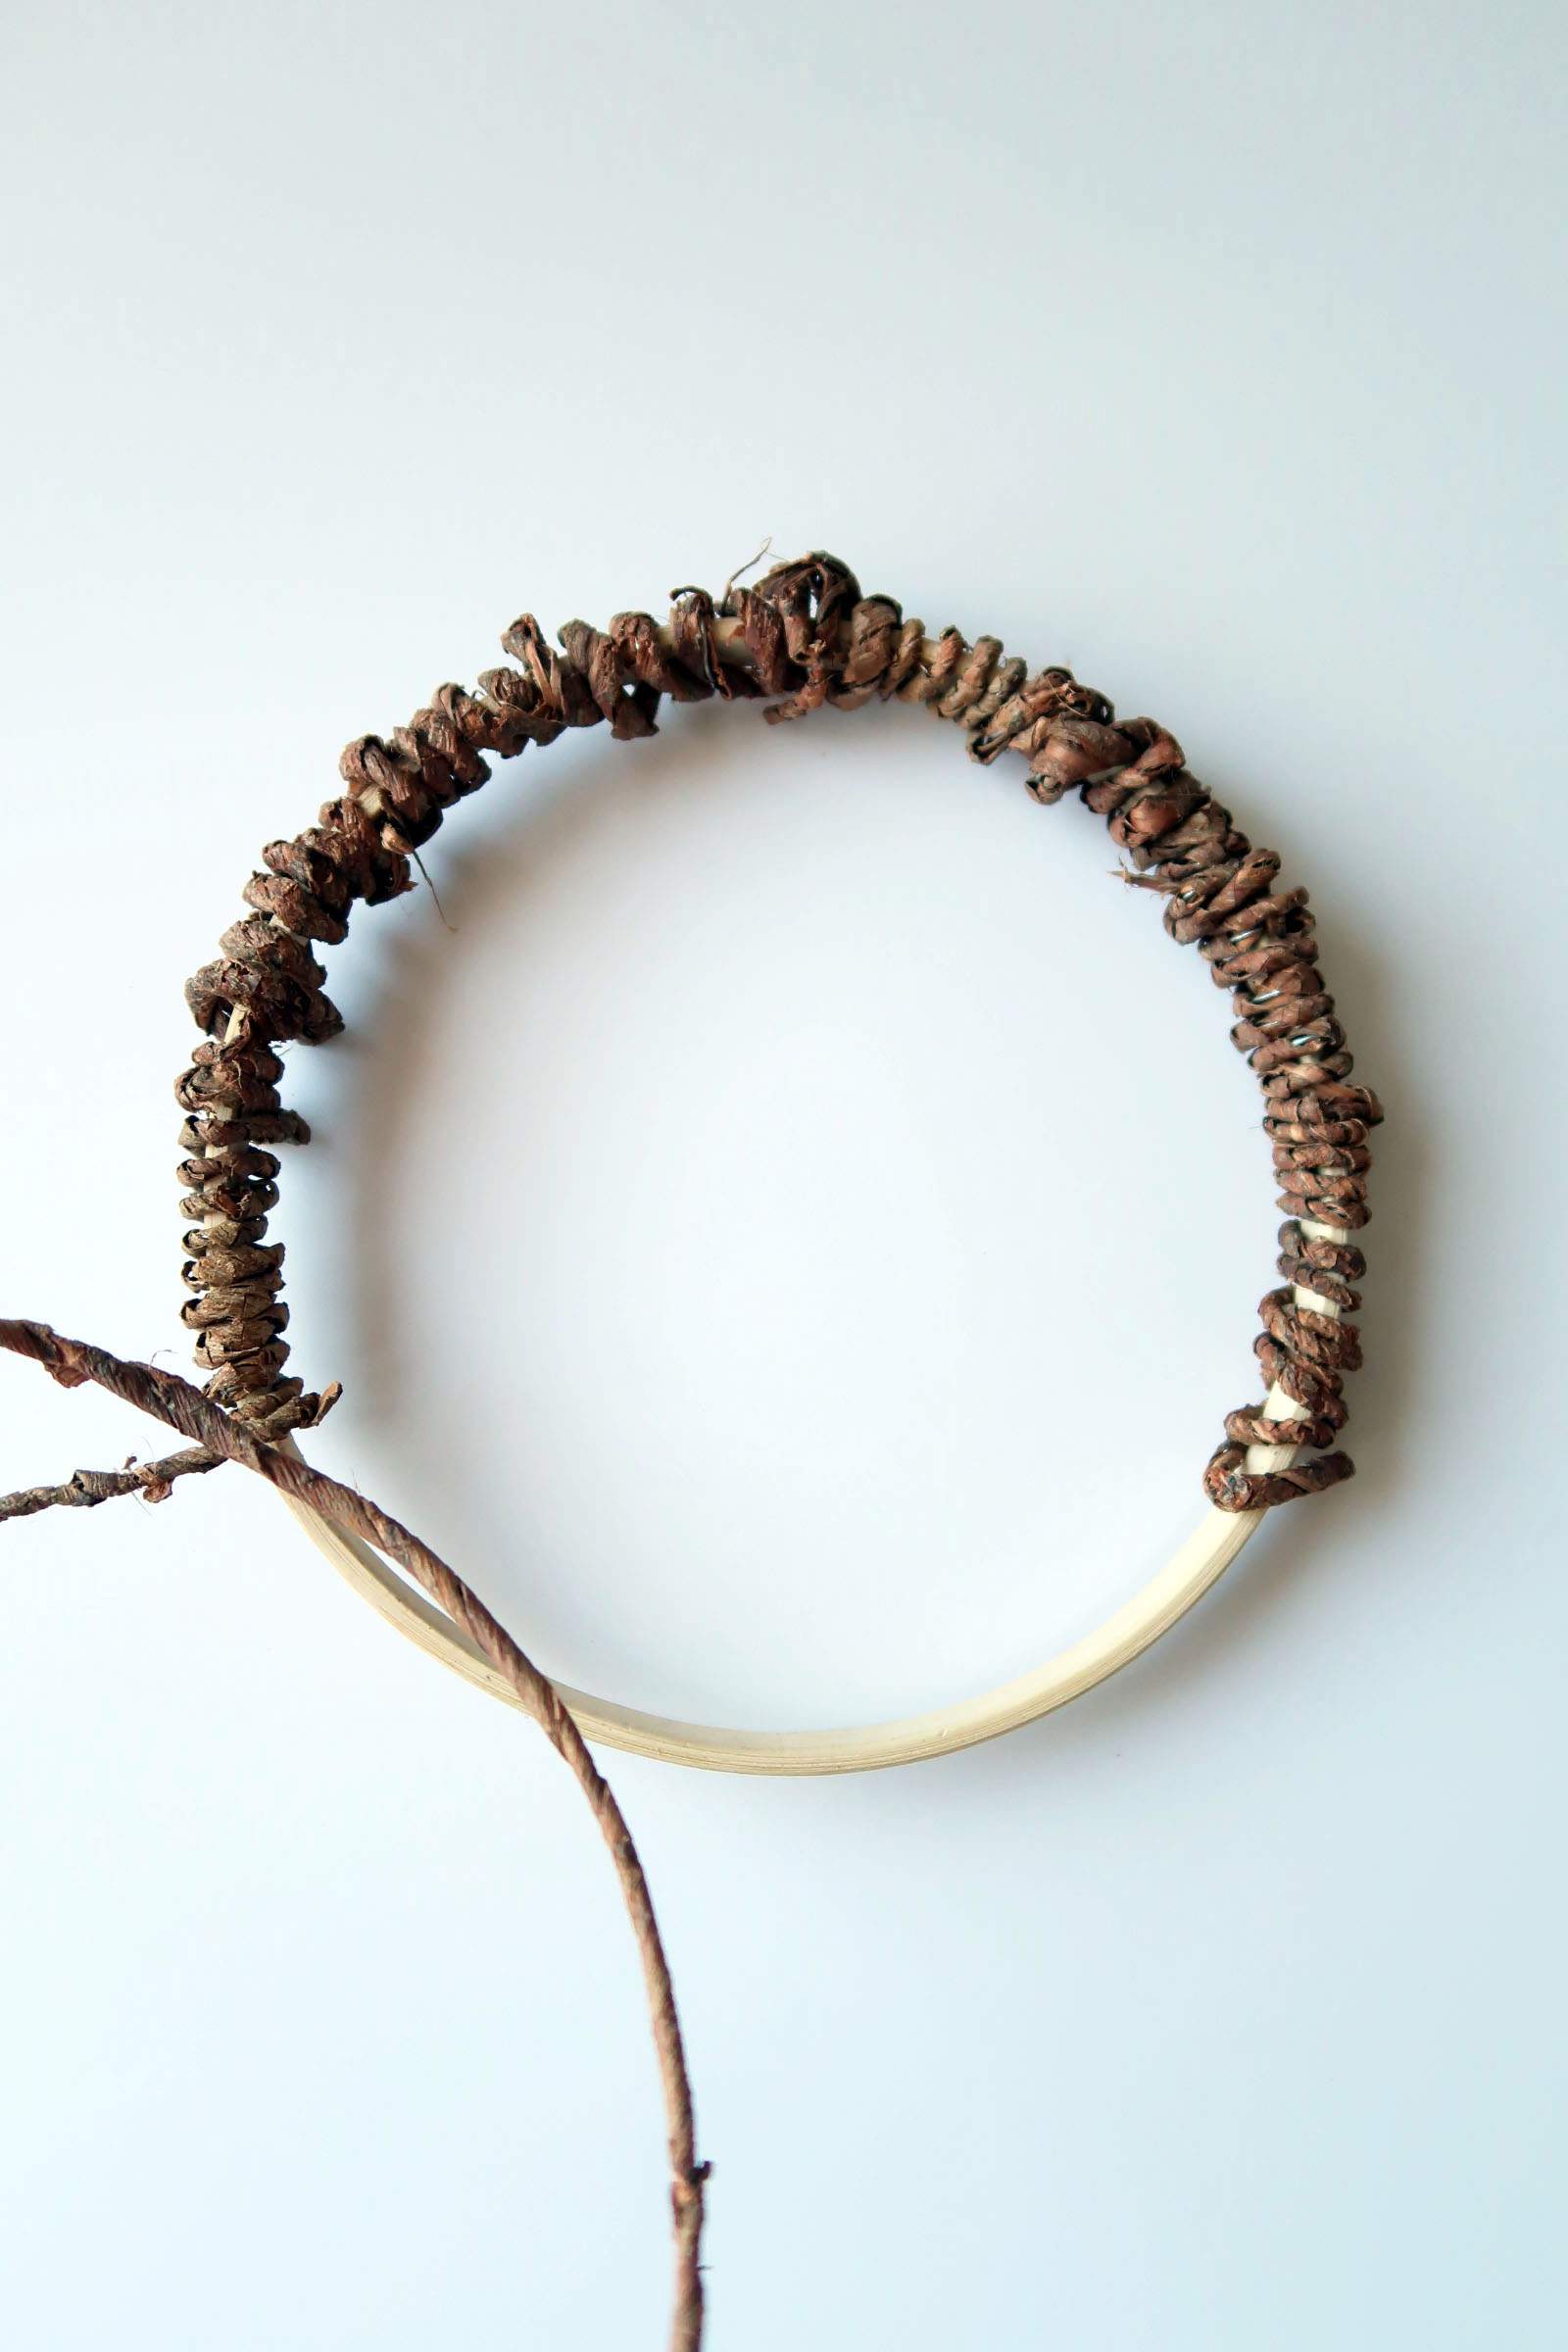
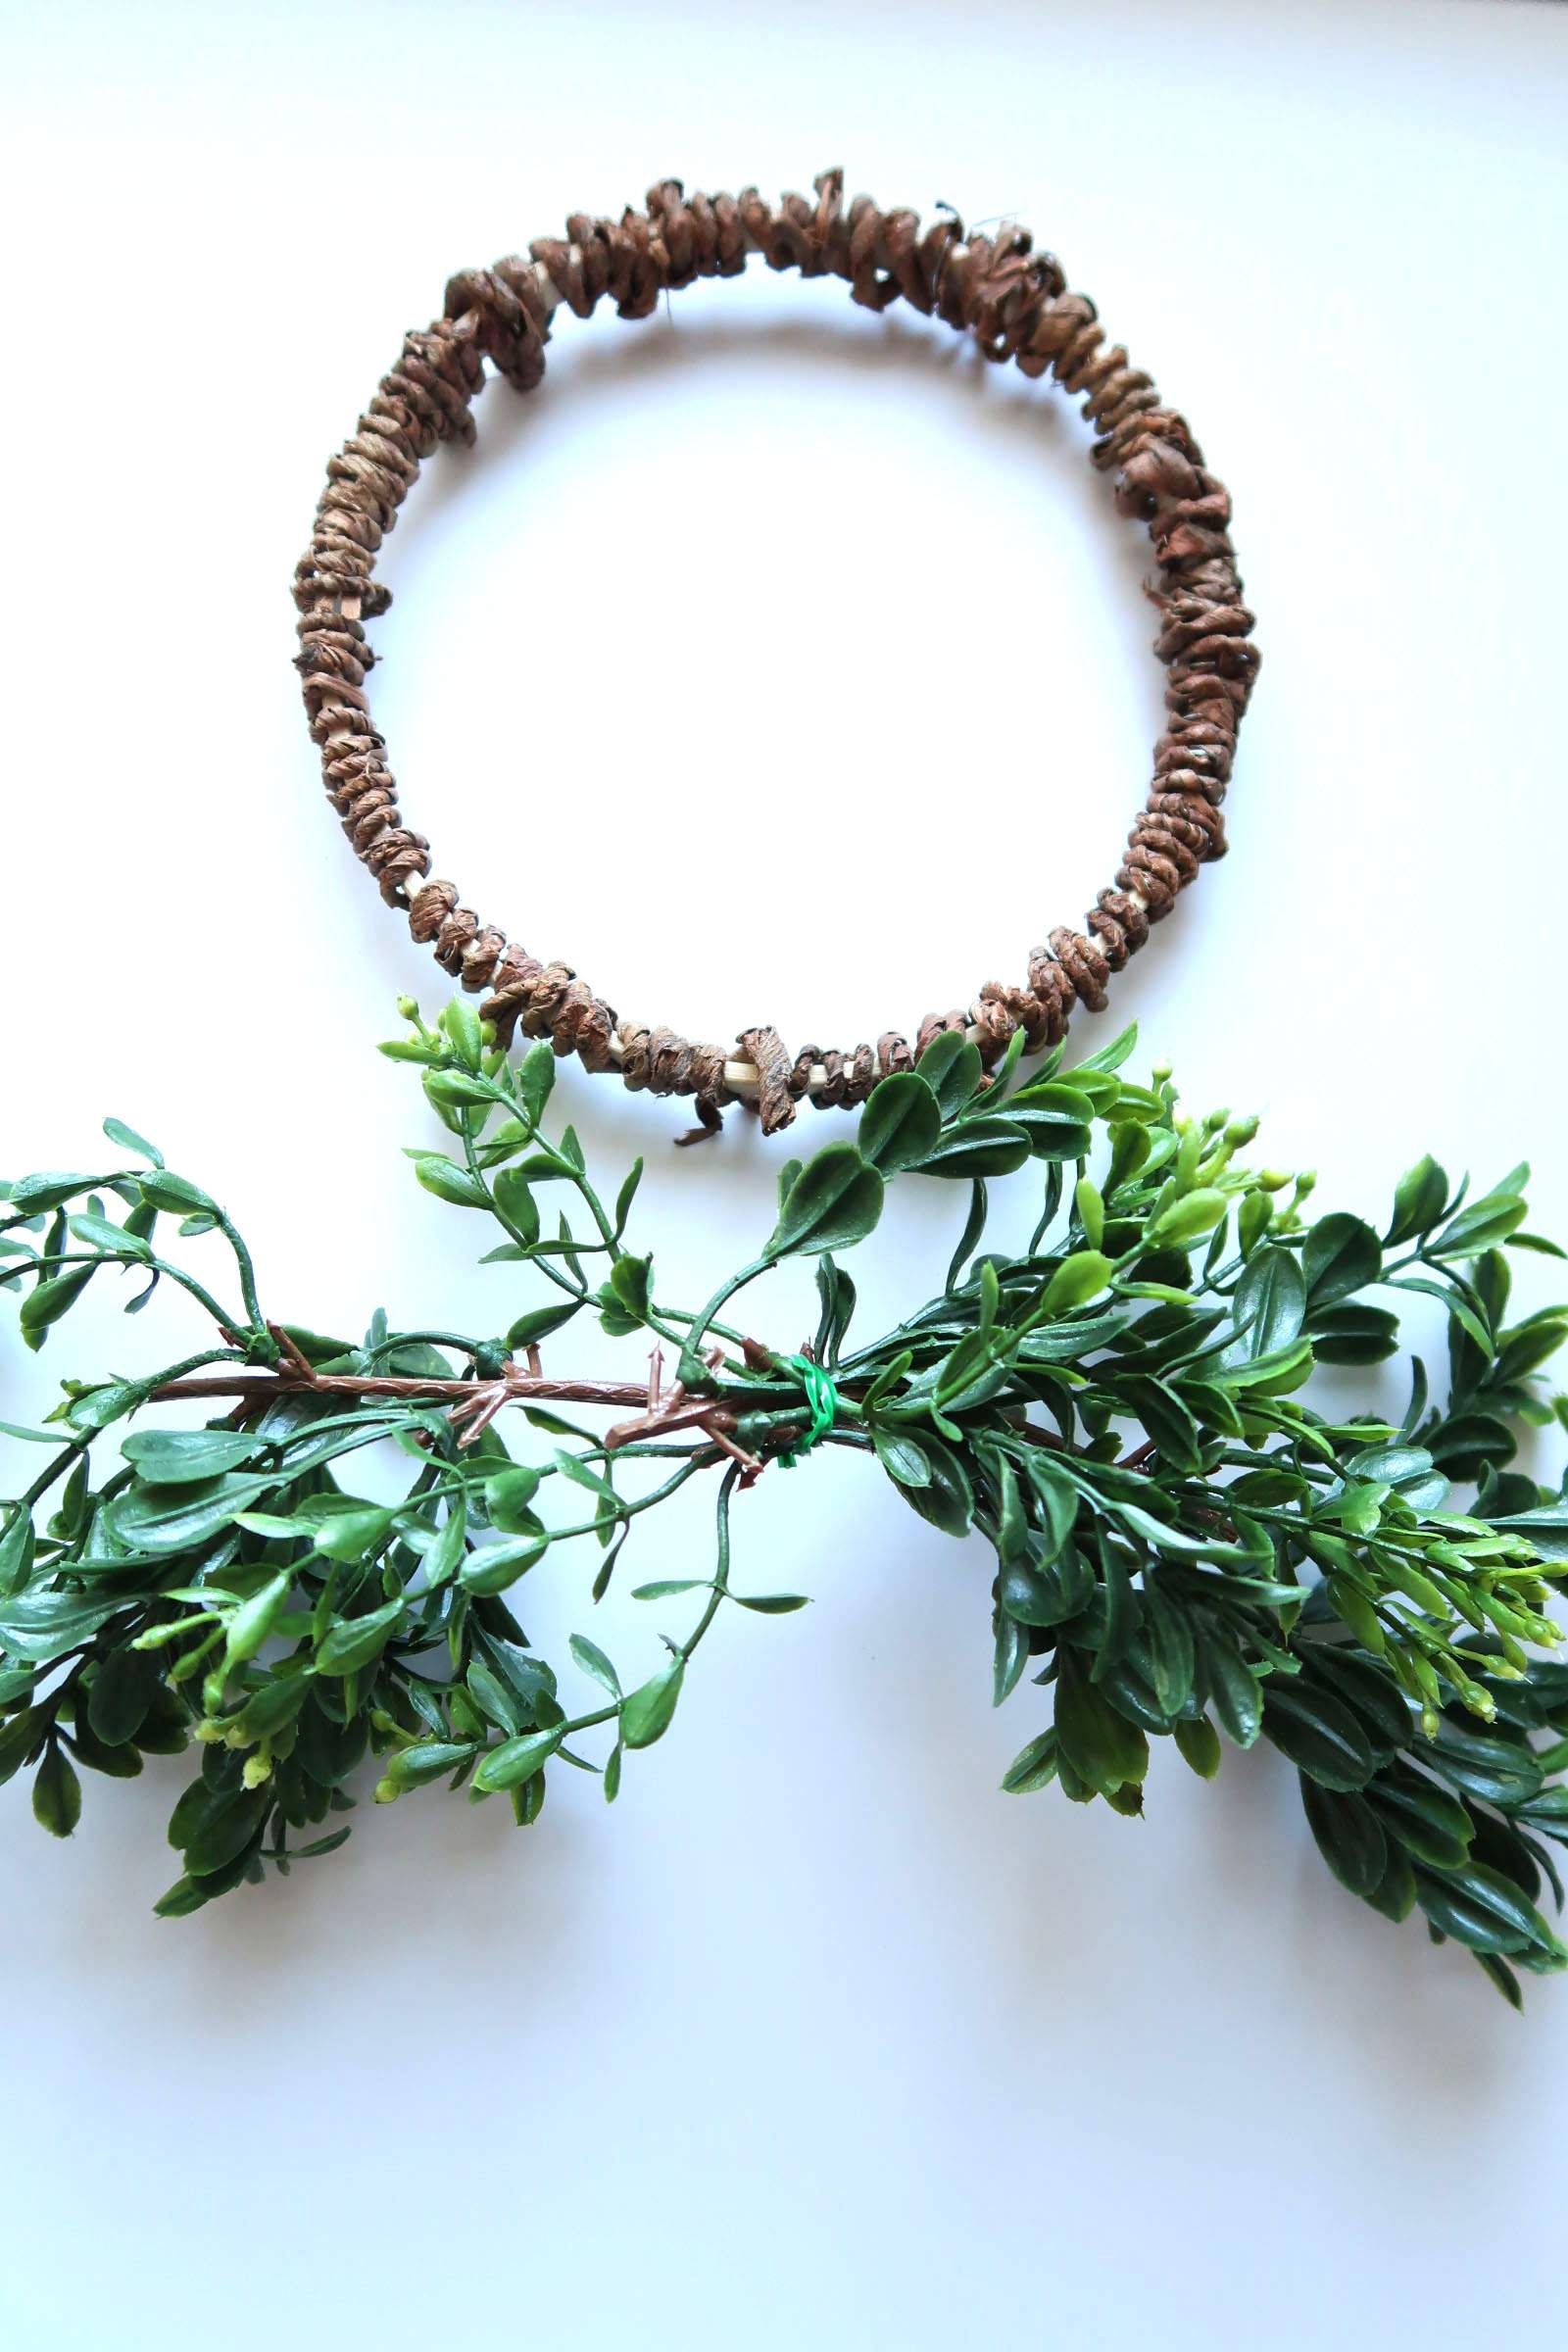
Step 2: Wrap Wooden Hoops in Bark Wire
Take my advice and cut about 2 feet to start with and add on as you go. It takes between 4 feet and 6 feet of wire to wrap each hoop. The first one I cut that full length and boy it was a pain!
Smaller sections are easier and faster to maneuver because it’s less material to push through the hoop after each wrap.
Bark floral wire I found easy to use. Once you start to wrap the wire, you can then slide it together as you go to make it as tight or loose as you like for the look you want.
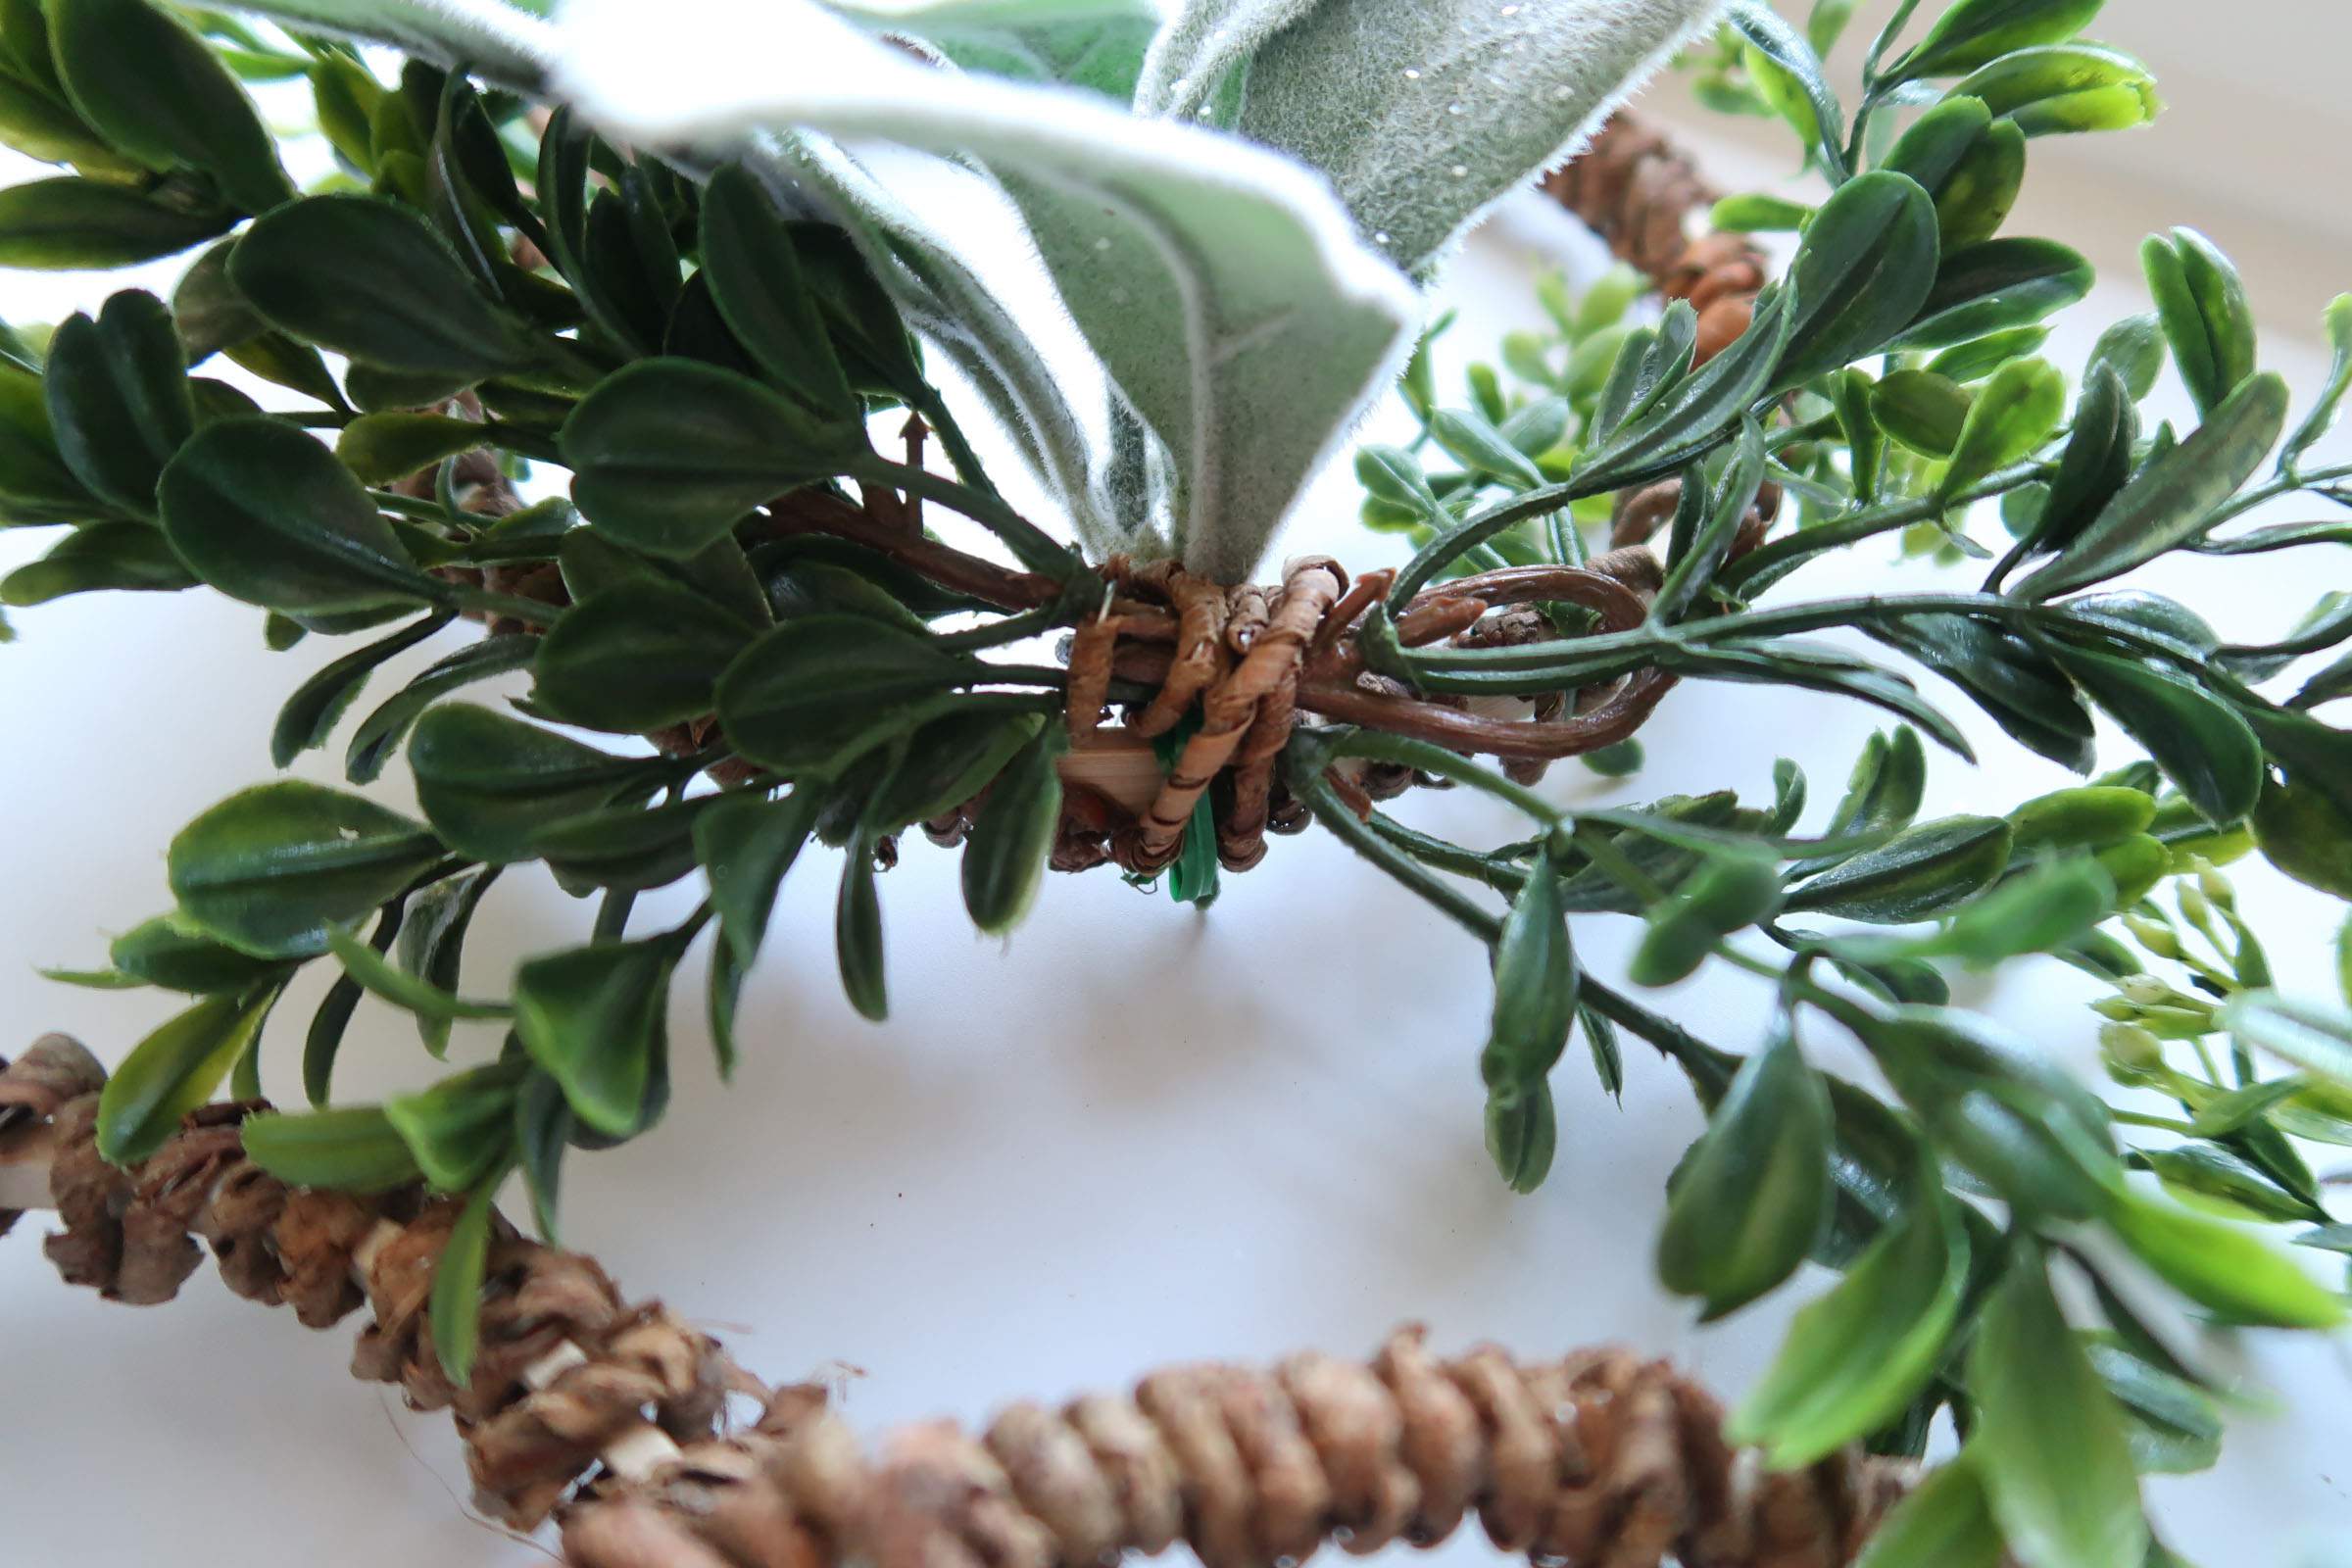
Step 3: Attach Lambs Ear Spray
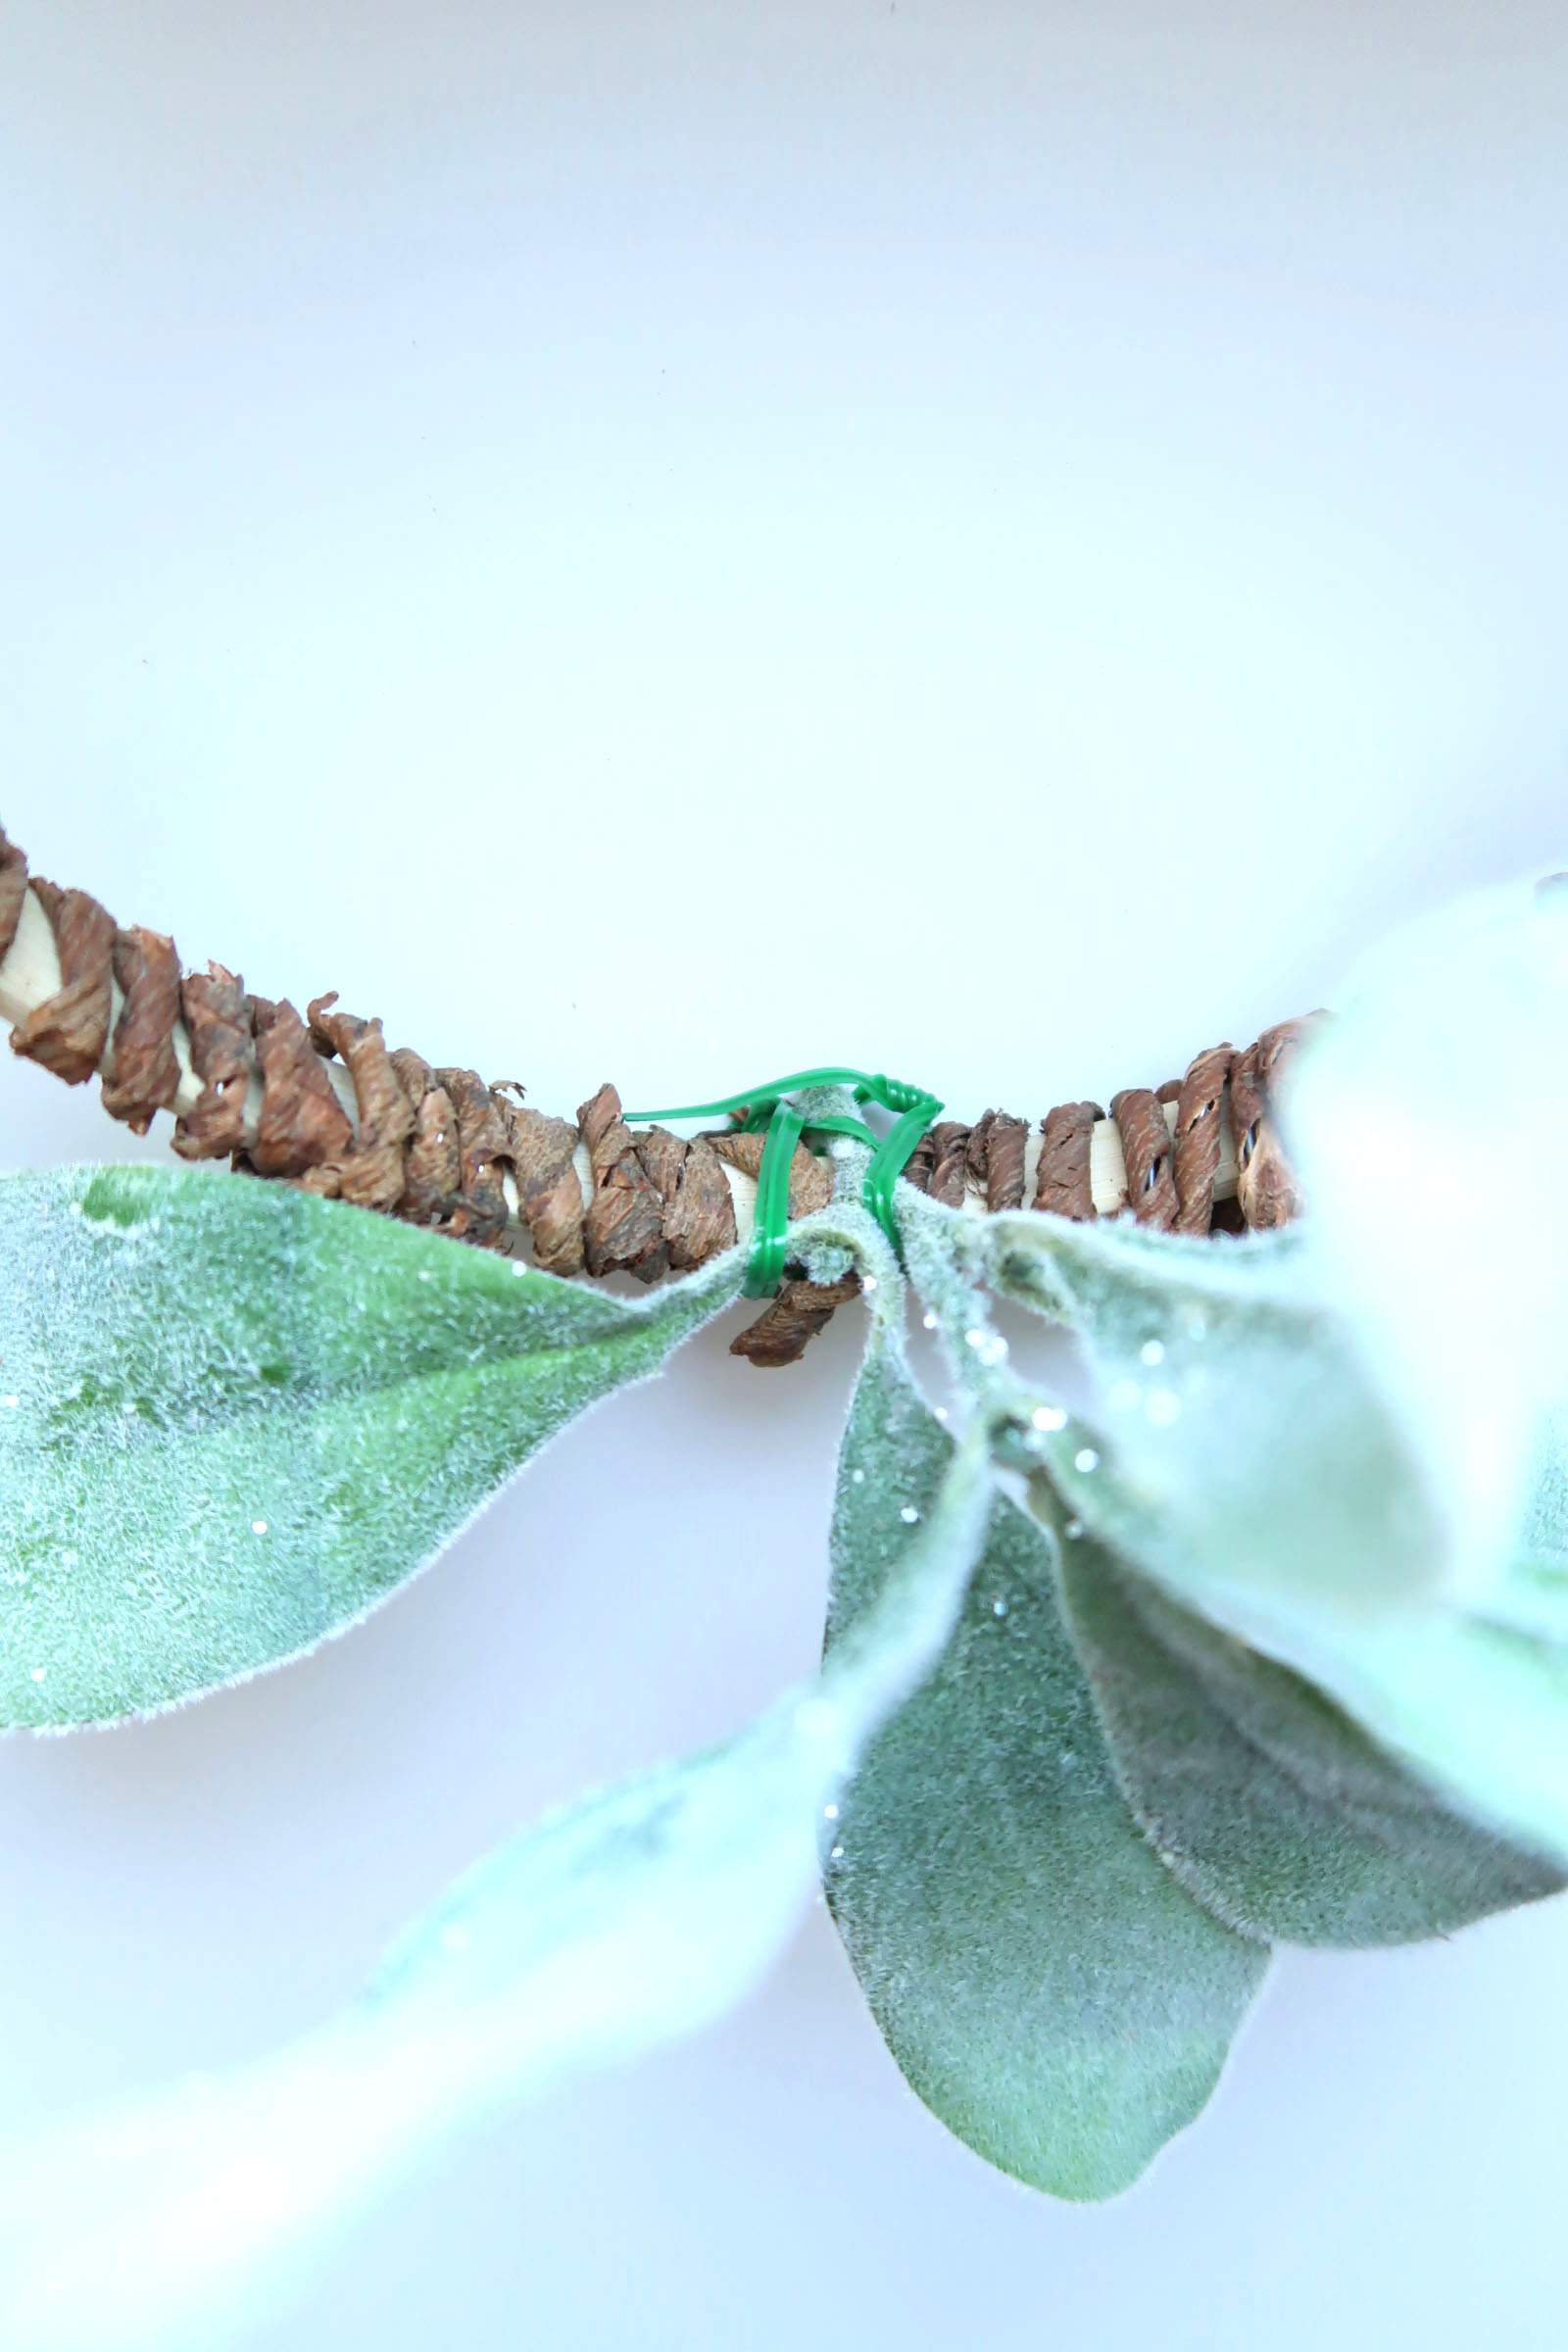
It took a few attempts to figure out the best method to attach the lambs ear pieces that I clipped from the larger spray.
What I found kept the lambs ear leaves facing out was to force the end through one of the bark wire wraps and then secure with floral wire. I used the wire versus the tape for stability.

Step 4: Boxwood / Greenery Section
Creating a small spray of greenery can be accomplished in many ways, but I am always looking to save money!
The best option I found was to order Faux Boxwood Garland and separate it into smaller pieces.
In this version, I wrapped the small clumps together with wire, but later found that using the floral tape looked better and was more secure (sorry I didn’t photograph).
Step 5: Attach Boxwood to Wreath
To cover over any tape or wire and for stability, attach the boxwood clumps with the bark wire.
Hold up the boxwood clump and center under the lambs ear. Using about a 4 inch piece of bark wire, begin wrapping in and around the lambs ear piece to secure.
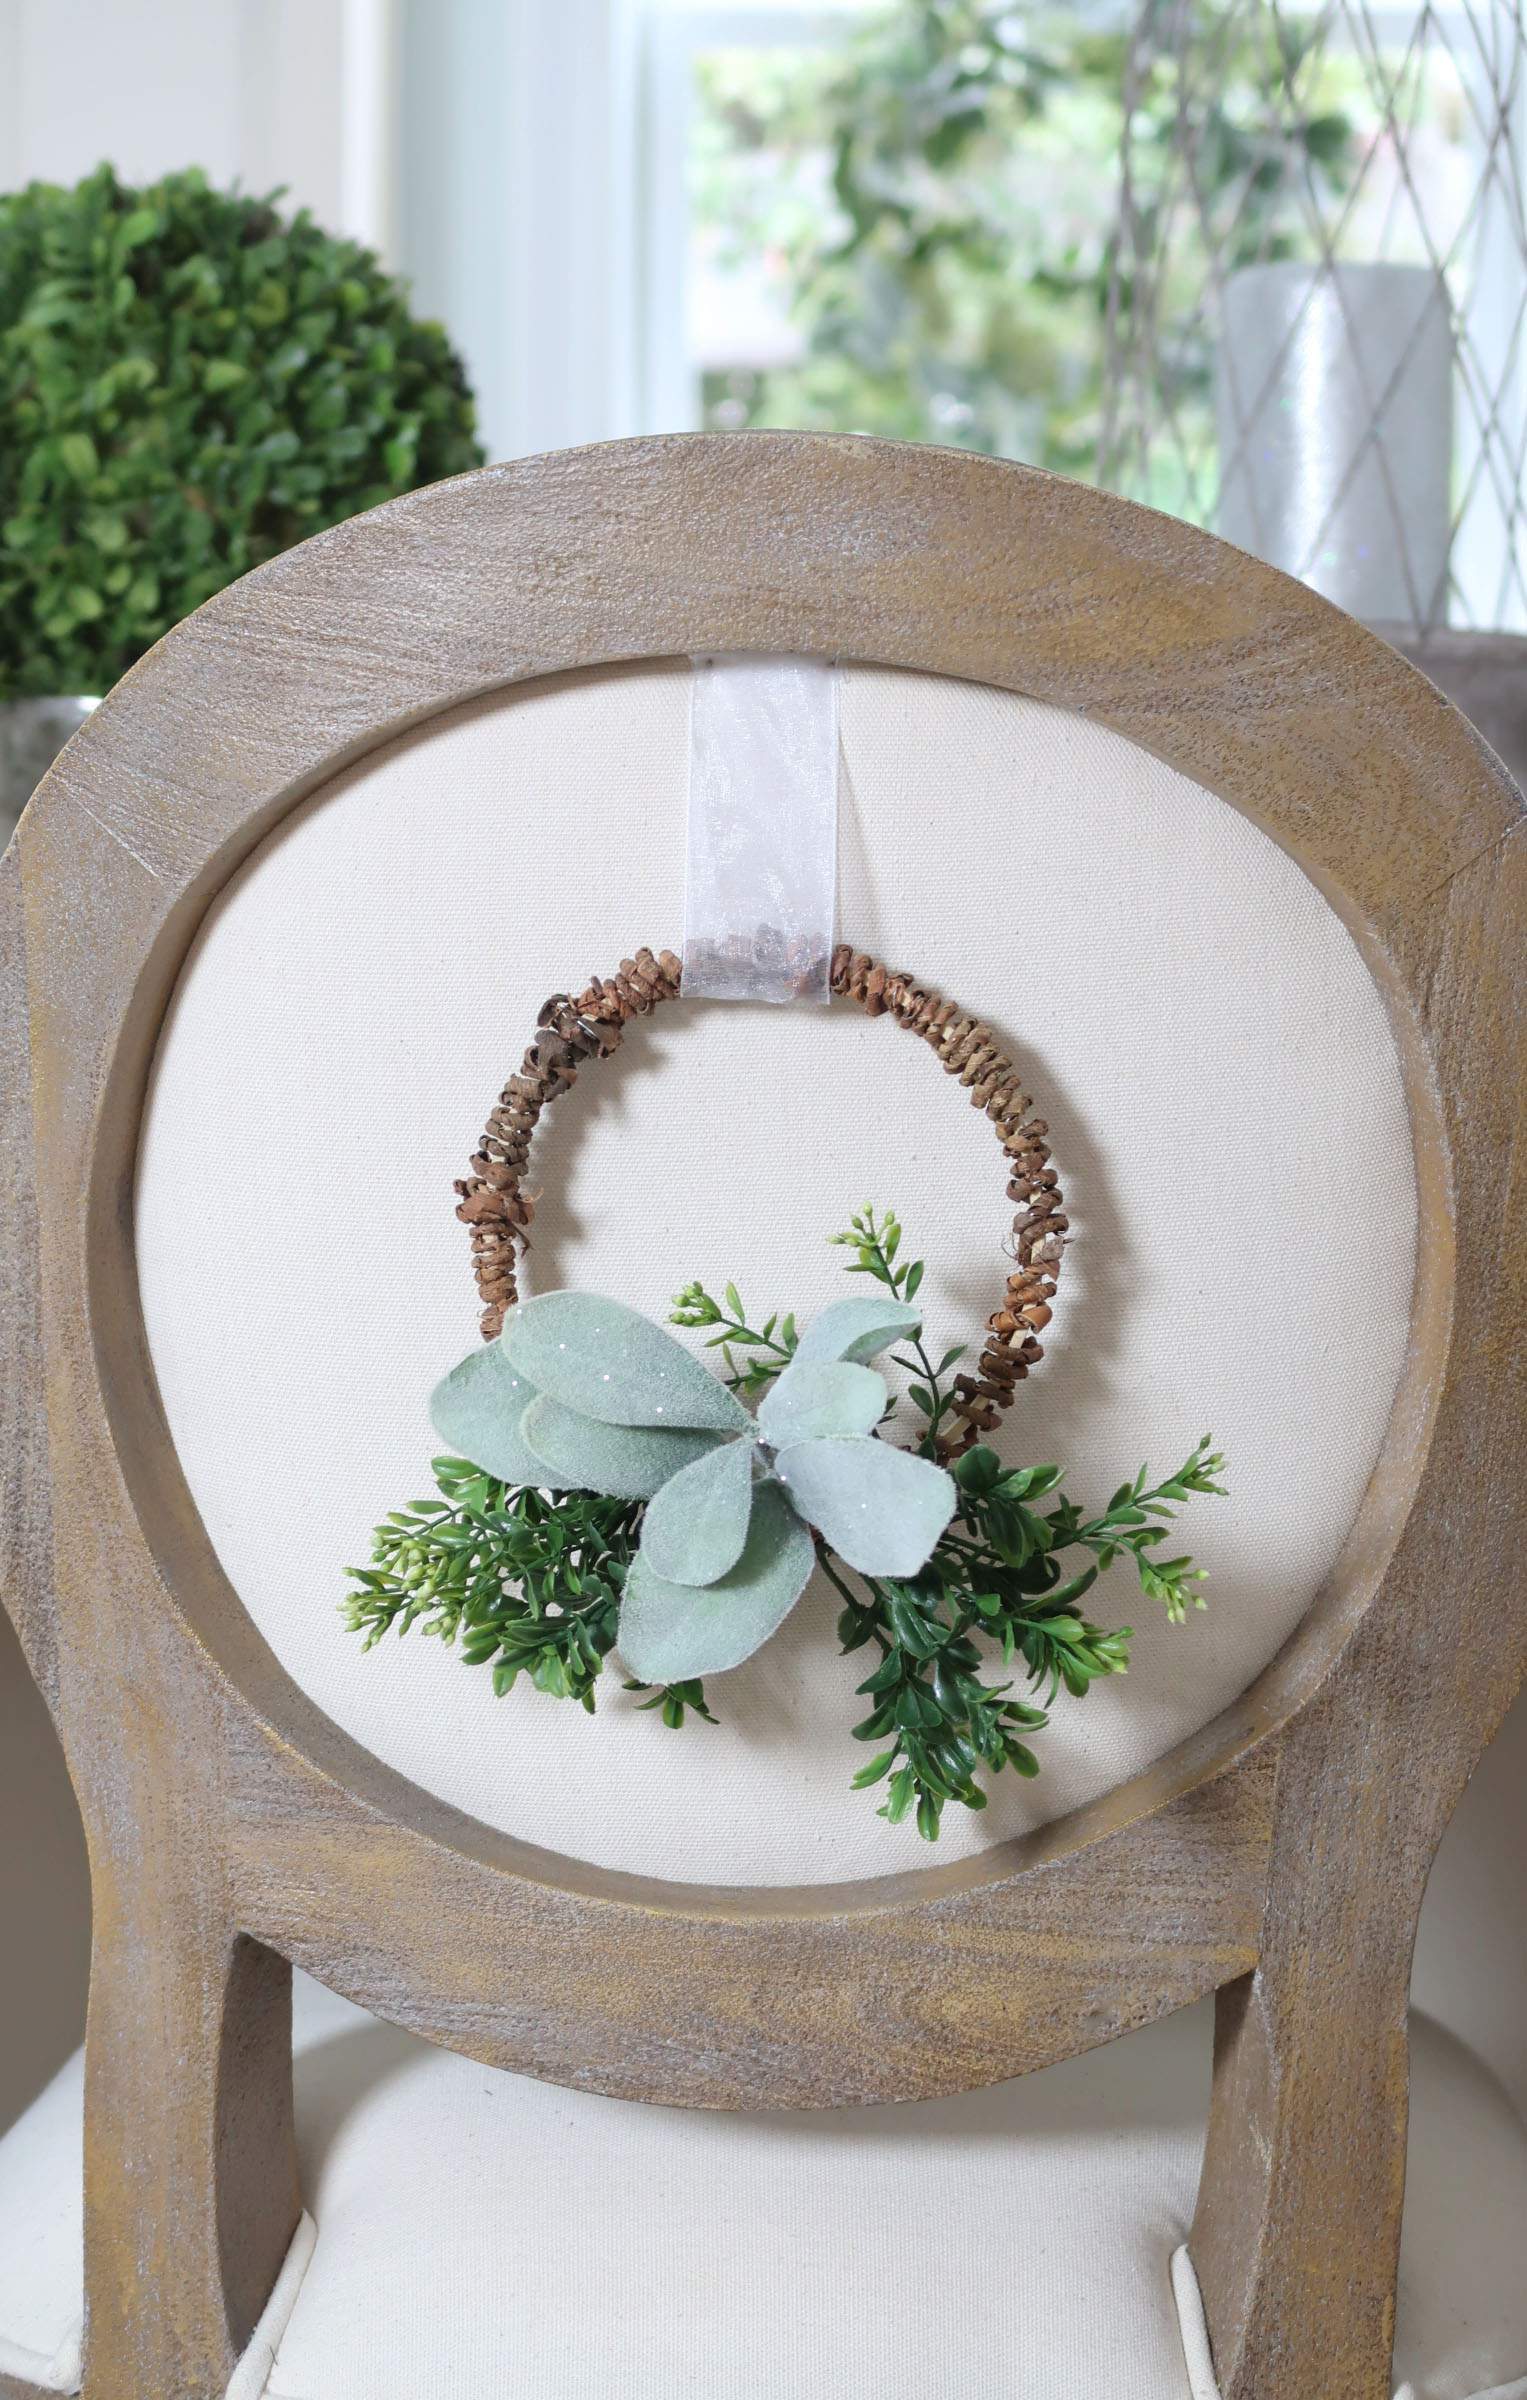
Step 6: Hang with Ribbon
Depending on the chair back you have, hold up the wreath and determine the length of white organza ribbon you need.
For my chairs, I cut 6 inches and looped around the top of the hoop. Then folded over the portion being attached with pins to add more bulk for security.
It also gave me the ability to adjust the height side to side and make the wreaths hang straight!
Push the straight pin in just under the wood frame or a seam on your chair on left and right outer edge of the ribbon.
Only two are needed and they stay hanging on the chair even with day to day use.
Chair Wreaths are Personal and Make Great Gifts!
These wreaths are so simple that they could remain up all year. They add a new element to my holiday decor in the kitchen.
This project was really easy and fun plus the wreaths are even more personal because I designed and made them! Literally I made 5 in just over an hour.
Need an inexpensive gift for a company party or a gift for a relative you don’t know what to give – here is your answer.
Not only can you make them for yourself, but they also make great inexpensive personal gifts!

Please Pin for Later !
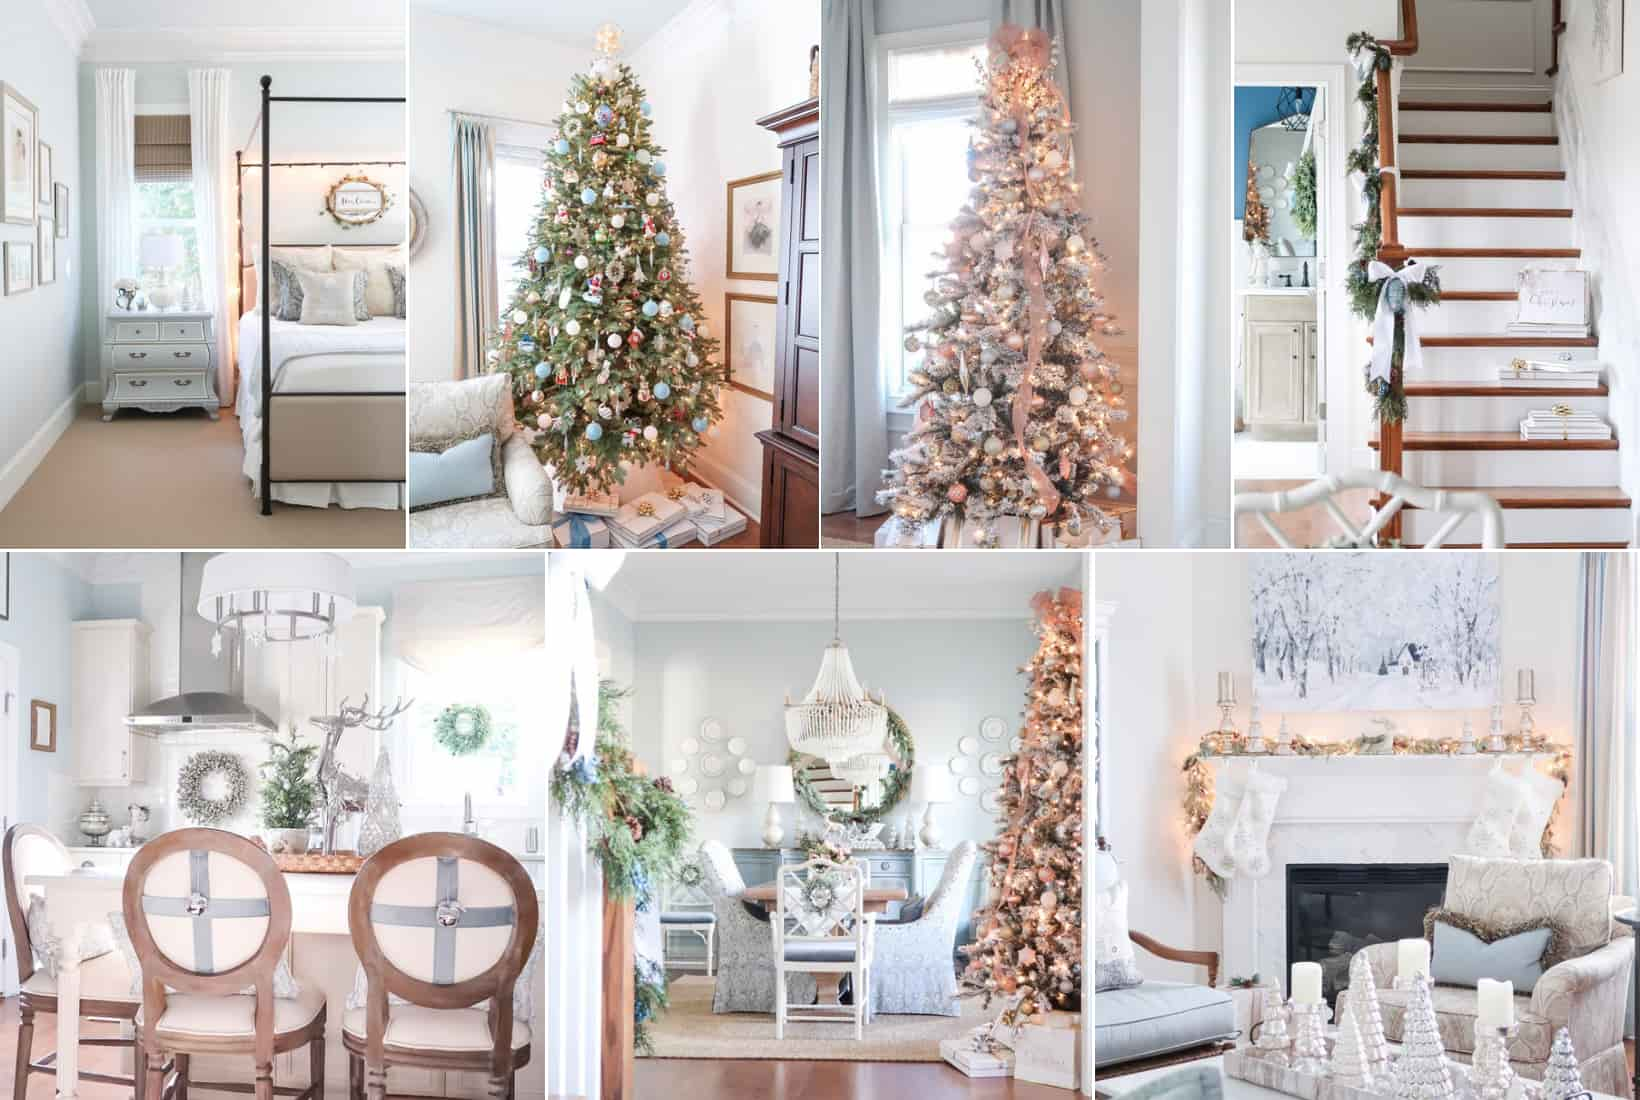
Need more holiday decorating tips?


Sit back, relax and enjoy your hard work!
Until next time…
Porch Daydreamer
Tracey
This is such a nice decorative addition to your bar stools. Thanks so much for the clear tutorial. Our bar stools are all wood so I think I could make the wreaths and just use the ribbon to attach them. But that might have to wait for next year.
Thanks, Carol! I’m so glad you like them and it’s a good tutorial ? It really was easy!