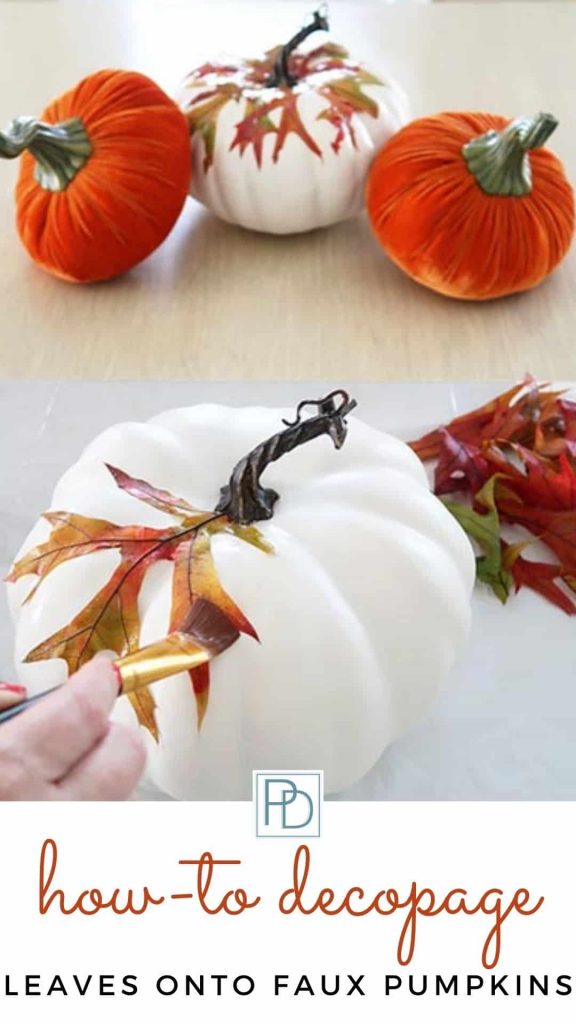
How-to Découpage Fall Leaves on a Pumpkin

Looking for a fun no carve and kid friendly way to decorate pumpkins? Using Mod Podge to découpage paper cutouts or fall leaves is a great option!
This year I decided to try and découpage dried fall leaves onto some basic white faux pumpkins.
They came out SO beautifully that I wanted to share this easy tutorial on how to dress up your pumpkins this fall!
It’s a quick and easy project to try with the kids for some indoor fall craft fun…don’t want to do leaves?
Try any cutout shape you can find or make your own using construction paper.
Why not glue leaves onto a pumpkin?
Last year I bought all of these preserved fall colored leaves and they’ve been sitting in wait (in my hoarder’s home decor closet) for a project.
Then this year I scored BIG on faux white pumpkins at Michael’s and wanted to marry the two. (shop for white pumpkins here)
Never had I used Mod Podge on anything and thought alright I must give this a try! It looks easy enough 😉
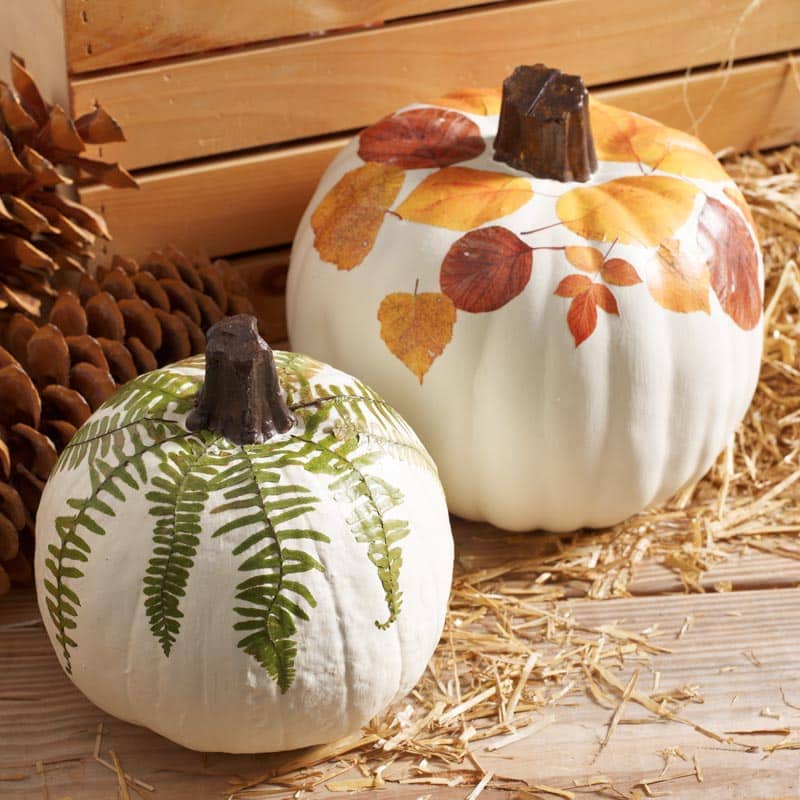
I realize I am very late to the party on this product, but hey better late than never!![]() My pumpkins don’t look as perfect as the ones above, but I get a smile on my face knowing that they were homemade!
My pumpkins don’t look as perfect as the ones above, but I get a smile on my face knowing that they were homemade!
Pin It for Later!
Post contains hand selected products, with some affiliate marketing links {full disclosure here}
How-To Apply Fall Leaves to a Pumpkin
Now you could do this with a real pumpkin, but I would suggest finding a plastic pumpkin for this project.
Then you can reuse it year after year! If kids are involved, buy some colored construction paper and create leaf cutouts with them!
The preserved leaves I used were a bit more challenging because they had actual stems.
I had to really work to get them to stick! However, the look was amazing with the variety of color.
Supplies
- Craft brushes
- Mod Podge in matte
- Mod Podge applicator set
- Fall leaves or Maple leaves
- Faux white pumpkin
- Kitchen trash bag
Mod Podge is glue, so you definitely want to put down some plastic to protect the surrounding surfaces.
I used my regular kitchen trash bag and folded it in half.
In preparation, I also cut the leaves into individual pieces so they were ready for application.
It was important to avoid leaves with thick branches because they won’t stick!
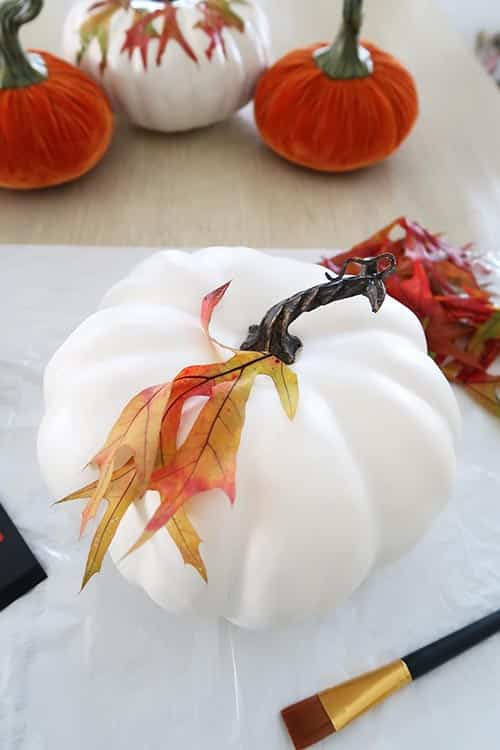
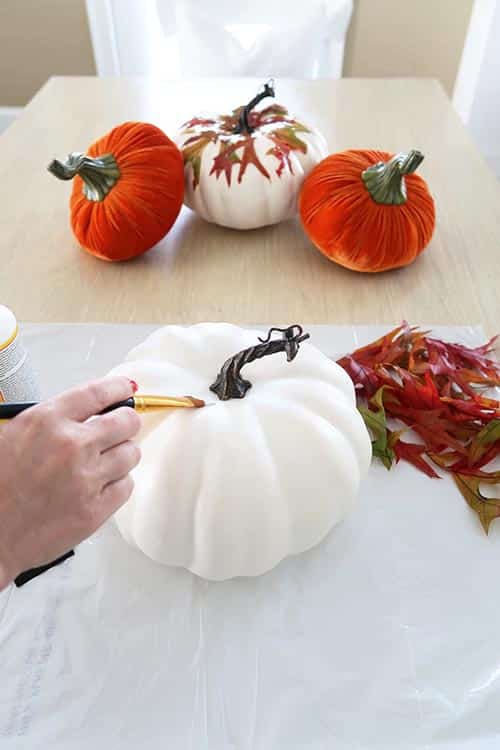
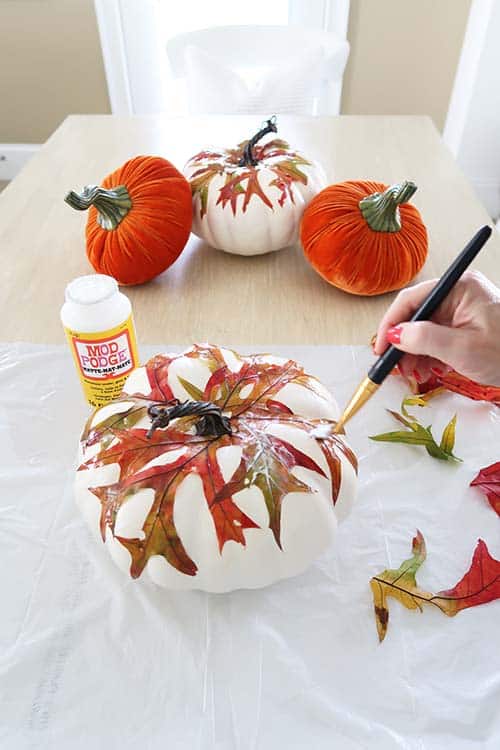
Step 1: Determine the leaf pattern
Map out where you want to place your first leaf.
You can lay them out however you wish! I decided I wanted a design that fanned out from the stem of the pumpkin.
Step 2: Apply mod podge
Pick up the leaf and set it aside. Brush on Mod Podge in the same area the leaf will be placed.
Add a little extra at the stem area for extra hold.
I found letting the glue dry for about 30 seconds made it a bit stickier and held down the leaf faster.
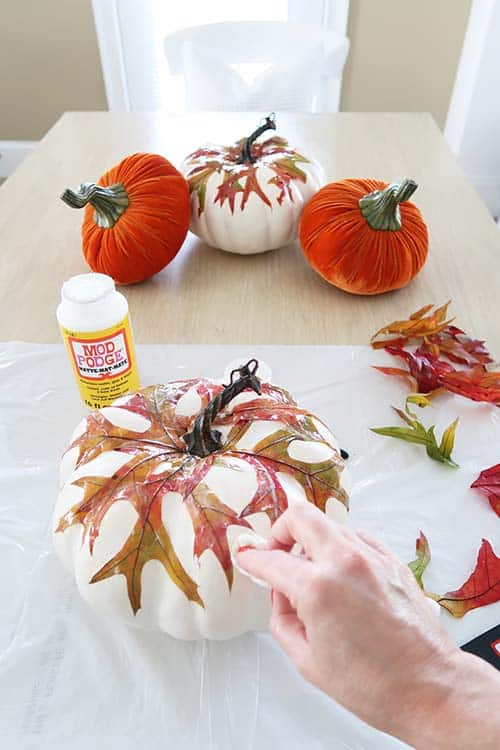
Step 3: apply leaves on top of mod podge
Apply leaf. Press down with your fingers or using the Mod Podge applicator.
Count to 10 and specifically hold down areas that don’t automatically adhere.
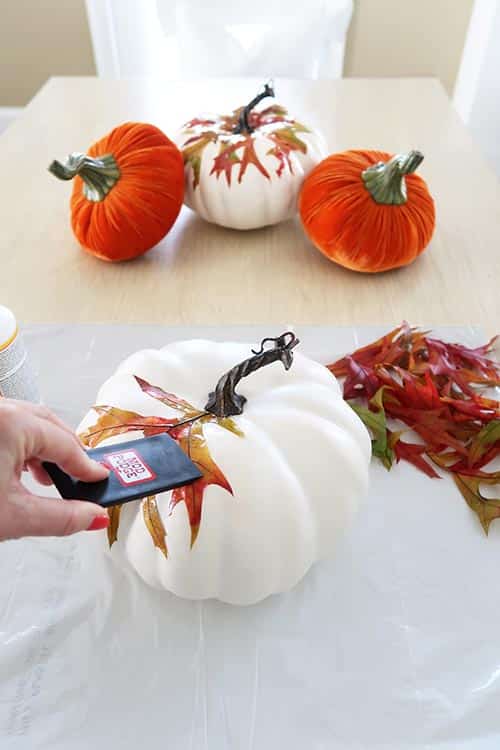
Then brush on more Mod Podge to smooth down the leaf to the pumpkin.
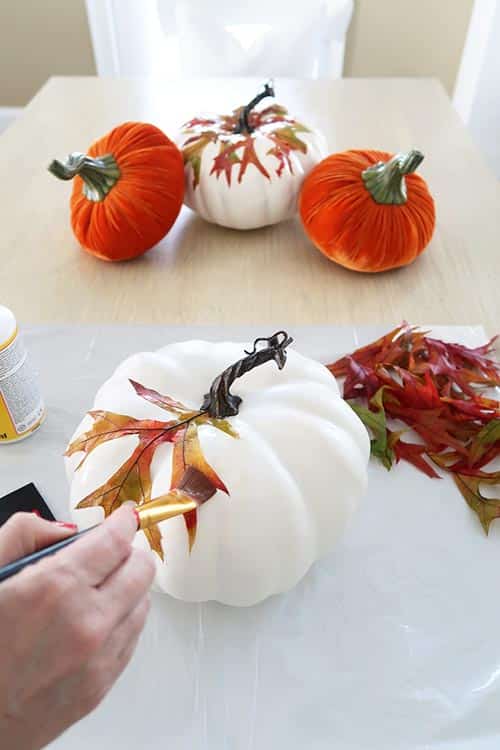
Step 4: coat leaves with extra mod podge
Keep adding leaves in the same manner. Watch to see where they are lifting.
Brush on Mod Podge underneath the leaf and over the top of the leaf.
Remember it gets stickier as it dries making it easier to adhere the leaves.

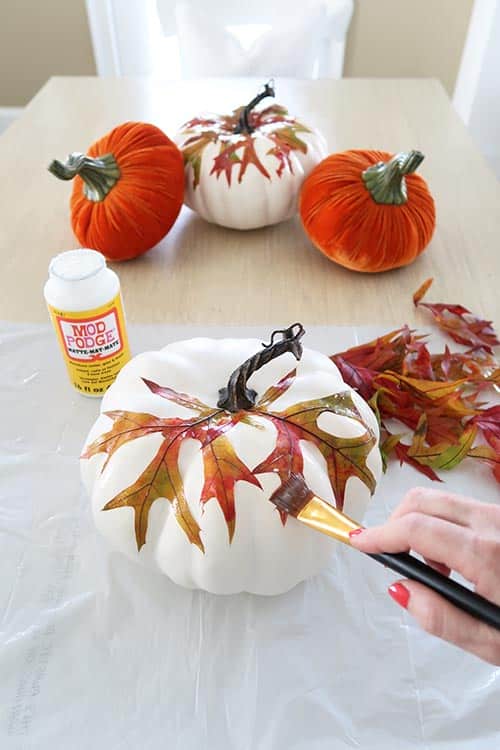
Step 5: apply final top coat of mod podge
Once all leaves are applied, cover over with a generous coat of Mod Podge.
If you have over applied on the pumpkin itself, just wipe away with a damp paper towel.
I also had some color bleed from the leaves onto the white pumpkin and I removed it in the same manner.
Step 6: dry and apply 2 more coats of mod podge
Let the Mod Podge dry about 1 hour. Then apply 2 more coats to protect the leaves.
Dry 1 hour in between coats.
Here is what it looks like before it dries clear.
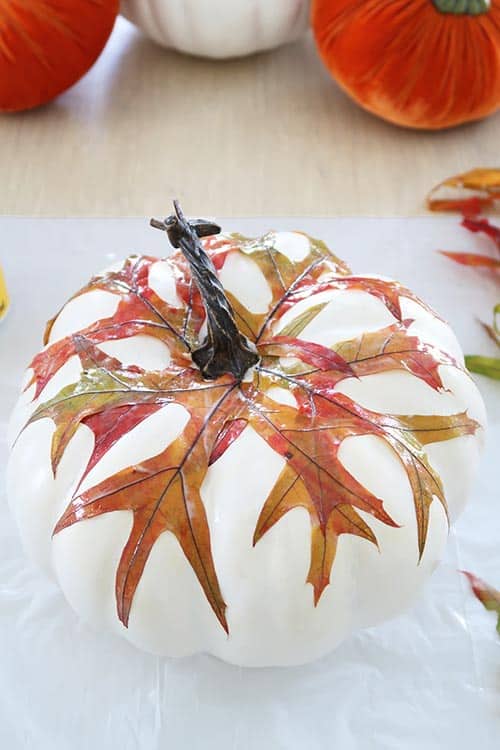
You can apply as many coats of Mod Podge as you wish, but I felt 3 was plenty.
finally: Clean Up
Clean up was a snap! I liked having the package with multiple brushes so I could wash one and use a different brush while it was drying.
Just use a little dish soap or hand soap with warm water.
Rinse out the Mod Podge thoroughly from the brush fibers.
I used a sponge to clean off the applicator with a little soap.
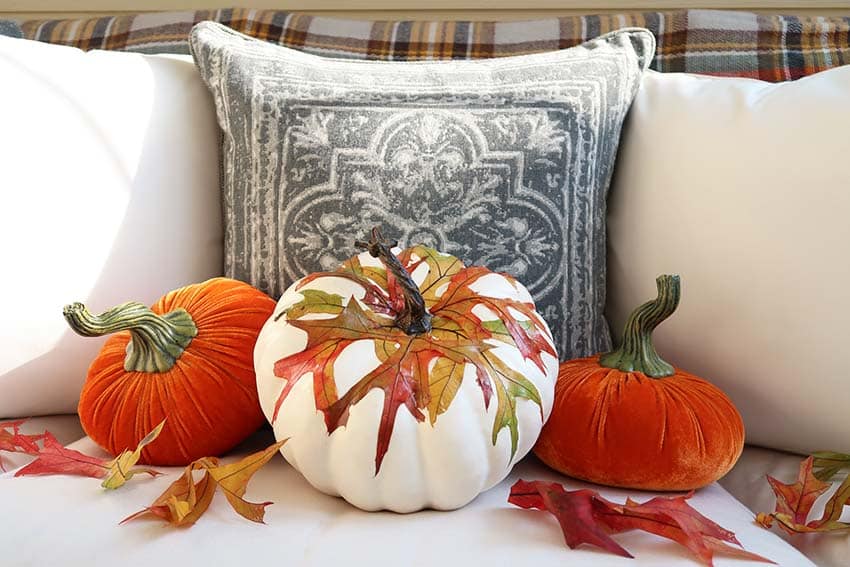
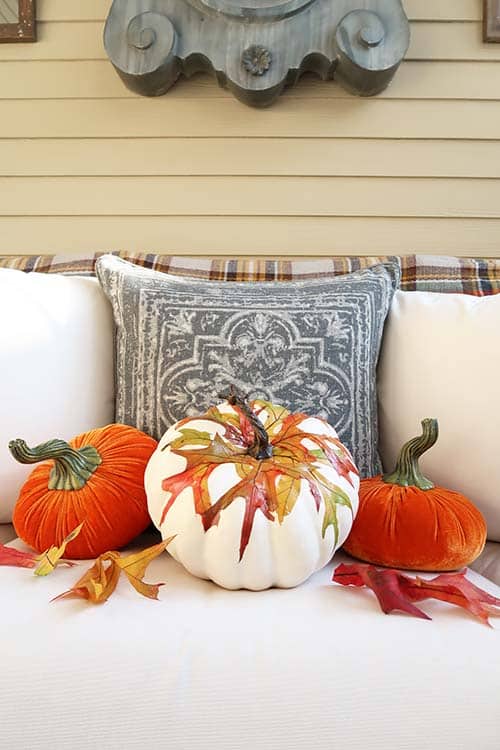
Découpage Fall Leaves on a Pumpkin
The final result! See below for how I use these pumpkins in my fall home decor.
Fall Decorating Ideas
Want more fall decorating ideas? Check out these posts:
- Fall Decor: 6 Fast and Easy Ideas
- Simple and Elegant Fall Home Tour
- 15 Minute Fall French Country Table
- Halloween Fun: Pick Your Poison Bar Cart
- Make an Upside Down Witch Leg Candy Bucket
Please consider signing up for my weekly email newsletter and following me on Pinterest and Instagram for daily inspiration.
Until next time…
Porch Daydreamer
Tracey
Can I use real ferns. I have a large fern hanging on my porch. I’m using a fake pumpkin so I want to make sure the decoupage will preserve them. What do you think?
Unfortunately, you would need to use faux or preserved fern leaves for this project.
Tracey, I really enjoyed your tutorial and will definitely be doing some pumpkins with the fall leaves. This is such a great idea!
Also, Tracey, I am looking forward to your “Shop My Home” page! You have such a beautiful home with lovely decor items!
I have always loved that picture you have above your fireplace in the winter! It is so pretty and I would just love to have one in our home!
How are your dear parents? This is such a stressful time for all of you. It is never easy to see our parents in declining health. So glad that your Dad is in a facility where he can get the care he needs. This is such a relief for you and your dear Mom.
We just met with our doctor friend and his wife today and he keeps telling me that I need to get back into nursing and come and work in the hospital with him. There is such a shortage of nurses here in Manitoba. However, I have been retired too long and would have to take a refresher course as things in health care have changed so much. Like everywhere else dealing with covid, there’s such a shortage of workers to deal with this pandemic. We are in our 4th wave of this at the moment and it is just a matter of time before there is another total lockdown. Now we are all waiting for the booster vaccine which the health officials say could be Christmas before this happens. Such a scary time for everyone. I hate to say this but I really don’t think that life will ever return to the “normal” we all knew. Such horrible times!
Looking forward to seeing all the changes you have made to your lovely home! You are so amazing with doing so much yourself!
Hope your life is going well for you. Have you met a nice fellow yet? I tell you, Tracey, that fellow will be so fortunate to have you!
Take care! Thanks, again, for all your wonderful posts! They are so informative! Always enjoy your videos, too!
THANK YOU! I love hearing from you and you are helping me get motivated to get that shopping page completed. Creating videos is a big goal of mine, but it’s been hard with work, parents and yes dating a new man 🙂 I’ll be back at that soon! Take care.
I can’t wait to try this! Have to wait for leaves to turn and fall. I really like them on the white pumpkin, the contrast is really nice, I also haven’t tried Modpodge, hopefully I’ll have the same success. I just wish I didn’t have to wait! It’s only early September and no colors yet in Pa,
Thank you! You don’t have to wait 🙂 I bought preserved fall maple leaves at the grocery store, which gave me all of the varieties of color. Or search on Amazon for the same thing.
I’m having difficulty getting my ARTIFICIAL leaves to stick to my plastic pumpkin.
Sorry you are having trouble. If they have any plastic stems, it may not work. My only tip is to let the Mod Modge dry 30 seconds so it’s tackier, put some under the leaf, and then layer on a LOT to the top of the leaf.
Good luck!
Great tutorial, Tracey! The leaves really add some texture and dimension! Where did you get your velvet pumpkins?
Thanks, Julie! They came from Hobby Lobby. They may still be on sale and are amazing for the price. I think I paid about $8!