Organize Purses in a Cabinet with Lighting
Do you have too many purses and not enough space for them? Here’s a cool way to organize purses in a cabinet with pull out drawers and motion activated LED lights!
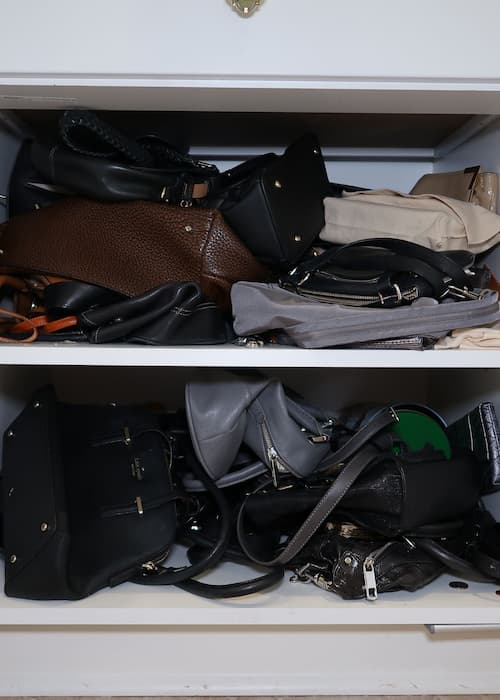
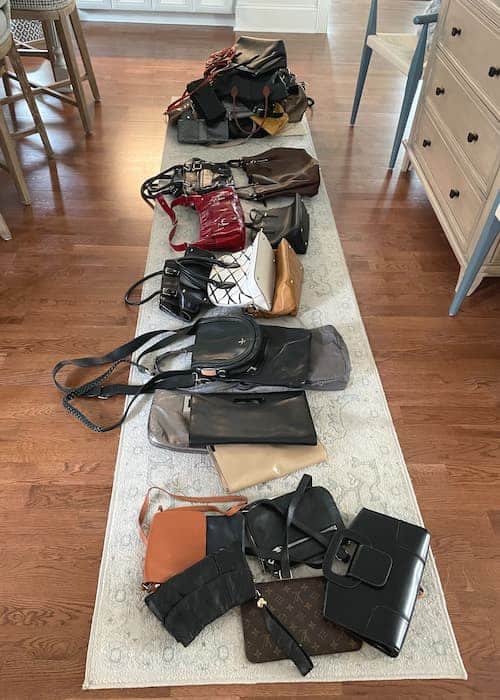
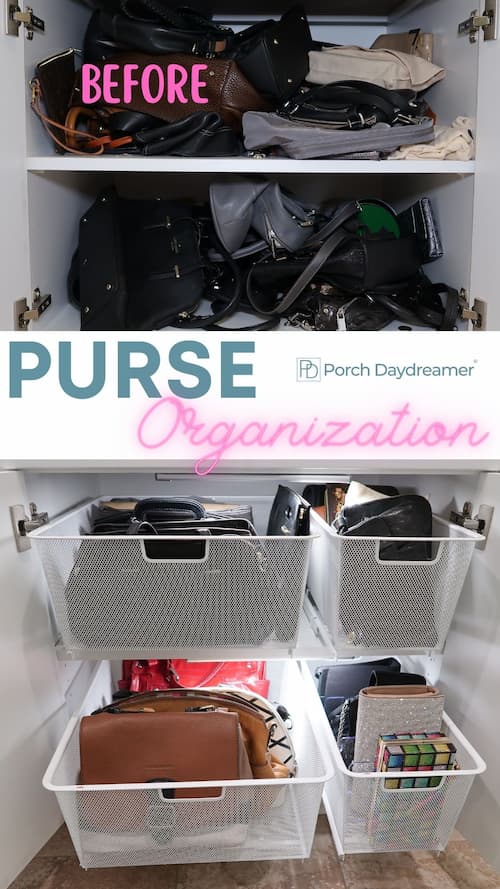
When I tell you I had a major purse organization problem, I did! Maybe you can relate to my before picture?
I’m actually ashamed to show you this, but you need to see what I started with to fully appreciate the AFTER and organization efforts.
This is the cabinet in my laundry room, where I enter my home from the garage.
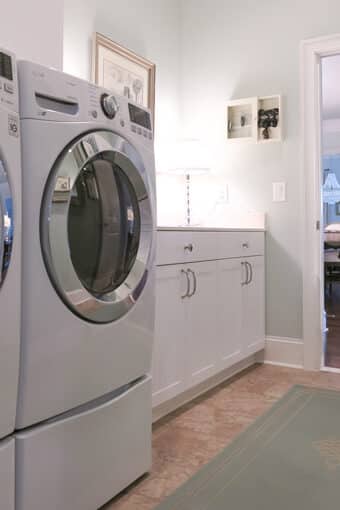
Housing my purses in the space was ideal in theory. I can grab one as I leave the house and put it back when I return.
Well “the road to hell is paved with good intentions” as they say. Instead this cabinet became a DUMPING ground for all of my purses!
It was time to organize my purses in the cabinet with pull out drawers and some really cool rechargeable motion activated LED lights (wow right).
I created a purse organization station!
Have fun decluttering and organizing your purses and bags. The effort is SO worth it to be able to find and see what you have!
Jump to:
What are Pull Out Drawers | Categorize Purses | Organization Supplies | How-to Install Cabinet Drawers | Organize Purses | How-to Install Light Bars
Contains hand selected products, with affiliate marketing links where I may earn a small commission if a purchase is made. {full disclosure here}
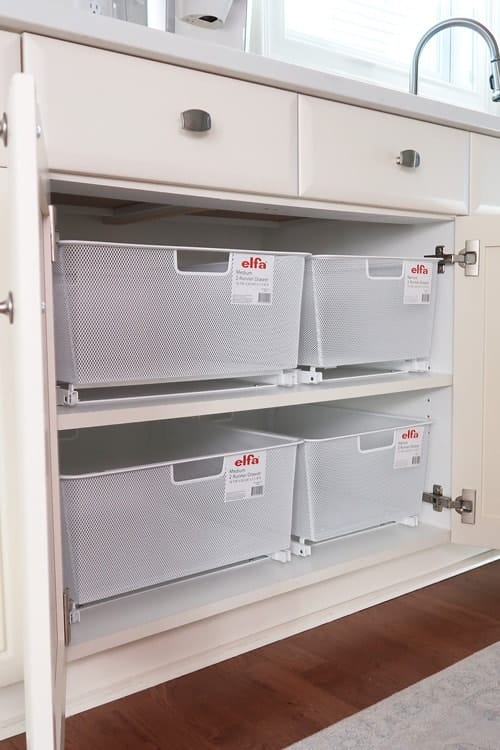
Organize Cabinets with Pull Out Drawers
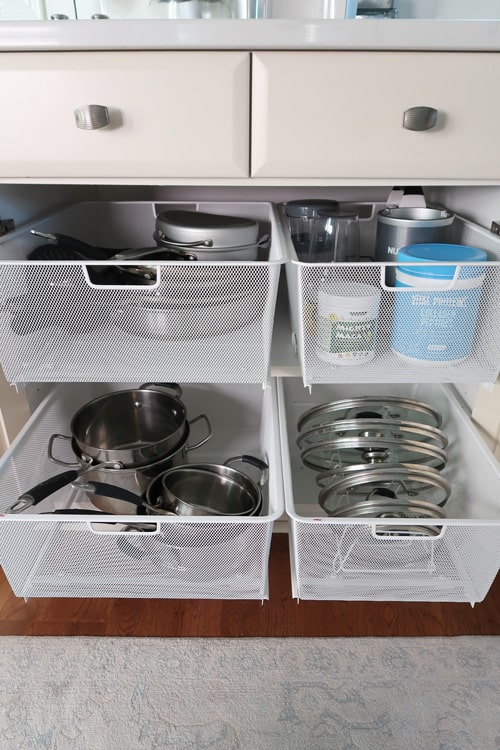
To say I am a SUPER FAN of pull out drawers in cabinets is an understatement.
I’ve used pull-out drawers in both my kitchen cabinets and bathroom cabinets.
Why I love them is they help you use the DEPTH of the cabinet, without having to kneel down and stick your head in the cabinet to pull something out.
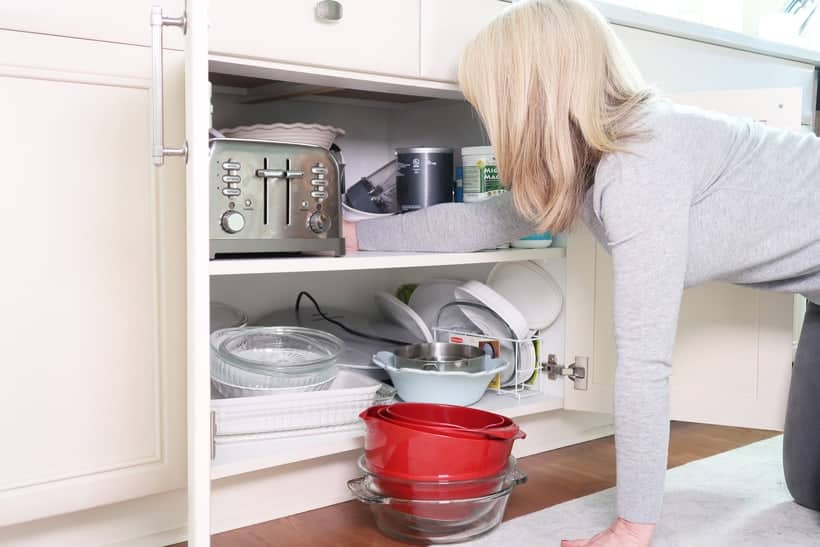
You don’t have to take everything in the front of the cabinet out to reach something in the back. Nice right?
I’ll teach you exactly how to install the pull out drawers. First, let’s dive into how I organized the purses before adding them to the cabinet.
The first step in any organization project is admitting you have a problem. Too much stuff and learning to say good-bye to things you don’t use!
Porch Daydreamer
Purse Organization Plan
My organization projects are pretty epic and I take them seriously!
You can see my holiday home decor closet organized in this post and Creative Solution to Store Christmas Wreaths here.
The approach to organizing my purses is the same. Here are my time honored practices that I’ll share with you.
Purse organization Tips
- Take everything out and look at it before you reorganize.
- Create donate and trash bags or bins. Purge as you remove items.
- Consider consignment for luxury branded purses you no longer carry.
- Group similar purse types together and create categories by use (cross body, clutch, evening, etc.)
- Choose clear storage options to eliminate guesswork about what’s inside.
- Place the most used purses in the front, so you can grab and replace them easily.
In all honesty, I only have 3 or 4 “designer” purses in my collection and they are in the pile to keep.
Most of my purses are fun affordable finds from TJ Maxx, so saying good-bye was not difficult.
Say you have some expensive bags in your collection and are ready to part with them. Consider selling your purses on a website like The RealReal.
Here are some ideas on different ways to categorize your purse collection.
Purse Organization Categories
- Clutches and Wristlets
- Crossbody Bags
- Handle Bags
- Shoulder Bags
- Mini-Totes or Carryalls
- Evening bags
Since these are going into a cabinet and pull out drawers, smaller bags are ideal in this space.
Grouping them together in one drawer is ideal, so you can find exactly what you need by use type and category.
Purse Organization Supplies
In order to organize your purses in a cabinet, you’ll need to purchase a couple of supplies.
You’ll basically be creating a system within that cabinet, so you can easily organize your purse and see them too. What I am calling a “purse organization station.”
My goal when I organize anything is that everything has a place and there is a place for everything.
That way it’s easy to keep your purses organized. There will always be an obvious spot to put back the purse in the drawer.
What You’ll Need to Organize the Cabinet for Your Purses
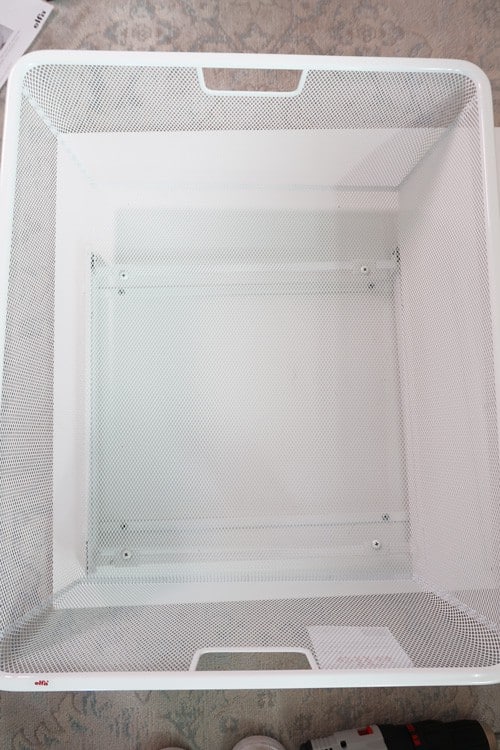
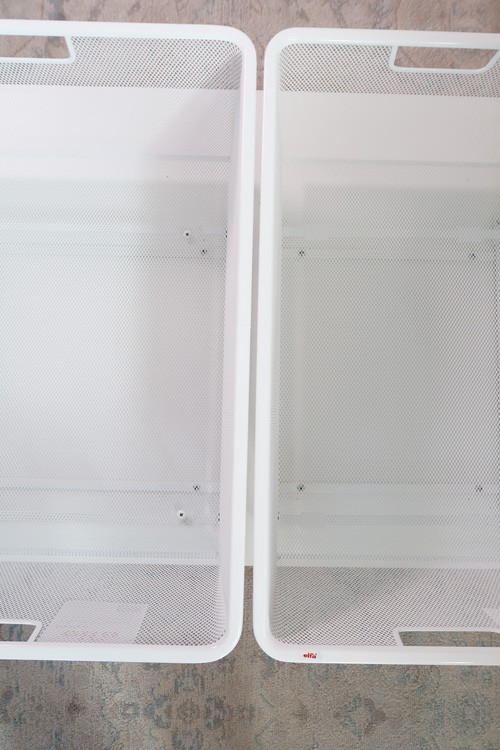
- White mesh pull out drawers and runners
- Clear acrylic dividers
- Mounting putty
- Motion Activated Rechargeable LED light bar (one for each shelf)
- Rubbing alcohol
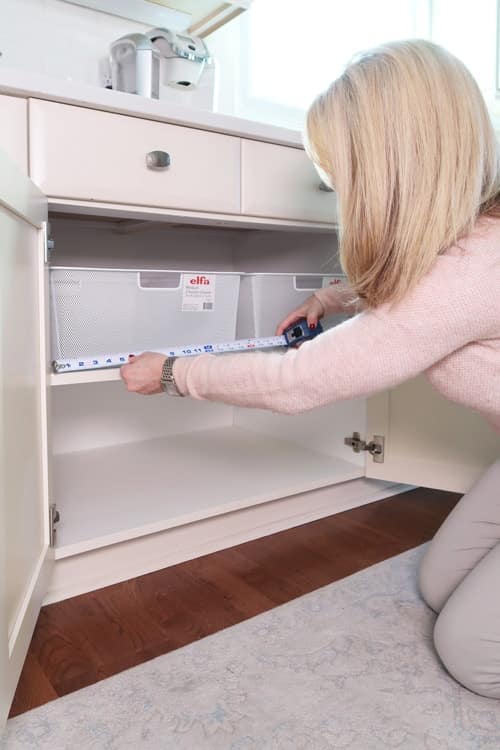
Make sure to MEASURE to determine the size of drawers you need. They come in different depths and widths.
The lights come in two different lengths and I found the 12.5 inch LED bar light to be the best for my cabinet.
If you have a very wide cabinet or want even more light, here is a Motion activated 15.7 inch rechargeable LED light bar to consider.
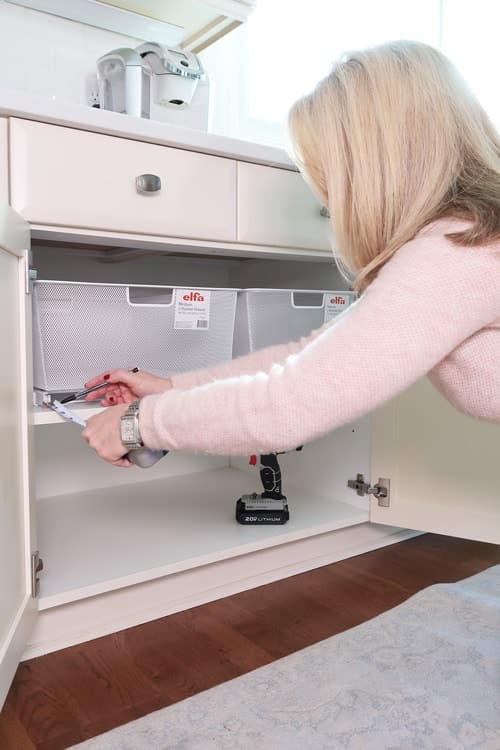
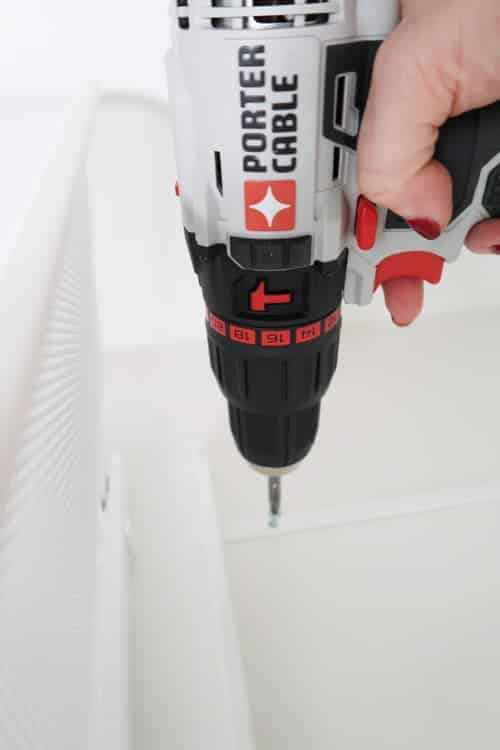
How-to Install Cabinet Drawers
Please use this tutorial to learn how to measure and install the pull-out drawers in the cabinet.
This tutorial is from installing the pull out drawers in my kitchen.
I used my own tutorial to install the drawers for organizing my purses in the laundry room cabinet 🙂
Installing Mesh Pull-Out Drawers Inside Cabinets
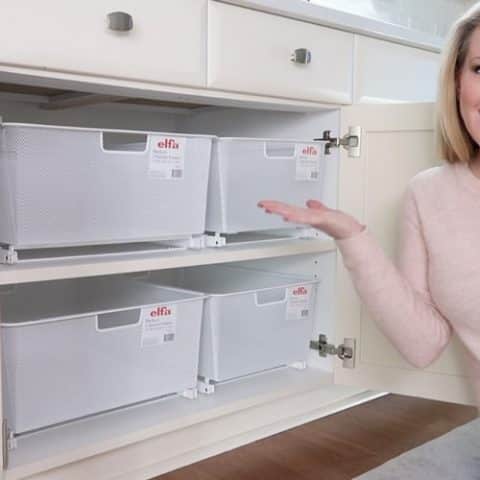
Step by step how to install Elfa mesh cabinet pull-out drawers. Maximize deep cabinet storage with drawers.
Materials
Instructions


Notes
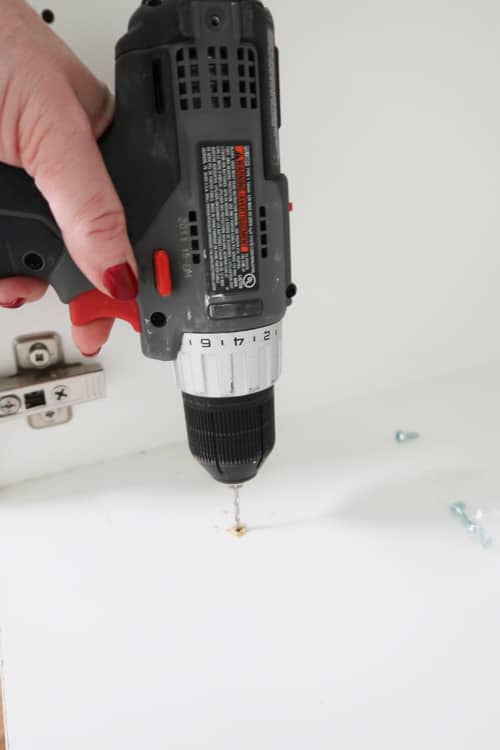
- If you have two drills, use one for the drill bit and one for the Phillips head attachment to speed up installation.
- You may need a short Phillips head screw driver to attach the white screws/drawers to the frame clips in tight spaces versus using a power drill.
- If the drawers aren't aligned or hitting frame or hinge, adjust by removing screws from clips and reattaching after making necessary adjustments.
Recommended Products
As an Amazon Associate and member of other affiliate programs, I earn from qualifying purchases.

I can’t stress enough how methodical you have to be when measuring for the rails.
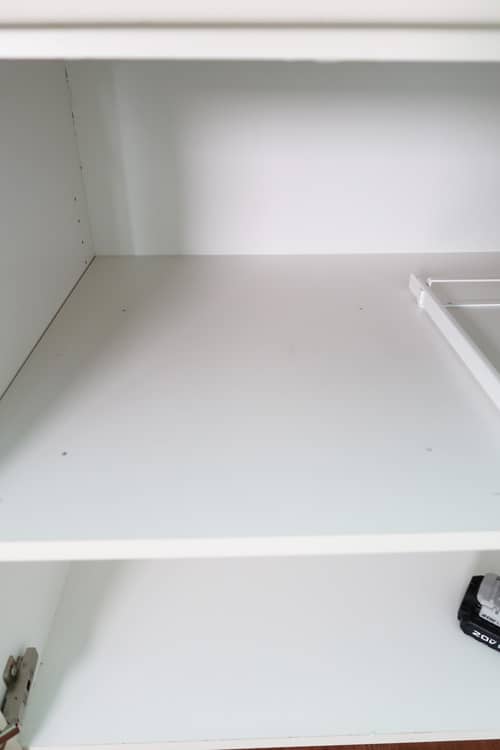
Before installation test to ensure the drawers fit within the space:
- The drawers need to clear cabinet hinges when opening and closing
- Make sure you can close the drawers without hitting the back of the cabinet
- Ensure the drawers back far enough to close the cabinet doors.
- Leave enough space between side by side drawers that they can be opened and closed without rubbing.
Luckily, it’s easy to correct any issues and I can assure you I had to make adjustments to get everything to align perfectly!
Pin it for Later!
Organize Purses with Acrylic Dividers in Drawers
For smaller purses, acrylic dividers are PERFECT for holding purses in place as the drawers open and close.
It also creates a specific place for each purse, so you have the perfect spot to return it. That way you’ll stay organized!
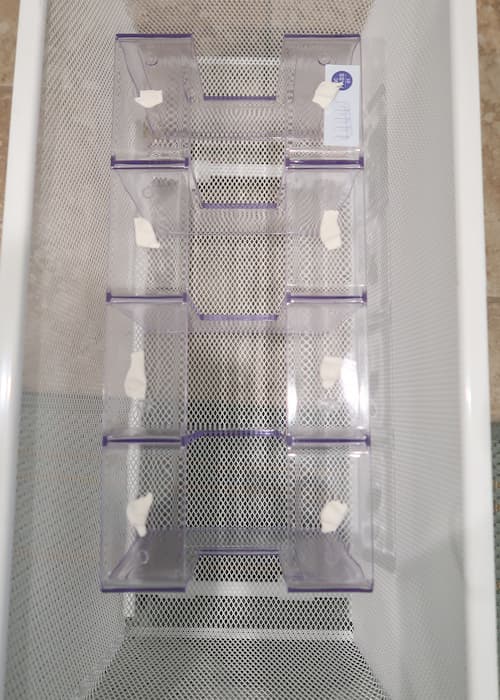
I found mounting putty to be helpful to hold the dividers in place, so they don’t slide with the motion of the drawers.
I decided to use the dividers with my small purses, evening bags, and clutches.
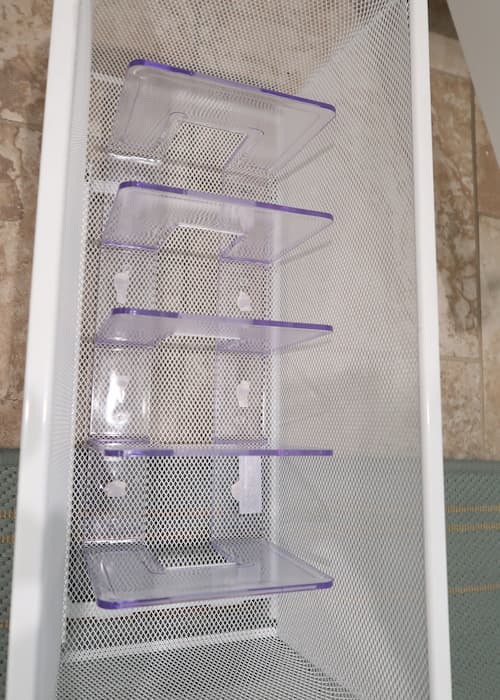
Add a piece of mounting putty every inch or so on the bottom of the acrylic divider.
Flip over and push down to secure into place. Add purses in the open spaces.
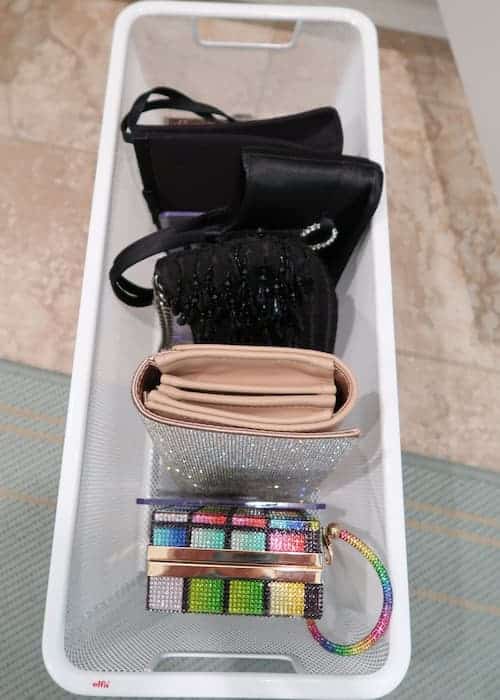
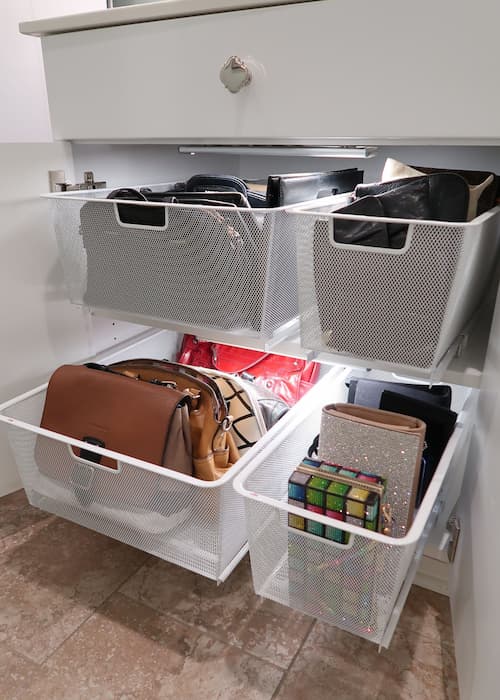
Ideally you’ll be able to fit a total of 6 small purses in the drawer with the acrylic divider.
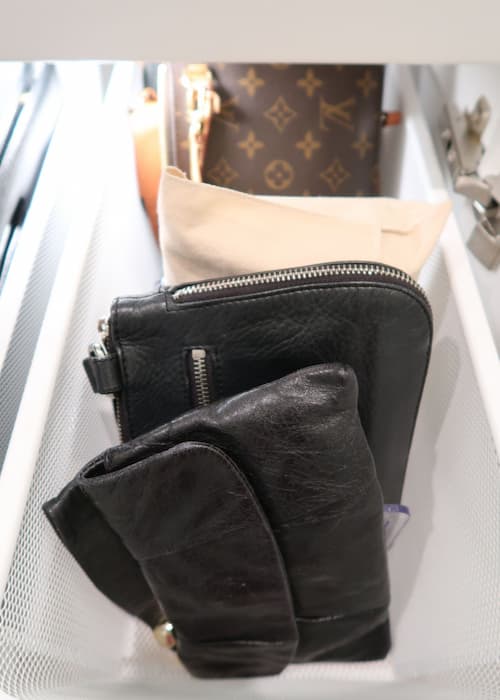
You can also add a divider to a larger drawer in the same manner. Here is how I organized my more narrow mid-sized purses.
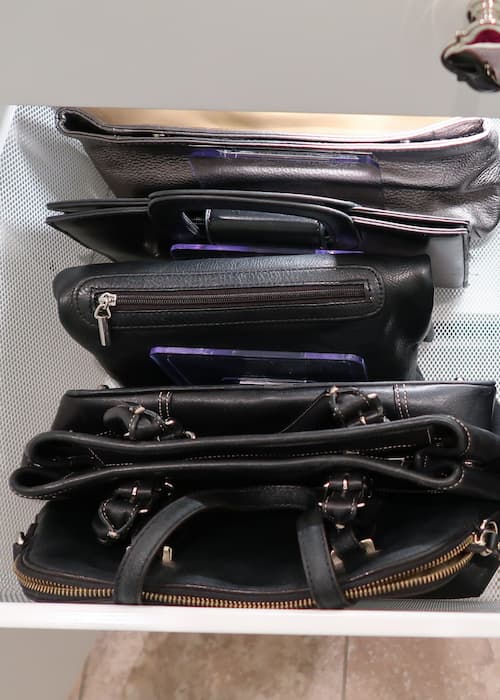
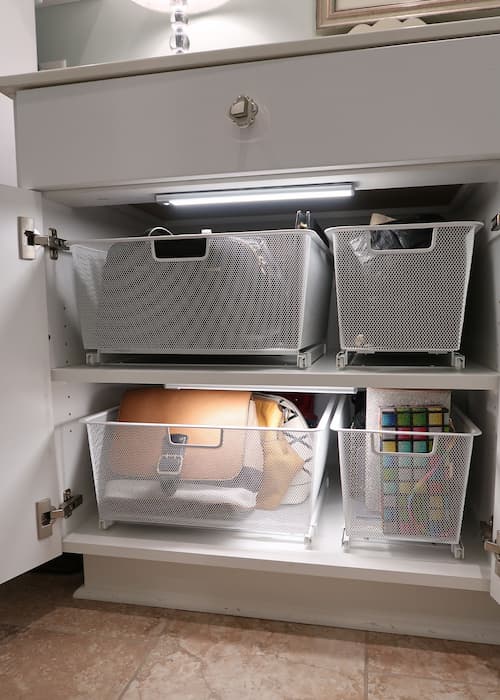
For the larger purses, I didn’t use the divider and instead decided to stack them in the drawer.
Find a plan that works for what you have and for the bags or purses you use the most.
Place the most used items in the front and in the top drawers for easier access.
You can see my evening bags are on the bottom together since I don’t use them regularly.
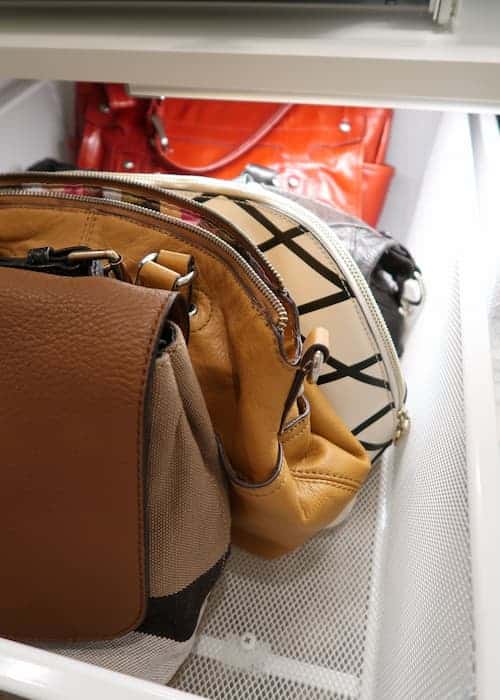
Then my more “fun” bags are stored on the larger lower drawer together.
The black purses and smaller purses I use the most, so I placed them at the top.
How-to Install Motion Activated Cabinet Lights
You are going to LOVE these motion activated LED light bars!
Of course this step is optional, but in my view this is the cherry on top of this purse organization station.
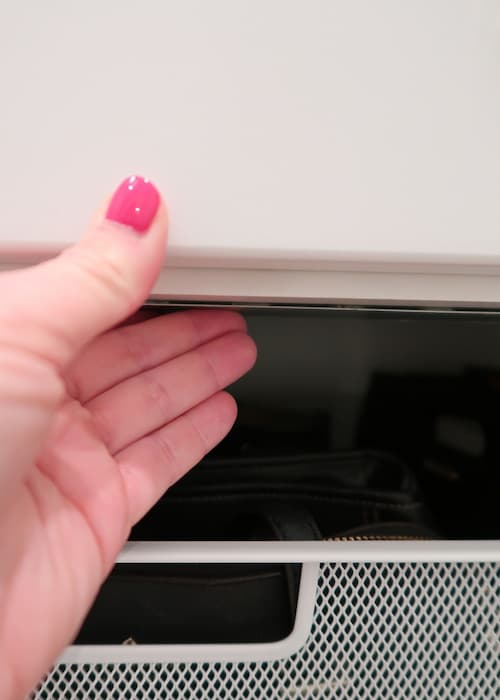
Now I can SEE everything INSIDE the cabinet with the overhead lights.
Not only are they easy to install, but you’ll find other areas of your home to use them too.
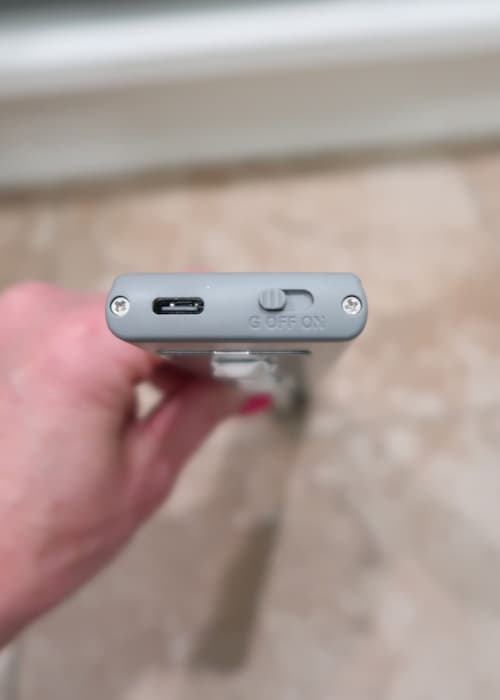
The best part about them is they have a USB port for recharging and are mounted on a magnetic plate. My best guess is the charge lasts for about a month of use.
Just pop the light off of the magnetic bar to charge! They have two settings: on and motion activated for 20 seconds.
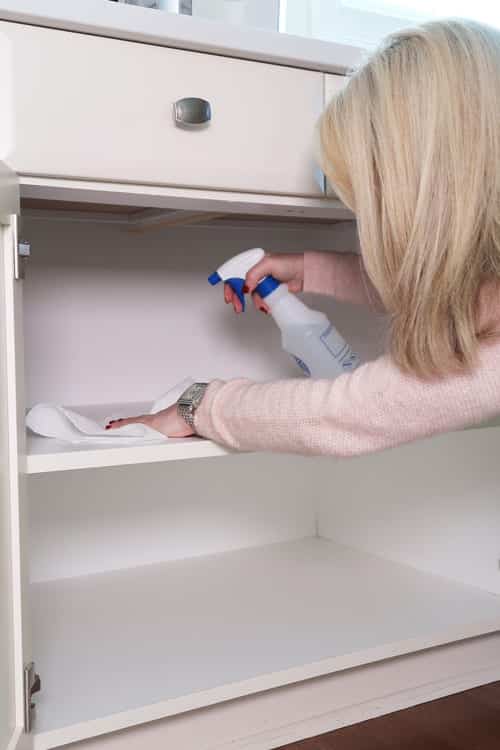
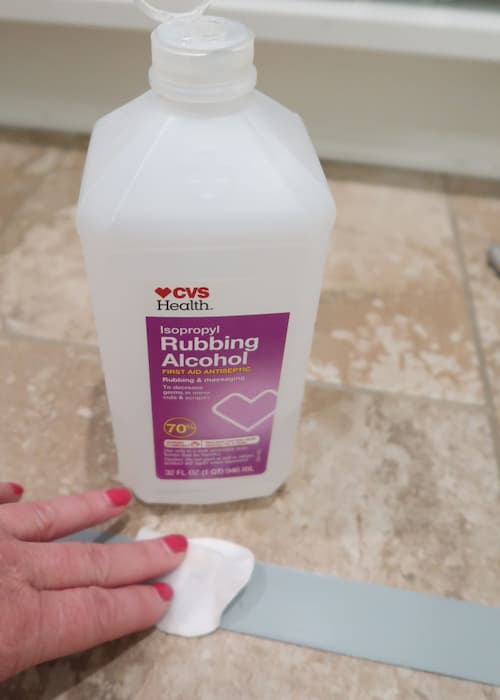
Step 1: Clean all surfaces with rubbing alcohol to degrease
Separate the magnetic plate from the back of the LED light bar. Wipe clean with rubbing alcohol.
This will ensure that the mounting plate will adhere to the cabinet.
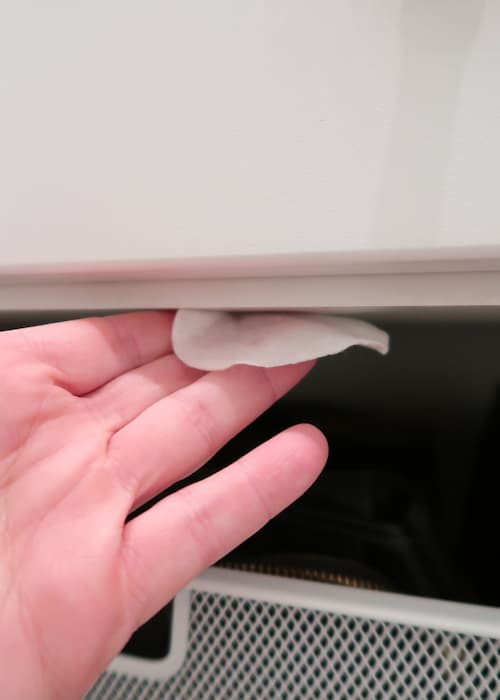
Step 2: Attach the light bar to the cabinet frame
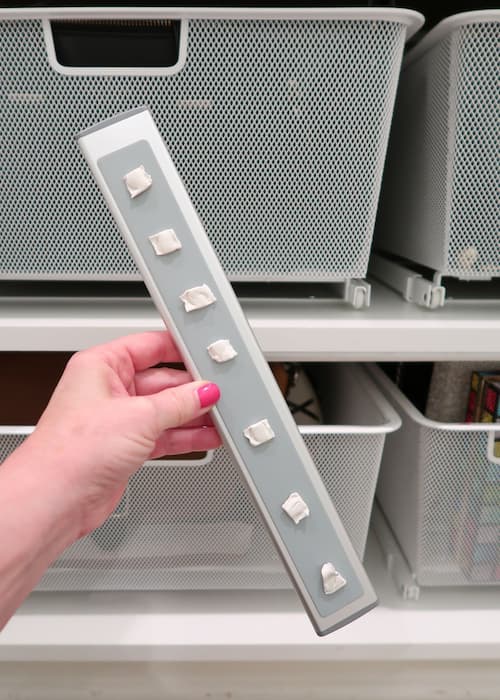
DON’T use the foam tape that comes with the light bar. Foam tape is permanent, so I use mounting putty instead.
Add a piece of mounting putty every inch along the length of the LED bar light.
Remove the magnetic plate and press it into place on the cabinet frame. I centered mine where the doors open.
BEFORE attaching the light bars FULLY CHARGE overnight. That will make them last a long time.
Flip the switch to the motion sensor mode, so the light will turn on as you open the cabinet doors and pull out the drawers.
Easy and super cool right? I hope you LOVE this project idea and it inspires you to create a purse organization station of your own!


Sign-Up for my Weekly Emails!
Straight to your inbox sharing can’t miss decorating and painting tips for your home.