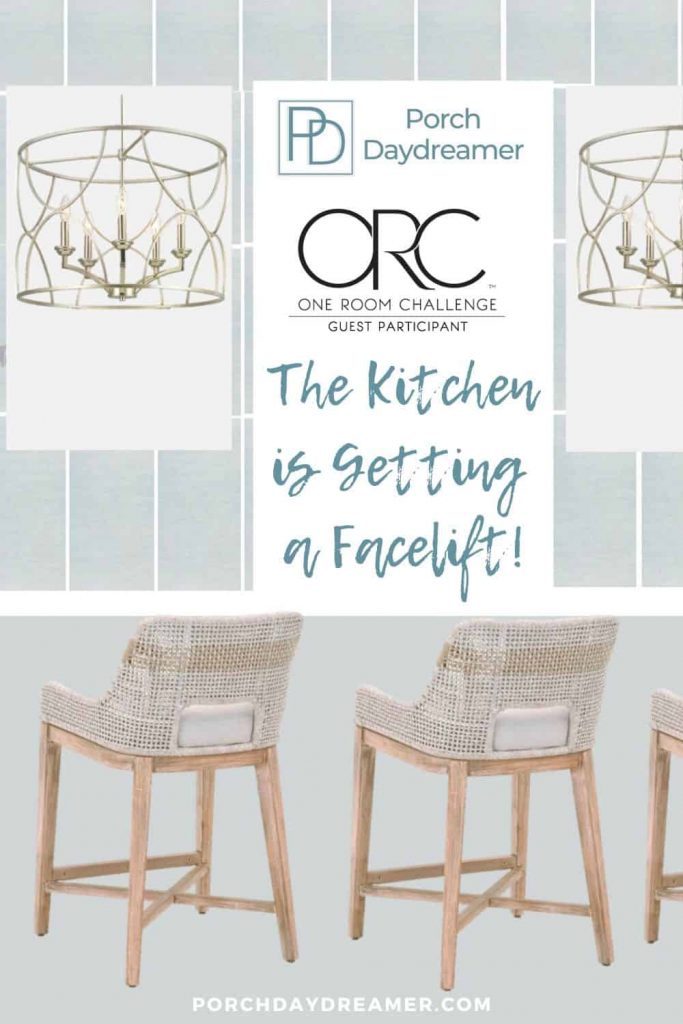
Kitchen Remodel Backsplash Tile Plan
Tile challenges were the theme this week. Even with a tile plan we had a “do-over”.
Last week I shared all about having a paint plan and tile is no different.
However, even the best laid plans (pun intended) don’t work out.
Here’s what happened with the tile backsplash install and we are getting very close to the final reveal!
It’s Week 6 of the One Room Challenge!
WEEK 1 | WEEK 2 | WEEK 3 | WEEK 4 | WEEK 5
The Tile Plan
Something that is important to focus on when laying out a kitchen backsplash is: “What will it look like over the stove top or cook top?
It’s a place you stand and stare at a LOT in life.
You want to pay attention to the layout and where the grout lines will fall.
As I mentioned last week, I had to leave for a family emergency, so I couldn’t physically layout the tile in person.
Luckily, to figure out how much tile to buy, I’d mapped out a tile plan well in advance of kicking off the remodel.
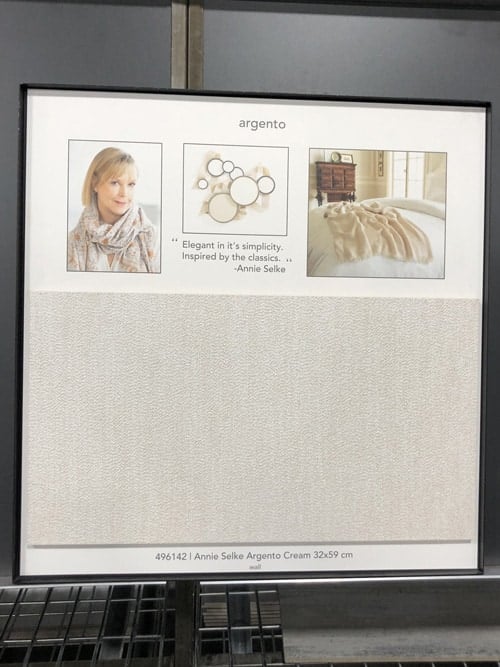
The Annie Selke Argento tile is really big at 13″ x 23″, so it was a more complex backsplash layout than say subway tile.
One decision that I had to make was to ay it horizontally or vertically.
It all came down to the look I wanted to achieve in the space.
Here is final tile plan:
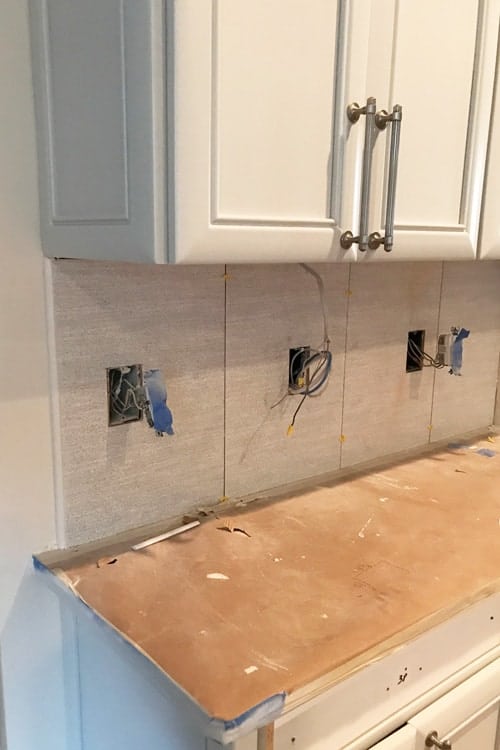
MOST contractors just start tile in the corner and work their way across.
However following that method, once the range hood went back up, would have left a very skinny strip of tile just under it. Yuck.
To avoid this, it was important to start the tile in the center over the cooktop and work from that one piece in all directions.
I told them this, physically showed them by holding up the tile, provided a printed tile plan, and guess what?
They installed it the way they typically do starting in the corner…
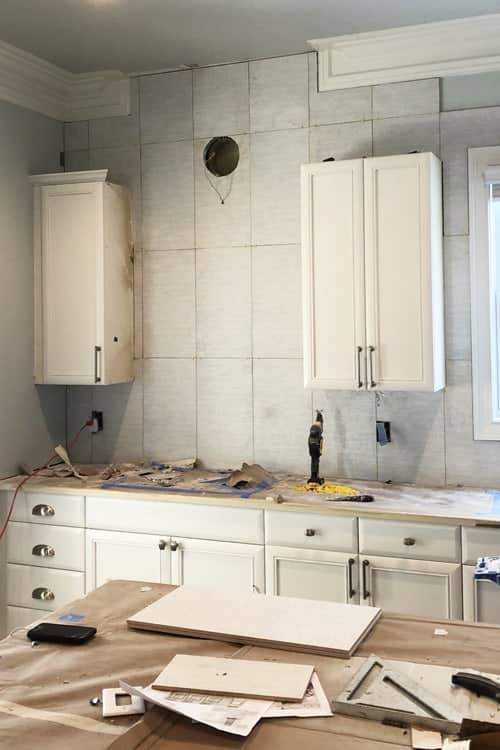
You can actually see the printed plan on the island with a piece of tile on it, so it’s odd that they did it the typical way LOL.
Thank goodness my son took a picture at the end of the day because it was easily fixed!
Plus my contractor is amazing and took responsibility to fix it and I trusted him.
He was feeling a little frustrated by what happened too because we’d both taken the time to explain it. Stuff happens.
Here is the what I call the “pantry” area and luckily this part was really straight forward and perfect the first time.
Since the tile didn’t come with a matching bullnose trim, we used a simple white “jolly trim” to finish the edge.
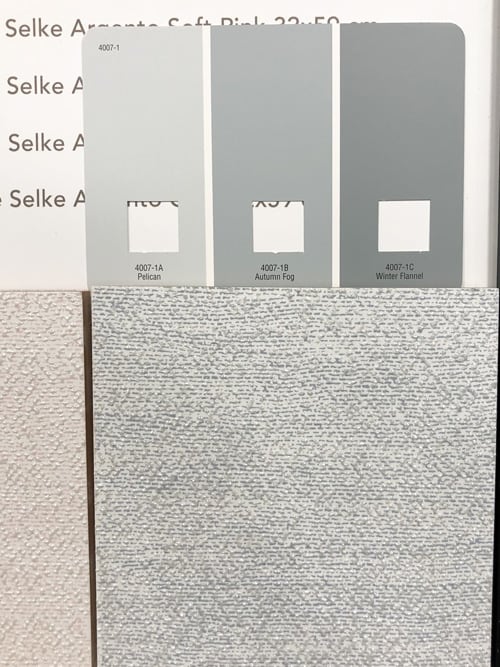
The paint color Valspar, Pelican and tile are the perfect match, which I was very happy to see!
Contains hand selected products, with affiliate marketing links where I may make a small commission if a purchase is made. {full disclosure here}
Pin It for Later!
Pretty Kitchen Details
After the tile was installed and grouted, it was time to shop for the pretty details.
Plus decide on a window treatment above the kitchen sink.
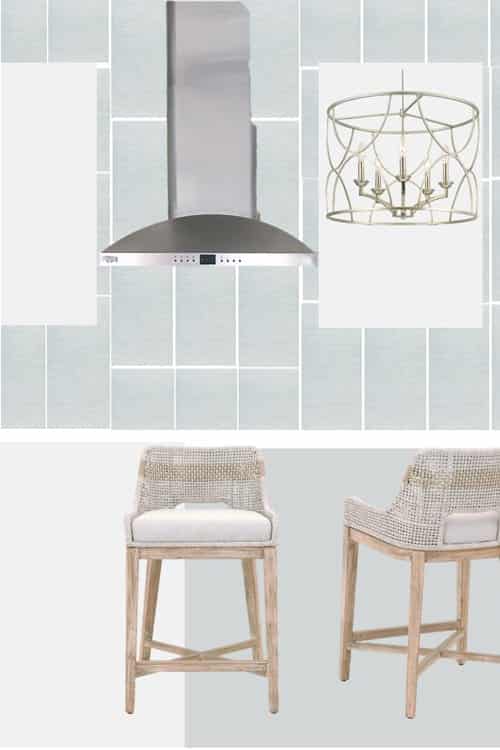
Originally, I thought I might recover the counter stools and decided against it due to the expense.
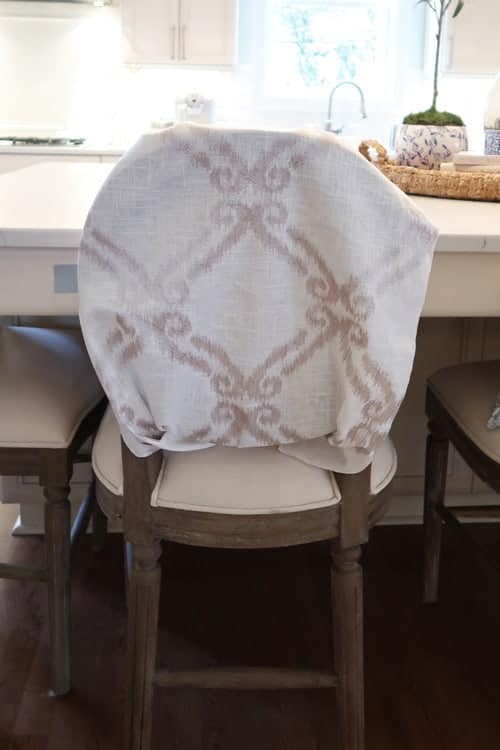
In my fabric search, I found this really pretty linen blend lattice patterned fabric.
It reflects the shapes found in the light fixtures and is the perfect option for a window treatment.
Plus the pattern color is nice blend of gray and brown to pull through the colors in the counter stools.
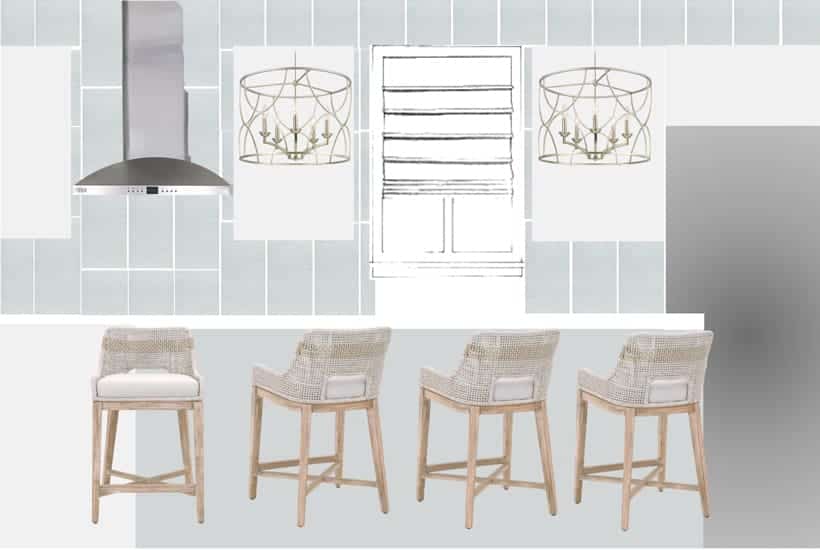
For a clean look, I’ve opted for a custom inside mount working roman shade.
It will be a functional shade that will pretty good open or closed.
Want to see all of the products I’ve sourced (so far) for this project?
Shop the Kitchen Facelift

As I’ve said this project is a “something old, something new, something borrowed, and something blue” update.
The big round woven tray was recently added to the island and I plan to keep it in place, since it makes such a nice statement.
Then I love the little pieces of artwork to update the space around the patio door and add some color.
They are both by the same artist and I love the simplicity.
Now…I sure hope the frames show up in time.
One Room Challenge: Follow Along
I’d appreciate if you would follow along in this design process and see what some of my other design friends are up to as well!
We’ve got only 1 more week, before the big reveal!

In week 7, I’ll be talking about the lighting…go big or go home!
Looking for lots of design inspiration for all of the rooms in your home?
Please visit the One Room Challenge Blog to see all of the guest designer’s plans and the featured designers too!
Each Wednesday, I’ll be sharing a One Room Challenge update via the blog and posting on social media too.
So you don’t miss a post, please subscribe to my email newsletter below or follow me on Facebook and Instagram for the most up to date information.
Have fun following along with the twists and turns of a kitchen makeover!
Until next time…
Porch Daydreamer
Tracey
It’s been so fun following along on this space !
I’ve been rooting for you! Sorry you haven’t finished yet and I get it…I’ll be keeping watch for your colorful reveal. I always do such soft colors that I like living vicariously through your style 🙂