How-to Remove and Replace Fence Post Caps
Trying to figure out how to remove your rotten fence post cap and replace it with a vinyl post cap? Here’s a 5 minute DIY fix that you won’t have to paint!
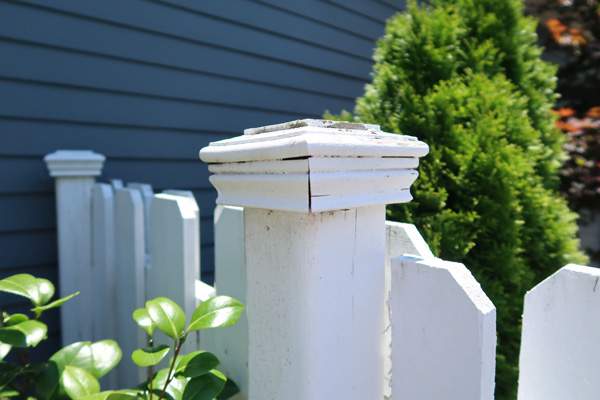
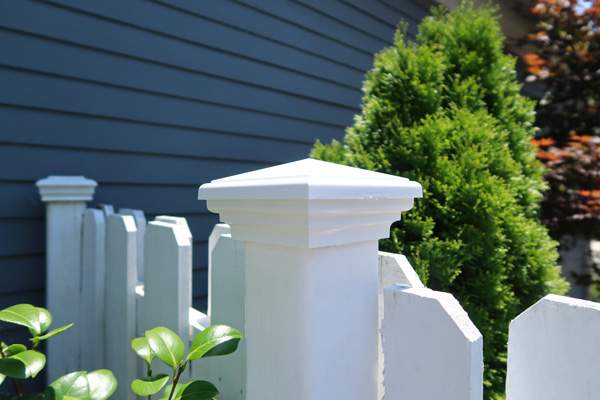
Sad but true a rotten fence post cap became my obsession at the start of the outdoor season.
Every time I let out my dog Mick the rotting post caps stared back at me demanding my attention. I had avoided dealing with them for too long.
The straw that broke the camel’s back? I went to close the fence door and bam one the sides of a post cap came off.
At first I thought, darn I’m going to have to hire a contractor because I’ve let them get so weather worn.
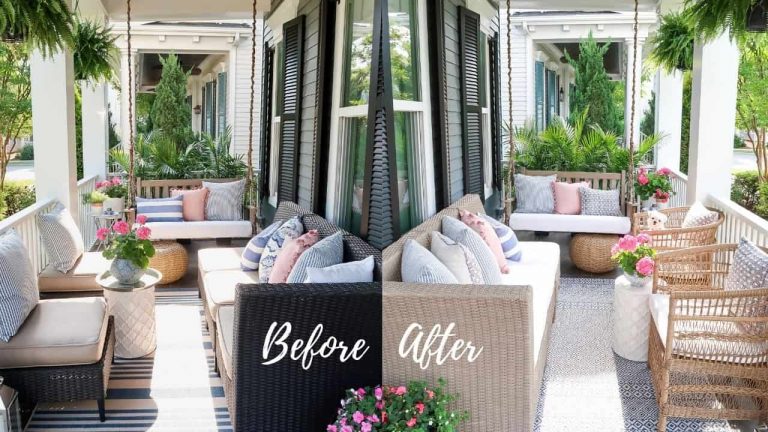
Then…I blew my budget on my front porch update making hiring someone anytime soon no longer an option.
It was time to search for an easy inexpensive solution. By easy I mean NO PAINTING, DIY, and FAST!
Yep, I found the Fountain of Youth for my fence post caps 🙂
Pin It for Later
Post contains hand selected products, with some affiliate marketing links {full disclosure here}
Post Cap Options
Luckily, in my past I worked in the composite decking industry. I KNEW there had to be something I could buy and pop on to replace my rotten fence post caps.
The main issue? Where would I find what I needed and HOW was it going to work?
Of course I started with the place I go for everything – Google! However, there were a TON of choices so let me breakdown what I was looking for first:
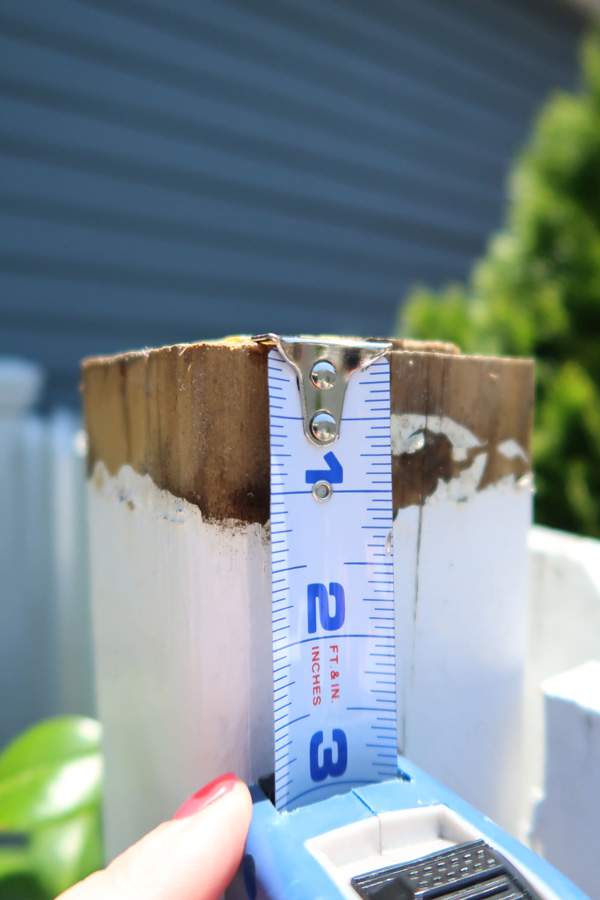
- The actual fence post measured 3.5 x 3.5 inches, so I was looking for a 4 x 4 inch post cap.
- After pulling off the first broken post cap, I could see it needed to cover 1.5 inched down.
- It needed to be white and no-maintenance, so vinyl was my preferred option.
Then I landed on the Atlanta Post Caps company and they had exactly what I was looking to buy!
They had so many beautiful options, but I was going for cheap and something in bulk because 11 needed to be replaced.
Score! Case of 12 post caps, vinyl, white, had a depth of 1.5 inches, and fit a 4 x 4 in post with 3.5 x 3.5 inch true measurement.
Yes, the wood manufacturers use “nominal” measurements which means they round up most of the time. The cost? $100!

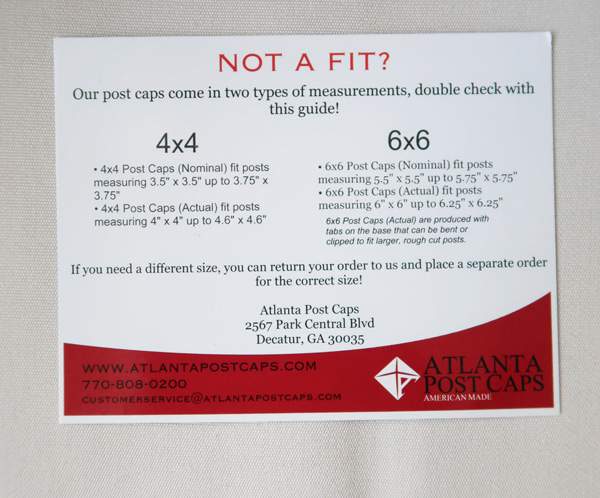
![]() Inside of the box they had this handy guide because to a normal consumer the post measurements don’t make sense 🙂
Inside of the box they had this handy guide because to a normal consumer the post measurements don’t make sense 🙂
I thought I’d share this BEFORE you buy.
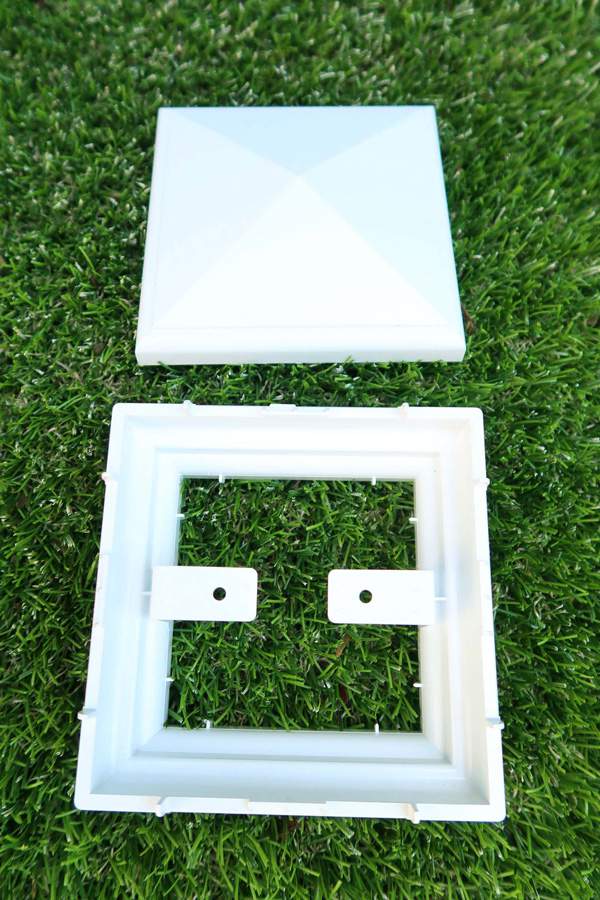
Here is how the post caps look, before you assemble them on the post.
How-to Replace a Rotten Fence or Deck Post Cap
Now on to the “How hard is this Tracey?” It’s SO easy. The biggest challenge in my mind was how to take off the OLD post cap, but that turned out to be much easier than I anticipated.
My fence builder used adhesive, so removal was straight forward in my situation. I pray you find it just as easy too and don’t curse me later.
Useful Tools
- 16 oz Curved Claw Hammer
- Power Drill
- Outdoor Wood Screws
- Hex Bit (the wood screws require this)
- Bleach
- Spray Bottle
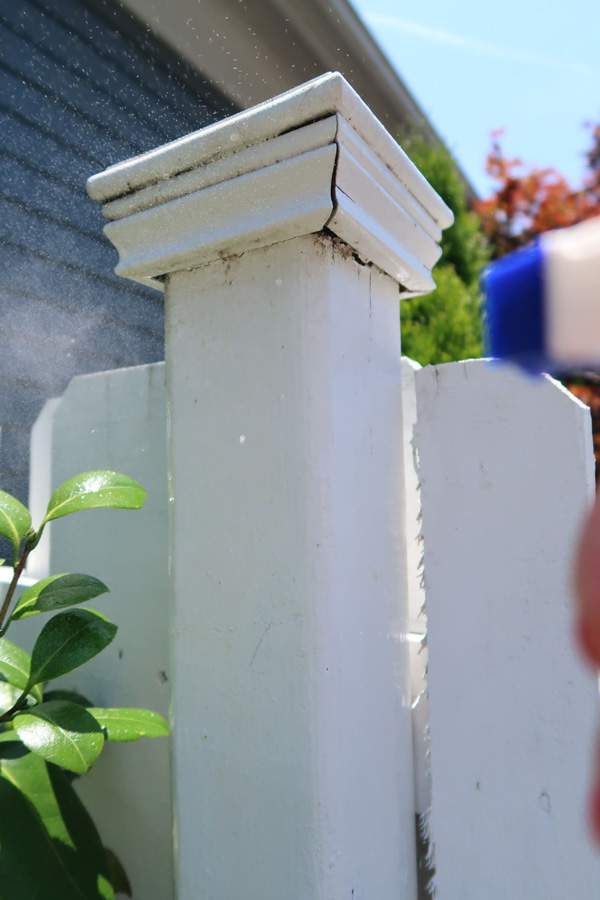
Step 1: Clean EVERYTHING with Bleach
An optional step is spraying the post with a 1/3 bleach 2/3 water combination to remove dirt, mold, and mildew.
Let it sit a couple of minutes, scrub if needed for stubborn stains, and then rinse off with water (especially the surrounding plants).
This is what I do to all of my white painted areas like the porch railing to refresh the paint each spring.
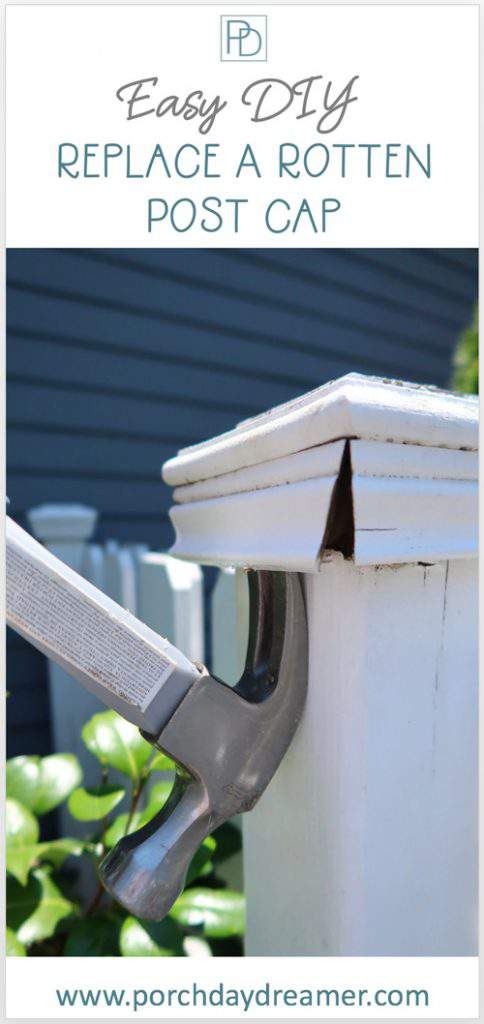
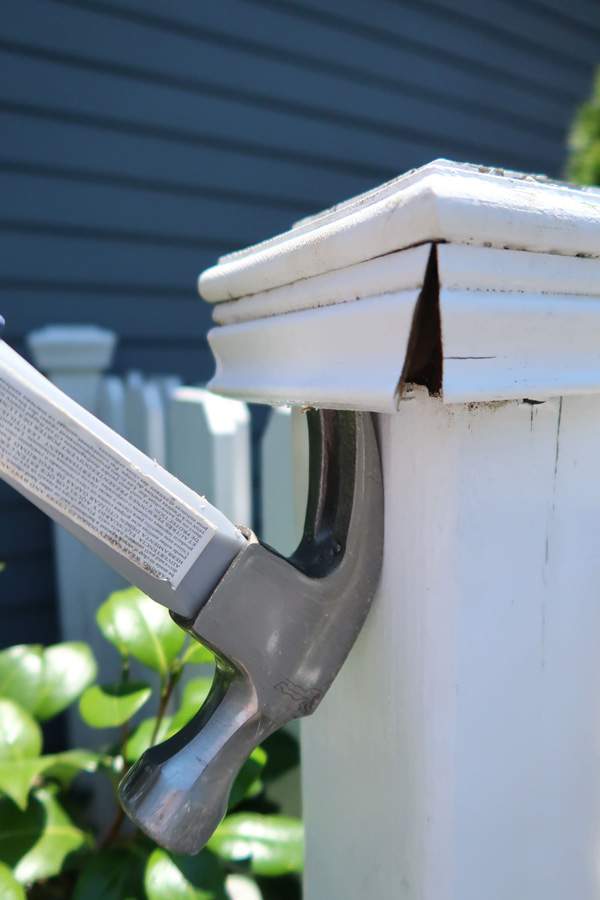
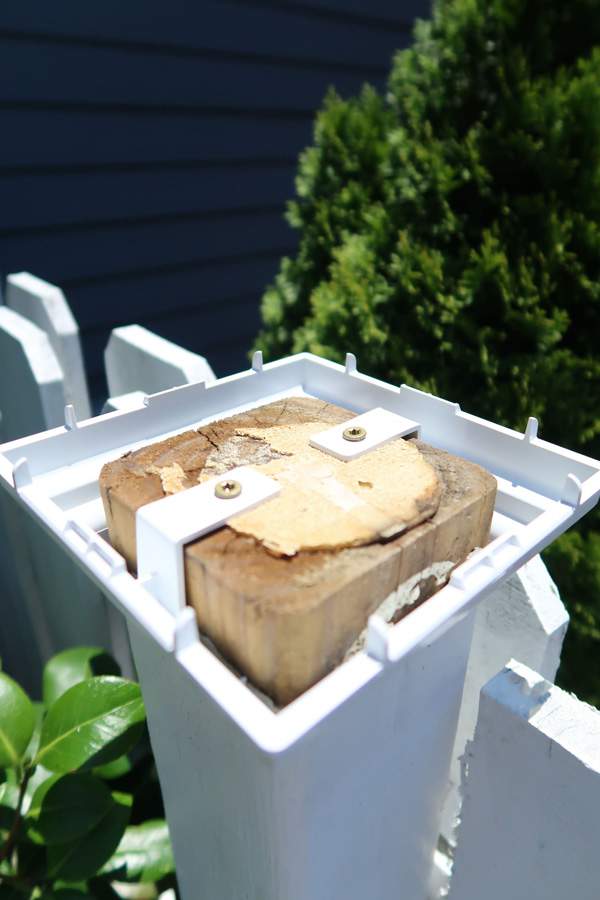
Step 2: Remove the sides of the Rotten fence Post cap
Using the claw of a hammer, pull up 2 to 3 sides to expose just the cap portion. Because my fence post caps were so rotten this took very little effort at all.
Step 3: remove the top of the rotten fence post cap
Using a hammer and with some force (I’m 5′ 4″ and on a stool, so it’s not THAT much force), hit up on the underside of the top of the post cap to knock it off.
This part is FUN 🙂 Do it after work, when you need to “hammer” out some stress. I crack myself up…
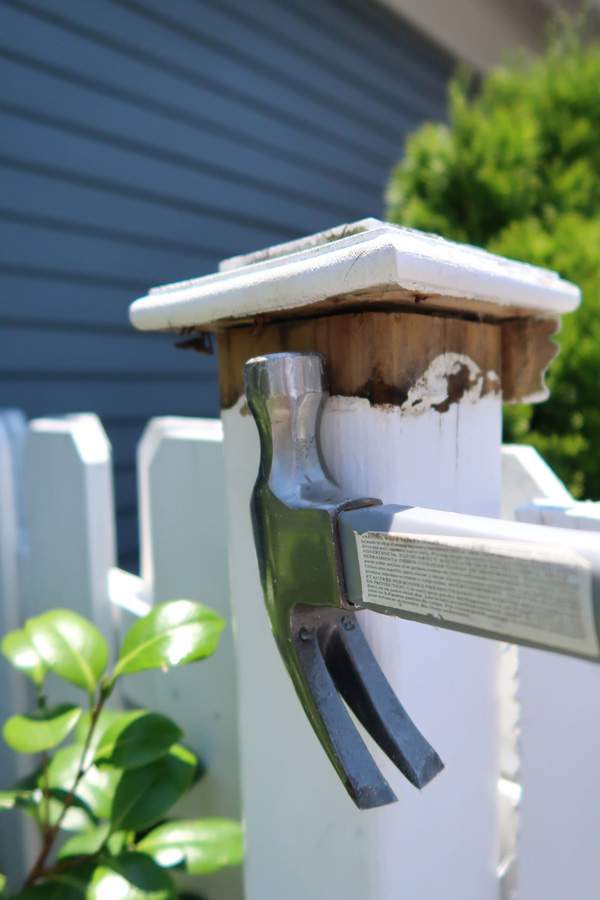
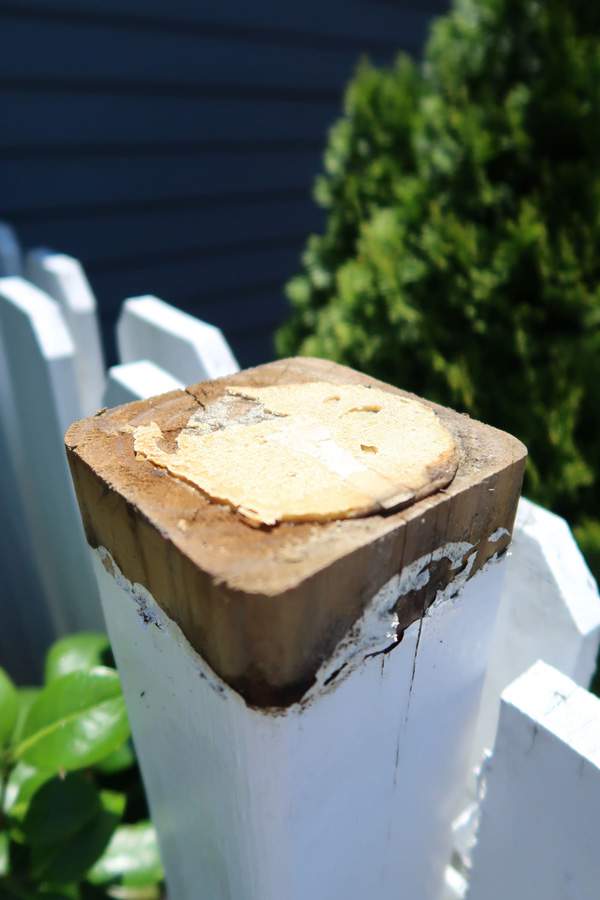
You can see it was just glued on and came off without having to remove nails or staples.
If you need to, chip off the glue. I was able to place the NEW post cap right over the top of the glue.
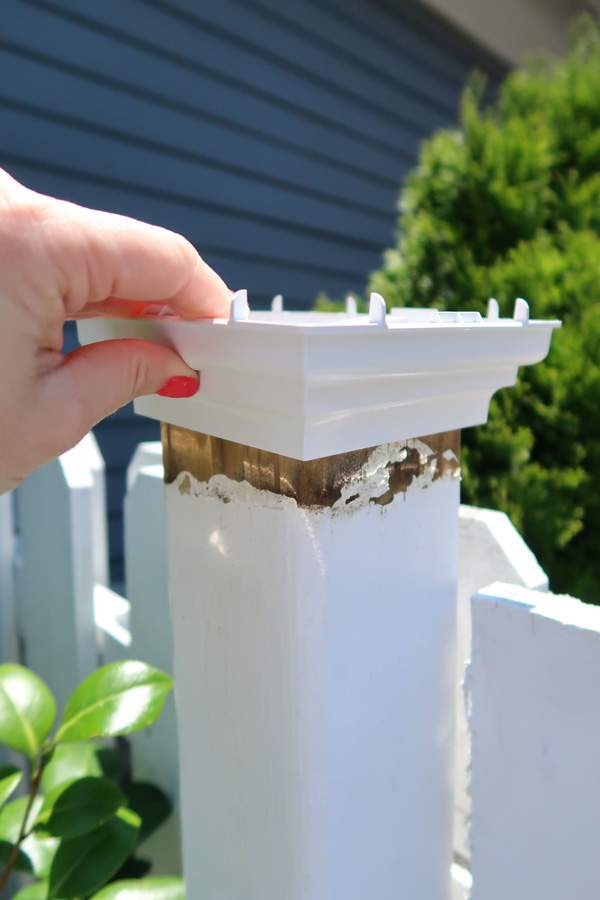
Step 4: Attach the New Vinyl Post Cap (no maintenance)
Place the bottom section on first. You know it is the bottom because it has the open holes to attach the wood screws.
Make sure it’s flush and straight (and covering the non-painted area).
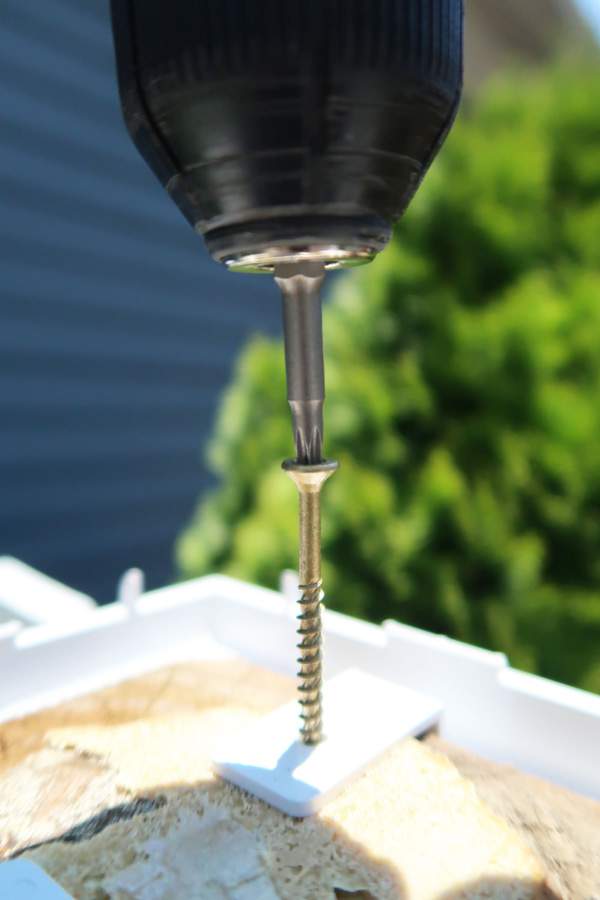
Step 5: screw the new post cap into place
Using 2 wood screws, power drill, and hex bit – screw in the screws.
They have a sharp tip, so no pre-drilling is required. The screws easily went through the adhesive on top as well.
That made things go so much more smoothly. You can always adjust the screws in and out to level out the base of the post cap.
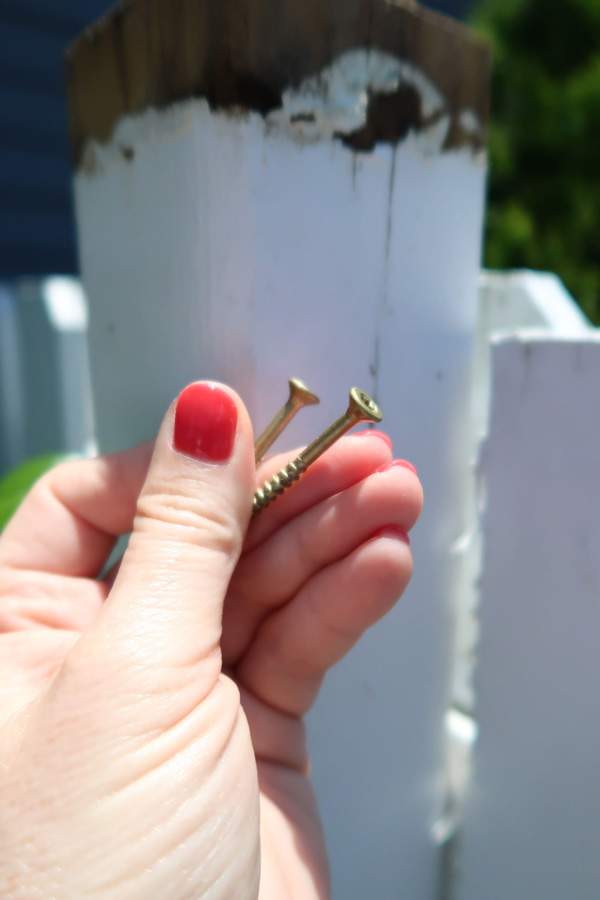
A fun fact about wood screws is the top doesn’t have threads, so you can hold onto them as you get started screwing them into the wood.
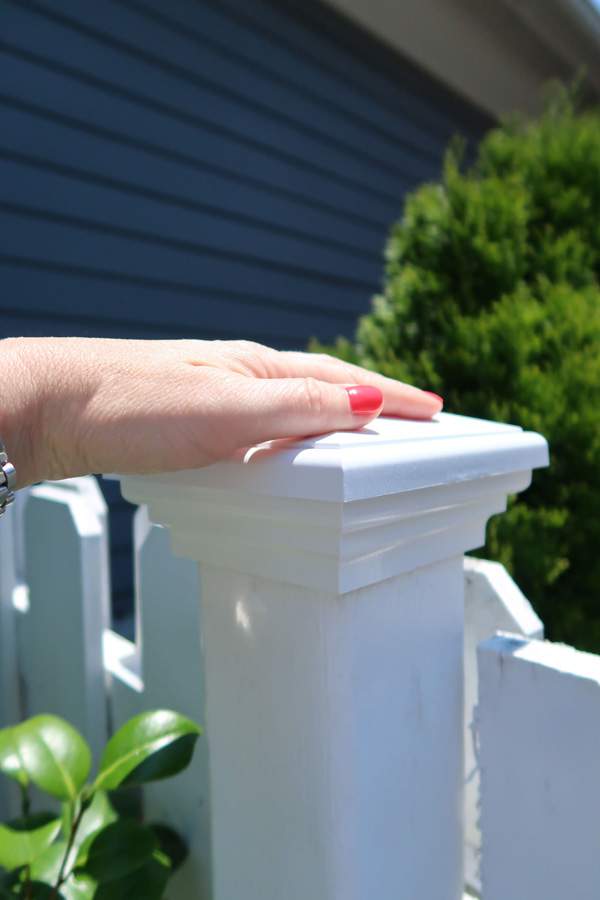
Yes, I did this right after my manicure appointment…loving the red nails right? No contractor hands here!
Step 6: Snap on new vinyl fence post cap
Snap on the decorative cover. Make sure all four sides have completely snapped into place.
I noticed that on one side I usually had to push in the first section a bit, while pushing on the top to get it to fully engage.
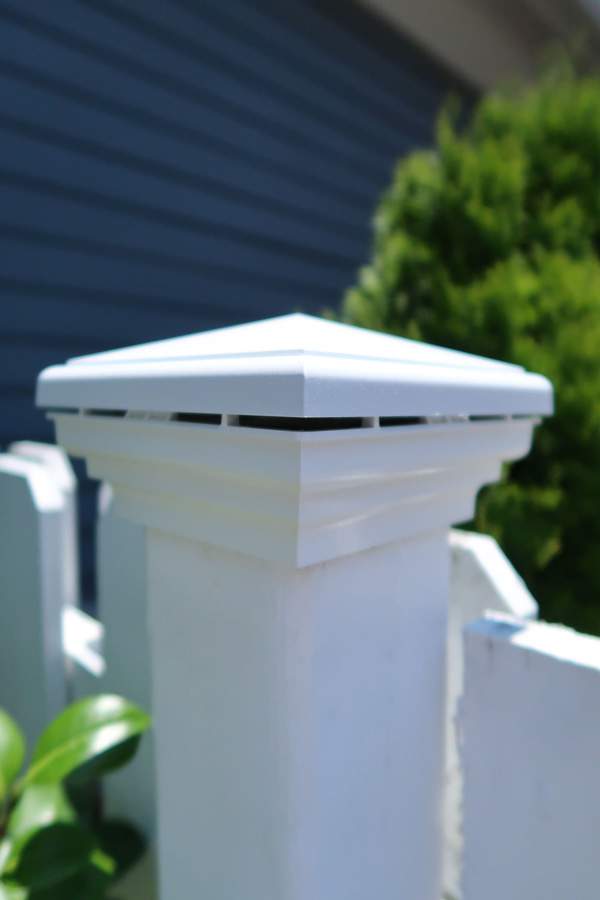
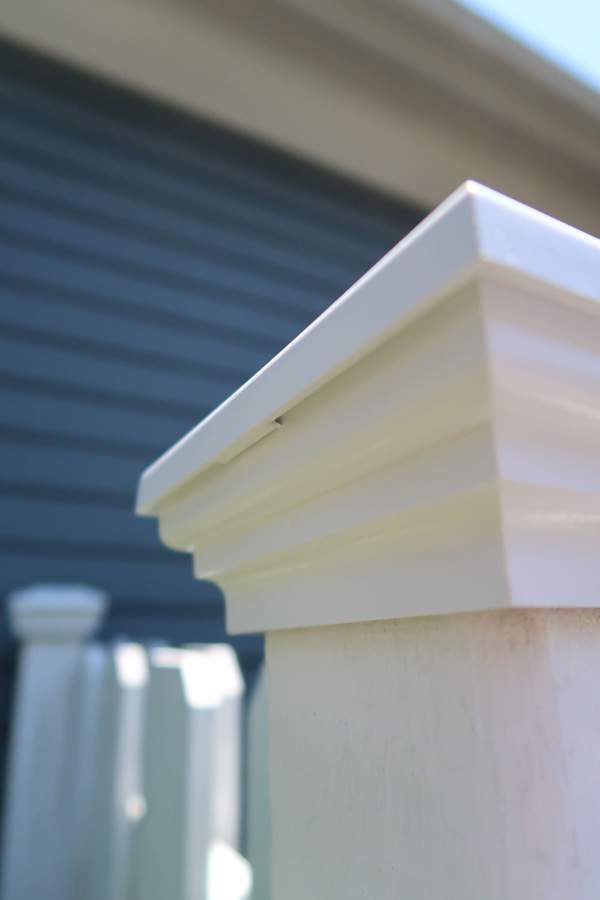
Fence and Deck Post Cap Repaired: No Maintenance!
This was one of the easiest DIY jobs I’ve ever completed! I did each post cap removal and replacement in a matter of 5 minutes.
The new post caps make SUCH a big difference. See for yourself and they have a 10 Year Warranty.
Come on birds poop away 😉 The rain will wash it right off!
Good luck on your post cap adventure and if you have the budget there are so many options snap on post cap options in every size!
You can even buy post caps with solar lights for a little extra ambience plus safety. Not a fan of plastic post caps? Try the metal top post caps.
You can create the look of your dreams!
Want more outdoor ideas to update the look of your home?


Sign-Up for my Weekly Emails!
Straight to your inbox sharing can’t miss decorating and painting tips for your home.
I love your blog so much, Tracey! Your writing is easy breezy to read (I even hear your sunshiney voice in my head) and you motivate me so much! We totally need to replace the caps on our deck railing because they’re falling apart, and this is so easy that I’m going to order the post caps now.
Thank you so much for sharing. Your house and your style is my dream! xoxo DDB
Dawn, thank you for taking the time to say HI and let me know that you like my blog! That means a ton coming from you and I am so glad the information is helpful – that’s my goal 😘 Let me know how it goes!
They look beautiful! Well done! I am not very good with a drill so I am impressed with th our skills👌Do you need to caulk where the cap meets the fence post?
Sue, thank you! The manufacturer doesn’t recommend caulking. The cap fits securely on the post. Hope that helps!
Yes, thank you, that helps!