DIY Drip Irrigation: Automatically Water Flowers

Did you know you can easily install a drip irrigation system to automatically water your potted flowers and plants? Even water hanging baskets too?
Are you tired of hand watering potted flowers and plants? Or have hanging ferns or flower baskets that are hard to hand water?
In just a few hours, you can easily DIY a drip irrigation system that will water your container garden and hanging plants while you sleep or are on vacation.
No more hoping your neighbor can help you out this summer. Your flowers and plants will thrive and you’ll get more sleep!
Benefits of an Automatic Drip Irrigation System
Prior to installing an automatic watering system, the only way I could keep everything alive in the summer was to get up and water my flowers and ferns at 5:30am every day!
Yes, there are extensions for your hose to help you reach, but see that 2nd story on my home? Watering the hanging ferns couldn’t be done with the hose.
I was filling up a watering can in a bathroom sink to water those babies. Not fun! Luckily, I have found solution that I can set-and-forget it. The best part?

I installed it myself and I don’t need to rely on other people to water while I am on vacation 🙂 What is it called? Drip irrigation!
Even the ferns on the 1st and 2nd story are being automatically watered!
My drip irrigation automatic watering system has been installed for years and works like a charm!
In one weekend and about $100, you can install your own drip irrigation system.
The only upkeep? Have AA batteries handy and change them once a month or right before vacation.
Pin It for Later!

Post contains hand selected products, with some affiliate marketing links {full disclosure here}
Create a Watering Plan Map
Step back and look at how many pots and hanging plants you would like to automatically water.
Pay attention their location in relationship to the hose spigot.
- Are there any challenges to running the tubing to that location?
- Do you have to run tubing under stairs or a deck? I was able to run mine UNDER the stairs, which required 1/2 inch PVC pipe and pipe cutter.
- How many TOTAL locations are needed.

There are a variety of pre-made kits that you can purchase.
Once you know how many locations, it will help you determine the kit that you need.
How-to Install a Automatic Drip Irrigation
This may seem overwhelming at first, but I think once you read through ALL of the instructions it will make a lot more sense.
Seriously, I did this without much research and it was intuitive once I got going.
It’s medium level DIY project, so keep that in mind 🙂
This method can be used for a pergola, patio, or porch. Wherever you have hanging plants!
Project Supplies
Click on each product for more information or the pictures below to learn more.
Your own irrigation needs an watering map will be your guid on how much of this you will need to purchase to complete the project
- Y-Connector
- Drip Irrigation Kit
- Automatic Timer or Smart Timer
- ¼ inchTubing
- Scissors
- 1/2 inch tubing
- Back flow valve
- 1/2 inch coupler
- Tube crimper
- Hole punch
- Silicone
- Coupler kit
- Landscape staples / pins
- 1/4 inch white tubing
- White clips
- Irrigation Drippers
- 1/2 PVC Pipe (if needed)
- PVC Pipe Cutter (if needed)
Installation Instructions for Hanging Plants
Setting up an automatic watering simple as setting up a timer to your hose!
All you need to get started is setting up the Y-Connector to the spigot, so one side is your day-to-day hose you use for other tasks and the other side is the timer (sorry Amazon didn’t have the one I purchased, so the pictures are different).

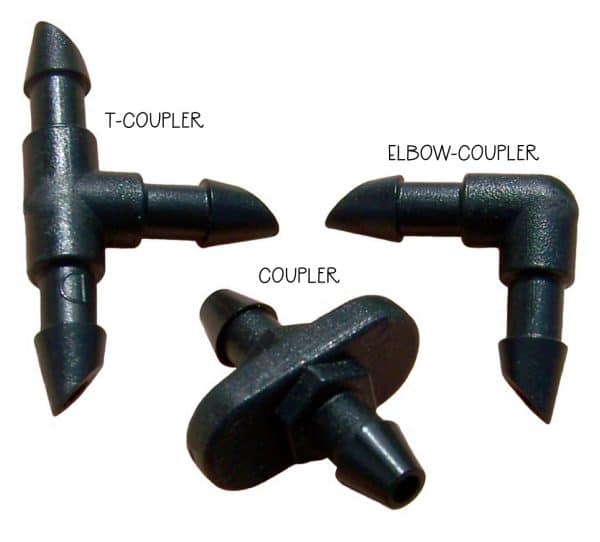
Understand the couplers before reading ahead because they are important!
- T-Couple connects 3 lines
- Coupler connects 2 lines
- Elbow-Couple connects 2 lines at an angle
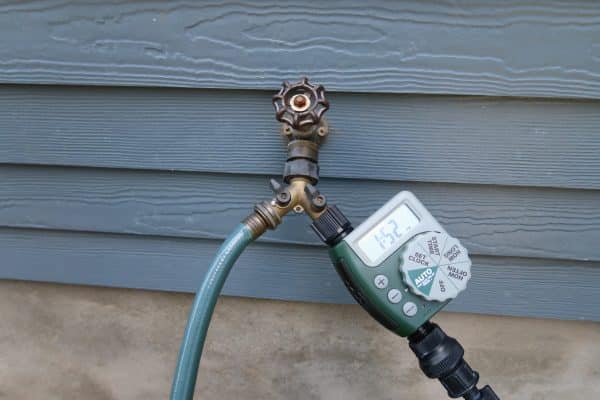
Step 1: Connect the timer system to the hose
Attach Y-connector to outside faucet spigot. Place hose on one side and timer on the other.
Step 2: Measure and cut 1/2 tubing
Measure enough 1/2 inch tubing to reach where you will run the 1/4 inch tubing up a post or column. At my house it was 8 1/2 feet.
Cut with scissors. I used a pipe cutter, but scissors are fine!
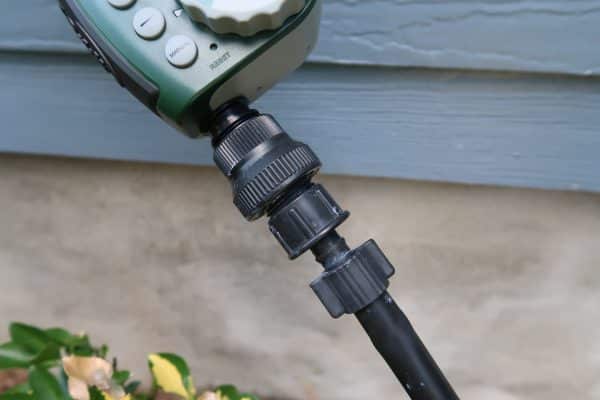
Step 3: attach back flow valve
Attach back flow valve to timer.
Then attach the 1/2 inch tube coupler to the back flow valve, and attach the 1/2 inch irrigation tubing to that.
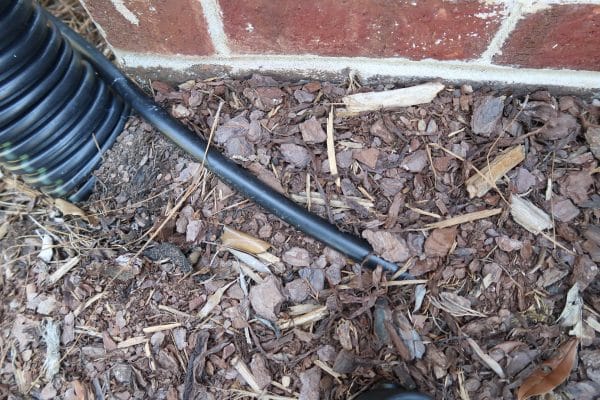
Step 4: lay 1/2 tubing to primary watering location
Lay the 1/2 inch tubing along foundation and bury under mulch, dirt or pine needles.
Tack down with landscaping staples.
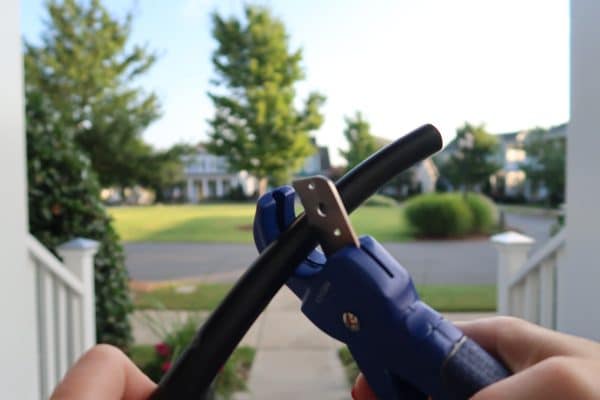
Step 5: use the crimper to create end point
Using the crimper to stop the water flow, you will slide on one end of the crimper, and folder over about 6 inches of the 1/2 inch tubing to stop the water.
Pull the end of the tube through the other hole of the crimper.
Make sure it is completely secure! You don’t want the water to come out of this main line.
Step 6: tap for 1/4 tube lines with couplers
Start tapping the line with the hole punch tool to add the 1/4 inch tubing using a coupler.
I have ALL 5 hanging ferns running off of ONE 1/4 inch line of tubing.
The potted plants are running off of TWO separate 1/4 inch lines.
Primarily because they are in different locations: at the front entry and on the stoop.
Here is a simple and pretty picture of what you are doing 🙂
The reality is below…
Add a little silicone to seal the connection around each coupler.
Looks icky, but it works!
Step 7: run the tubing up to columns for hanging plants
Run the roll of 1/4 inch tubing along the foundation to the corner where you will be adding the white tubing to run up the columns or post.
If you have a stained pergola, you can use tan 1/4 inch tubing, if you have white paint use white tubing, or just use the black!
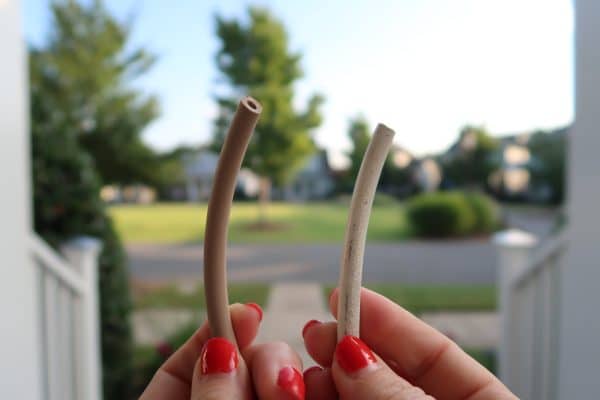
At the time I did this, white tubing didn’t exist so I spray painted it white. Yep, I’m a little bit of a perfectionist!
Step 8: attach 1/4 inch tubing up the column
Using another coupler, attach the column/post tubing to the 1/4 inch tubing along the foundation and begin running it up the column or post.
Attach where needed with clips. Please use these white clips – they require drilling a small pilot hole, but are much easier to install than the typical clips for drip irrigation.
You can push down on them to hold the tubing in place.
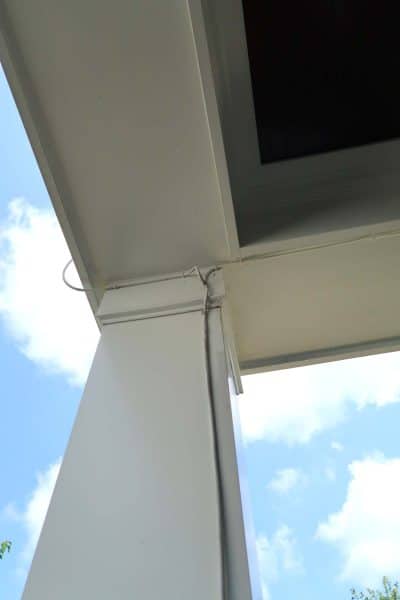
Use the elbow or t-coupler depending on how many lines you need to run.
I’ve used a t-couple above because I am running one line to my ferns on the first story and then another line to my ferns on the second story.
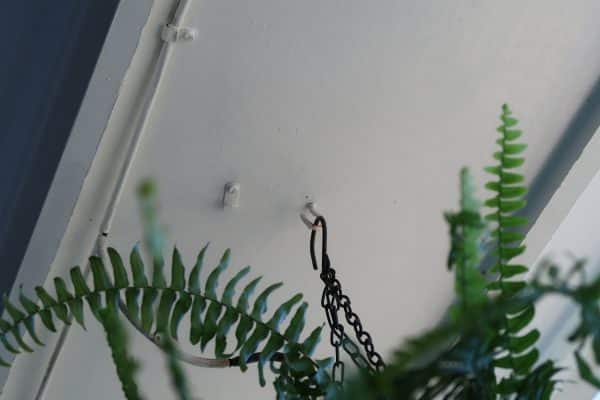
Step 9: run 1/4 tubing into hanging plants
Cut a small piece of 1/4 in tubing to run into the fern – here I used black to coordinate with the chain and blend.
If you are splitting the line to run to a 2nd fern, use a t-coupler or if just running to one fern us an elbow-coupler.
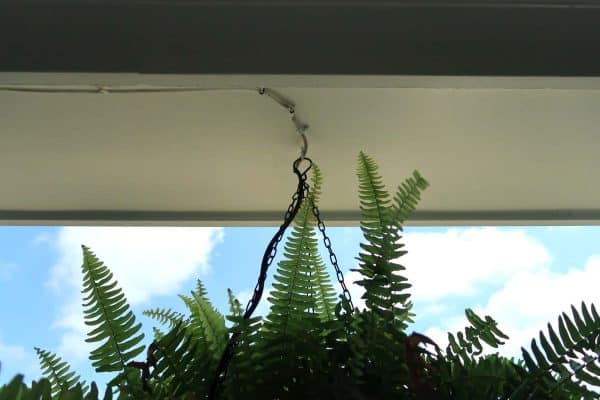
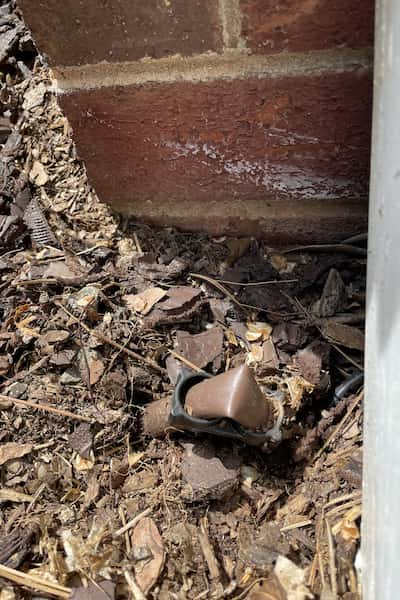
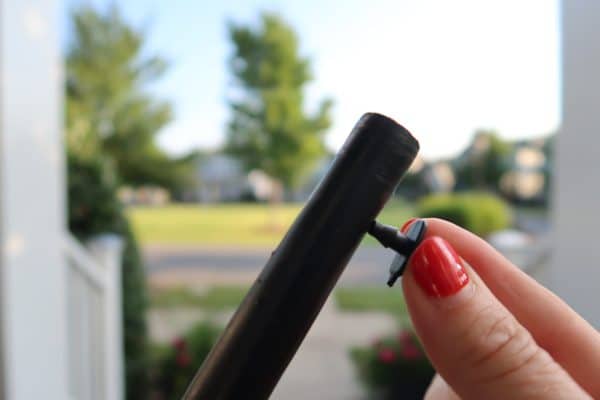
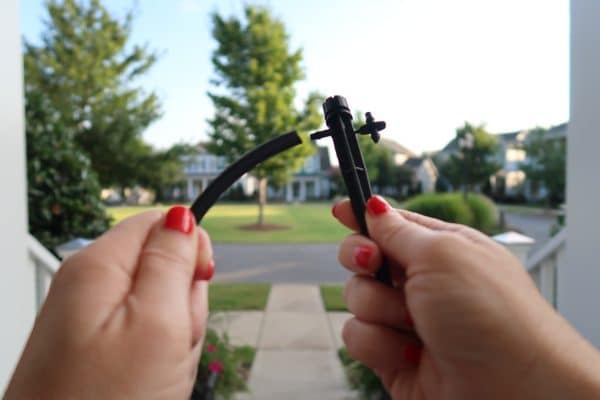
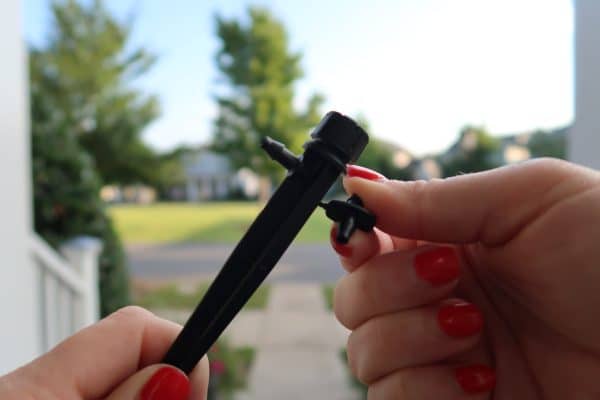
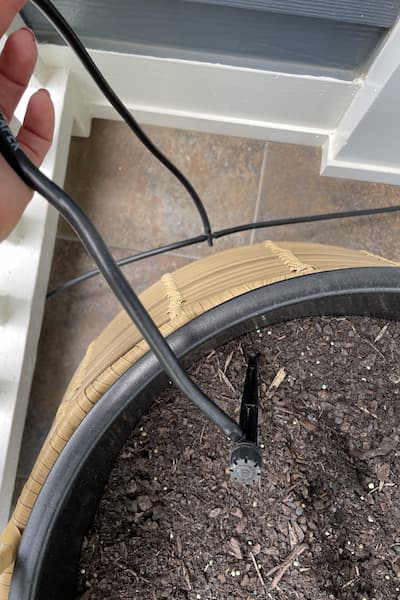
Step 10: attach misters or stake drippers to tubing
Attach the 1/4 inch tube to the stake drippers and remove the coupler (save it for repairs or use it!).
Step 11: place dripper in center of plant and open for water
Push stake into center of plant and twist top to get desired water flow.
You can determine this by running the system on manual until you get the correct water flow.
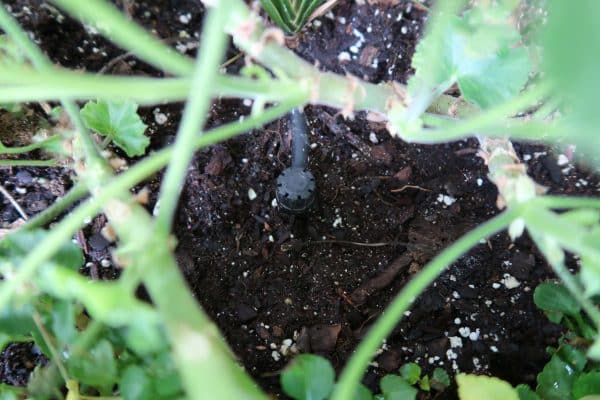
I like the water to run through and drip out of the bottom of the fern.
That’s usually 4 minutes at my house.
Installation Instructions for Potted Plants
You would go through the same process to STEP 6.
Run 1/4 Inch Tubing into each potted plant you want to water.
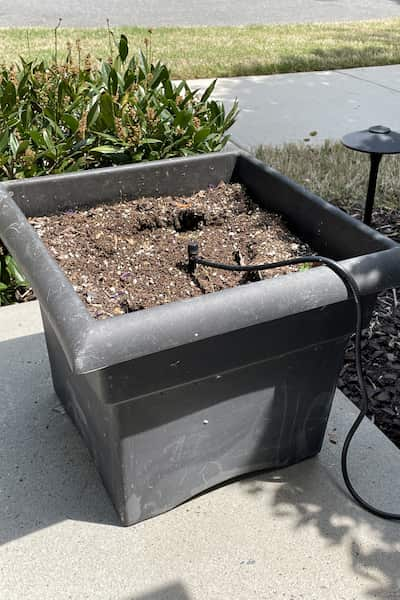
Attach drip stakes in the same way as STEP 10 AND STEP 11.
It’s MUCH easier to set up potted plants!
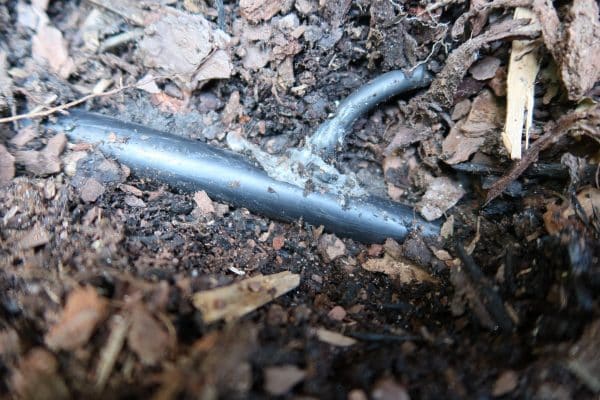
You can use the various couplers to split the line and roll tubing to the next potted plant.
Here is a picture from the main line and I split it with a T-coupler to water a 2nd pot on the other side of my front door.

Watering Instructions
Place batteries in the timer and follow the instructions for set up and programming.
Since I live in the heat of North Carolina, I have to water more than someone in the midwest for instance.
In early spring, I water at 7am all locations at once for 4 minutes every other day. My system waters:
- 7 pots
- Front landscaping
- 5 hanging ferns
Once it starts getting above 85°F, I move to watering every day, but still for 4 minutes.
I have NEVER noticed a change in my water bill! Only when my college aged kid is home do I see a higher water bill 😉
Check your system at least every other week on manual to make sure it is running properly!
Feel free to ask me questions in the comments and I’ll do my best to answer!
Now you can sit on the porch, have a cold drink, and watch your potted flowers and hanging plants get watered 🙂
Want ideas for other outdoor projects?
Sign-Up for my Weekly Emails!
Straight to your inbox sharing can’t miss decorating and painting tips for your home.
Please consider following me on Pinterest and Instagram for daily inspiration.
Until next time…
Porch Daydreamer
Tracey
Is there a total system assembly ready for purchase? Or do I have to put all the pieces together myself?
Hi, James! Unfortunately, the simple answer is no. It’s really up to your needs. Here’s the basic drip irrigation kit for pots. The timer is the other piece you need to run it automatically. Here is a smart timer you can run from your phone or timer you program.
Fantastic idea. How do you run line for your landscaping?
Enjoy all your posts and ideas. Thank you!
Thanks! I didn’t run the line for my landscaping and had it tacked on during a re-do of my landscaping. It’s the same concept where you attach drip lines to the main water feed and bury it in the dirt between the plants.