Master Bathroom Demolition: WK 3
Ever wondered how to prepare for a bathroom remodel demolition? Sharing my best tips and pictures of the process!
The hardest part of a bathroom remodel is two-fold: demolition and the wait for completion! Patience is definitely a virtue when it comes to remodeling.
Week 3 of my One Room Challenge Master Bathroom Remodel! We will cover what steps I took before demolition day and the realities of a remodel.
Plus my final floor tile and paint selections for this luxury hotel makeover.
Want to see the remodel before pictures and the progress each week?
Follow this page created just for The Luxury Hotel Bathroom One Room Challenge Remodel.
Choosing Tile and Paint Colors
Color is always at the core of my design projects. Paint color adds so much to the look, feel, and mood of the room I take it really seriously!
Making sure the paint color will work with the tile and marble was of utmost importance.
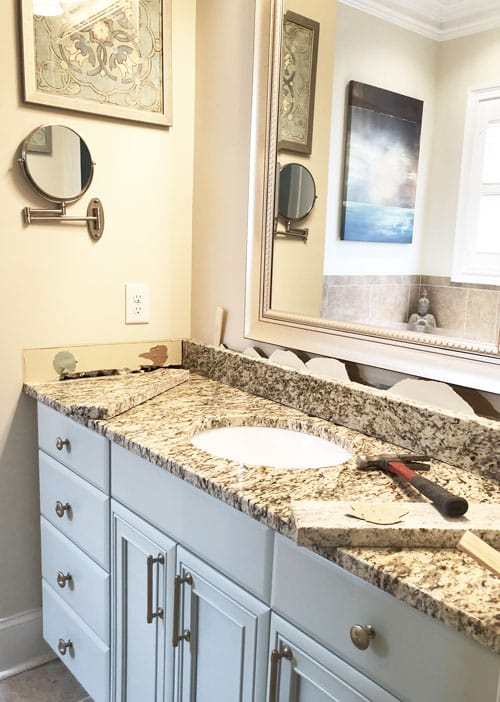
Luckily, the Shadow Storm marble counters were installed back in December so I could use them in my decision process.
The color that kept catching my eye for this makeover was Benjamin Moore’s Wales Gray.

It is a beautiful blued gray color that is soft and subtle. My hope was it would complement all of the harder elements in the room.
To start, I used a technique that I’ve taught before of how to try a paint color before painting and painted several paint sample boards.
I’d been eyeing this great mosaic porcelain tile and wanted to make sure the paint worked with it and the shower wall tile.
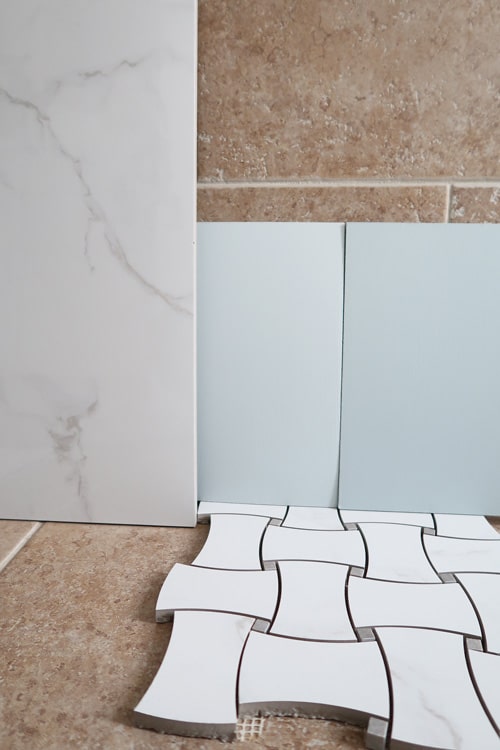
What I found was the original Wales Gray was just too dark in value. So guess what? I knocked down the tint by 50% and voila it was perfect!
The original color is on the right and the new color that is 50% lighter is on the left.
Did you know you could increase or decrease paint values (darker or lighter)? You bet you can!
It’s best to increase or decrease the tint strength in increments of 25%, so you can see the difference.
Then I tested the color against the marble to make sure it looked perfect and luckily it did!
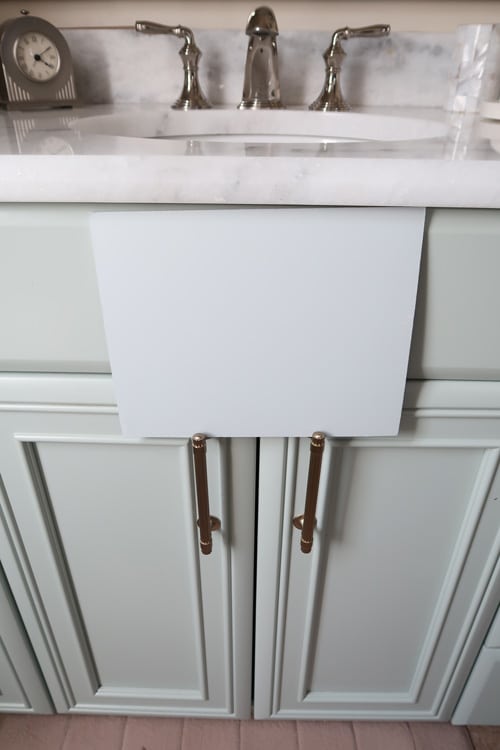
The next decision was do I use Wales Gray for the walls or for the cabinets? Since the cabinets had previously been painted a color, I was a little conflicted.
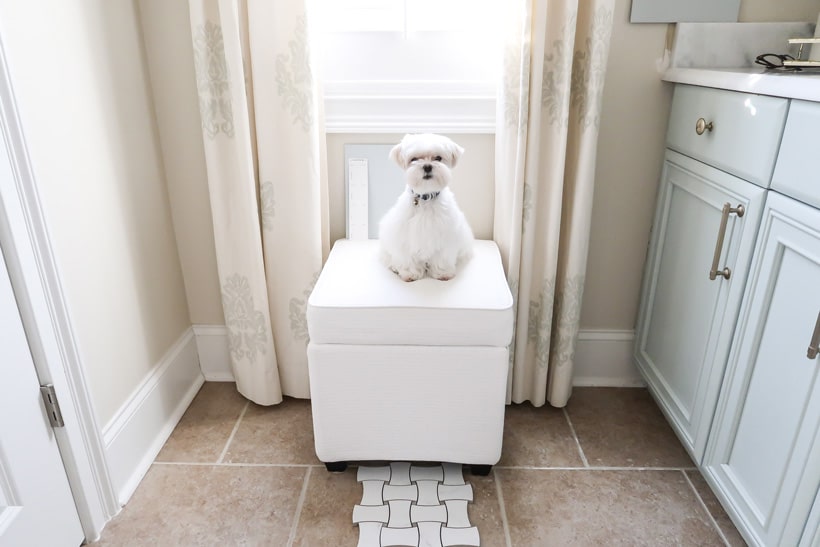
So I brought in an expert to help me decide – Mick the Maltese.
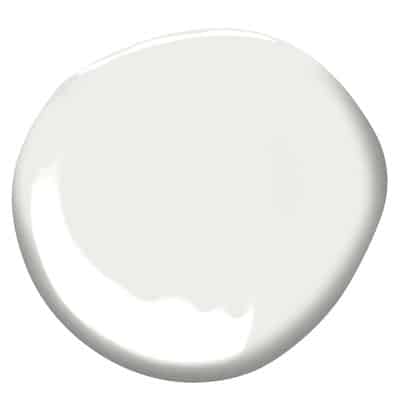
The final verdict? We decided to paint the walls Wales Gray and the cabinets Decorator’s White!
It’s a beautiful long standing Ben Moore white that has a hint of gray.
Both colors looked amazing with the floor tile Calacutta Bianco Delray, with Cinderella Gray and the Shadow Storm marble. Decision made!
Liking Your Contractor Goes a Long Way
Off the pretty stuff and onto to the not so fun side of a bathroom remodel. Finding a contractor who you trust, like, and is neat is key!
Research, get references, and read reviews. The crew that worked in my home from Finishing Touches Construction (local to Charlotte, NC) was incredible in keeping the mess in the bathroom and out of the rest of my home.
Know you will wake up with these people coming to your home for an entire day for 6 weeks!
Here were my people: Leo and Blanca.
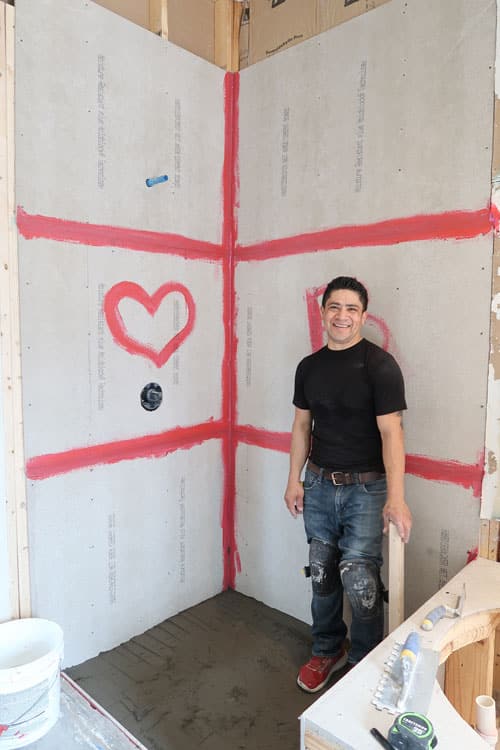
I was greeted with a smile every morning, which made having to welcome people into my home Monday through Friday for weeks actually pleasant.
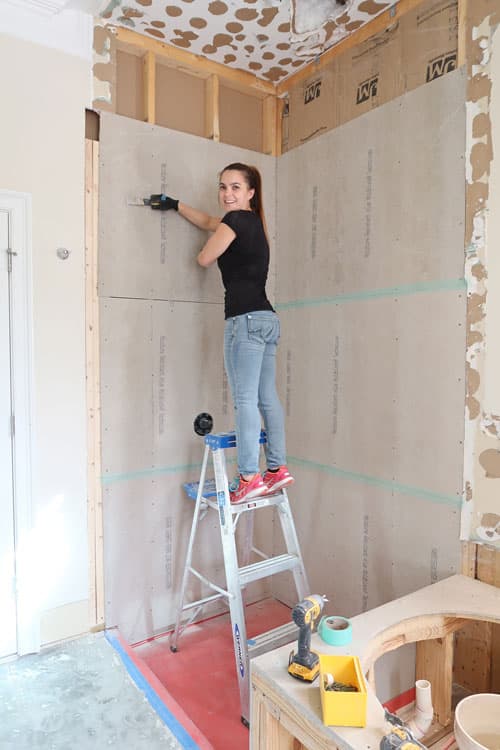
How-to Prepare for a Bathroom Remodel and Demolition
It’s annoying I know, but you must relocate out of your bathroom to an alternate bathroom for almost the entire duration of the remodel. You will get used to it – I promise.
The first week is the hardest and for me it was because my clothes were downstairs and the bathroom I was using was upstairs.
You will learn to develop a new routine in a few days.
Here are my tips for the best experience possible, when your bathroom remodel begins:
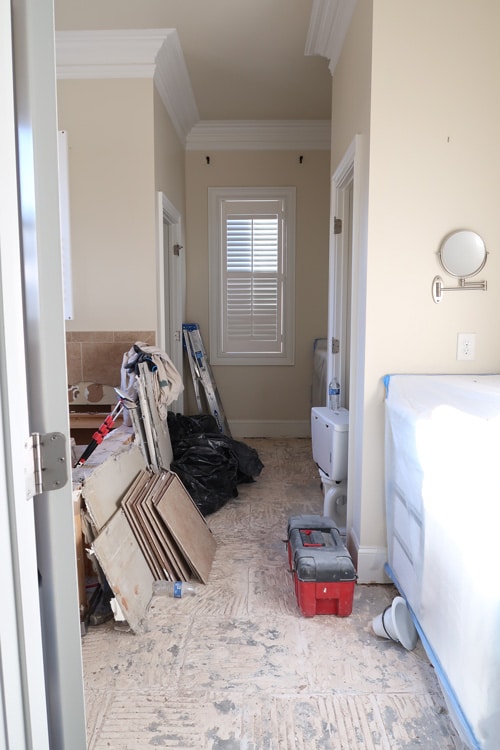
- Remove all items from the room – the dust is beyond awful (for days!)
- Turn off your HVAC system on demo days. Windows are open so you don’t want to pay for heating/cooling. You also don’t want the debris sucked into your system
- Prepare a staging area to use for their tools and materials. My garage was that area.
- Insist, if they don’t mask off the area, that they do so and cover the floor. My team did this everyday on their own.
- Make sure they have an access to remove the demolition debris. Luckily, my bathroom was on ground level and went out the window.
- Have them run fans pulling the dust outside too. Even with all of the precautions your home will be dusty for a couple of weeks!
- Ensure any items remaining in the room are protected (like my vanities and marble counters).
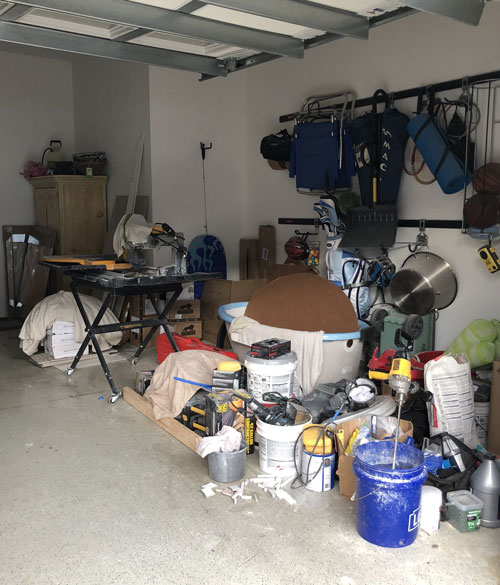
My garage looked like this for the entire remodel.
I only have one car, so I was still able to park here. You may have to park in an alternate location.
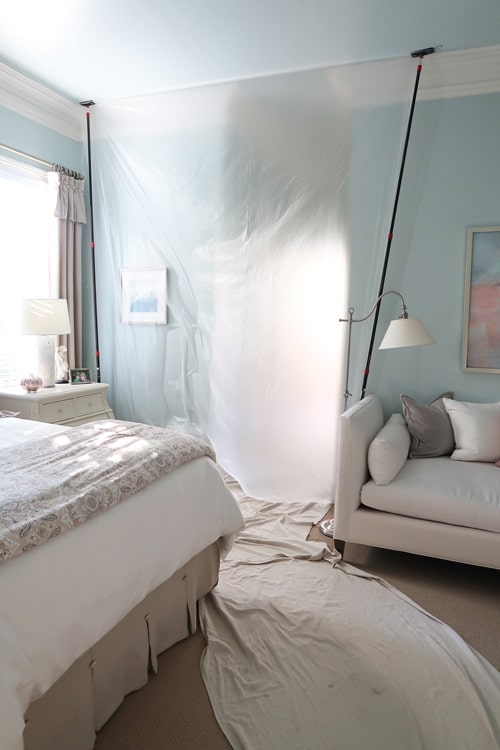
The team prepped my bedroom like this for days including plastic over the bed and day bed to protect it!
This is why! They have to break the tile to remove it and grind down the mortar.
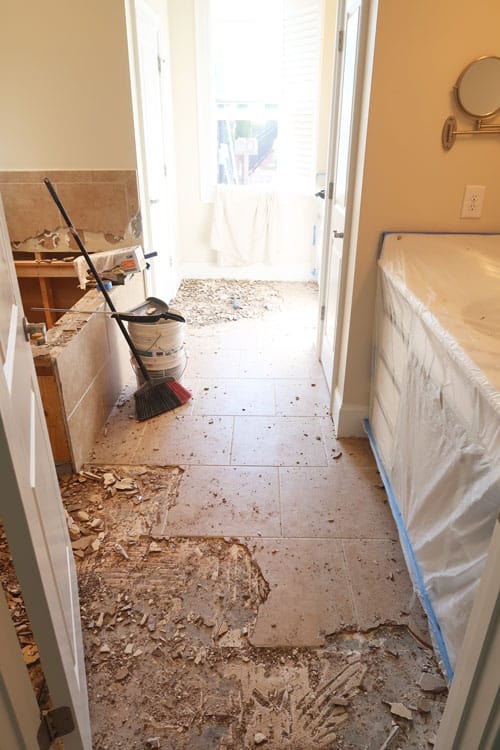
It looked like a war zone for a few days, until everything was cleared out of the room.
As they are doing the demo, they may uncover weird things like the way the previous tile was applied. Yikes.
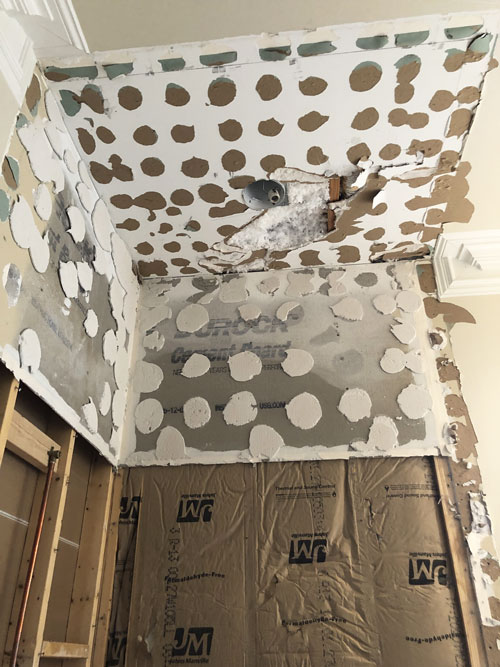
Then as the granite was removed, some of the wall was damaged.
All part of the process, so don’t get upset it’s easily fixed.
Hopefully, I’ve given you a good idea of what to expect and why labor is expensive in a bathroom remodel.
This was HARD WORK that I appreciated was being done by a professional.
Half Way Through the One Room Challenge
It’s hard to believe that we are at the halfway point! In the coming weeks the pictures will get prettier I promise.

Tile will be appearing and the marble tub deck too. Let’s hope for smooth sailing!
To keep you entertained in between, please visit all of the other featured and guest designer’s progress during their own One Room Challenge craziness!
So you don’t miss an update, please consider signing up for my weekly email newsletter.
Until next time…
Porch Daydreamer
Tracey
We went through this same process a couple years ago with our basement bathroom, so I totally agree with finding a contractor you can trust being at the top of the priority list! I love the colors and finishes you chose! Can’t wait to see the end result!
Thank you! Glad you found a contractor you trusted too – it’s quite the process isn’t it? I’m so excited to see and share the final look 🙂
I like your choices! I am looking forward to seeing your reveal!
Lauren, thank you! I’m so excited to see it finished and can’t wait to shoot it soon 🙂
I love how intentional you are about picking paint colors! Painting them on test pieces beforehand is such a good tip.
Catherine, thank you! When paint goes wrong it’s the worst. So I’ve learned the hard way to test, test, test before rolling on a color!