How-To Hang Identical Plate Arrangements
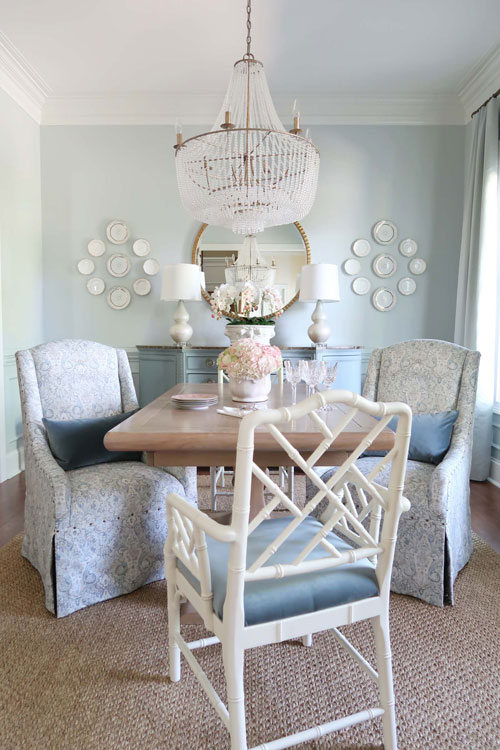
Wondering how I hung two identical plate arrangements on my dining room wall? Of course I’ll teach you my plate hanging tricks!
Honestly, I was wondering if I should even write a post on hanging a plate arrangements on the wall because I think it has been covered SO many times. Then I realized, each person takes their own approach to arrangement and hanging so why not share what I do!
Maybe my method will inspire you to try this project and hang not only one set of plates, but may even two identical groups! That was the hard part 😉
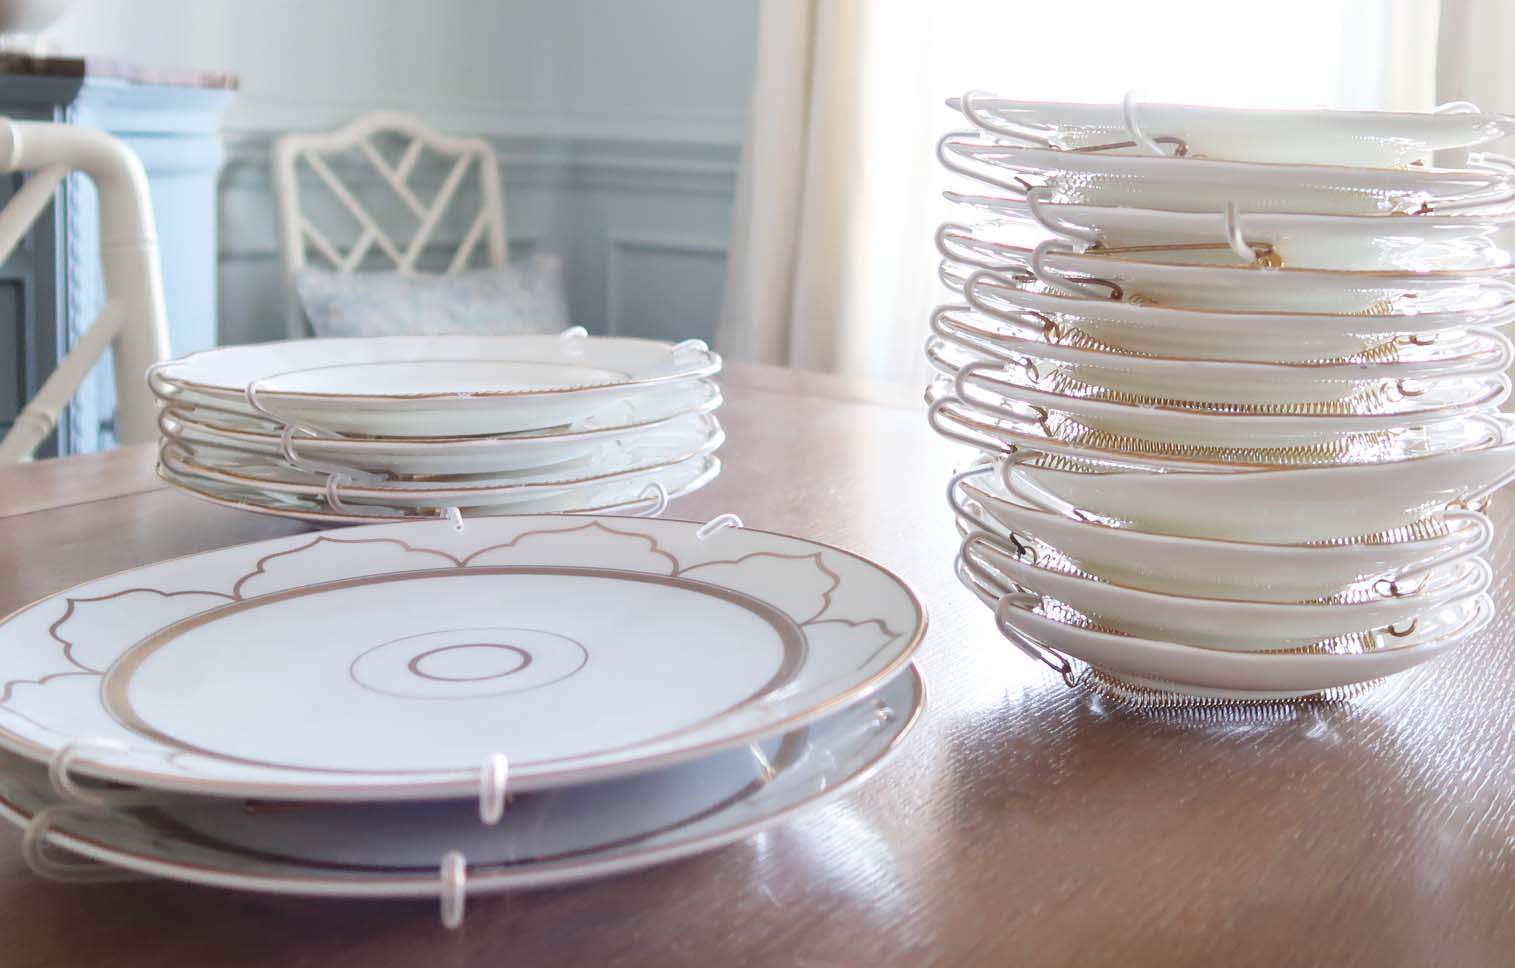
After investigating several types of plate hangers and considering my plates were white, I landed on a hanger that all but disappeared on the wall.
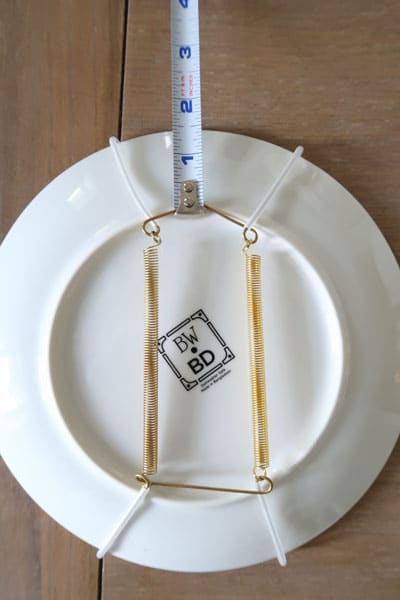
The hangers I chose are the spring variety that clip on the outer edge and stretch to fit.
Make sure to choose the correct size for the plates or platters you are hanging.

Why I chose these is because they were gold AND the hooks were covered in a clear plastic versus all white.
That made them blend into the plate arrangements.
Plus they are removable, so I can switch out plates of the same size quickly and easily!
How-to Hang an Identical Plate Arrangements
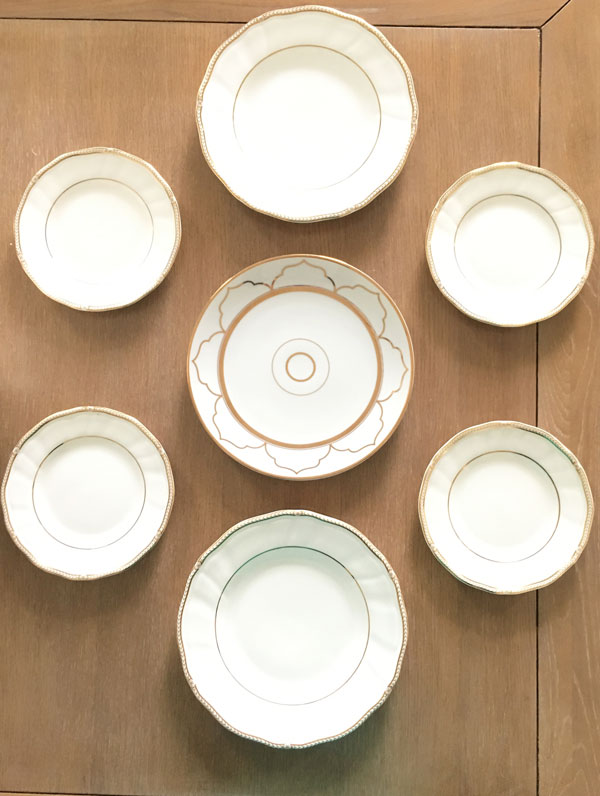
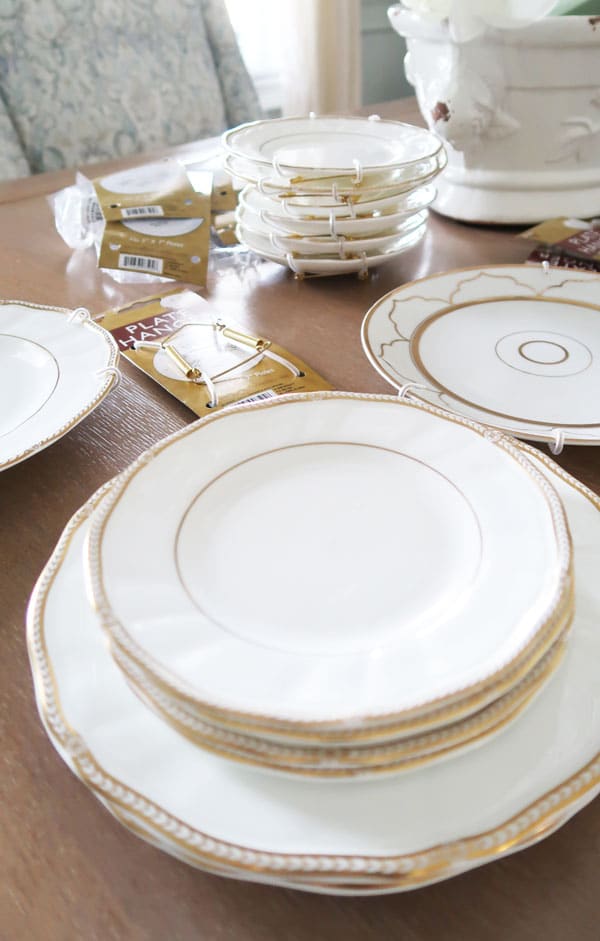
Don’t be scared to mix up patterns and sizes of plates.
My arrangement even though white and gold has several patterns and three sizes: salad, bread, and saucer to make the pattern more interesting.
Supplies
- Frog Tape
- Measuring Tape
- Wrapping or Butcher Paper
- Plate Hangers
- Picture Hanging Nails
- Favorite Plates
Step 1: Measure the space
First measure the space on your wall where your plates will hang, to determine how many plates you can fit in that space.
Make a note of the height and width of the space.
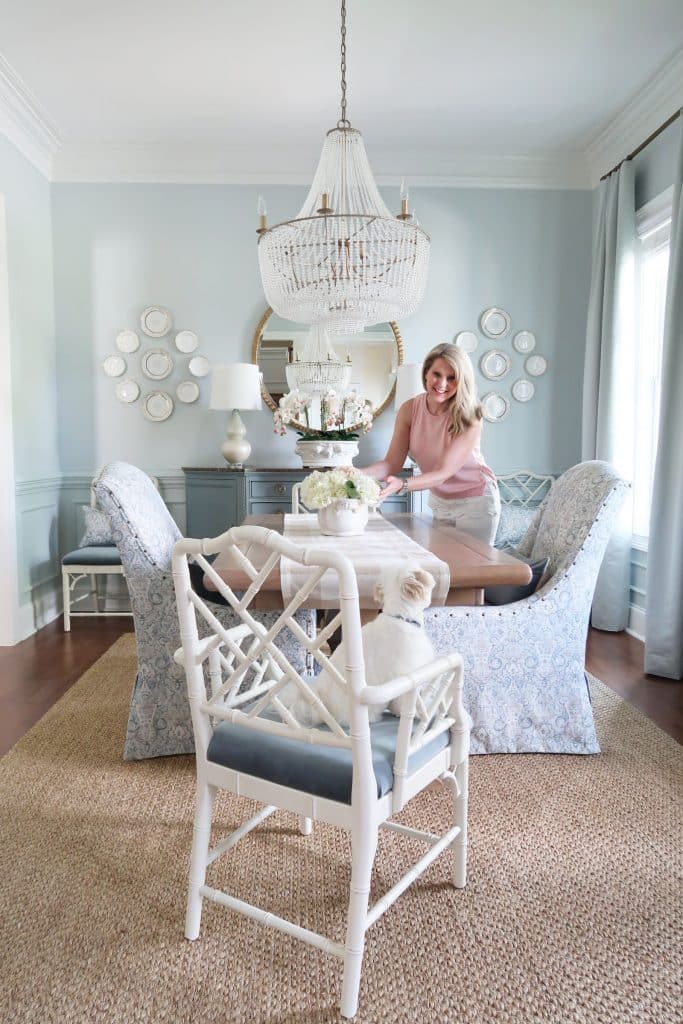
Find the center point of the arrangement or arrangements. In my case, I marked center on the wall between the large round mirror and the corner of the wall.
The mirror was centered on the main wall already!
Step 2: create an arrangement
Gather the plates you are considering hanging and create arrangements on a counter, table or floor.
Don’t put anything on the wall until you love it first! This was just the first plate combination and arrangement option. I’d say I looked at 3 or 4.
Measure the final arrangement to make sure it will fit in the space. Modify arrangement as needed.
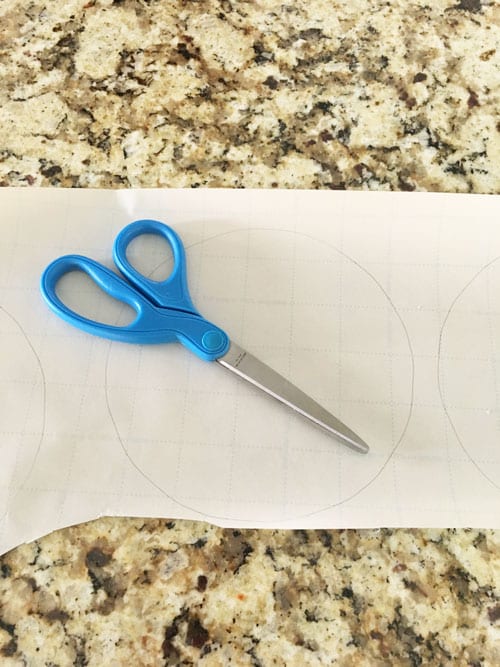
Step 3: Create hanging templates
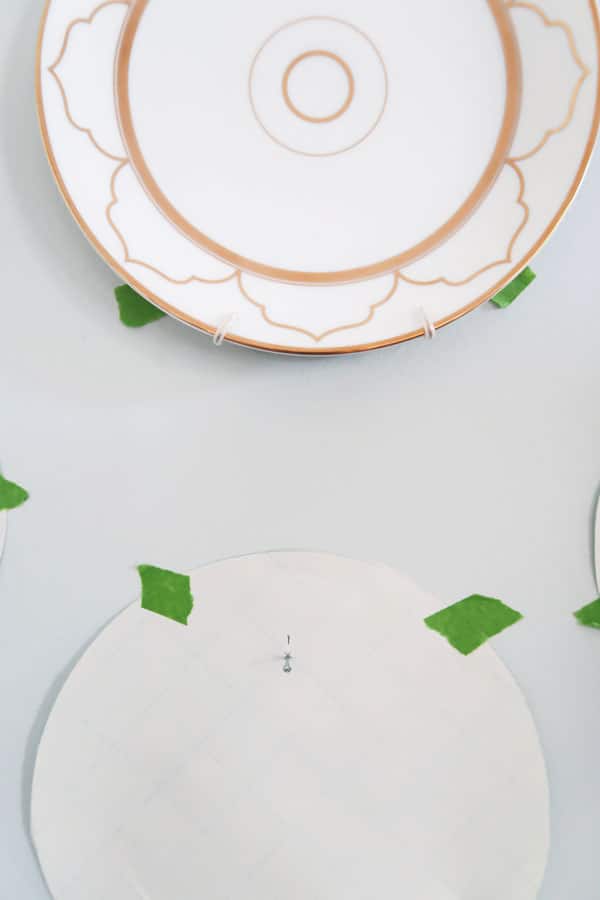
Grab some wrapping paper or butcher paper and trace the outside edge of each plate you are using. Cut out all of the plates.
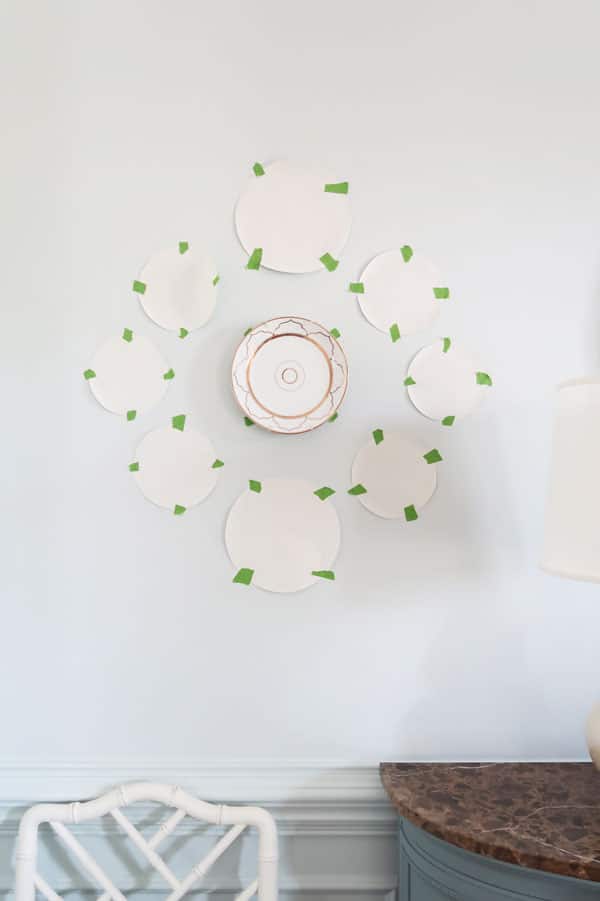
Yes, I did 18 in total so I could see BOTH arrangements up on the wall before putting any nails!
step 4: tape the hanging template on the wall
Using the center of each arrangement, place the first “paper” plate.
MEASURE 3 ways (showing you on my final arrangement) from the bottom of the paper plate and side to side – so for me corner to plate and mirror to plate and then plate to chair rail. WRITE IT DOWN.
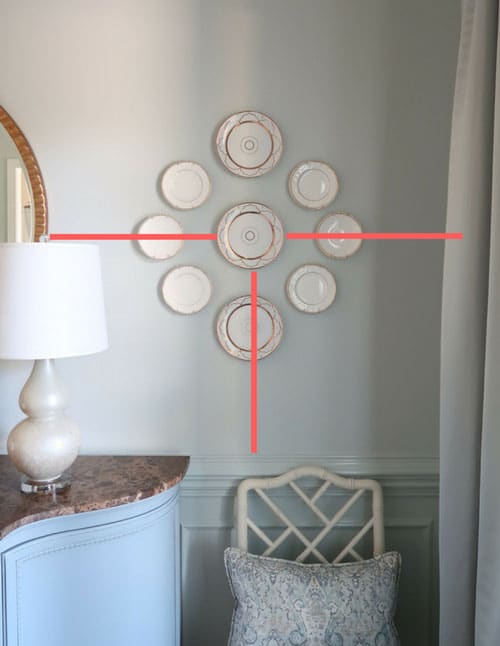
Hang the next center paper plate and keep adjusting until the measurements match the first one you hung.
Starting with the center plate will save you many headaches!
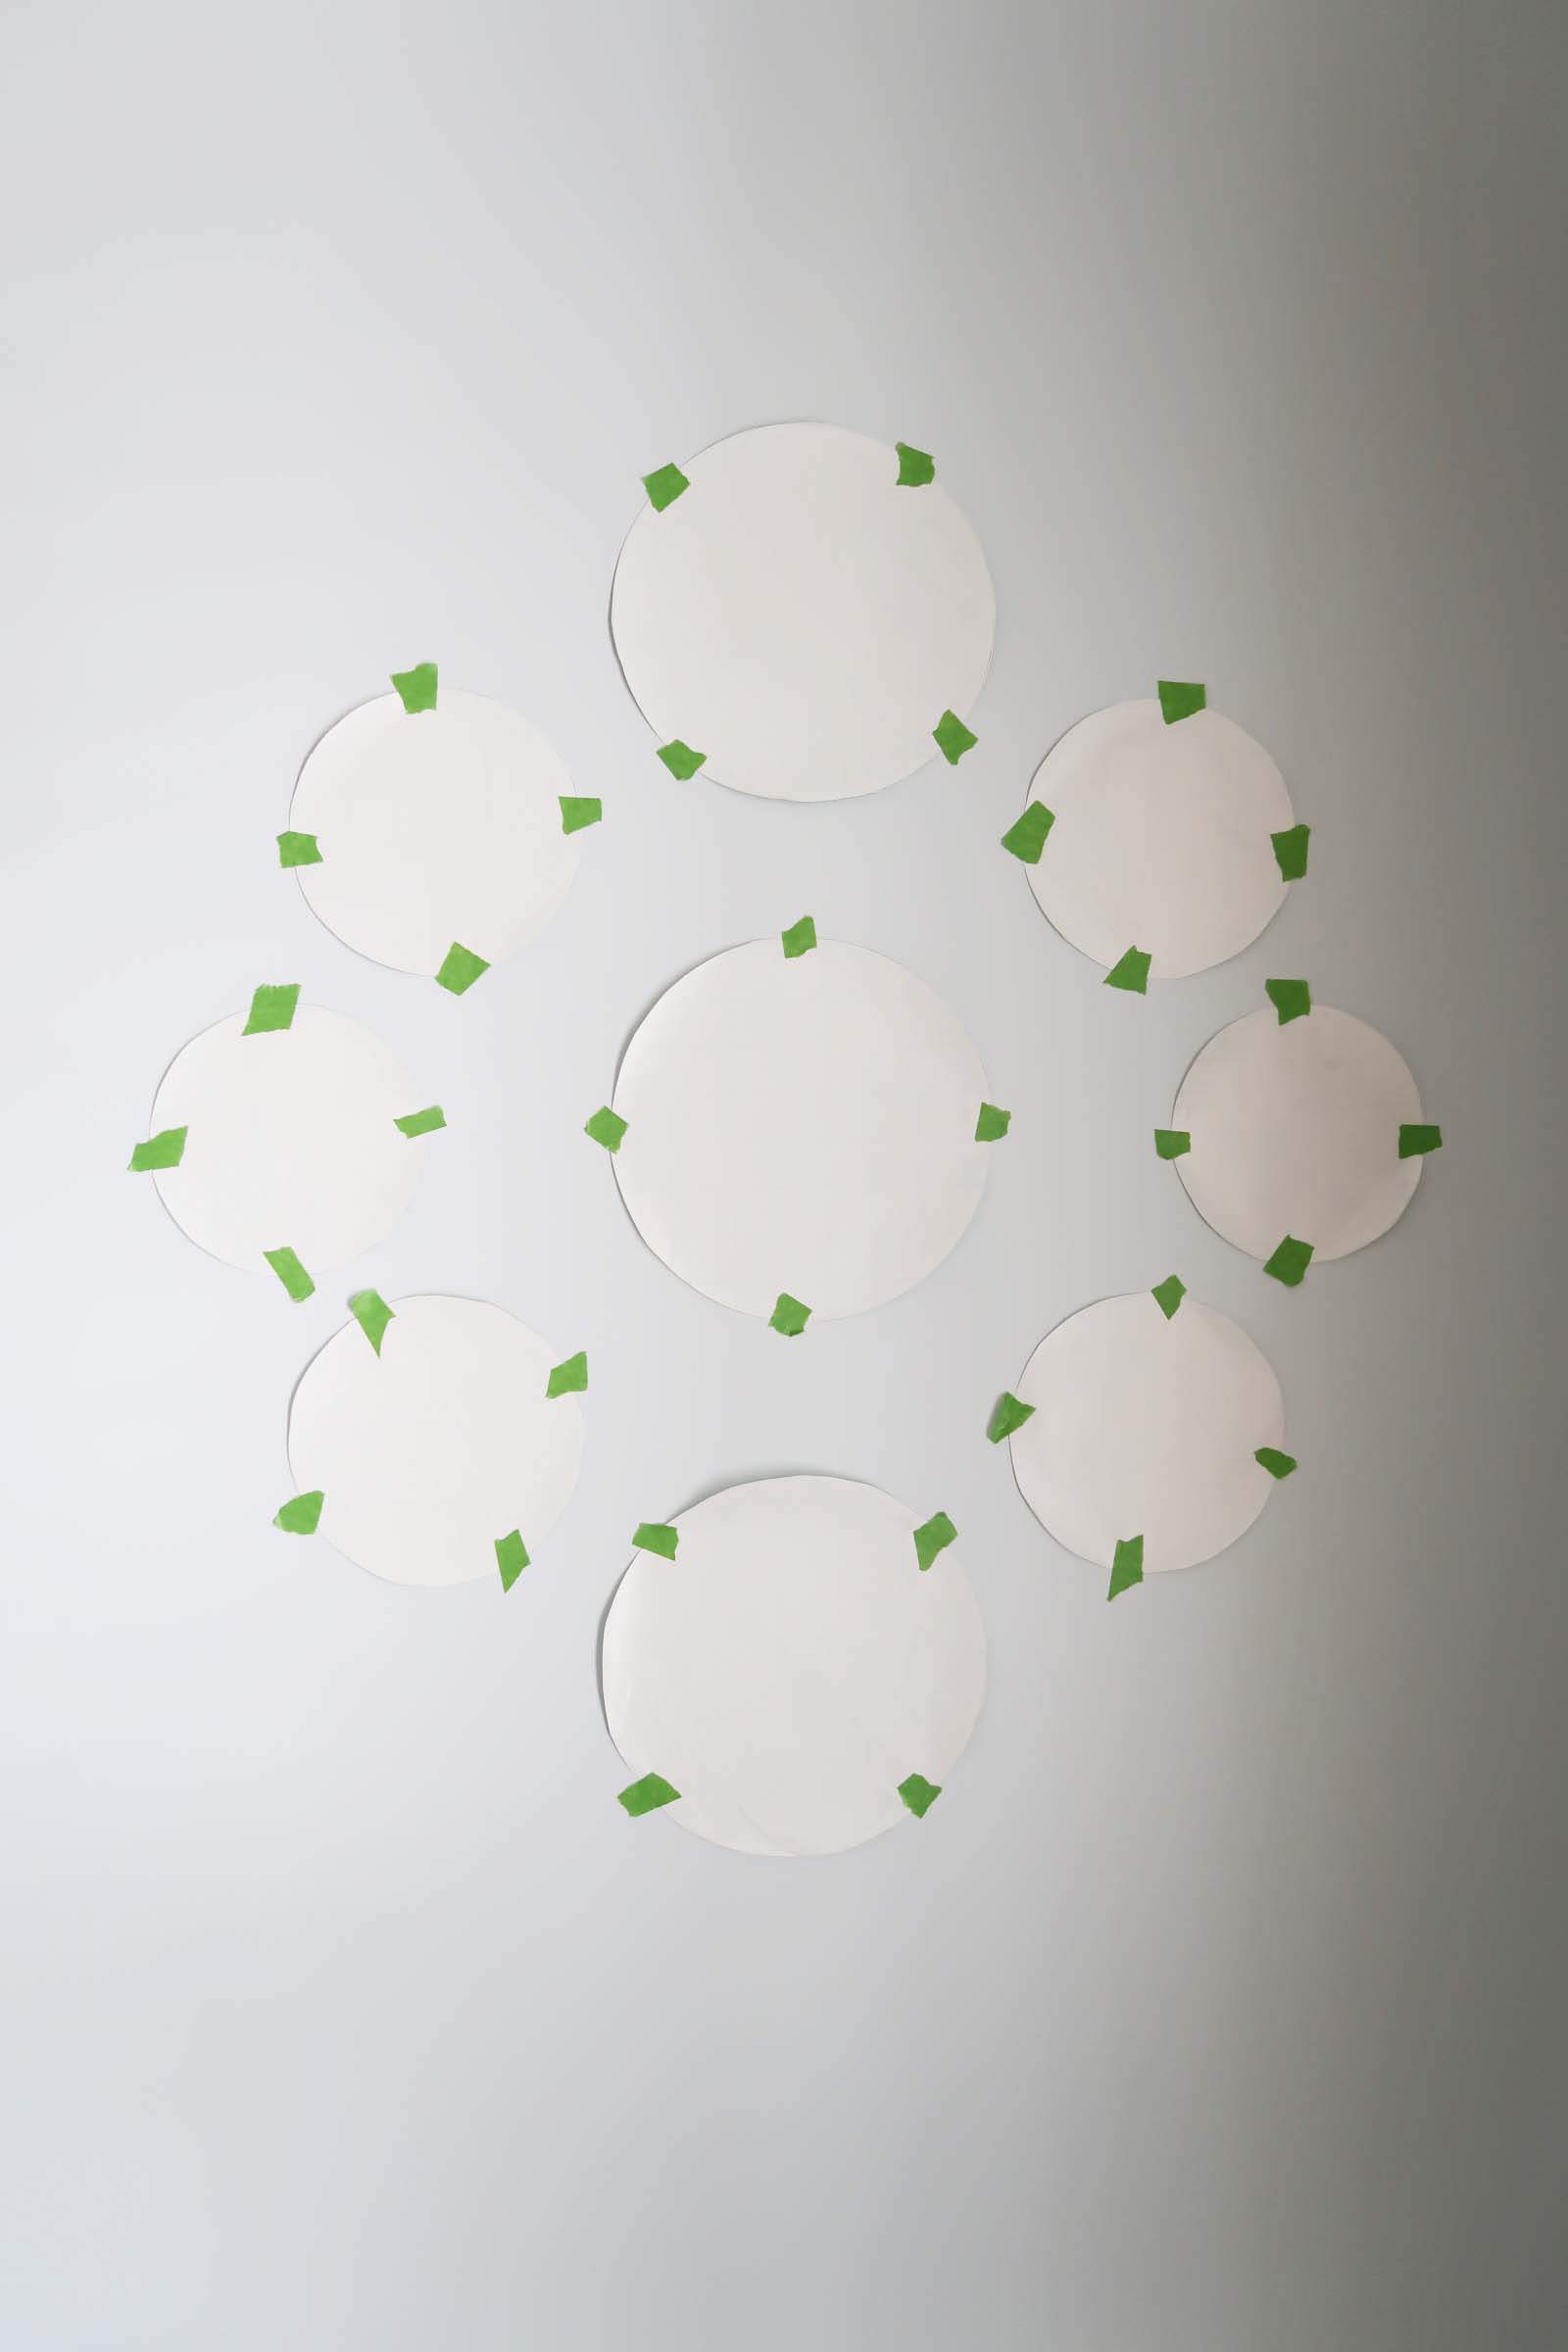
Keep adding the paper cut outs around the center plate and KEEP MEASURING. Make sure all measurements match for both arrangements between, above and below each plate.
You must be patient and DON’T DRINK ALCOHOL through this process because trust me it may drive you to drink LOL!
The Frog Tape makes it easy to keep adjusting the plates to the desired look and measurements.
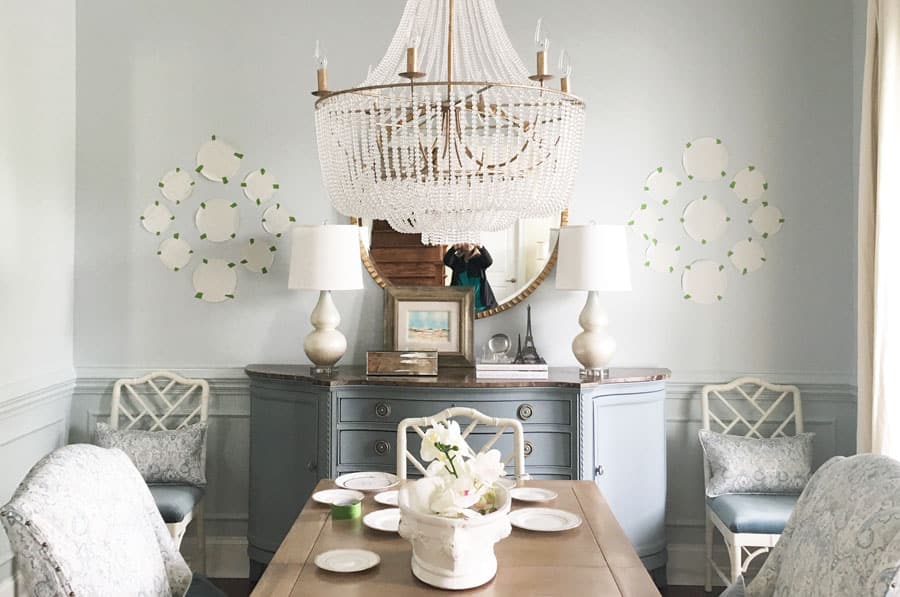
Step 5: create the 2nd plate arrangement
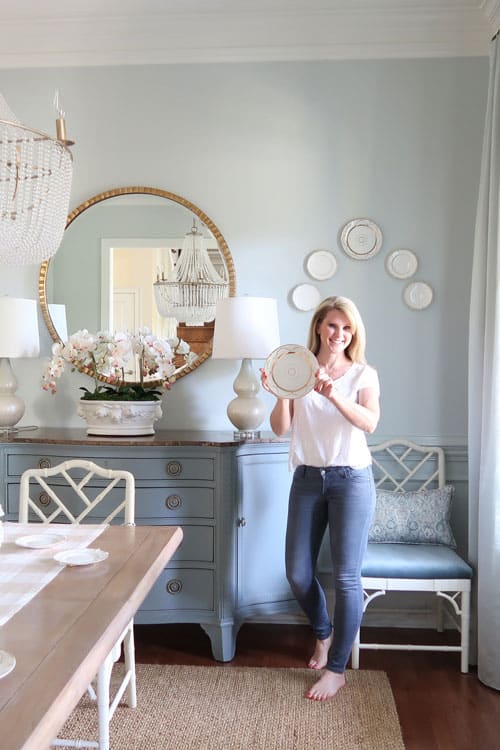
After all plates are hung, STEP BACK and look at your work. I found taking an iPhone picture helped me see where plates needed to be adjusted.
Get it perfect and keep checking those measurements!
When I see my iPhone pictures versus my real camera I cringe, but I gotta show you the reality and yes, I am in my PJs 😉
Step 6: attach hangers to plates
Add picture hangers to all plates. They are slippery suckers and you are completely sober right?? You’ll get through it!
Make sure if you have a pattern on your plate or a center point in the design that needs to be on the top align the “V” portion of the hanger at the top.
step 7: determine hanger location
Measure down from the top of the plate to the top of the V of the hanger and then in from one side.
Do this for each size of plate and WRITE THEM DOWN.
You can keep reusing the same measurements for the various sizes of plates.
Step 8: hang plates on the wall
Start with the CENTER PLATE and find the same measurement on the paper plate and mark it.
I found it easy to mark the center first (measuring side to side) and then measure down from the top of the paper plate to mark where the nail will go.
You are measuring down and in on the paper plate.
Hammer in the nail leaving about a half inch exposed, so you can catch the plate hanger.
Step 9: repeat the process
Follow the same process and hang all of the plates! Once they are all hung, step back and make sure everything still looks perfect.
IT’S OK TO MOVE THE NAILS. I had to move a few with such a complex pattern and it being identical on each side!
I kept the paper in place until I was completely happy with the spacing, so I could use it to mark on instead of the wall for the plates that needed a little adjustment.
Enjoy Your Plate Arrangements!
Enjoy your beautiful plate arrangements! You did it! Now you can have an adult beverage or take a bath or a walk.
Whatever you need to relax after all of that hard work!
Shop the Look
Good luck and I hope at least one of my tricks or tips was helpful!
This was the first time I’d hung so many plates and definitely the first time I’d done identical arrangements. If I can do it, you can too!
Pin It for Later!

Want to know how I hung the mirror? It has those two crazy keyholes in the back. I have an easy trick for that too, so you don’t mess up your walls. CLICK HERE for that tutorial.
Or do you LOVE that blue credenza? I painted it and the full tutorial is HERE!
Until next time…
Porch Daydreamer
Tracey
You always have such great tips!
Aww, thanks! I try to simplify things as much as possible 😉
Beautiful room and beautiful job in both hanging the plates and arranging them so wonderfully on the wall. Hopping over from Stacey’s … love your blog and style!
Thanks, Shirley! It was so nice for Stacey to share my blog. Glad you stopped by and like what you see 😁
This was no small trick, I’m sure! Your tutorial is fantastic. Thanks. 😉
Thanks, Stacey! It took some patience for sure, but it was so worth it!