Girl Meets Garage Makeover Plan
My garage is a dumping ground and has been for 10 years! It’s time for a garage makeover and organization plan.
Is your garage a mess like mine? It’s time for a garage makeover plan while the temps are nice and cool.
After having to park outside for a couple of weeks due to paving in my neighborhood, it delivered a new appreciate for having a garage.
It’s time to show my gratitude for my garage and give it a makeover!
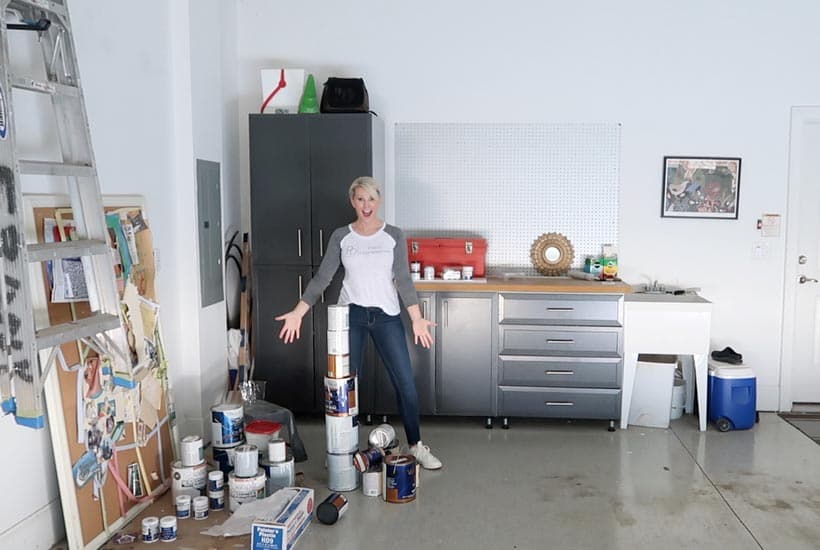
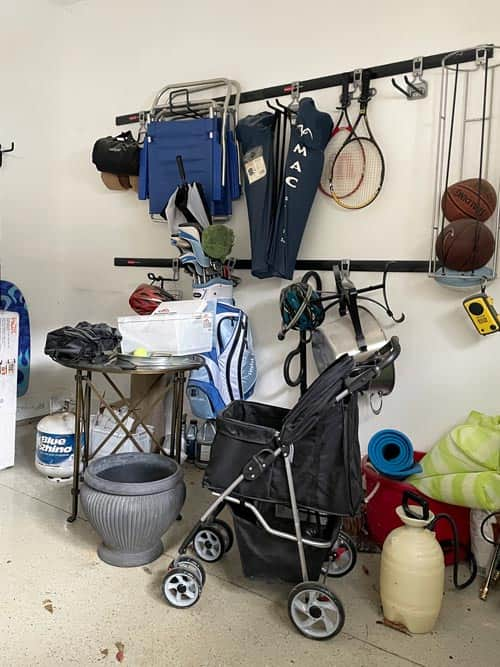
Current State of the Garage
Oh my gosh am I embarrassed to share these pictures, but you need to see what I am dealing with in total
There are a many of wonderful things about my garage that will be staying:
- Epoxy floor
- Track storage system
- Utility sink
- Work bench
- Garage cabinet system
Not a bad start and when I moved in over 10 years ago it felt very organized.
Well in that time I’ve dumped stuff in garage, the floor has gotten dirty, the work bench counter damaged, and the pegboard never hung!
Plus I started to paint EVERYTHING in my garage and storing the paint in there as well.
Yikes, that’s pretty sad looking so it’s time for some TLC and some pretty changes too.
This may be one of the biggest makeovers I’ve ever tackled!
However, I’m in this “room” almost everyday so it deserves some time and attention plus to look good too.
You know I’m going to throw some pretty in right?
Contains hand selected products, with affiliate marketing links where I may make a small commission if a purchase is made. {full disclosure here}
Girl Meets Garage Makeover Plan
Seriously, it was fun planning and thinking about what I could do to make the garage more organized and pretty.
I had some sleepless nights thinking about all that needed to be done and my creative ideas LOL.
Sad…I know, but when my mind gets going I can’t stop it and my happy place is in my creative zone regardless of time of day.
Major Garage Updates
- Hang the pegboard and all of my tools
- Change out the utility sink and add towel bar
- Add peel and stick tile to the back wall
- Cover the work bench counter in contact paper
- Paint the “garden shed” armoire
- Add shelves for more storage
- Clean out and donate paint
- Add lighting over work bench
- Install shelves over utility sink
OK, as I write this no wonder I was waking up thinking about ALL that needs to be done!
Yikes, those are a lot of projects but it’s the perfect temperature to work in the garage.
I’ve recruited a plumber (my friend) and an electrician (my neighbor) to help with those jobs. The rest is on me!
Want to see the pretty things I have sourced???
New Garage Utility Sink
With all of the painting I do it is a great perk to have a utility sink in the garage.
I actually preferred it here vs. the laundry room.
The laundry room has more counter space and the garage is perfect for dirty jobs (and a boy who played football!).

I found this really affordable deep stainless steel sink with a cabinet.
It has a pull down gooseneck faucet, which will be a huge plus when washing paint brushes and cleaning out the sink.
To protect the the sink, I found the perfect size wire grid to put in the bottom.
Then I can lay my brushes on the grid to dry versus hanging off the counter!

![]() Plus I LOVE the additional storage underneath.
Plus I LOVE the additional storage underneath.
This would look GREAT in a laundry room, if you are looking to upgrade from a basic plastic tub sink.
Workbench Lights
Well, this is a nice to have and Amazon as part of their Home Influencer program gave me one pendant light as a gift! {full disclosure here}
Since I got one for FREE, I bought the 2nd one so I could have two lights hung.
These barn/cage light pendants are so versatile and pretty fancy for a garage I know!
You could used these lights over a kitchen island, over a kitchen table, or in a hall.
They are really nice in person and I can’t wait to see how they look hung up.
Peel and Stick Tile
I’ve been looking for an excuse to use peel and stick tile after seeing in it my Instagram friend’s laundry room.
The wall behind the sink is the perfect spot because I really need a cleanable surface.
Plus it will trade up the whole look of the garage and add some color to the plain white walls.


These Mist colored peel and stick tiles fit my Porch Daydreamer brand color and look great with the white, gray, and blues already in the garage.
Trying to figure out how many I needed has been a challenge, but I think I am going to do a lot of “tiling” for a major impact.
The tile will be easier to clean than the flat paint on the walls!
Contact Paper Counter
A long ago and far away boyfriend made the work bench counter for me, which was so nice.
After 15 or so years of use, it is in need of some TLC and paint just isn’t going to cut it.
I used vinyl marble contact paper to make over my office counters and they are beautiful!


This is a cool vinyl film that looks like painted white wood!
It will create a water resistant finish, which I really need with the sink next to the counter.
I tend to lay my brushes to dry on the edge plus water splashes as I rinse out my paint supplies!
Now it will look brighter and like real wood too.
Painting the “Garden Shed”
This is the FIRST piece of furniture I ever bought shabby chic was in and how I decorated my first apartment.
Fitting because I was poor! I’ve had it for close to 30 years and it needs some love.
The yellow finish just doesn’t look right with all of the cool colors in the garage.

So it is going to be made over as a test too…using the chalk paint from my Krylon Chalky Paint Review.
I’m not going to prime it and see what happens when I paint with chalk paint and seal with a water based polyurethane.
The paint manufacturers really misguide consumers with their “no primer needed” claims because water in the paint can activate all kinds of problems!
PHEW! So much to do and so much to clean plus donate.
My goal is to finish and debut the garage at the end of November and then move on to Christmas decorating (no rest for the weary).
Until next time…
PORCH DAYDREAMER
Tracey
Tracey,
When you hung the peg board did you have to fir it out to allow the hooks to work, and if so how did you do that? Your garage looks amazing.
Thank you! I used some small trim boards attached to the studs: 5 ft long on the top and bottom and one about 3 ft long in the middle centered. I also spray painted them silver to match the pegboard. I didn’t photograph for a tutorial!