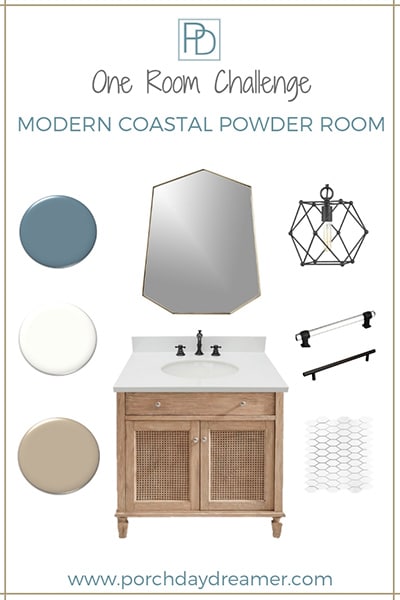
Modern Coastal Powder Room: WK 3
Have you ever wondered how to demo a bathroom? Here is the step by step guide to a powder room renovation!
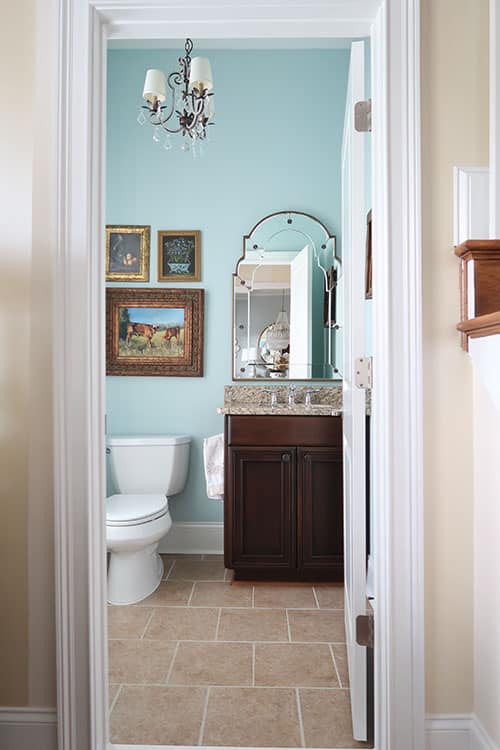
This powder room is my first room renovation and now that I’ve done it the fear is gone! The idea of someone ripping up your floors and tearing out your vanity and sink is a pretty scary idea.
Luckily, I trusted my contractor and he answered all of my questions about “How is the renovation process going to work?”
Here is your step by step guide, with some pretty handy tips curtesy of my contractor Kip! Find a good contractor by asking those you trust – that’s how I found my guy.
If you missed the previous weeks, they are linked here WEEK 1 Before Pictures, WEEK 2 Products and Design

Check out the amazing One Room Challenge™ designs from both the featured designers and guests by clicking here!
Powder Room Renovation Guide
First and foremost, Kip made sure I had all of the supplies ready to go once he arrived. That kept the process moving without any delays.
How many days did the renovation take? ONE! It IS a tiny powder room.
Before we got started, I had to decide what direction to lay the tile horizontally or vertically. You’ll see what I decided to do later…
Post contains hand selected products, with affiliate marketing links throughout {full disclosure here}
What was required before my contractor arrived:
- Artwork and mirror off the walls
- Cabinet cleaned out
- Tile
- Grout
- Vanity top
- Light fixture
- Mirror
You can see why I was forced to make ALL of my product selections way ahead of time, purchased and ready for use on day one. Why was it was critical to have all items on hand?

Measuring! Yes, we needed to map out how everything was going to fit especially in such a small room. There were several head scratching moments related to the vanity and how to layout the board and batten.
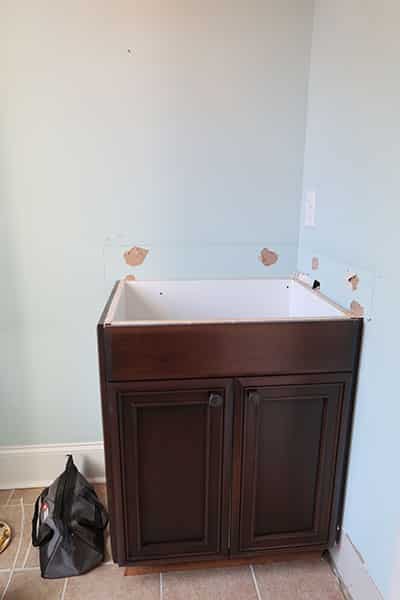
First, we had to see how the vanity top related to the vanity itself. It was GREAT I had the top on hand because we quickly learned my vanity was not a standard 30-inch vanity.
Plus one whole side isn’t finished forcing us to keep that side against the wall. My contractor came up with a plan to move it out from the wall to make it all work.
Lastly, I had a little panic moment thinking the light fixture was too big, but moving out the vanity created additional width so it worked out perfectly (I hope = we haven’t hung the light fixture yet).
Renovation Timeline
- Toilet is taken out of the room and stored in garage
- Vanity top with faucet is removed and donated
- Base of vanity is hacked out of the space (I heard a lot of swearing) and put in the garage
- Quarter round and baseboard removed
- Tile cut and jack hammered out (this was LOUD)
- Clean up all construction debris
- Lay new tile
- Grout and let dry
The HUGE benefit was having the room clear to paint and the vanity in the garage to spray with my airless sprayer. It would have been really difficult to paint with all that stuff in the powder room!
Powder Room Demolition
It is really crazy how in a few hours a room can be completely torn down to a concrete floor and drywall. Here is the photo recap of the process. I hope you find this interesting because I sure did!
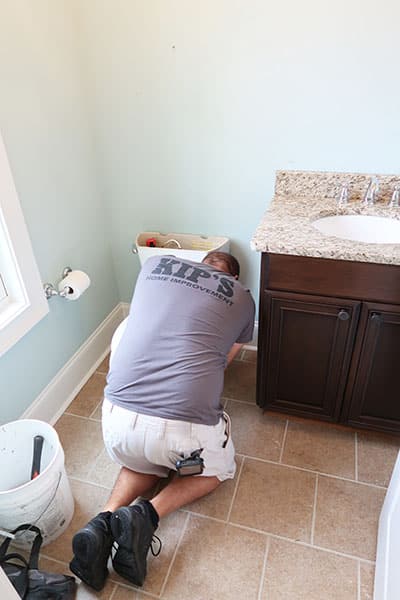
Remove the toilet.
Disconnect the plumbing and remove the back splash.
Pull up vanity top. Remove baseboard and quarter round moulding.
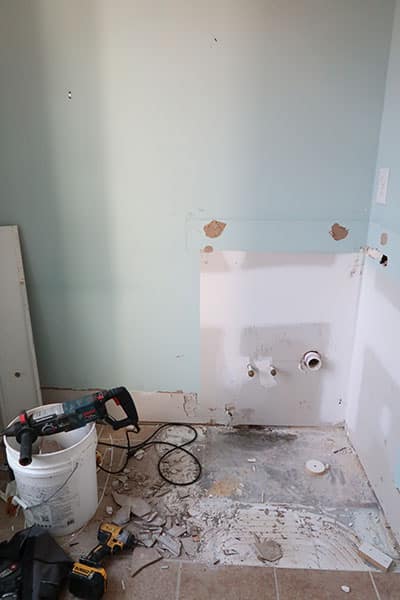
Take out vanity and cap off plumbing. Begin chipping up tile and then saw the big pieces.
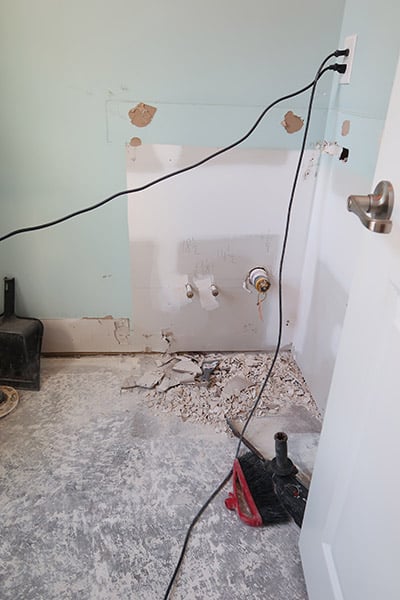
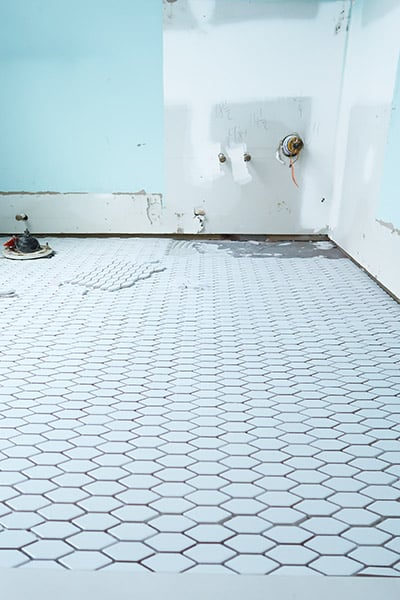
Tile completely removed!
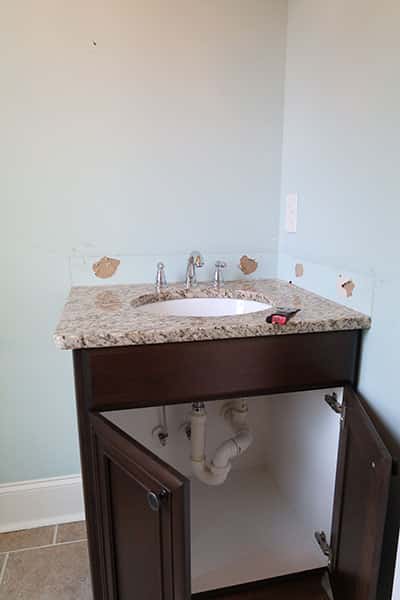
You can see that there is some drywall damage, but not a lot. Frankly, the holes in the wall were there before he removed the vanity. He said that is how they got it to be level – lovely!
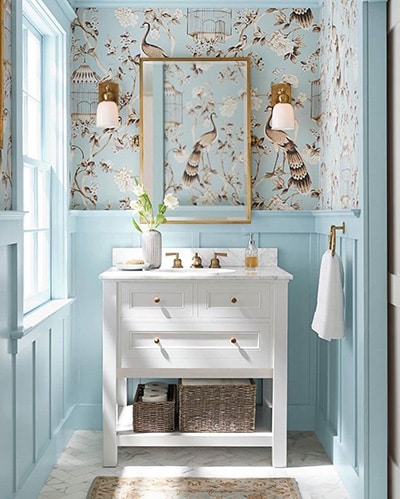
We won’t be repairing the damage because the new board and batten will be covering those areas, along with the vanity itself. Here is the inspiration board and batten room.
One thing that I REALLY appreciated about Kip was he was neat. Using a fan to pull the dust out of the house, a shop vac to clean up, and he even hand washed the hardwood outside of the powder room with water and vinegar.
Before you hire a contractor get an upfront understanding about clean-up because I just got lucky!
Powder Room Tile
Now that the room was completely empty it was time to tile! After staring at the tile, looking at the room, and all of the other elements I went with installing it horizontally!
I wanted to make the room look wider and am using a dark color on the walls to make the room appear deeper. Just a few design tricks at play 🙂 If you want to learn about how to choose a paint color, CLICK HERE.
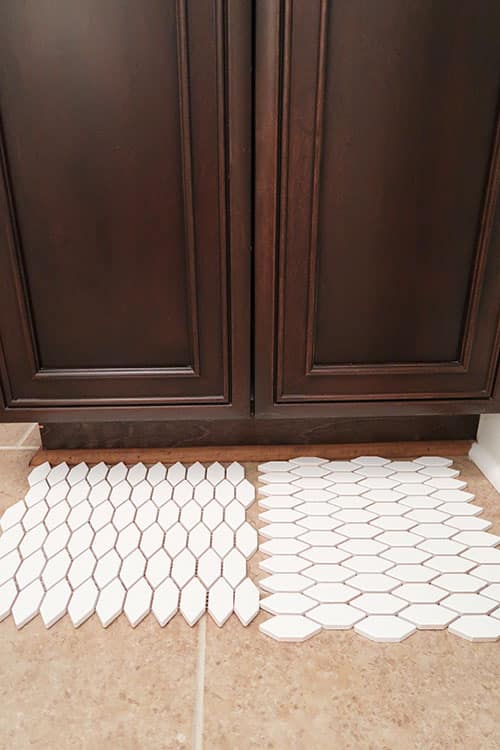
After exploring grout options, I decided on a Bright White grout for a less obvious pattern, but had considered Delorean Gray grout to emphasis the elongated hexagon shape. The gray grout would have looked more like the picture below pre-grout.
Then I made sure it was a pre-mixed grout that was stain resistant. With it being such a small space, it wasn’t too expensive and this bathroom gets the most traffic with shoes. Better safe than sorry!
The last step was to grout the tile, block the door with buckets so my dog Mick didn’t go exploring, and let it set for 24 hours.
Next week, it will be all about painting! This one is going to be doozy even though it is a small room. Three colors of paint and hand painting the board and batten.
Yes, I’ll be doing all of the painting before Kip returns. Probably some caulking too!
Please support the brands partnering me on this project by shopping their products: Progress Lighting | Behr Paint | Amerock
Pin It for Later!
Track My Progress
Come back next week to see the paint colors in real life! I’m excited to see the dark blue paint because it will be a dramatic change! Plus I have never used such a deep color in a room and am a little nervous I won’t like it.
Please consider signing up for my weekly email newsletter, so you don’t miss an update. Follow along with my Instagram stories for a behind the scenes look every week.
Until next time…
Porch Daydreamer
Tracey