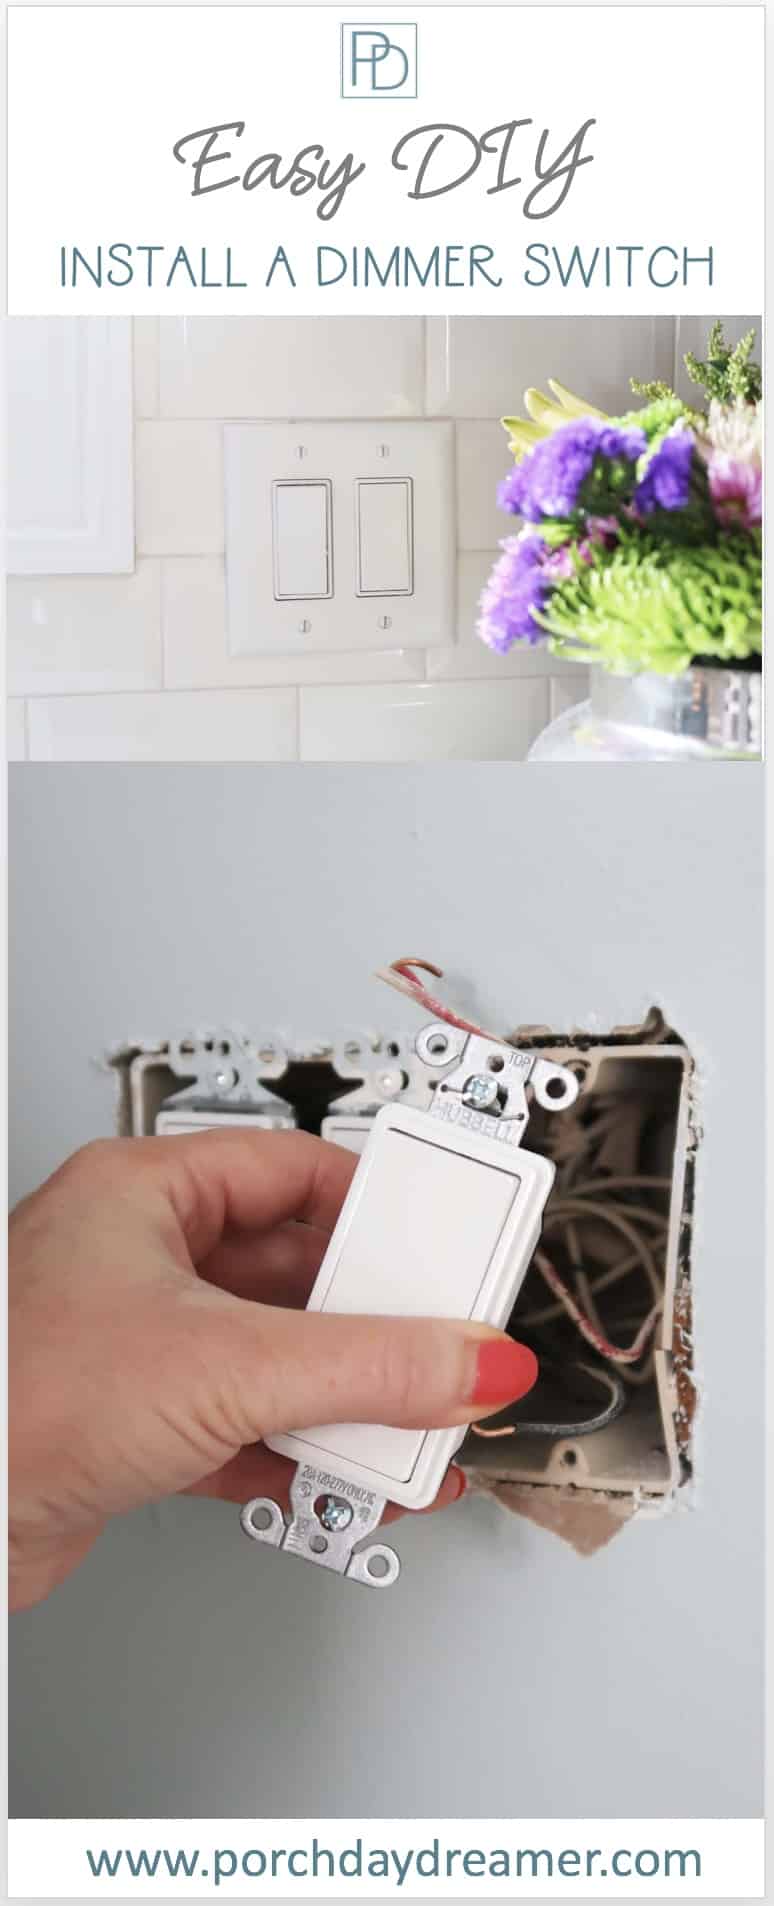
How-to Install a Dimmer or Light Switch
Do you want to install a dimmer switch or lived in your house long enough that the light switches need to be replaced? Here is a quick and easy guide for installing a light or dimmer switch in your home!
This may not be the sexiest blog post I ever write talking about dimmer and light switches, but you know my mission of this blog is to teach and inspire!
After living in multiple homes and maintaining all of them myself (even when I was married!), I’ve tackled the dreaded task of playing with the electricity and have installed a variety of light switches.
Plus I LOVE ambient lighting and have added dimmer switches to my chandeliers too!
You will save a TON of money by following my instructions and DIY this type of project yourself.

My current home has been the WORST from a light switch perspective. The builder must have used the cheapest paddle switches and outlets on the market.
5 broken outlet and light switch fixtures have needed to be replaced in this house.
When a paddle switch breaks, it breaks! The most used switches literally stop moving and I can’t turn the light on or off and the paddle pops off. See below:
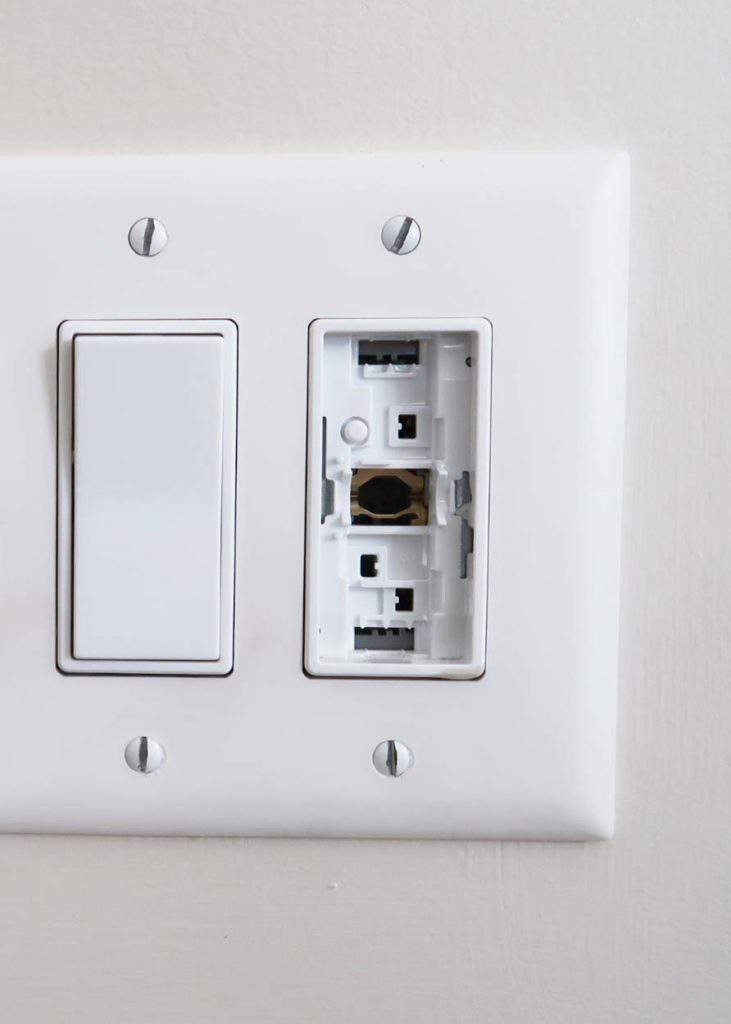
Now I’ve started to notice the warning signs that they are starting to break, but just recently my master bedroom main switch just broke one night without warning.
In preparation for the dreaded failure, I keep switches on hand and am a pro at fixing them on the spot.
Check out: Ultimate Guide to Updating an Outdated Kitchen
Pin it For Later!
Contains hand selected products, with affiliate marketing links where I may earn a small commission if a purchase is made. {full disclosure here}
What Type of Light Switch Do You Need?
Let’s review some basic information first, so you know what light fixture to buy whether it is a toggle switch (two fingers turn on and off), paddle switch (shown in my home), or dimmer switch.
It all has to do with how many switches can turn on and off a light in the room.
Single Pole Switch
- The switch ONLY turns on ONE light in a room
3-Way Switch
- TWO or more switches turn on the SAME light or lights.
An example of this:
The two lights over my kitchen island can be turned on from a switch entering from the garage or the front door. Two switches turn on two lights = 3-Way Dimmer.
How to Install a Dimmer switch or Light switch in 10 Steps
How-To Video
If you like to learn by watching, definitely how I work! YouTube is my how-to manual on everything.
Below is a video showing you how I replaced a broken light switch.
All wires are the SAME on: light switches, dimmer switches, and outlets. Once you learn one, you learn them all!
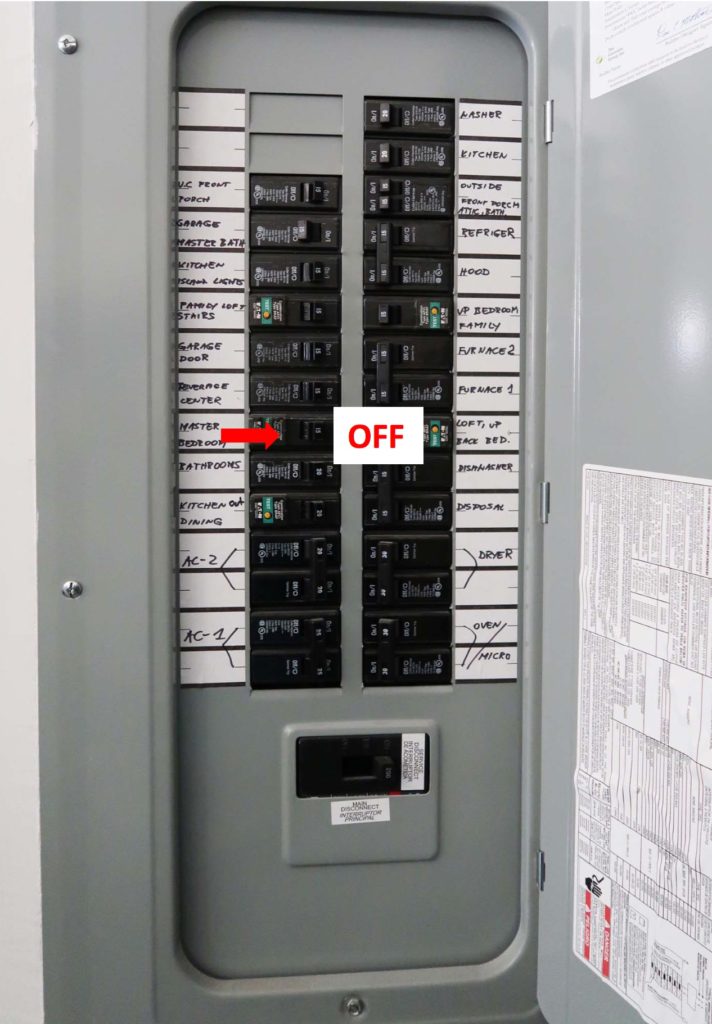
First Turn off the Circuit Breaker!
Search around your home for the circuit breaker and hope that your electrician did a good job of labeling all of your locations.
My electrician did and it was easy to determine the location and flip the switch to the left for “off”. Then go back and see if the light or outlet works. No power? Good to go and always SAFETY first!
Tools Required
Supplies Needed
I’m recommending you upgrade to a dimmer switch if its currently a light switch. If you are doing the work, why not make it even better!
- Dimmer Switch (3-way)
Why I wait until my manicure is a week overdue to shoot projects, I’ll never know. It was college moving week so I skipped the manicure, until after I got home, which was a smart move 🙂
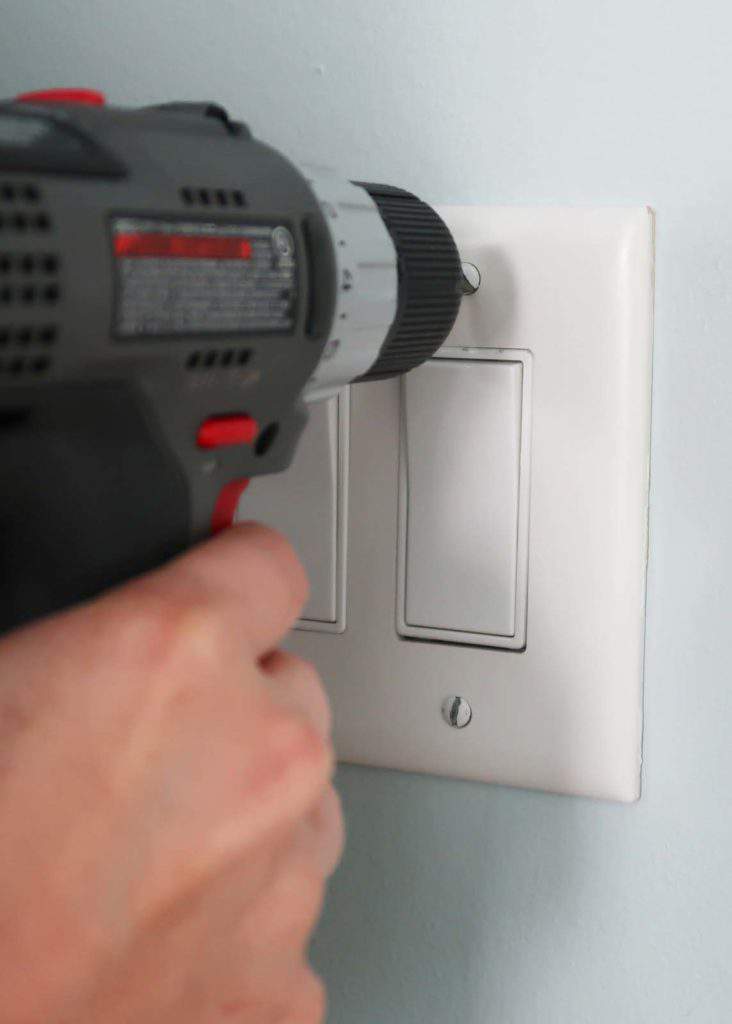
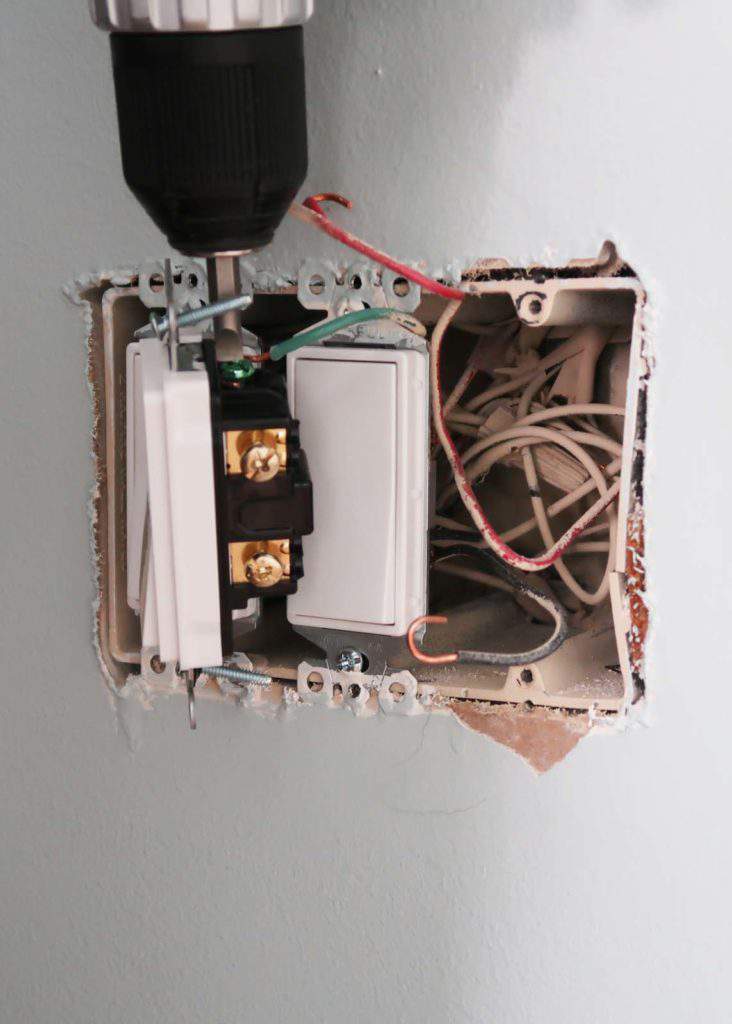
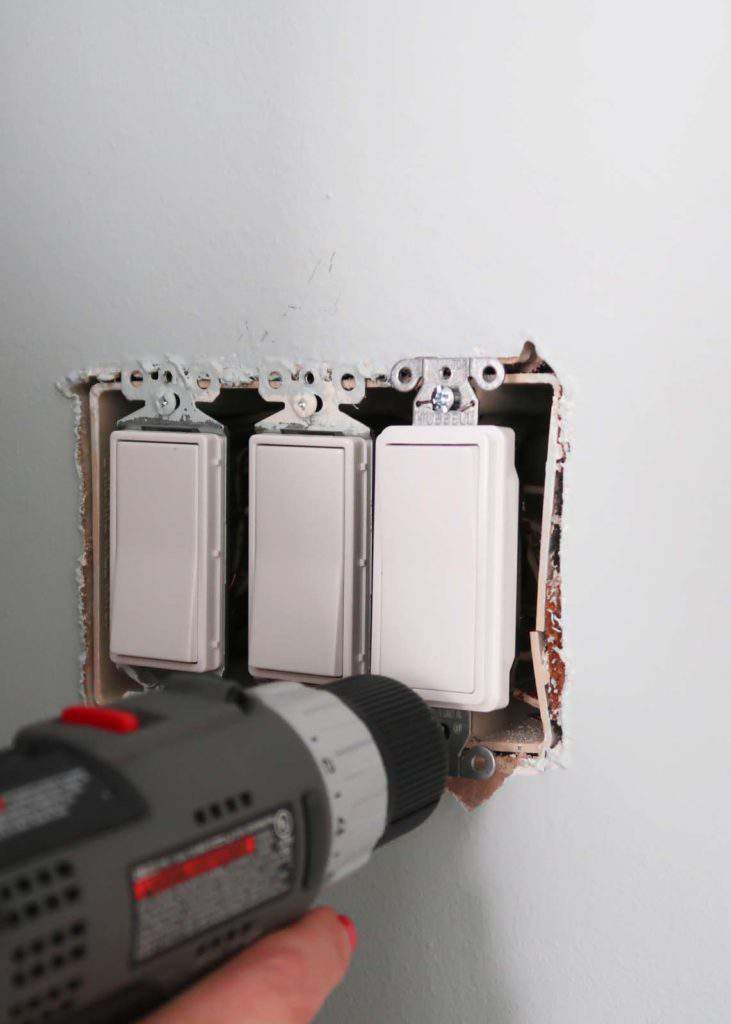
Step 1: Remove wall cover
Using a power drill, remove all screws from the wall cover and remove the cover.
Step 2: remove screws to mounting plate
Remove the screw from the fixture mounting plate that is screwed into the fixture box. Usually these are Philips Head screws.

Step 3: expose wires of switch
Gently, pull the current light fixture out of the box to expose the screws where the wires are attached.
New homes have screw type fixtures and older homes may have a cap holding them together.
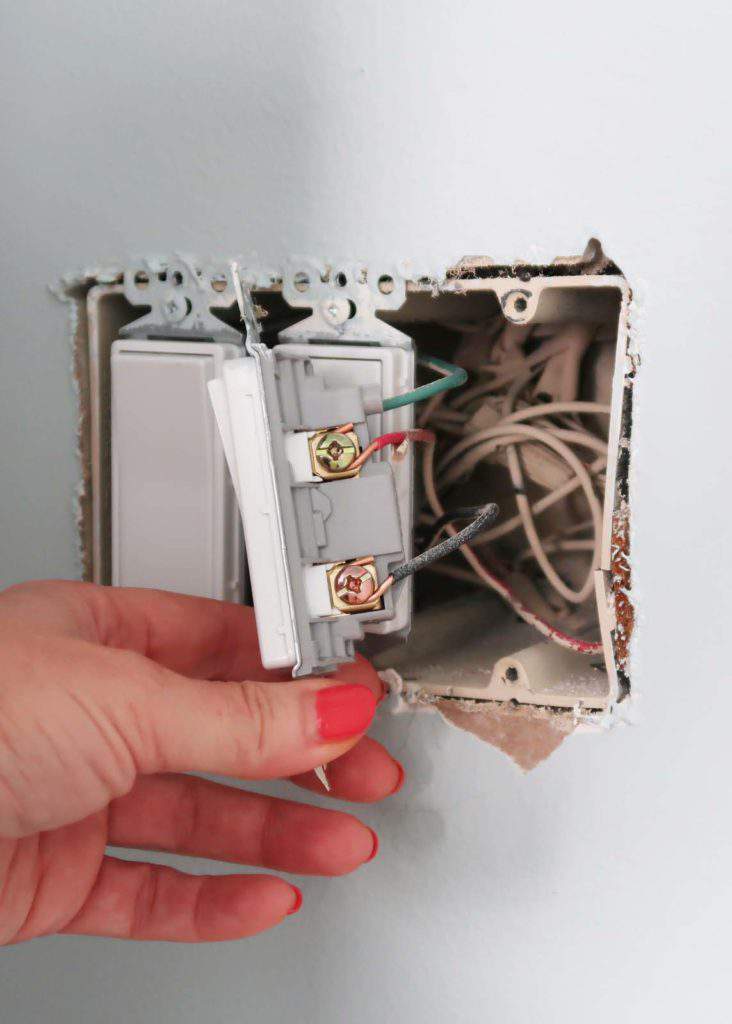
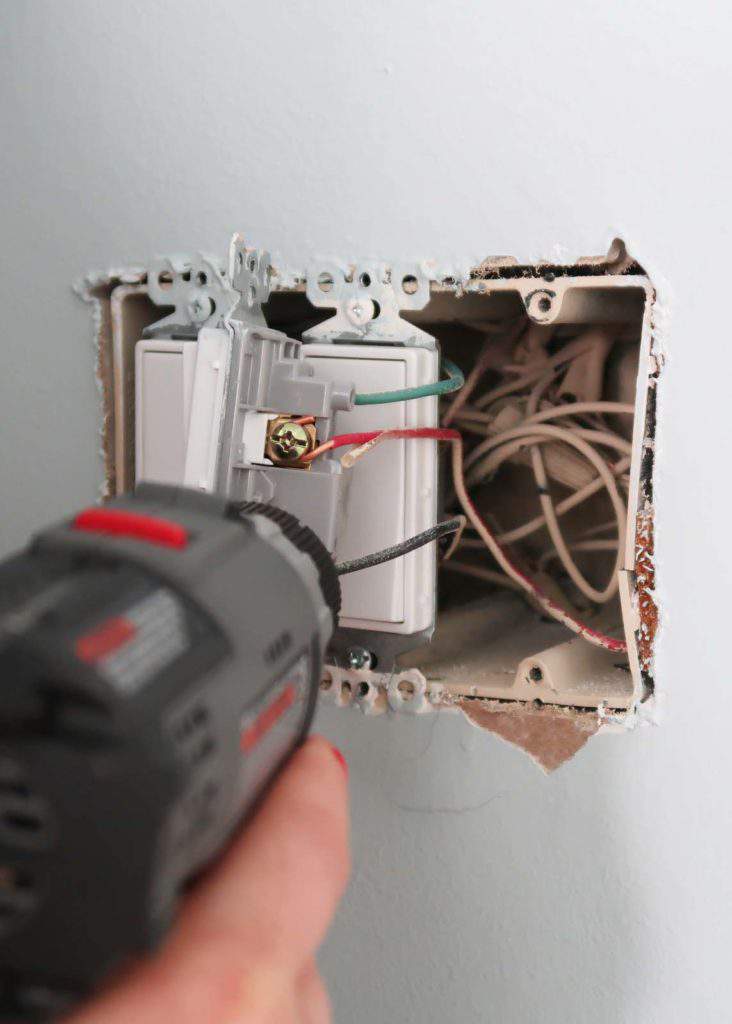
Step 4: loosen wire attachments
Using the power drill, loosen all 3 screws to help remove the copper wires that are attached.
There usually is a black, white/red, and green grounding wire. REMEMBER each location where the wires are attached
TIP: Take a picture with your phone or you can even label them with some tape if needed.
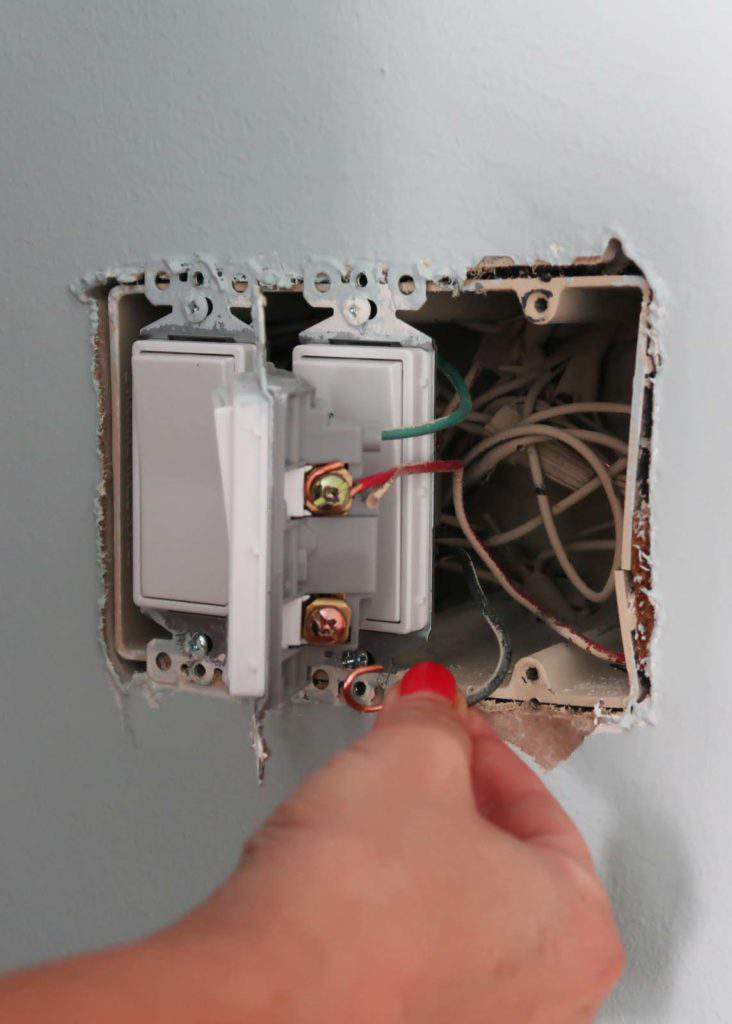
Step 5: remove old light switch
Gently pry away wires from the screws.
Sometimes you can simply do this with your fingers and if they are more stubborn use a needle nose pliers to remove the copper wires.
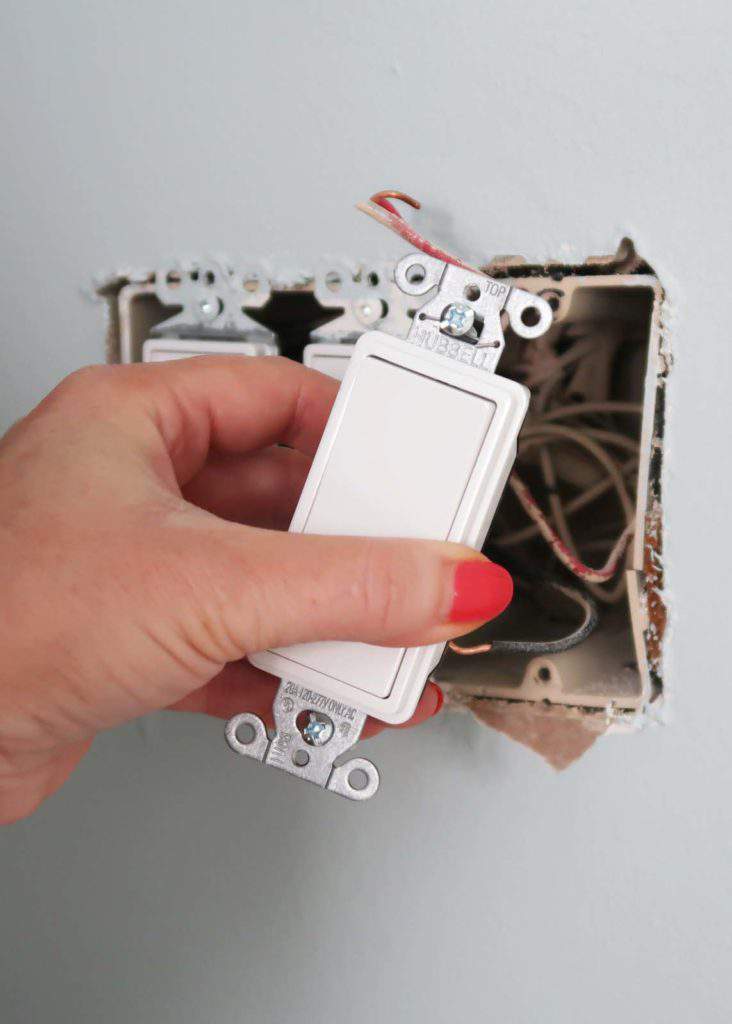
Step 6: install new light switch or dimmer
Now that you have the old fixture removed it is time to install the new fixture.
Notice the fixture says TOP, so you install it into the wall fixture box correctly.
Usually the brand name gives you a clue too, so you can read it when the fixture is upright. That means “on” is up and “off” is down.
Step 7: attach new wires
Next, match up the wires and reattach with your screw driver. I always start with the green grounding wire.
Sometimes they are stubborn and the needle nose pliers come in handy to bend the wire around the screw.
Make sure they are TIGHT and won’t easily pull off the screw.
Step 8: push box into wall
Using a little force, push the fixture and wires back into the wall box. Make SURE the wires stay attached!
Tighten them again if they pop off the light fixture. Reattach the two screws to the box fixture in the wall. Top and bottom.
DIMMER SWITCH: Some models may require you to snap off some of the surrounding metal to make it fit. Use the needle nose pliers for this process.
Step 9: reattach wall cover plate
Screw back on the original wall cover plate.
Step 10: test power
Turn back on the circuit breaker. Test the switch to make sure it turns on and off the light or dims the light. Now you have a new switch or dimmer switch that works!
If it doesn’t work, go back and follow each step and make sure the wires are securely connected to the correct locations on the fixture.
Good luck in being the master of the electricity in your house! You will save a TON of money DIYing adding dimmer switches and fixing broken outlets and light switches.
Plus you don’t have to wait for a contractor to show up and instead put a little sweat equity into your home 🙂
Want some ideas on chandeliers or how high to hang light fixtures? Click here for my post on What Height to Hang Those Lights? or Demystifying Kitchen Island Pendant Light Height, Size and Spacing
Until next time…
Porch Daydreamer
Tracey
Thanks for the info on changing out light switches. Saves me from hiring someone to do it.
Wonderful! Once I figured out how simple it was and built my confidence, I’ve not had to hire someone since and that saves money!!!