Is there someone special in your life that has a special or favorite T-Shirt that needs to live forever? I have an easy DIY framing project to frame their favorite T-Shirt!
Has that favorite T-Shirt seen better days, but will never be donated and sits in a drawer?
Is there a memento from an event or concert that you don’t necessarily want to wear, but love? Then I have a solution for you!
My son has the rare privilege of playing college football. Now mind you it’s lower level competitively, but his program has tailgating and a fan base that competes with the big schools!
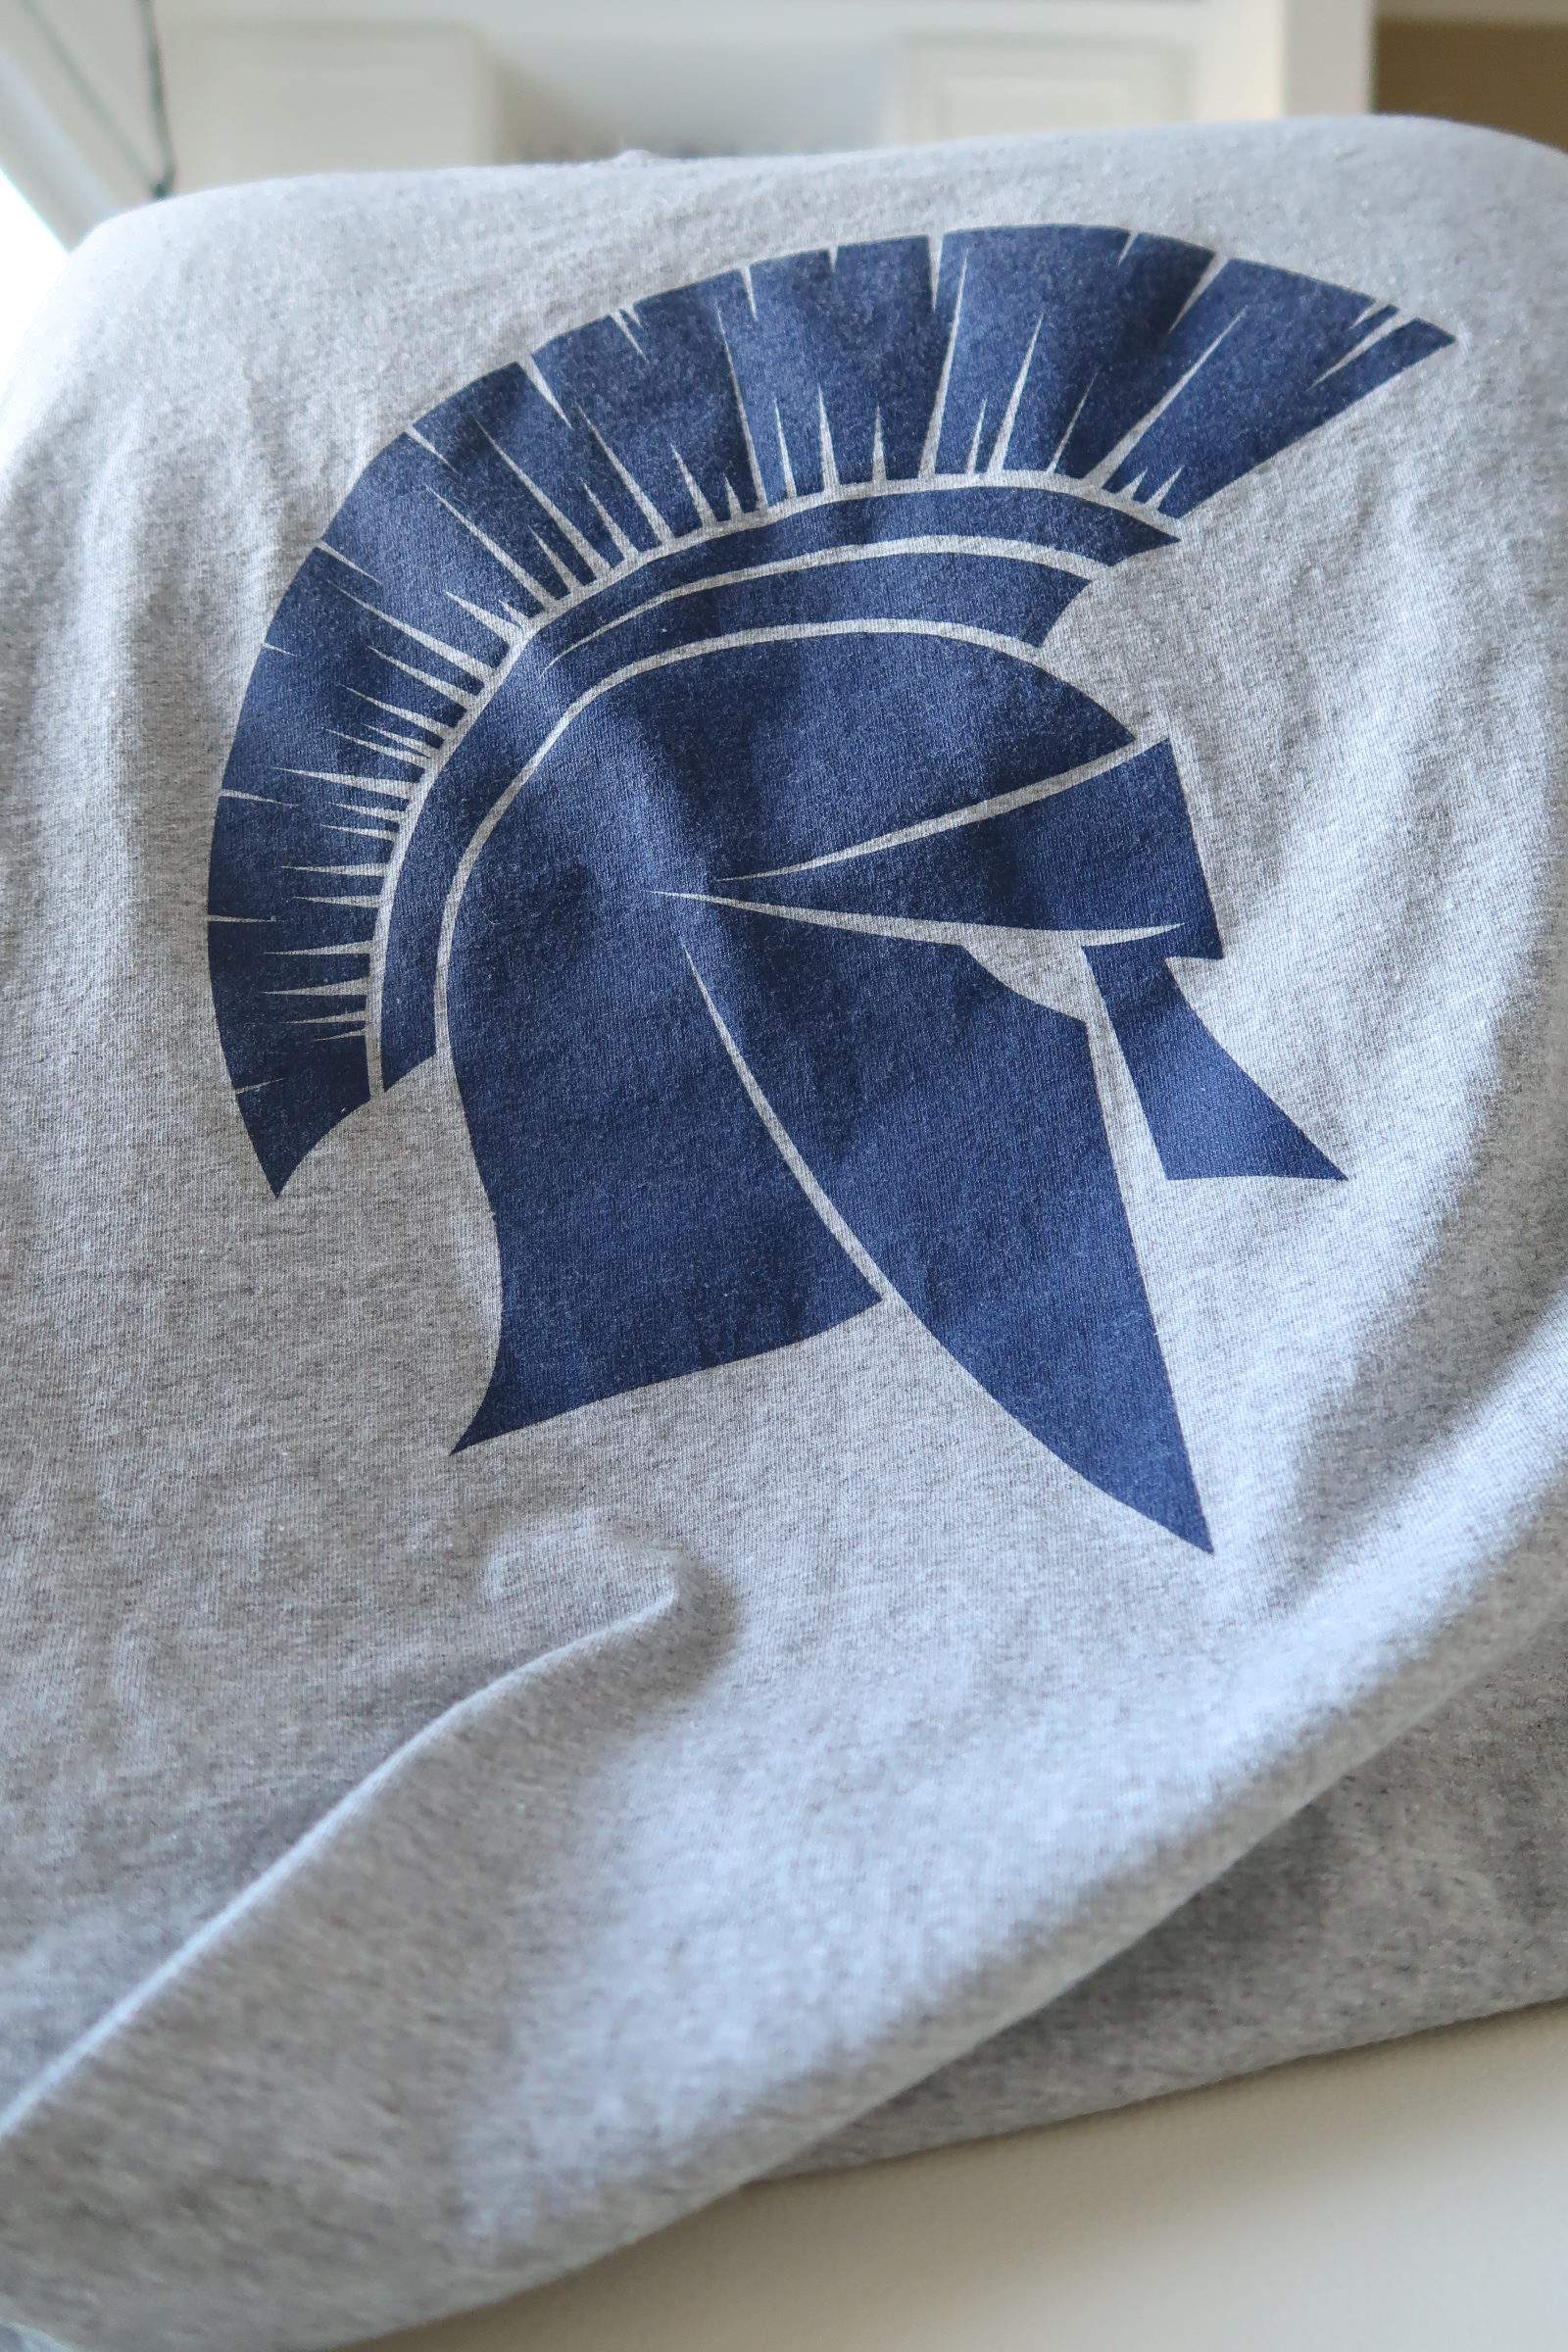
When attending his first ever college game, they handed out T-Shirts and I thought hmmmm how can I use that in his man cave?
Contains hand selected products, with affiliate marketing links where I may make a small commission if a purchase is made. {full disclosure here}
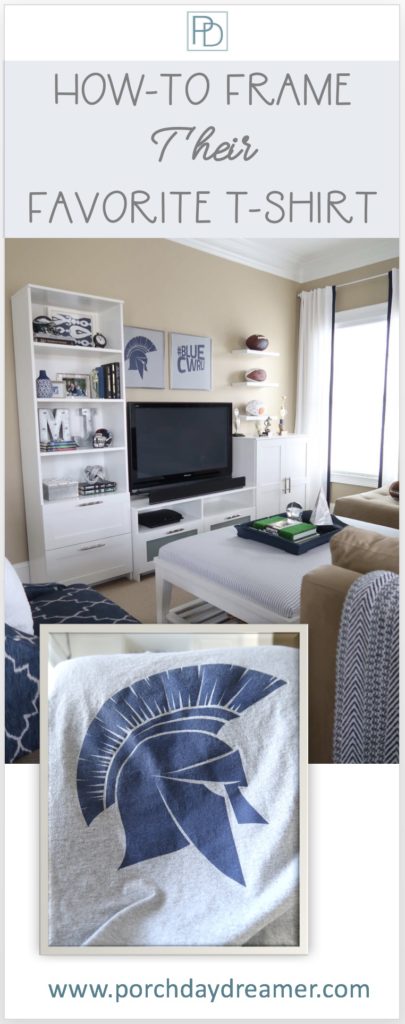
DIY: How-to Frame a T-Shirt
This was one of the easiest and fastest projects I’ve ever completed.
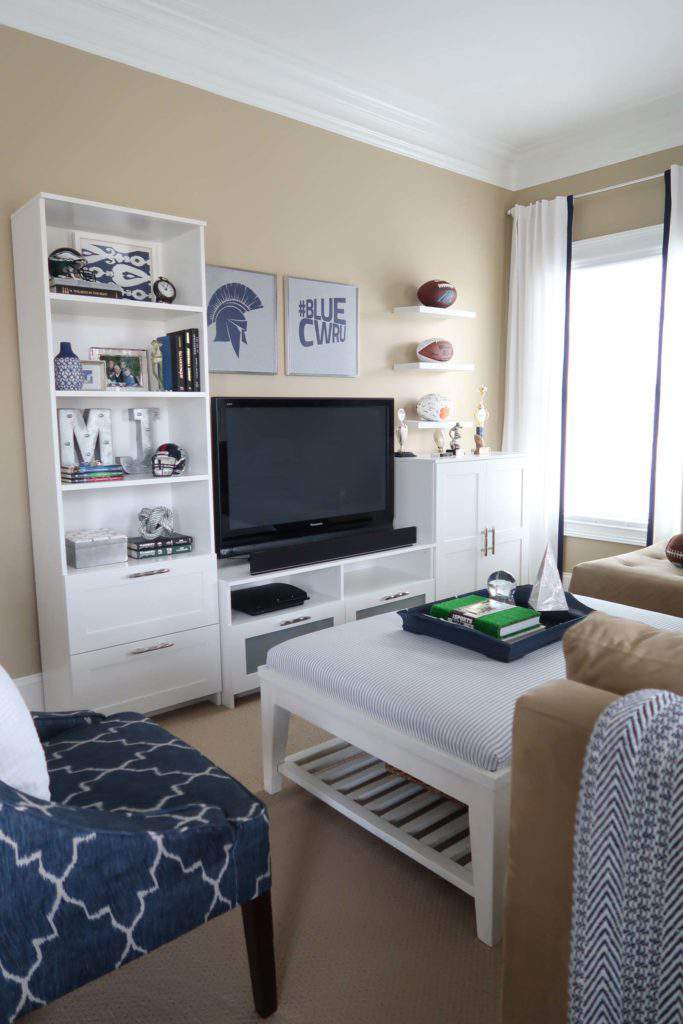
Truly, I made up this process. I LOVE (and so does my son) how the framed shirt looks hanging on the wall.
It’s a special memory that will live forever for him to admire.
A few things to consider as your review this project:
The shirt I framed was a large, however I measured the front and back design to determine the frame size.
I ordered a custom frame that was 18 inches square, to get both the look I wanted and frame ends that were removable.
Any frame or frame size could be used depending on how much of the actual shirt you want framed vs. just framing the “artwork”.
If you don’t have a metal frame, you would mount the t-shirt and place it as you would a piece of art 🙂
Sorry, these are not the prettiest pictures because I knocked out this project after dinner one night and decided to photograph it JUST IN CASE it turned out 🙂
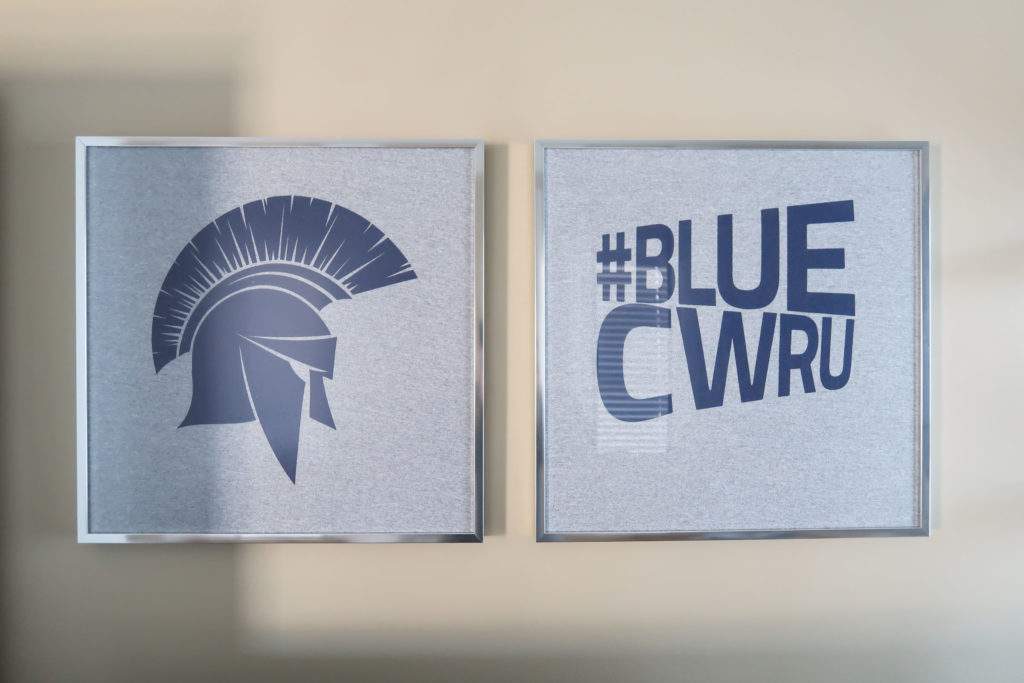
The T-Shirt had two sides so I did two frames and hung them side by side.
You may just want to do one large frame, with one side of the t-shirt. It’s up to you!
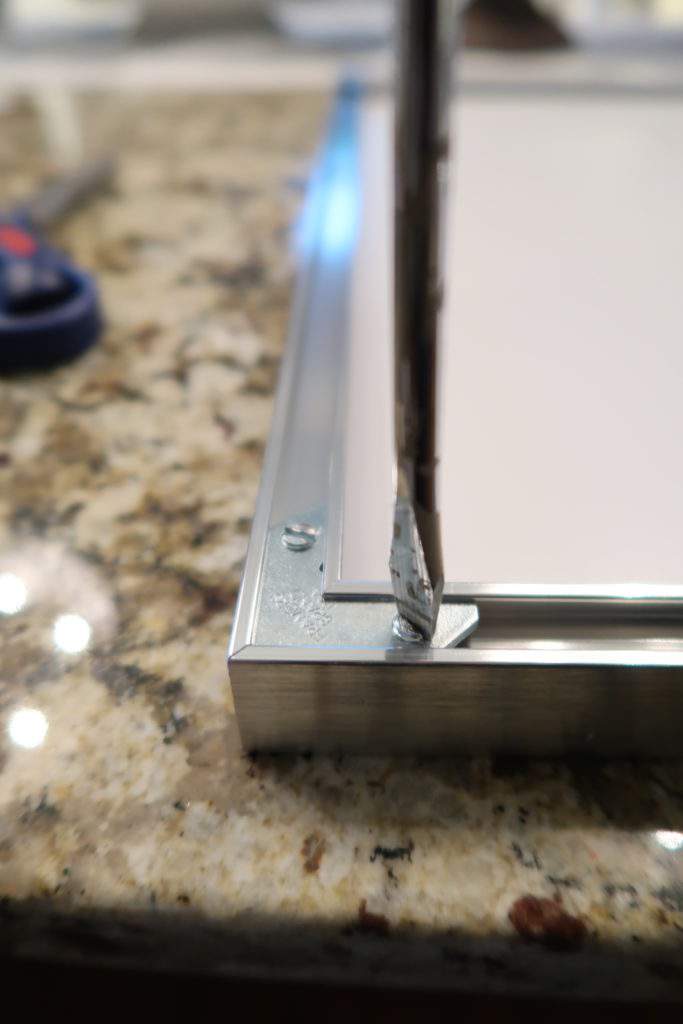
Step 1
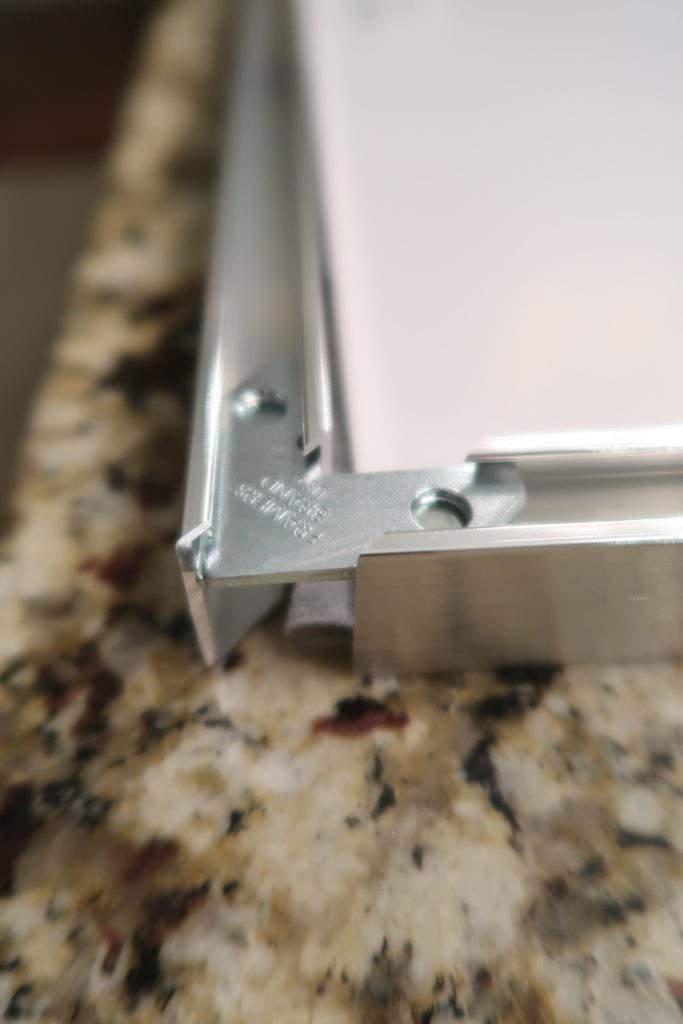
Remove the bottom rail of the metal frame, by unscrewing the two screws in the corners and pulling out the v-brackets.
Work to keep everything together, for easier replacement when you put it back together.
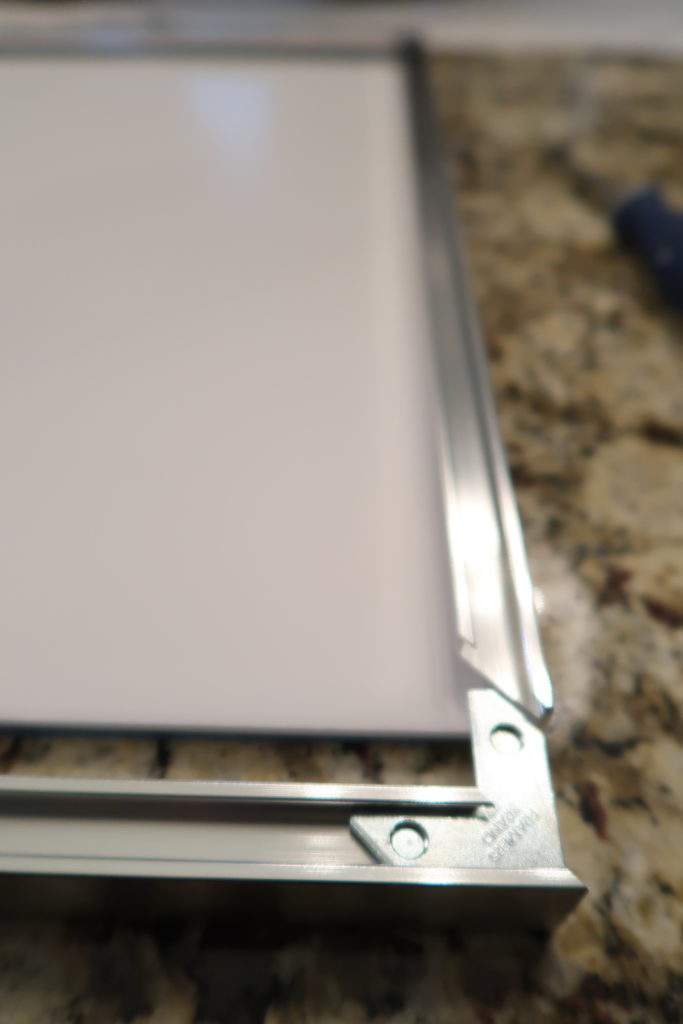
Step 2
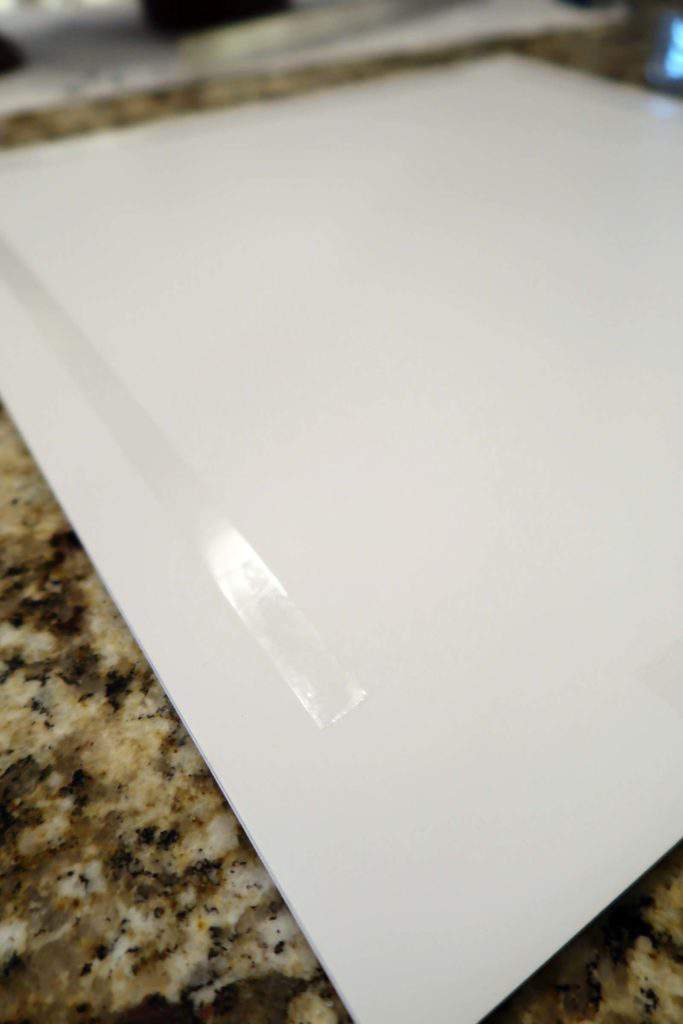
Pull out the foam core and glass/acrylic.
Step 3
Place strips of double-sided tape on corners, sides and middle of foam core.
Step 4
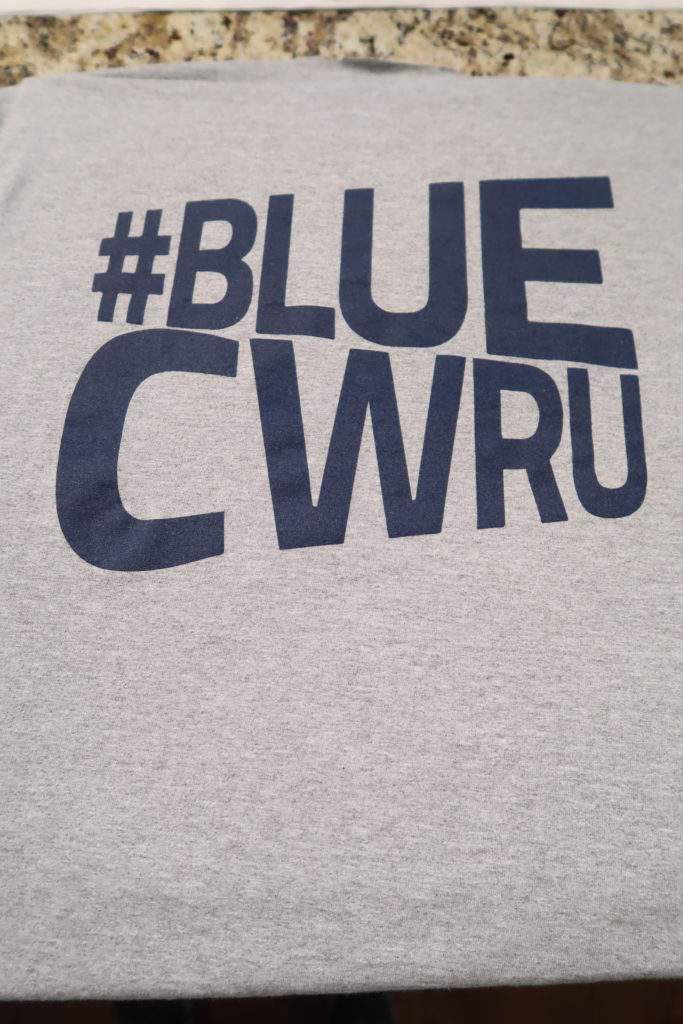
Lay T-Shirt on tape over foam core and center the design or place it the way you desire.
Step 5
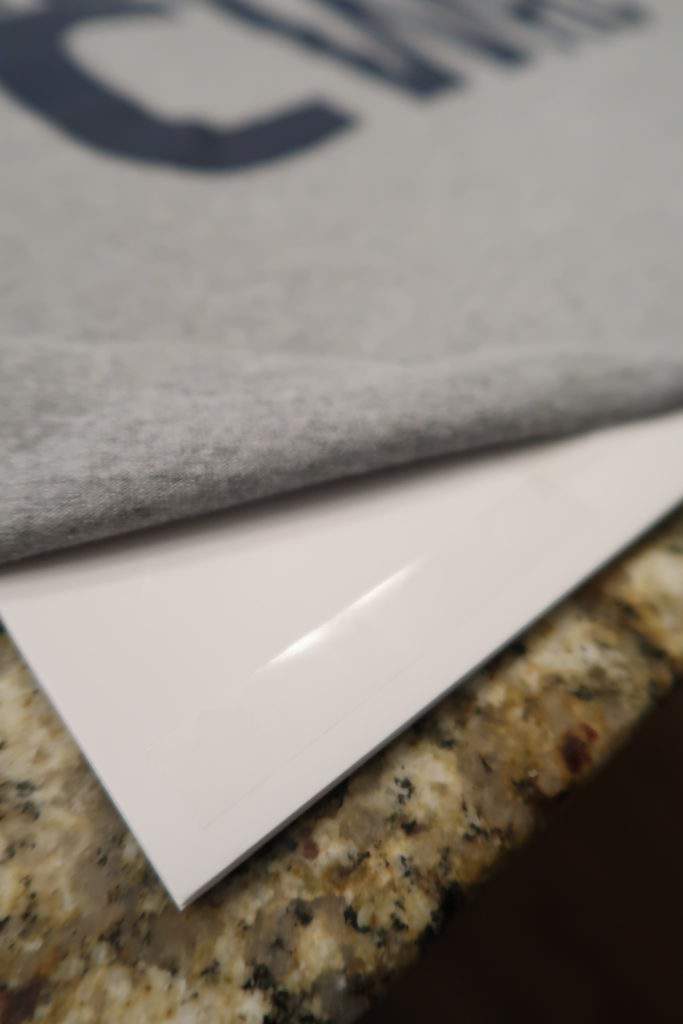
You will need to pull and stretch to make it smooth before cutting.
Add extra tape underneath the shirt on the foam to secure all edges.
Step 6
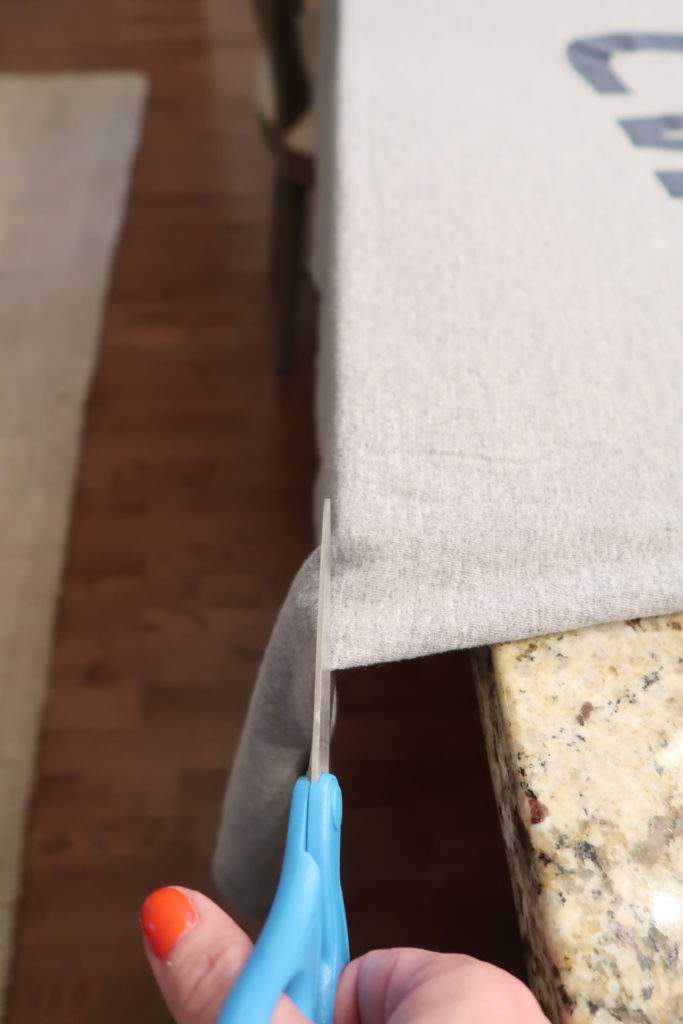
Use shears to very carefully trim the edges of the T-Shirt to fit the foam core.
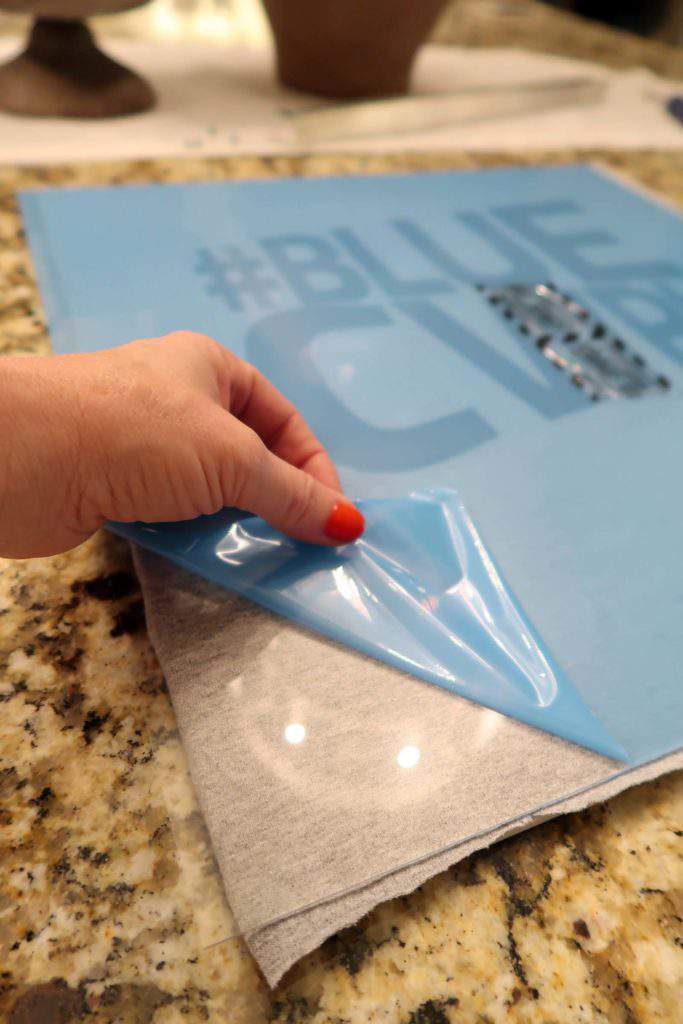
If there is a vinyl cover on the acrylic, remove before placing the foam core with the T-Shirt back into the frame.
Step 7
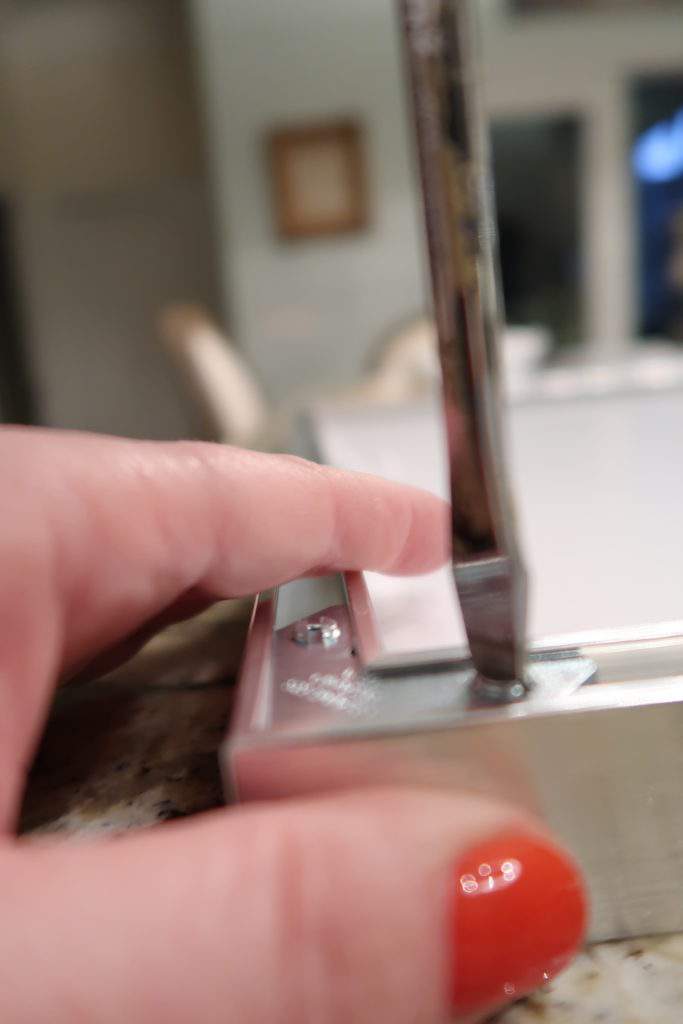
Re-attach bottom rail of the frame reusing the v-bracket and screws.
Step 8
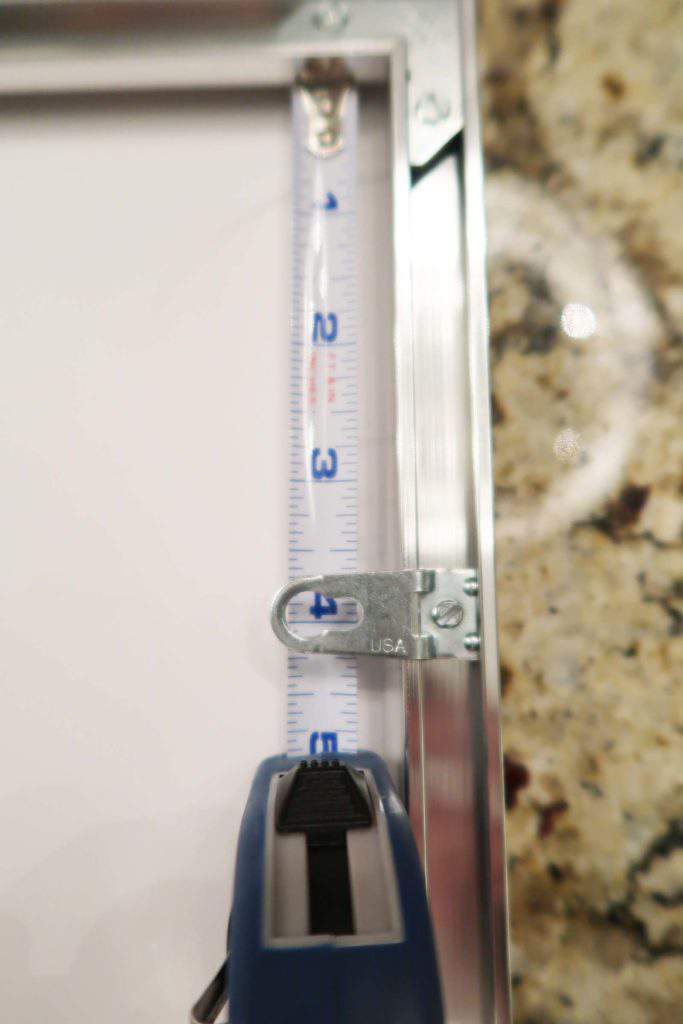
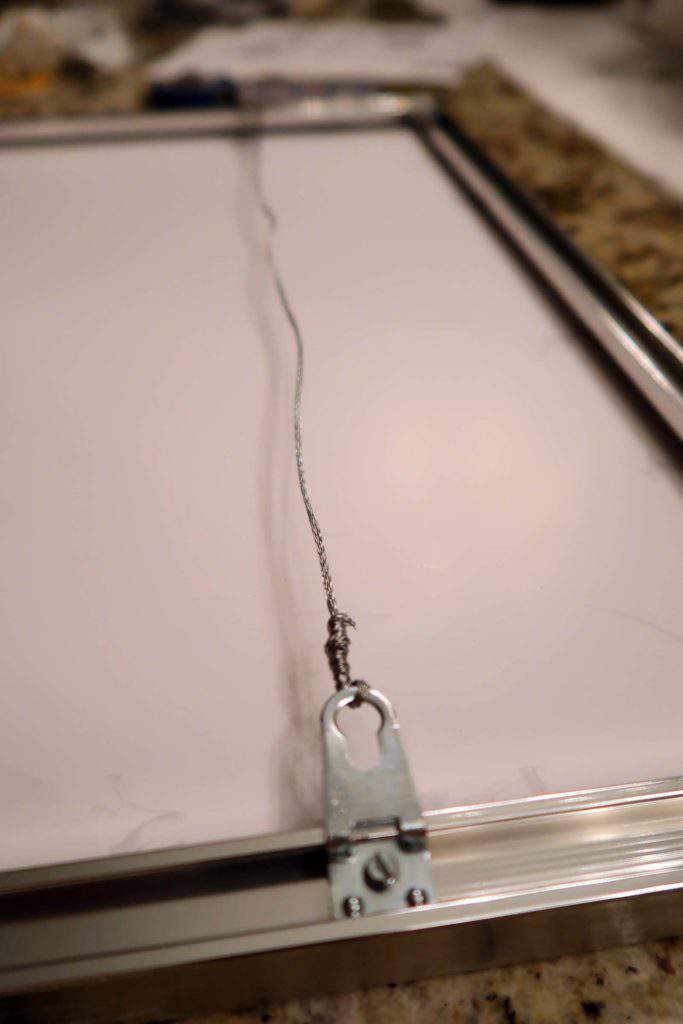
Attach any picture hangers.
I measured down 4 1/2 inches on each side to make them the same on left and right.
Step 9
Attach picture wire and hang on the wall to ENJOY!
Pin-It for Later!
Show Them You Love Them with a Framed T-Shirt
My son thought this was SO cool and I hope that the people in your life love that you thought to do something special for them too 🙂
In just a few minutes you can make a memory that will last a lifetime and capture something special.