
Replacing Landscape Lighting: Quick Connectors
Replacing an old landscape lighting fixture and don’t know how to install the new quick connectors on old wiring?
You’ve bought a brand new LED landscape lighting fixture with a screw or quick connector, but have old wiring with the typical electrical cap connections and are baffled on how to install.
That was me, until I figured out how to make it all work.
I’m here to help you understand how you convert from a electric cap connector landscape fixture to a screw and quick connector in minutes!
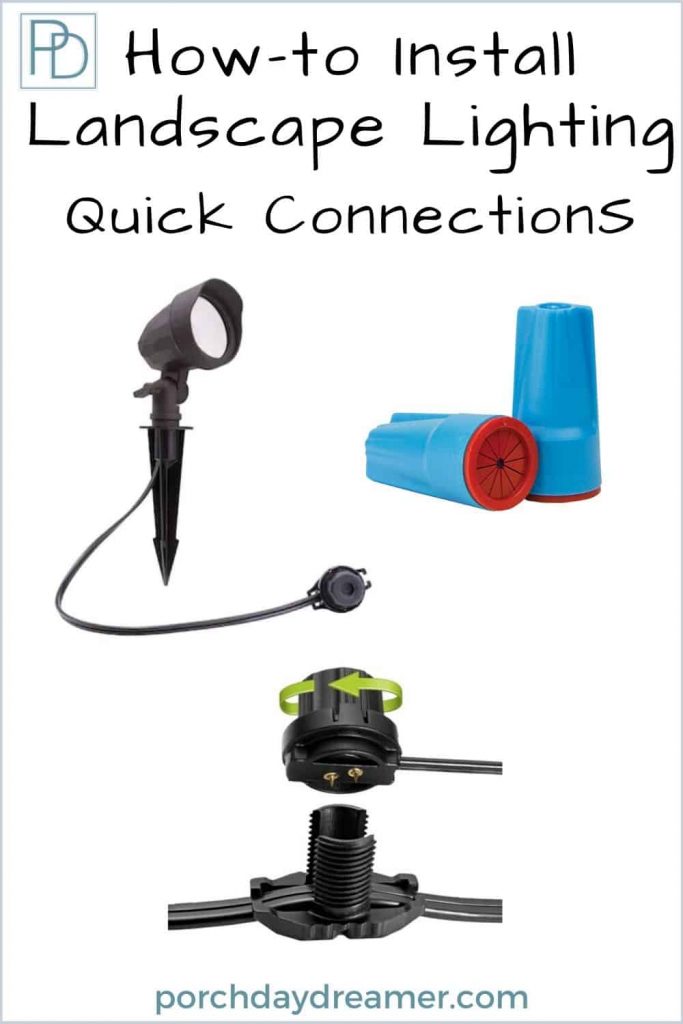
Cap/Nut Electrical Connector vs Screw/Quick Connector
If you installed any light fixtures indoors or a dimmer switch, you are very familiar with electrical cap connections.
It’s the kind that you screw over two or three wires to lock them together for conductivity.
Here are a couple of projects using cap connectors for you to explore if needed:
When I purchased a new landscape light to replace one that I broke, I encountered a completely different type of connector!
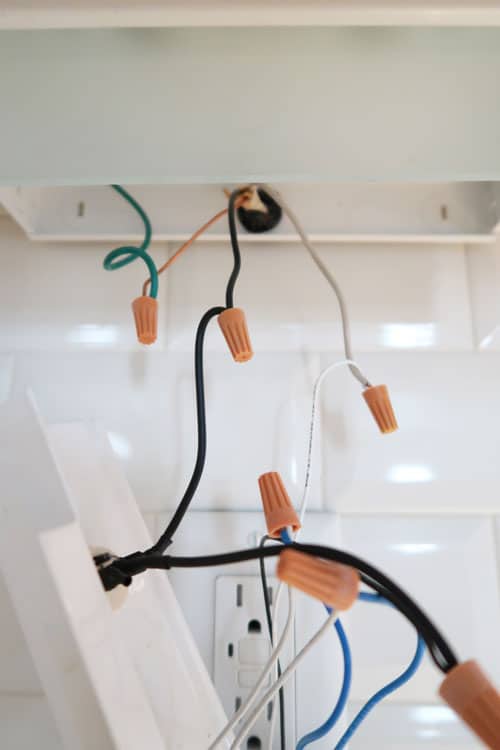
Of course the first thing I did, was to dig up the old fixture wiring to see what I was dealing with and saw my old familiar electrical caps securing the fixture to the wiring.
I thought…easy, this will take a few minutes!
Then I opened my new fixture and was like what?
Contains hand selected products, with affiliate marketing links where I may make a small commission if a purchase is made. {full disclosure here}
It was a big round piece at the end of the landscape fixture wiring.
No electrical nuts or caps were included in the box, so I got searching and learned it’s called a “screw connector”.
The brand of of landscape lighting I purchased was Portfolio which is carried at Lowe’s Home Improvement stores and online.
Many other manufacturers and Hampton Bay Landscape lighting from Home Depot have a “quick connect” or clamp type of system to attach the fixture.
Shop Landscape Path Lights

If you are installing a brand new landscape lighting plan this type of connector is SO EASY to install along a low voltage wire.
When you are installing on existing old wiring that used electrical caps, it gets a little more confusing.
Pin It for Later!
How-to Convert Landscape Lighting to a Screw Connector
First and foremost, I am NOT an expert in electrical work so take this instruction as informational.
Luckily, landscape lighting is on low voltage wiring and fairly harmless. I just made sure the electrical current was off before starting.
One thing I learned in my research is that there are outdoor water resistant electrical caps filled with silicone.


I have since updated mine to brand new ones to make sure there is still a water barrier around the wire.
My suggestion is to buy these, before you start your project, so you don’t have to dig up everything again like I did!
Watching the video is the best way to learn how these quick connectors work!
]See how easy that was! Luckily, the power to my line wasn’t the issue just that I broke the top of a fixture off with a ladder.
My next project is having the fence and landscaping updated to make it a whole lot prettier!
Now you can easily update or fix your landscape lighting fixtures.
LOVE THIS IDEA READ: Hang Wall Sconces ANYWHERE! No Wiring or Drilling or Paintable Option to Cover Cords or Cables (damage free)
Looking for more outdoor projects this spring and summer?
Since I am a true “porch daydreamer”, I spend a lot of time enjoying my outdoor spaces!
If you are looking for some help on outdoor projects or new ideas, here is a list to get you started:
- How-to Automatically Water Your Hanging Plants While on Vacation!
- Replacing Outdoor Wall Sconces: What You Need to Know!
- 7 Easy Ways to Create Maximum Curb Appeal
- Rotten Fence Post Cap? Cheap and Easy Repair!
- How-to Wrap a Porch Swing Chain with Rope
- How-to Upholster a Porch Swing Seat
Please consider signing up for my weekly email newsletter and following me on Pinterest and Instagram for daily inspiration.
Until next time…
Porch Daydreamer
Tracey
You just added a fail point at each of your landscape lights. It would’ve been easier to cut the connector off you new lights and join them into silicone filled wire nuts, using new wire nuts of course. You would’ve just twisted the ribbed wire from the fixture, in with the ribbed wires already on the ground and the smooth wire from the fixture, with the smooth wires already there. Those pierce connectors are notorious for failing due to dirt/water intrusion.
Good to know…if I have a failure, I know how to fix.
Thank god you said this. These screw connectors are awful and especially if you don’t have the larger gauge wire- those brass pins don’t line up, and they need to puncture precisely to work. The old snap together was easier, but also was a failure point.
thank you for posting this!!! was literally exactly what I needed 🙂
It was baffling how to make it all work, so I am happy to help!
Thanks for the great tips/ideas. I love these outdoor light fixtures. My husband and I plan to place a few of these out in our landscape. Thinks for DIY.
Stay safe and healthy.
I’m SO glad this helped! It really is pretty straight forward and you will LOVE having the light at night. Stay safe and healthy!